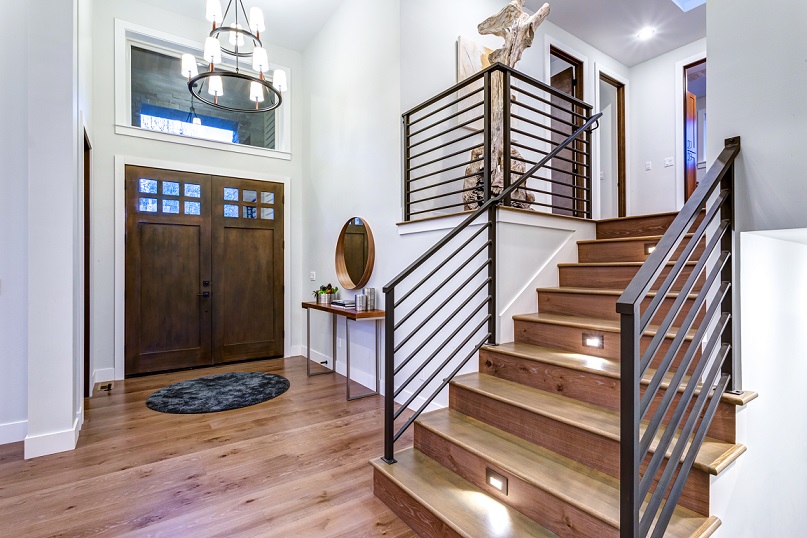
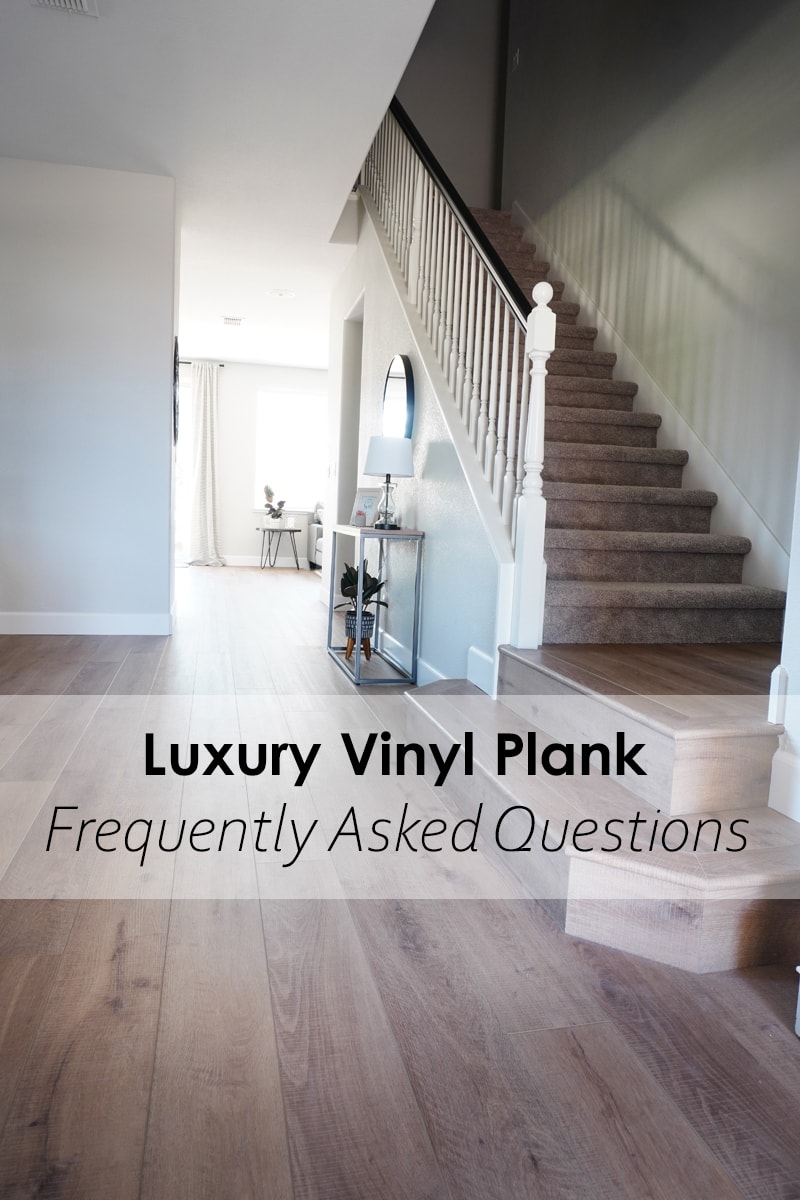
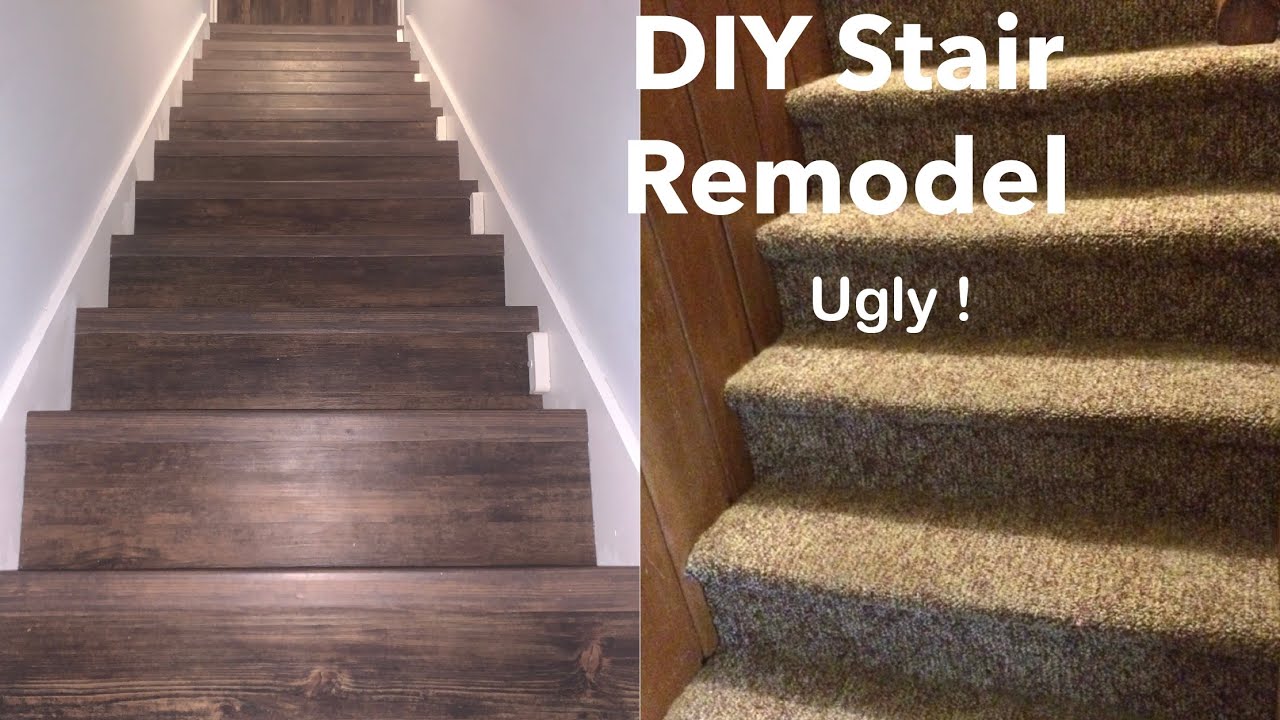
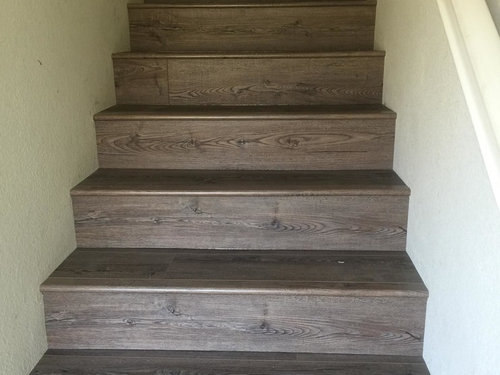
When I decided to renovate my two-story home last year, the worn carpeted stairs were screaming for attention. After slipping on them one too many times with wet feet, I knew I needed something safer and more durable. Luxury vinyl flooring caught my attention because it promised the look of hardwood without the maintenance headaches or safety concerns associated with it. The installation process seemed daunting at first, but after completing my staircase transformation, I can honestly say it was one of my best home improvement decisions. The rich wood-grain texture looks stunning, and I finally have stairs that are both beautiful and safe for my family.
Choosing the Right Luxury Vinyl for Stairs
My research journey started with understanding the different types of luxury vinyl available. I quickly learned that luxury vinyl plank (LVP) and luxury vinyl tile (LVT) each have their strengths for stair applications. LVP mimics hardwood beautifully and comes in longer planks that work well for stair treads. The click-lock system made installation more manageable than I anticipated. I spent hours at flooring showrooms feeling different textures and thicknesses.
Thickness became a crucial factor in my decision-making process. I discovered that 6mm to 8mm luxury vinyl provides the best balance of durability and sound dampening for stairs. Thinner options felt flimsy underfoot, while thicker planks created awkward height transitions. The wear layer thickness mattered too; I chose a 20-mil wear layer for high-traffic durability. This investment in quality has paid off after a year of daily use by my family of four.
Texture selection surprised me with how much it affected both appearance and safety. Smooth finishes look sleek but can be slippery when wet. I opted for a subtle embossed wood grain that provides just enough texture for traction without looking artificial. The hand-scraped varieties I tested felt too rough and collected more dust. Finding that sweet spot between realistic appearance and practical safety took several sample orders, but it was worth the effort.
Safety Features and Anti-Slip Considerations
Safety became my top priority after my previous falls related to carpeting. I researched slip ratings extensively and learned about COF (Coefficient of Friction) values. Most luxury vinyl manufacturers provide these ratings, and I made sure to choose products with COF values above 0.42 for wet conditions. This technical specification gave me confidence that my family would be safer on these stairs than on our old carpeting.
Stair nosing selection proved more complex than expected. I initially planned to use the manufacturer’s matching nosing, but my contractor recommended upgrading to metal nosing with rubber inserts. These hybrid nosings provide superior grip and durability at the stair edge where most wear occurs. The slight color difference bothered me initially, but the safety benefits convinced me it was the right choice.
Adding anti-slip strips seemed like overkill at first, but I installed them on the first three steps as a trial. My elderly mother visits frequently, and these transparent strips gave her extra confidence. They’re barely visible but provide significant traction improvement. After six months without any slips, I added them to all the steps. Sometimes the practical choice trumps pure aesthetics, and I’m glad I prioritized safety.
Installation Techniques and Tools
Measuring became an obsession during my preparation phase. Stairs have so many angles and transitions that precise measurements are crucial. I created paper templates for each step, accounting for the slight variations in my older home. Standard stair dimensions don’t exist in reality, every step had minor differences that required individual attention. This extra measuring time prevented costly mistakes during installation.
Tool selection made a huge difference in my installation success. A quality miter saw was essential for clean, precise cuts on the nosing pieces. I rented a professional model rather than using my basic circular saw, and the investment paid off in perfectly fitted pieces. A pneumatic nailer saved hours compared to hand nailing, especially for the risers, where I needed numerous small nails for secure attachment.
Template creation became my secret weapon for complex cuts. I used cardboard to create exact patterns for each unique piece, especially around newel posts and railings. This approach eliminated guesswork and wasted materials. My contractor friend taught me this technique, and it transformed what could have been a frustrating process into a methodical, successful installation. The time spent on templates saved money on materials and prevented installation errors.

Waterproof Options and Moisture Management
Living in a humid climate, moisture resistance was non-negotiable for my stair project. I chose 100% waterproof luxury vinyl with rigid core construction. Traditional laminate would have been a disaster with my family’s wet feet coming in from the pool area. The peace of mind knowing that spilled drinks or tracked-in snow won’t damage my stairs has been invaluable.
Subfloor preparation became crucial for moisture management. I installed a vapor barrier beneath the vinyl to prevent any moisture migration from below. My basement occasionally gets humid, and this extra protection ensures long-term durability. The barrier also helped with sound dampening, reducing the hollow sound that can occur with floating floor installations over stairs.
Sealing edges and transitions required extra attention on stairs due to the multiple cut edges exposed to potential moisture. I used manufacturer-recommended sealants at every joint and transition point. This meticulous sealing process took an extra day but protects my investment. Regular inspection of these sealed areas has become part of my quarterly home maintenance routine.
Cost Analysis and Budget Planning
Material costs varied dramatically based on quality and features. Basic luxury vinyl started around $2 per square foot, while premium waterproof options reached $6 per square foot. I calculated needing about 80 square feet for my 13-step staircase, including waste allowance. The stair nosing added another $15 per step, which significantly impacted my budget. I learned to factor in all these components when comparing options.
Labor costs surprised me with their complexity. Standard flooring installation quotes don’t apply to stairs due to the precision cutting and fitting required. My contractor charged 150% of his normal rate for stair work, which seemed high until I watched the painstaking installation process. Each step required individual measuring, cutting, and fitting that took exponentially longer than a flat floor installation.
Additional expenses accumulated quickly throughout the project. Underlayment designed for stairs, specialized adhesives for secure bonding, transition pieces for connecting to existing floors, and tool rentals all added to my budget. I also needed primer for the risers since I painted them to complement the vinyl treads. Planning for these extras would have prevented budget stress during the project.
Long-Term Maintenance and Durability
Daily cleaning has proven remarkably simple compared to my old carpeted stairs. A quick vacuum or sweep removes most debris, and occasional damp mopping keeps them looking fresh. The textured surface hides minor scratches well, though I’ve learned to use furniture pads when moving heavy items up and down the stairs. Pet hair doesn’t embed like it did in carpet, making maintenance with two cats much easier.
Wear patterns have developed predictably after one year of use. The center of each tread shows the most traffic, but the wear layer is holding up excellently. I’ve had no chips, gouges, or delamination despite heavy daily use. The areas around the handrail where people grip while climbing show no additional wear, unlike painted surfaces that would show handprints and scuffs by now.
Seasonal changes haven’t affected the vinyl like they would natural wood. My stairs maintain a consistent appearance and dimensions through humid summers and dry winters. I don’t need to worry about expansion gaps or seasonal maintenance routines. The only maintenance I perform is quarterly inspection of the nosing attachments and annual deep cleaning with manufacturer-recommended products.
.jpg)
How does luxury vinyl flooring on stairs compare to hardwood in terms of safety?
In my experience, it’s significantly safer. The slight texture provides better traction than smooth hardwood, and there’s no risk of splinters. Unlike hardwood, which can become slippery when wet, quality luxury vinyl maintains its grip. The consistent surface without grain variations eliminates trip hazards that can occur with worn wooden steps.
Can luxury vinyl stairs handle heavy foot traffic from large families?
Absolutely! My family of four plus frequent guests use these stairs daily. After a full year, I see minimal wear even in high-traffic areas. The 20-mil wear layer I chose provides commercial-grade durability. The key is selecting proper thickness and quality; cheaper options might not hold up as well to constant use.

What’s the noise level like with luxury vinyl stairs compared to carpet?
There’s definitely more sound than carpet, but it’s much quieter than hardwood. I installed quality underlayment, which helps significantly with sound dampening. The hollow sound some people worry about isn’t noticeable with proper installation. My family hasn’t complained about noise, even when someone runs up the stairs.
How difficult is it to repair damaged luxury vinyl on stairs if needed?
Individual planks can be replaced, though it requires some skill on stairs due to the nosing and angles involved. I keep extra planks for potential repairs. Minor scratches can be buffed out or filled with manufacturer touch-up products. The modular nature makes repairs possible, unlike carpet, which would need complete replacement.

Is luxury vinyl on stairs suitable for homes with elderly residents?
Yes, with proper safety considerations. The consistent surface eliminates trip hazards from worn carpet edges. I added subtle anti-slip strips for extra security. The low maintenance means no loose carpet edges or worn spots that create hazards. My elderly mother feels much more confident on these stairs than on our old carpeting.
How does the initial investment in luxury vinyl stairs pay off long-term?
The durability and low maintenance provide excellent value over time. No carpet cleaning costs, no refinishing like hardwood, and minimal repair needs make it economical. My home’s value increased more than my flooring investment. The 15-20 year lifespan means I won’t need to replace them anytime soon, unlike carpet that needs replacement every 5-7 years.

New Luxury Vinyl Plank Stairs
Flooring Options For Stairs

Take Your Luxury Vinyl Tile From Downstairs to UpstairsSeamlessly
.jpg)
Related Posts: