After twenty years of professional cleaning and countless encounters with floors that looked beyond hope, I’ve developed foolproof techniques for tackling even the grimiest tile surfaces. My journey began with my own neglected bathroom tiles that had accumulated years of soap scum and dirt. Through trial, error, and persistence, I discovered that the right approach can transform any grimy floor into a sparkling surface. These methods have saved me thousands of dollars in replacement costs and countless hours of frustration.
Understanding Different Types of Grime and Their Origins
I’ve learned that identifying the source of grime is crucial for selecting the most effective cleaning approach. Kitchen tiles typically accumulate grease, food particles, and sticky residues that require different treatment than bathroom grime. Bathroom tiles collect soap scum, hard water deposits, and mildew that need specific solutions. Understanding these differences has revolutionized my cleaning effectiveness and saved me from using the wrong products that waste time and effort.
Traffic patterns create unique grime challenges that I’ve observed in hundreds of homes. High-traffic areas develop ground-in dirt that penetrates grout lines and tile pores, requiring intensive treatment. Low-traffic zones often accumulate dust and light residue that responds to gentler cleaning methods. I’ve found that mapping these patterns helps me allocate cleaning time efficiently and choose appropriate products for each zone.
Seasonal factors significantly impact the type and intensity of grime accumulation on tile floors. Winter brings salt stains and mud that require immediate attention to prevent permanent damage. Summer introduces different challenges with increased humidity promoting mold growth and outdoor dirt tracked indoors. My seasonal cleaning schedule adapts to these patterns, ensuring floors receive appropriate care throughout the year for optimal maintenance.
Essential Tools and Equipment for Deep Cleaning
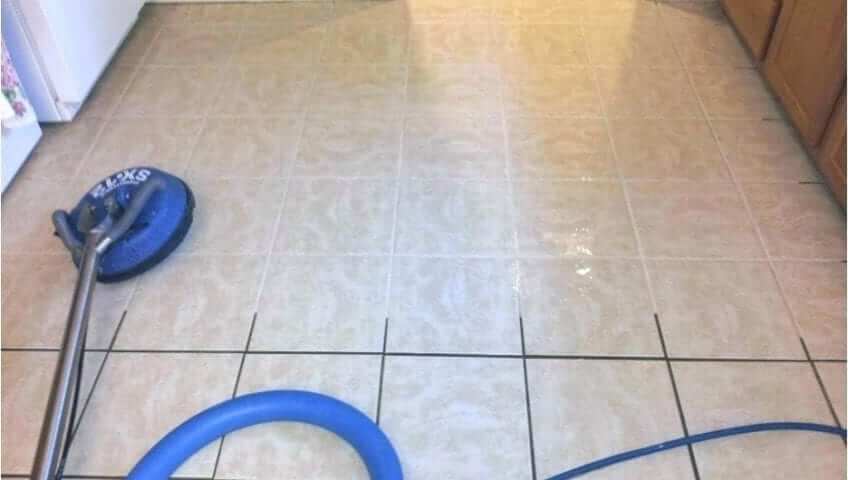
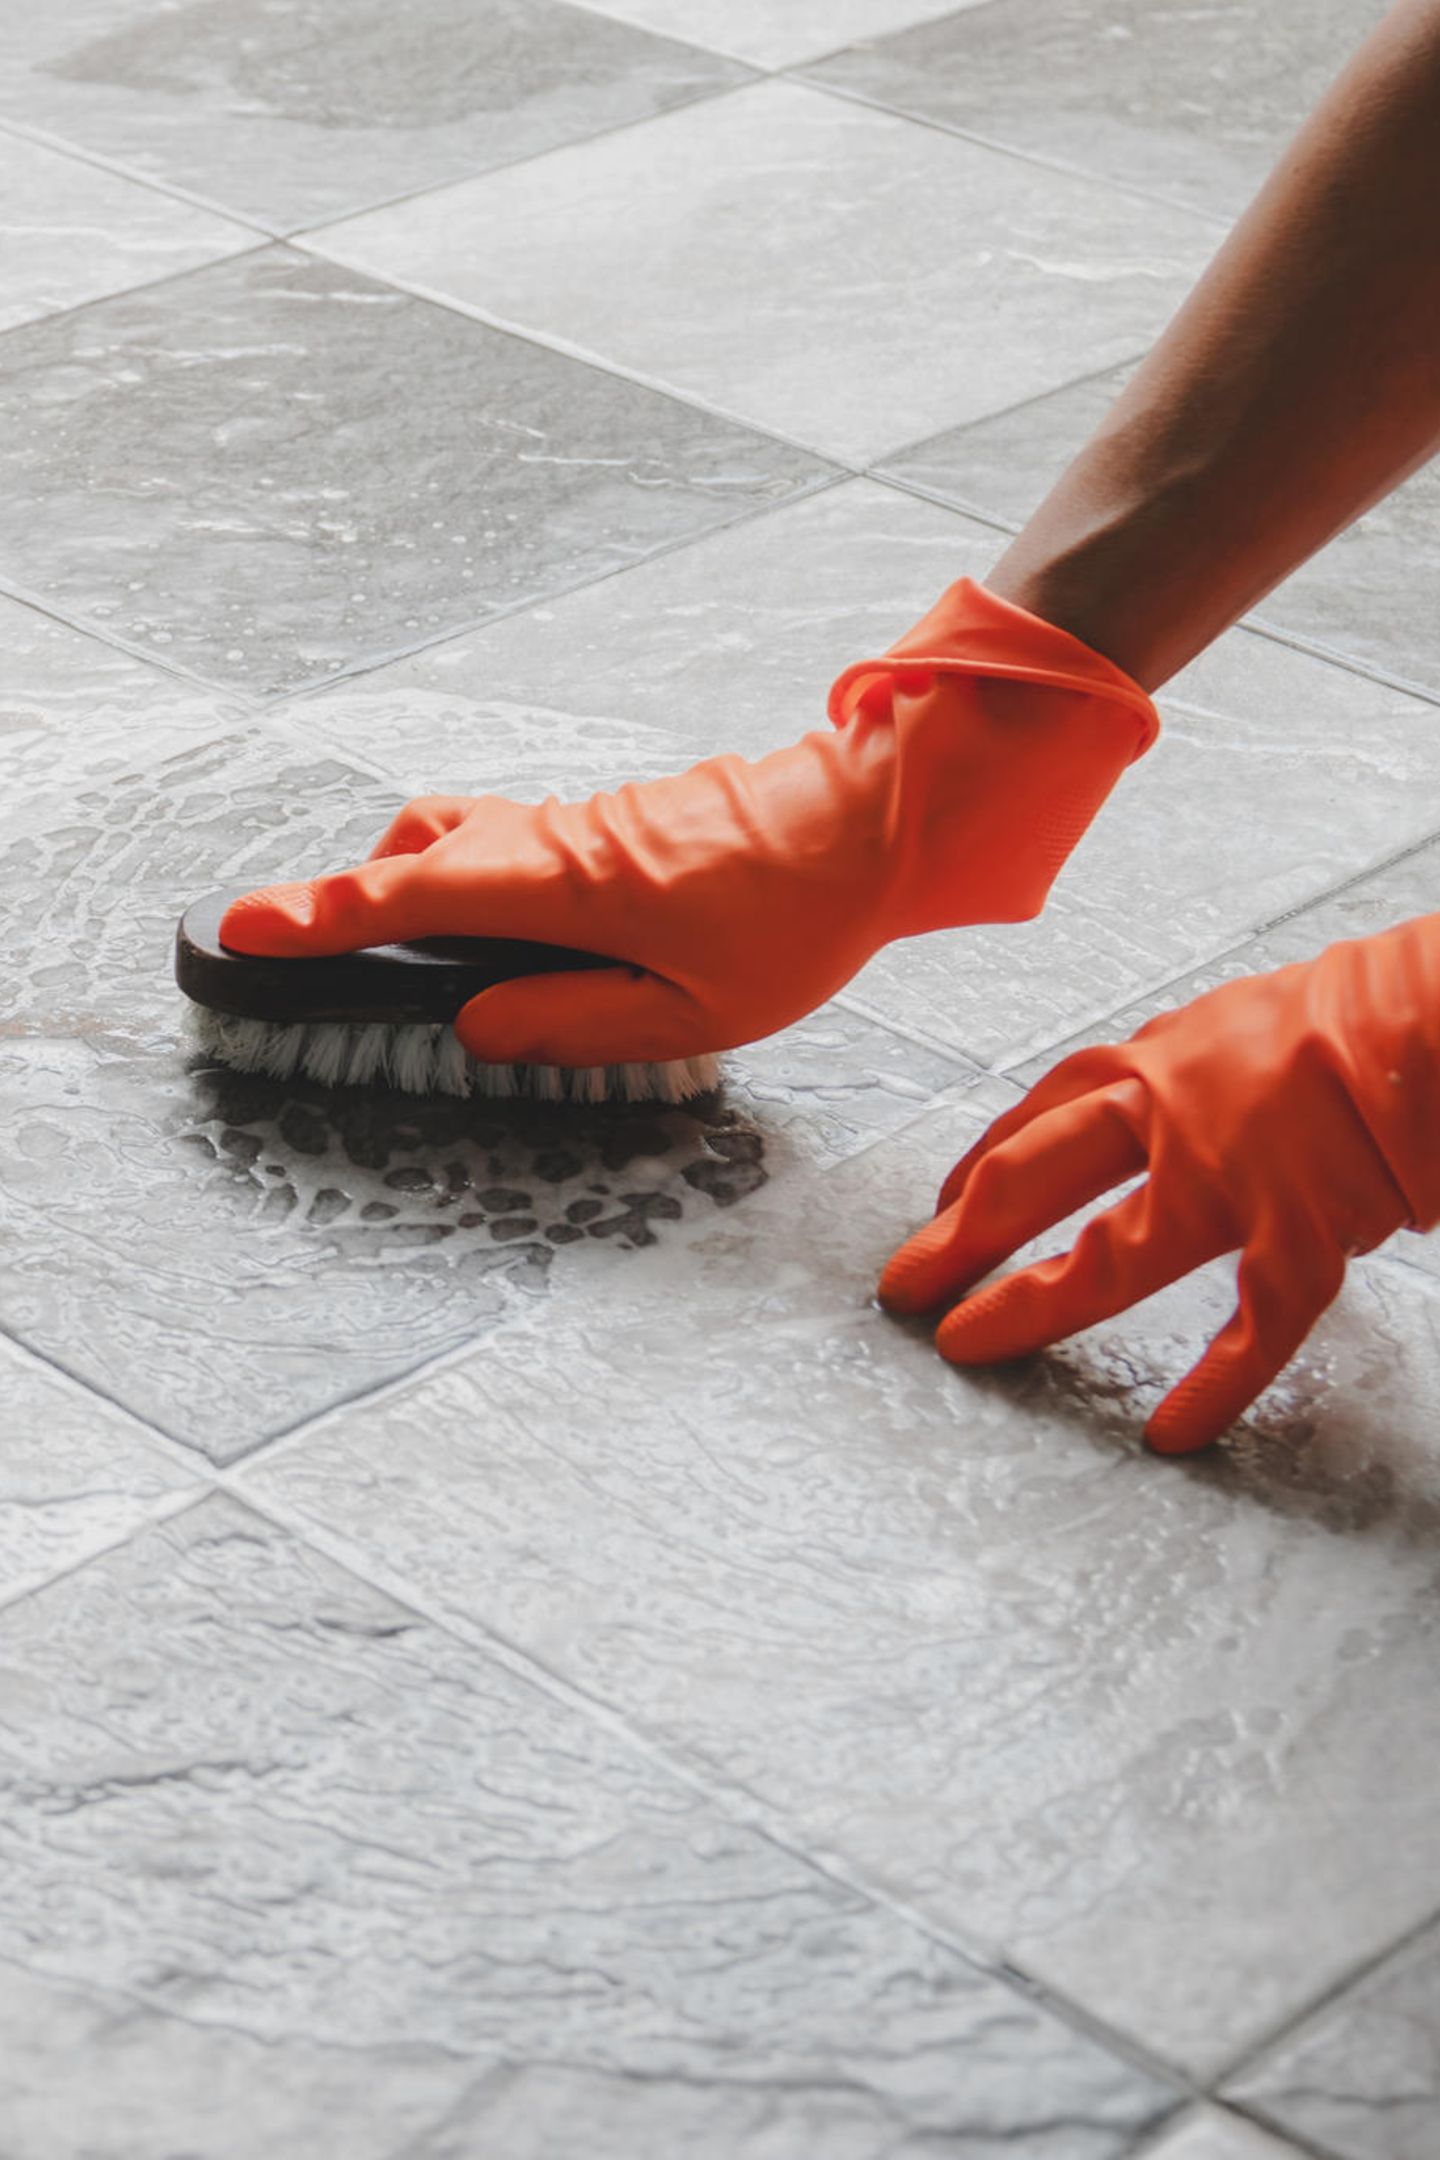
My toolkit has evolved through years of testing various cleaning implements and finding what truly works. A high-quality scrub brush with stiff bristles remains my most valuable tool for aggressive grime removal. I prefer brushes with angled heads that reach into corners and along baseboards effectively. Electric scrubbers save significant time on large areas, but manual brushes provide better control for detailed work around fixtures and tight spaces.
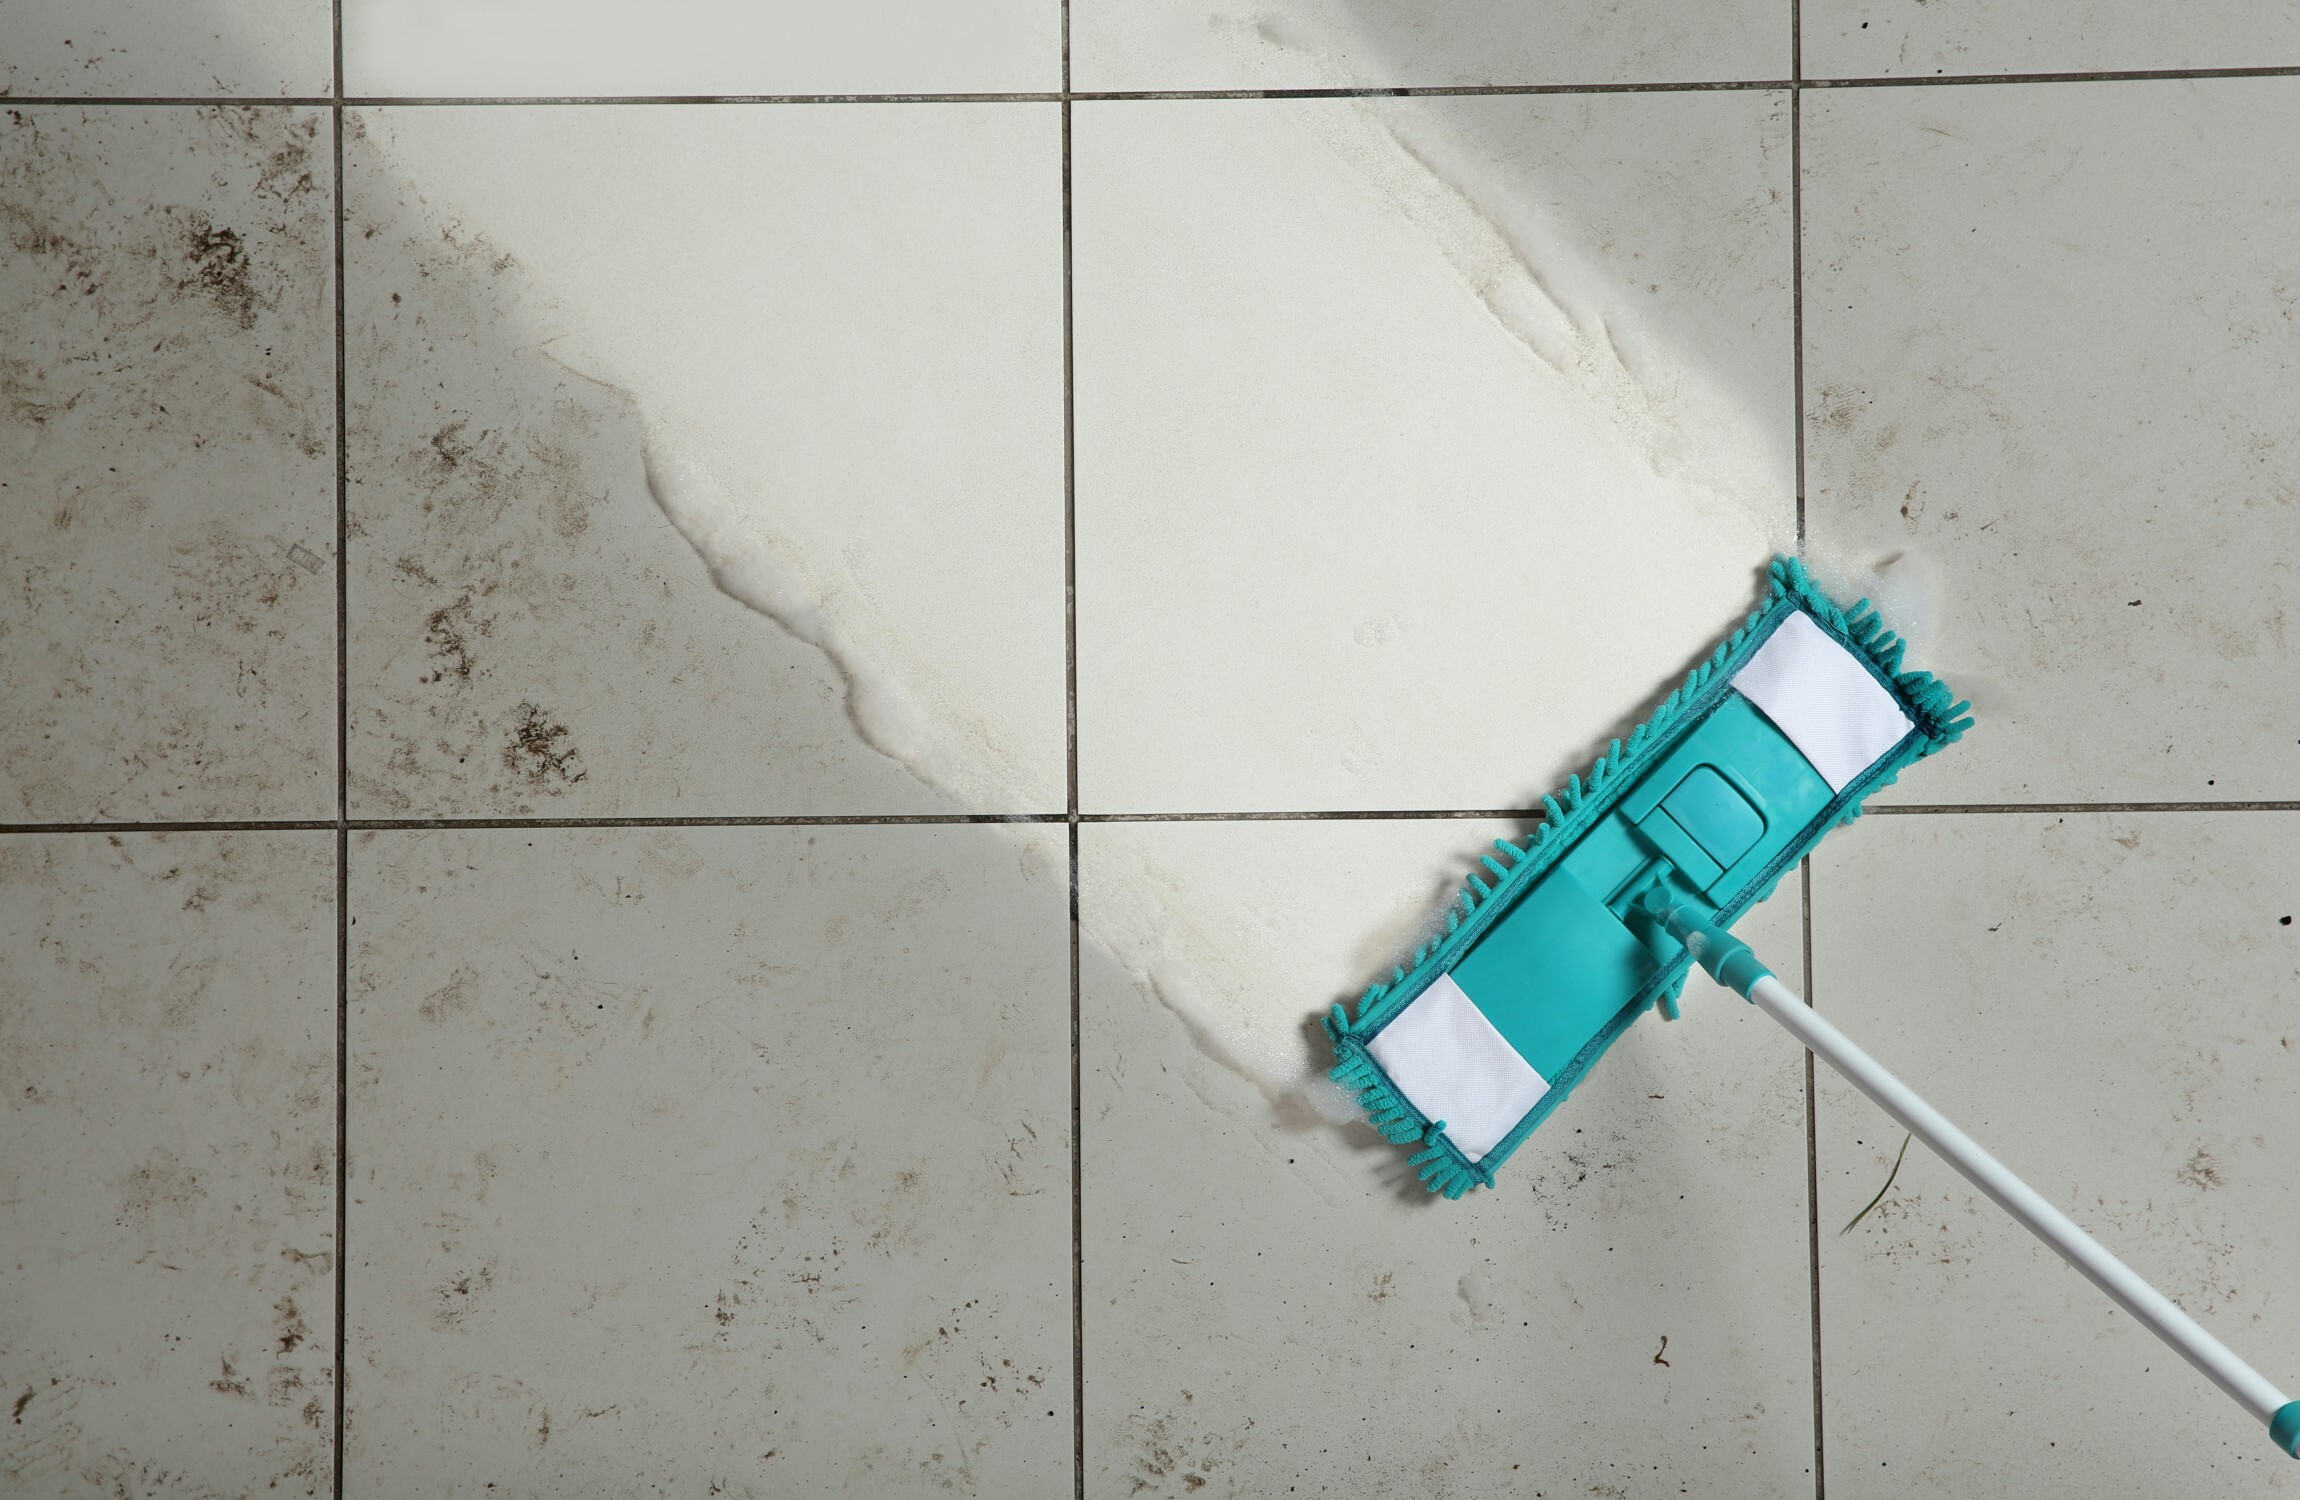
Microfiber mops and cloths have become indispensable in my cleaning arsenal due to their superior dirt-trapping capabilities. These materials grab and hold grime rather than just pushing it around like traditional cotton mops. I use different colored microfiber products to prevent cross-contamination between areas. Kitchen cleaning cloths stay separate from bathroom materials, maintaining hygiene standards while maximizing cleaning effectiveness.
Steam cleaners represent the ultimate weapon against stubborn grime that resists conventional cleaning methods. The high-temperature steam penetrates deep into grout lines and tile pores, loosening embedded dirt without harsh chemicals. I’ve successfully restored tiles that seemed permanently stained using steam cleaning techniques. This equipment requires investment but pays dividends in time saved and superior results achieved on challenging cleaning projects.
Homemade Cleaning Solutions That Work
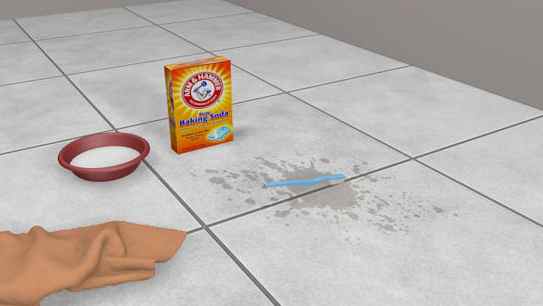
Baking soda paste has become my go-to solution for tough stains and embedded grime on tile surfaces. I mix baking soda with just enough water to create a thick consistency that clings to vertical surfaces. This paste sits on stains for 15-20 minutes before scrubbing, allowing the abrasive action to break down stubborn deposits. The alkaline properties neutralize acids from spills while providing a gentle scrubbing action that won’t damage tile finishes.
White vinegar solutions excel at dissolving mineral deposits and soap scum that accumulate on bathroom tiles. I create a 50-50 mixture of white vinegar and warm water in a spray bottle for regular cleaning. For heavy buildup, I use undiluted vinegar applied directly to problem areas. The acetic acid breaks down calcium and lime deposits effectively, though I always test on inconspicuous areas first to ensure tile compatibility.
Dawn dish soap mixed with warm water creates an incredibly effective degreasing solution for kitchen tiles. I use approximately two tablespoons per gallon of water, creating enough suds to cling to vertical surfaces. This mixture cuts through cooking grease and food residue better than most commercial cleaners. The gentle formula won’t damage tile surfaces while providing superior cleaning power that leaves floors spotless and residue-free.
Step-by-Step Deep Cleaning Process
My cleaning process begins with thorough preparation that sets the stage for successful grime removal. I remove all movable items from the floor and sweep or vacuum loose debris thoroughly. Pre-treating heavily soiled areas with appropriate cleaning solutions allows products to work while I prepare other materials. This initial investment in preparation prevents spreading dirt around during cleaning and ensures maximum effectiveness from cleaning products.
The actual cleaning process follows a systematic approach that prevents re-soiling cleaned areas. I start from the farthest corner and work toward the exit, ensuring I don’t walk on freshly cleaned surfaces. Working in small sections allows me to focus intensive effort where needed while maintaining consistent results. I apply cleaning solution, allow appropriate dwell time, scrub thoroughly, and rinse completely before moving to the next section.
Final steps involve thorough rinsing and drying to prevent residue buildup and water spots. I use clean water to remove all cleaning solution traces, changing rinse water frequently to avoid redepositing dirt. Proper drying prevents water spots and reduces the risk of mold growth in humid environments. I often use fans to accelerate drying in poorly ventilated areas, ensuring floors are completely dry before replacing furniture or allowing normal traffic.
Tackling Stubborn Grout Lines and Deep Stains
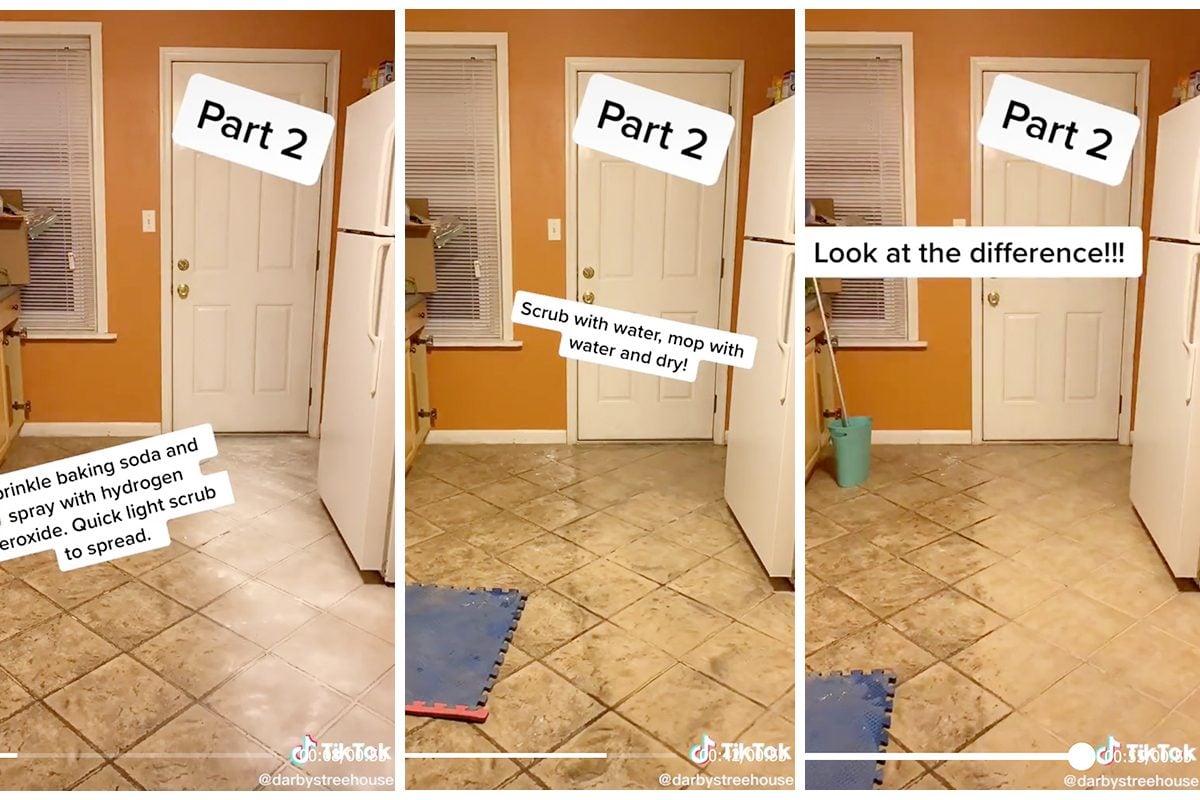
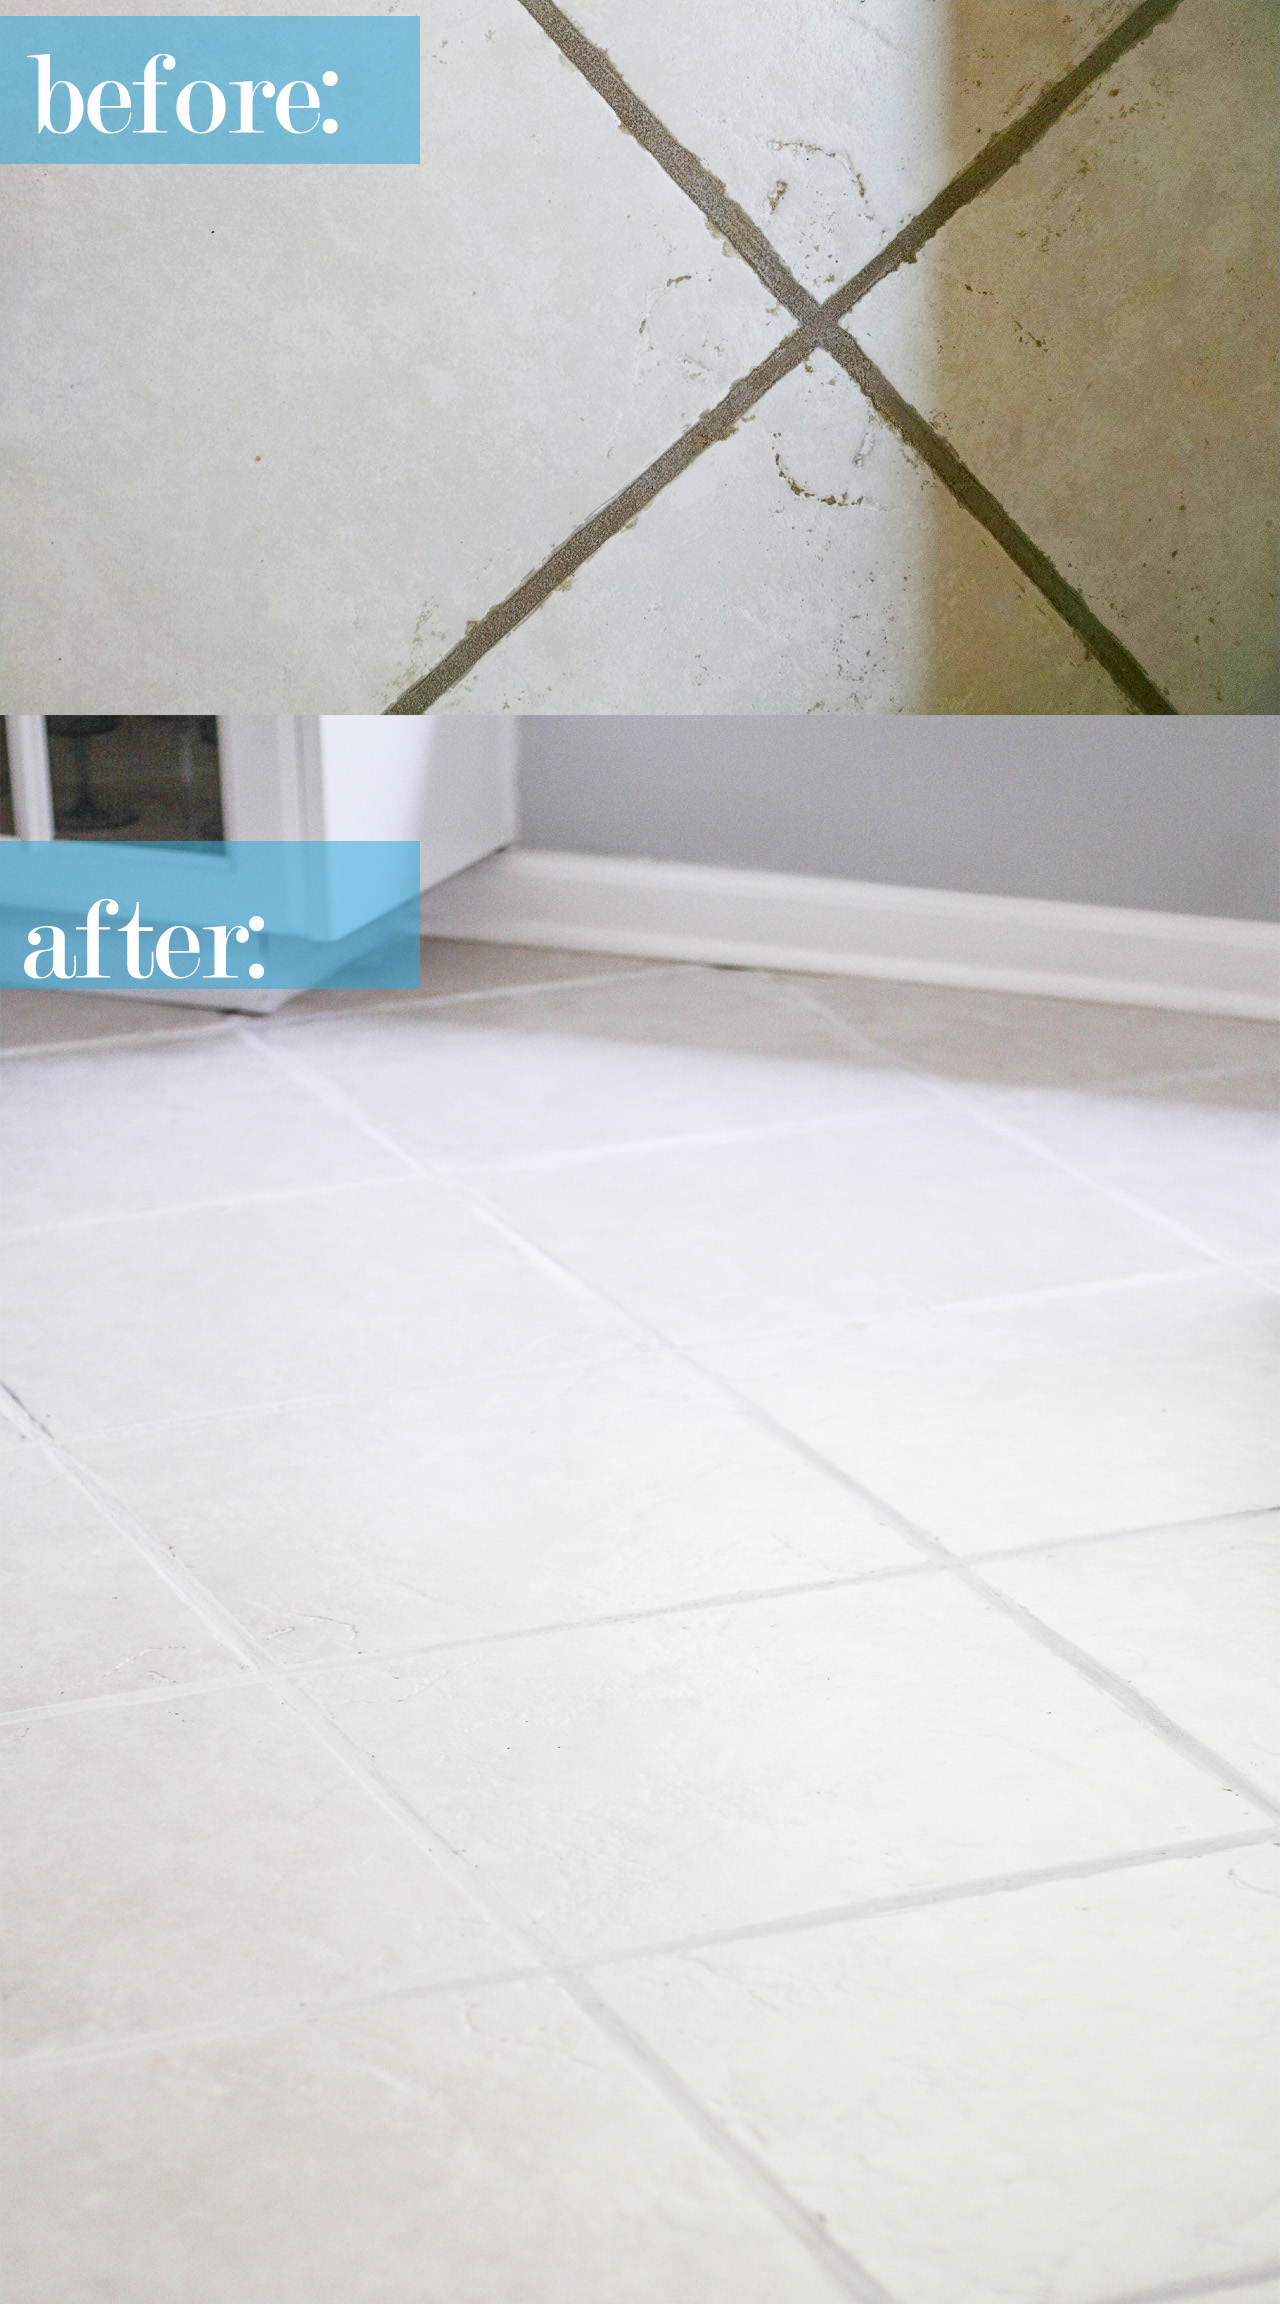
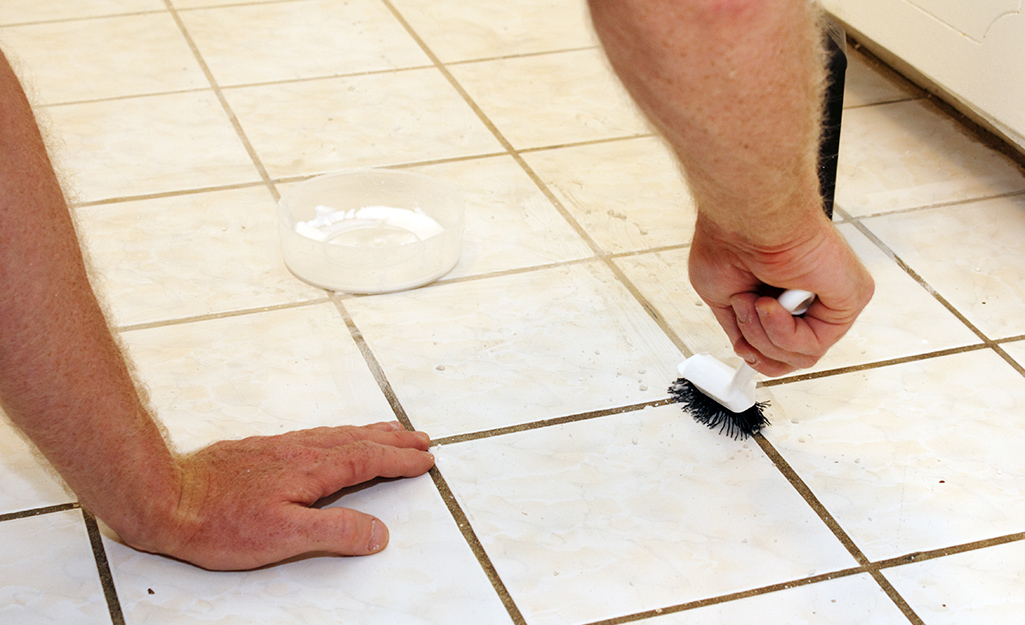
Grout cleaning requires specialized techniques because these porous areas trap dirt and stains more readily than tile surfaces. I create a paste using baking soda and hydrogen peroxide that clings to grout lines while providing bleaching action. This mixture sits for 30 minutes before scrubbing with an old toothbrush, allowing deep penetration into the grout pores. The combination of abrasive action and chemical cleaning removes years of accumulated grime.
Commercial grout cleaners can be effective for severe staining, but I always test them in inconspicuous areas first. Some products contain harsh chemicals that can damage colored grout or surrounding tiles. I prefer oxygen-based cleaners that provide strong cleaning action without toxic fumes or surface damage. These products work well on both sanded and unsanded grout while being safer for indoor use than chlorine-based alternatives.
Steam cleaning represents the most effective method for deep grout cleaning without chemicals. The high-temperature steam penetrates deep into grout pores, loosening embedded dirt and killing bacteria naturally. I use a detail attachment to direct steam precisely along grout lines, followed by immediate extraction of loosened debris. This method revitalizes grout appearance while sanitizing surfaces naturally, though it requires proper ventilation during use.
Preventing Future Grime Buildup and Maintenance Tips
Daily maintenance prevents minor issues from becoming major cleaning challenges that require intensive effort. I recommend sweeping or vacuuming tile floors daily to remove abrasive particles that can scratch surfaces. Weekly damp mopping with appropriate cleaners maintains cleanliness without allowing grime to build up. This consistent approach reduces the need for deep cleaning sessions while keeping floors looking their best constantly.
Sealing grout lines annually protects against staining and makes regular cleaning more effective. Quality grout sealers create a barrier that prevents dirt penetration while allowing easy cleanup of surface spills. I apply sealer to clean, dry grout using a small brush or applicator, ensuring complete coverage. This preventive measure extends grout life and maintains appearance while reducing maintenance requirements significantly.
Strategic placement of mats and rugs at entrances reduces the amount of dirt tracked onto tile floors. I recommend washable mats both inside and outside entry doors to capture maximum soil before it reaches tile surfaces. Regular mat cleaning prevents them from becoming sources of dirt distribution. This simple prevention strategy dramatically reduces overall cleaning requirements while protecting tile floors from unnecessary wear and staining.
What’s the best cleaning solution for heavily stained ceramic tiles that seem permanently discolored?
For heavily stained ceramic tiles, I recommend starting with a baking soda paste mixed with hydrogen peroxide. Apply this mixture to stains, let it sit for 30 minutes, then scrub with a stiff brush. If stains persist, try a commercial oxygen bleach cleaner designed for tile. Steam cleaning often works when chemical methods fail. For extreme cases, professional restoration might be necessary, but these methods succeed in most situations I encounter.
How often should I deep clean my tile floors to prevent grime buildup?
Deep cleaning frequency depends on traffic levels and usage patterns. High-traffic areas like kitchens and entryways need deep cleaning monthly, while bedrooms and formal areas can go 2-3 months between sessions. I recommend weekly maintenance cleaning for all areas to prevent grime accumulation. Bathrooms require more frequent attention due to humidity and soap residue. Consistent maintenance reduces the intensity needed for deep cleaning sessions.

Can I use bleach on colored grout, or will it damage the color?
Bleach can lighten or damage colored grout, so I avoid it on anything except white grout. Oxygen bleach is safer for colored grout and still provides excellent cleaning power. Test any cleaner on an inconspicuous area first to check for color changes. For colored grout, I prefer hydrogen peroxide-based cleaners or steam cleaning methods. These alternatives clean effectively without risking permanent color damage to your grout investment.
What’s the most effective way to remove soap scum from bathroom tiles?
Soap scum responds best to acidic cleaners like white vinegar or commercial lime scale removers. I spray the solution on tiles, let it sit for 10-15 minutes, then scrub with a non-abrasive brush. For heavy buildup, I use a paste of baking soda and dish soap. Steam cleaning also works excellently for soap scum removal. Regular cleaning prevents heavy accumulation that requires intensive removal methods.
Are expensive commercial tile cleaners worth the cost compared to homemade solutions?
Commercial cleaners offer convenience and sometimes superior performance on specific stains, but homemade solutions handle most cleaning challenges effectively. I use commercial products for severe problems or when time is limited. For regular maintenance, homemade solutions provide excellent results at a fraction of the cost. The key is matching the cleaning method to the specific grime type rather than relying solely on expensive products.
How do I prevent my tile floors from looking dull after cleaning?
Dull tiles usually result from cleaning product residue or hard water deposits. Always rinse thoroughly after cleaning and use distilled water for the final rinse in hard water areas. Avoid using too many cleaning product, which leaves residue that attracts dirt. For natural stone tiles, use pH-neutral cleaners only. Regular maintenance with appropriate products prevents the buildup that causes a dull appearance and keeps tiles looking bright and clean.
How To Clean Dirty White Tiles to make Pure White Tiles At Home

Easy Ways to Clean Porcelain Tile Floors
How to clean ceramic tile floors with vinegar – Best Ceramics Review
You Won’t Believe How This Old and Dirty Floor Was Restored After

Clean Tile Floors Easily Without Chemicals or Scrubbing
Related Posts: