This forms a rigid clear plastic material which is actually good, reluctant to degradation, and that bonds extremely well to its substrate. Thus, before you implement epoxy on the flooring of yours, you should evaluate first the condition of your concrete if it generates moisture or even not. Of these 3, hundred % solids epoxy is the very best option as it performs probably the best.
Images about How To Epoxy Flooring Garage
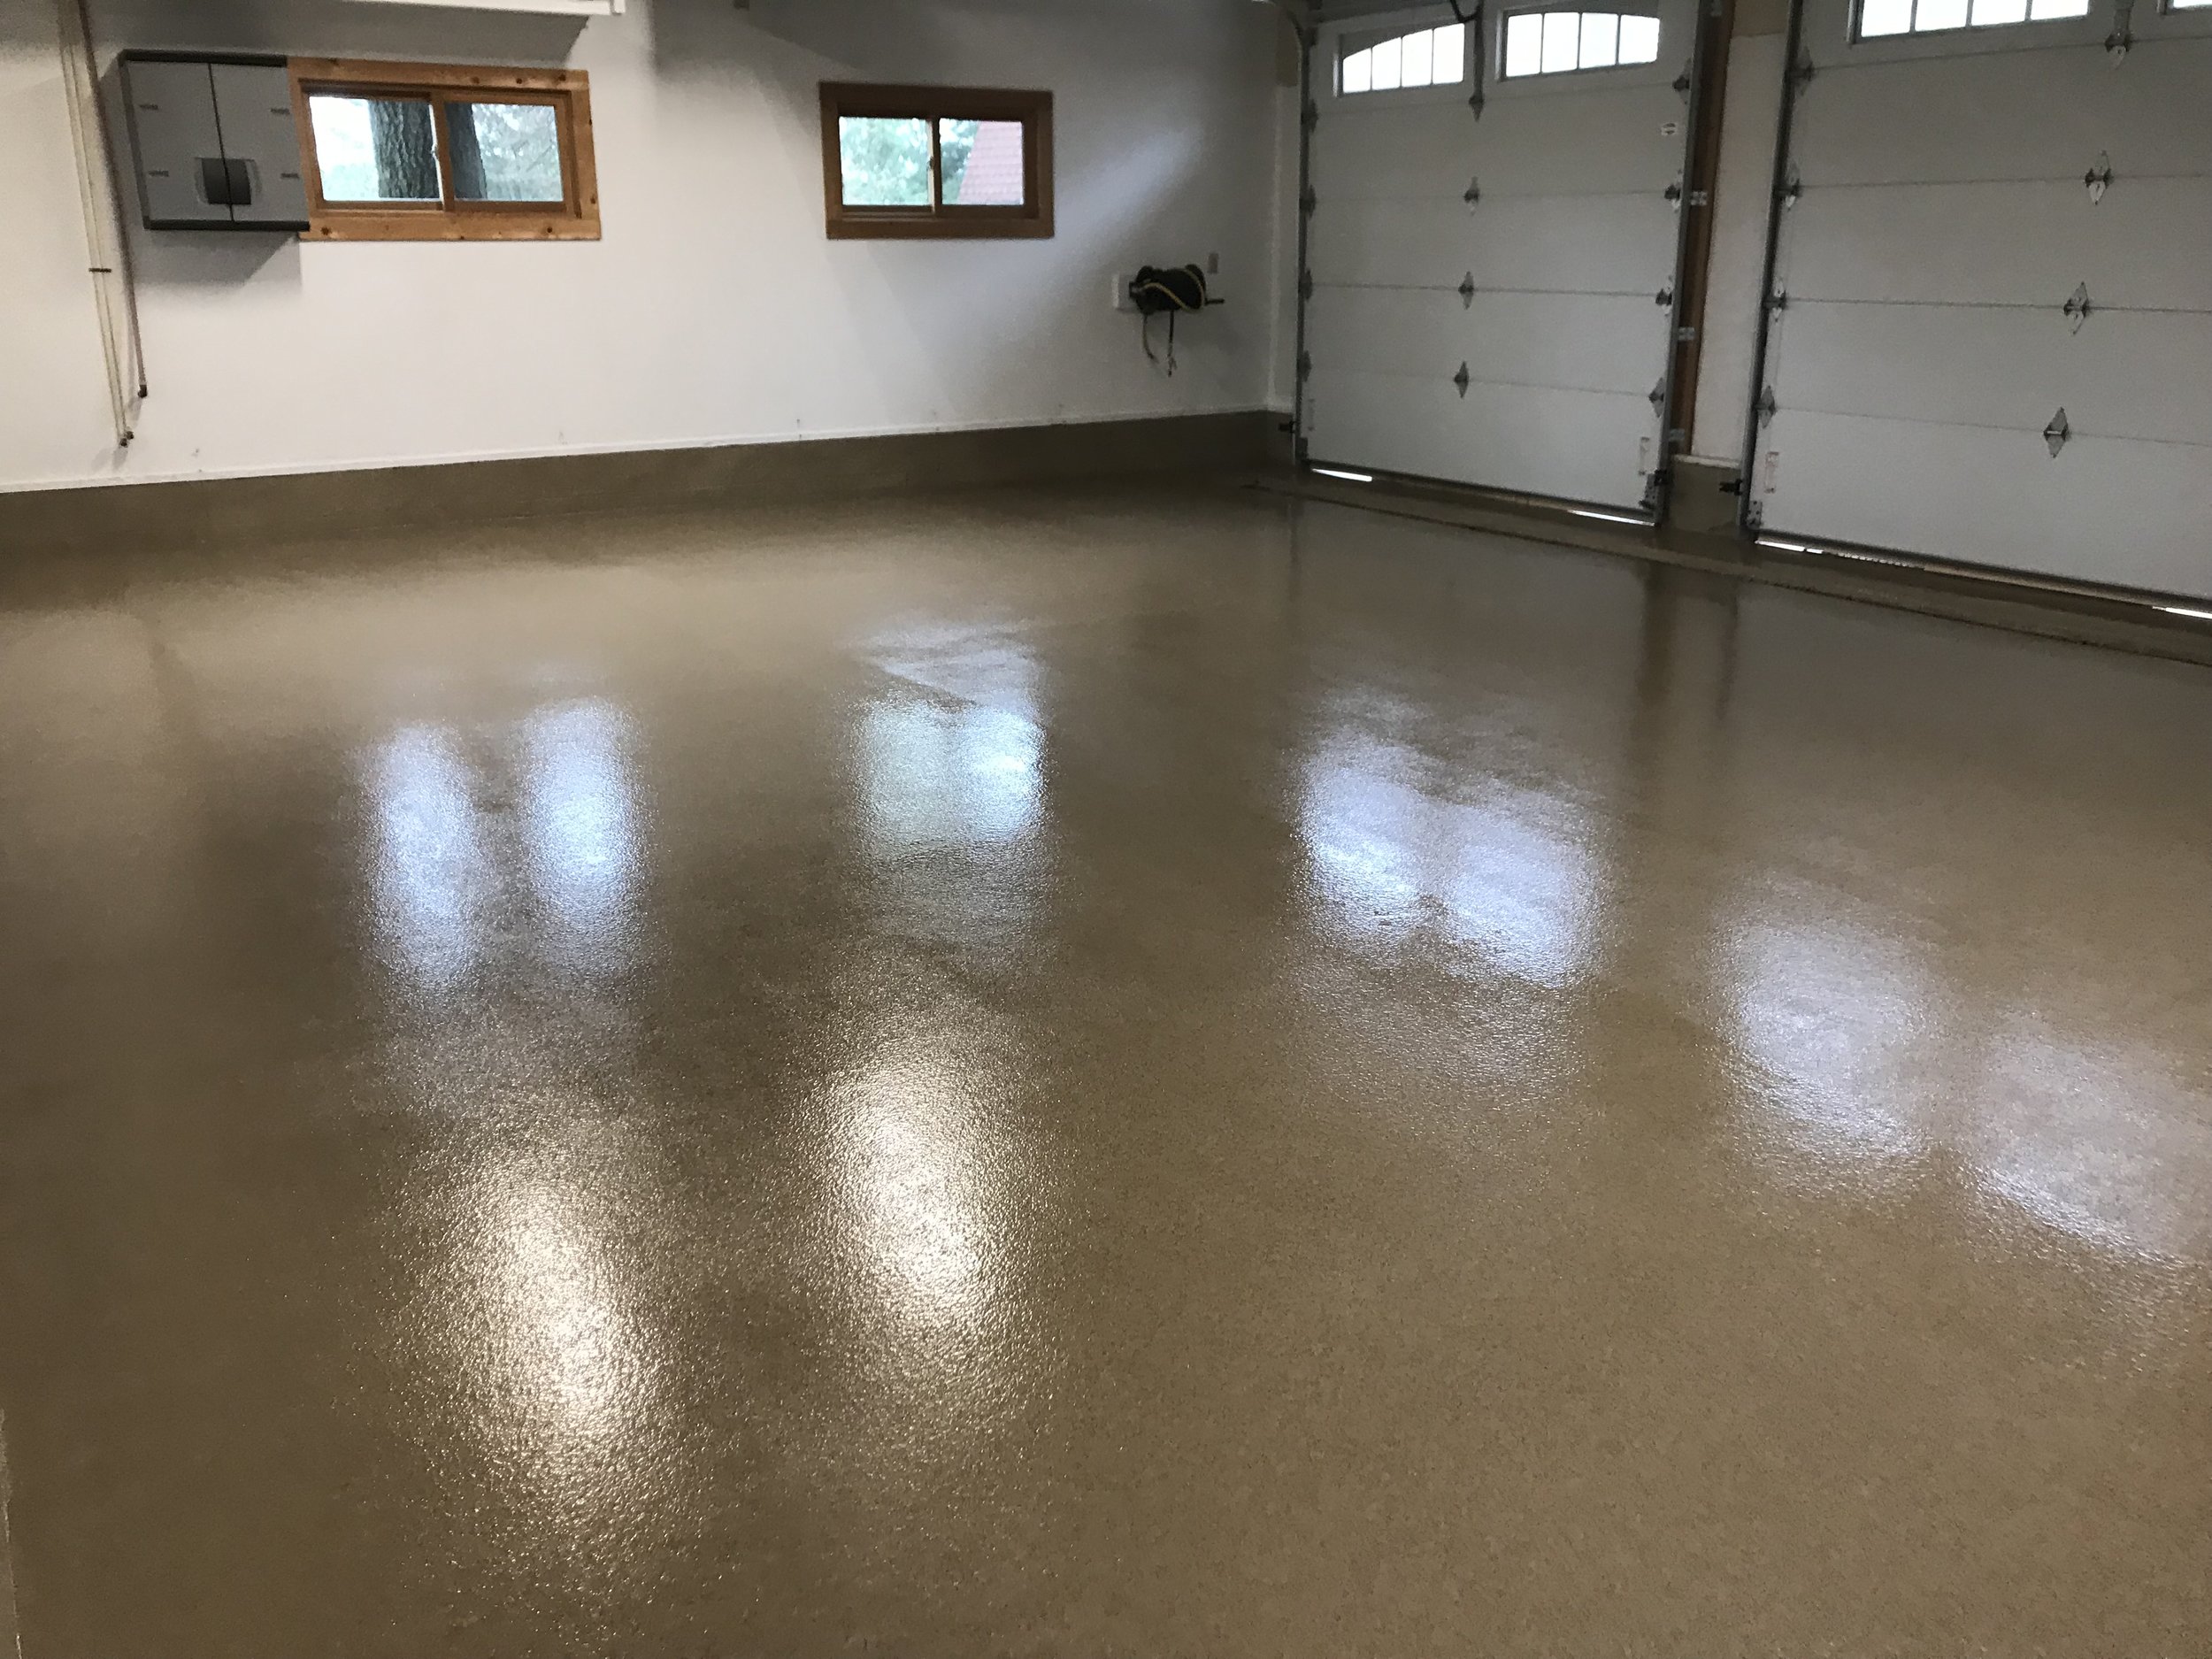
How To Epoxy Flooring Garage
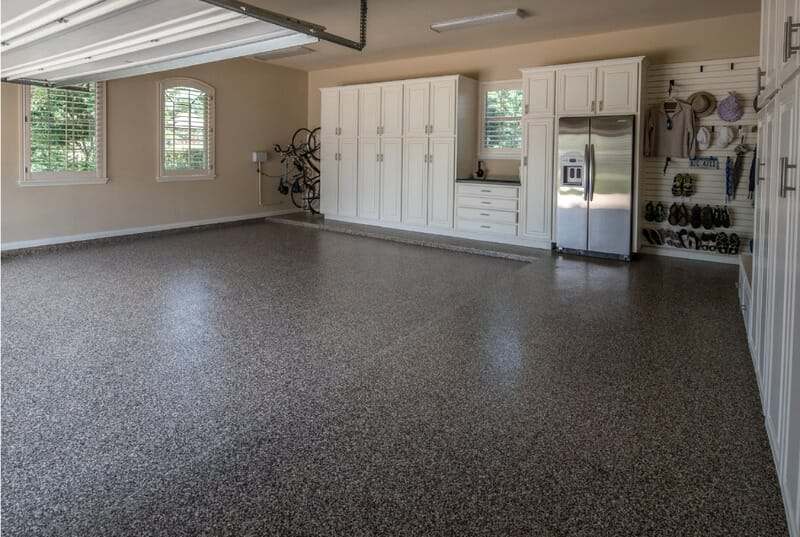
The majority of the individuals are opting for epoxy flooring usually for garage floors. The reason behind the differing schools of believed lay in the car maker’s instructions and the way in which the contractors utilize the product and their encounters with this. You should begin browsing to find the best choice. Epoxy floor coatings are available in a range of colors.
How to Apply Epoxy Coating to a Garage Floor
/clean-garage-178594527-ed57fd7843ba42f59bb637cf7cf5d47d.jpg)
You’ll get an extra benefit of protecting the concrete flooring of yours from oil stains as well as other chemicals to give an extra life to the untreated floor. Epoxy floors are highly unwilling to area injury with the inheriting properties of theirs.
How Much Does It Cost To Epoxy Garage Floor?

Concrete Coating Contractors in Draper, Utah Lifetime Epoxy
How to Prep Your Garage Floor for Epoxy Epoxy Colorado
Epoxy Garage Flooring Charlotte Titan Garage Floors

Epoxy Garage Floor Coatings in San Diego Garage Excell
Epoxy Flooring Ideas to Extend the Life of Your Floors

DIY vs. Professional Garage Floor Coatings u2014 Advanced Flooring Systems
ArmorClad Garage Floor Epoxy Best Garage Floor Epoxy Kit
Epoxy Garage Flooring: How good is it, and why you should consider it

Best Garage Floor Coating of 2022 – This Old House
/cdn.vox-cdn.com/uploads/chorus_image/image/68830856/1120_FEA_Idea_House_Fairfield_Farmhouse_08142020NR_0078_v3.0.jpg)
2022 Epoxy Flooring Cost Garage Floor Coating u0026 Painting Prices

Armor Chip Garage Epoxy Floor Coating ArmorGarage

Related Posts:
- Epoxy Flooring Advantages Disadvantages
- Metallic Epoxy Bathroom Floor
- Sherwin Williams Epoxy Floor
- High Gloss Epoxy Flooring
- Epoxy Flooring Interior Design
- Metallic Epoxy Floor Coating
- Epoxy Floor Coating
- Epoxy Kitchen Floor
- Epoxy Basement Floor
- Epoxy Resin Garage Floor
How To Epoxy Flooring Garage: A Comprehensive Guide
Epoxy flooring is a great way to give your garage a much-needed makeover. Not only does it provide a clean, professional look, but it also protects the concrete from damage caused by oil, water, and dirt. Furthermore, epoxy flooring is highly durable and can last for up to 10 years with proper maintenance. In this comprehensive guide, we’ll cover all the steps necessary to properly install epoxy flooring in a garage.
Preparation
The key to a successful epoxy flooring installation is preparation. Before you begin, you’ll need to make sure that the concrete is clean and free of any debris or contaminants. This includes oil, grease, dirt, and any other substances that may interfere with the adhesion of the epoxy. If there are any deep cracks or holes in the concrete, these should be filled in with a concrete patching compound.
Once the concrete has been prepped, it’s important to etch the surface with an acid solution. This will help create a rough texture that will improve adhesion of the epoxy. Once the etching is complete, rinse the surface with clean water and allow it to dry completely before beginning the installation process.
Mixing and Applying Epoxy
Now that the concrete is prepped and ready to go, it’s time to mix up the epoxy. Most epoxy kits come with two separate components: resin and hardener. Mix these two components together according to the instructions on the package and stir until they are fully blended.
Once the epoxy is mixed, it’s ready to be applied to the garage floor. Start by pouring a small amount of the epoxy onto one corner of the floor and spread it out with a flat-edged trowel. Continue working your way across the floor in small sections until the entire surface is covered.
Once you’ve applied the epoxy, use a squeegee or roller to spread it out evenly across the entire surface. To ensure an even coating of epoxy, roll over each section several times before moving on to the next section. Allow the epoxy to dry for at least 24 hours before applying any additional coats or beginning any other activity in your garage.
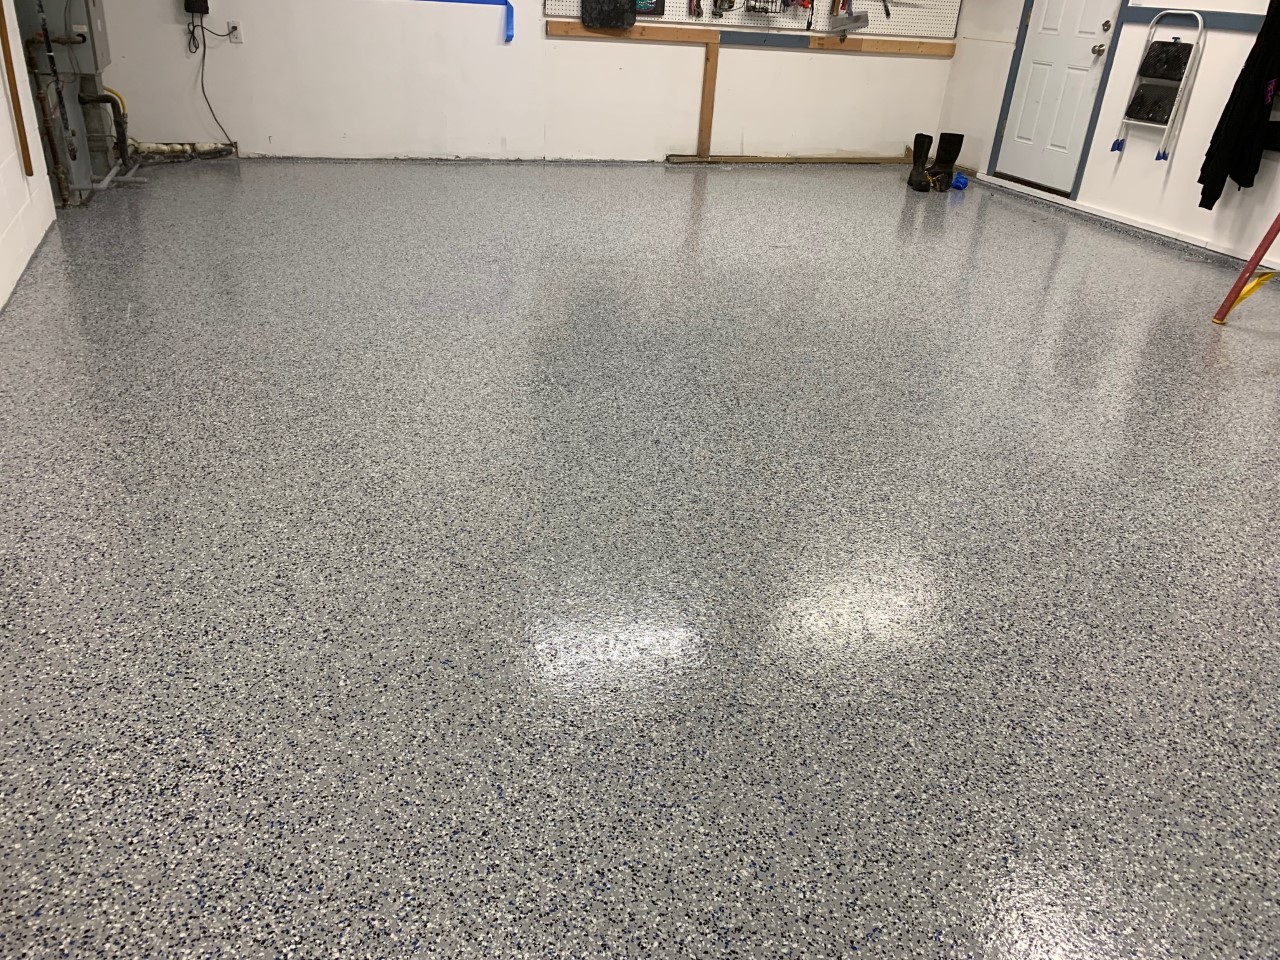
Finishing Touches
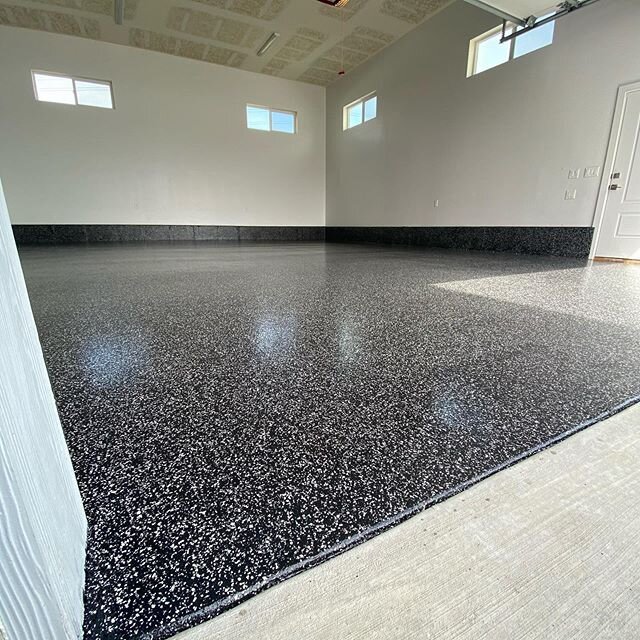
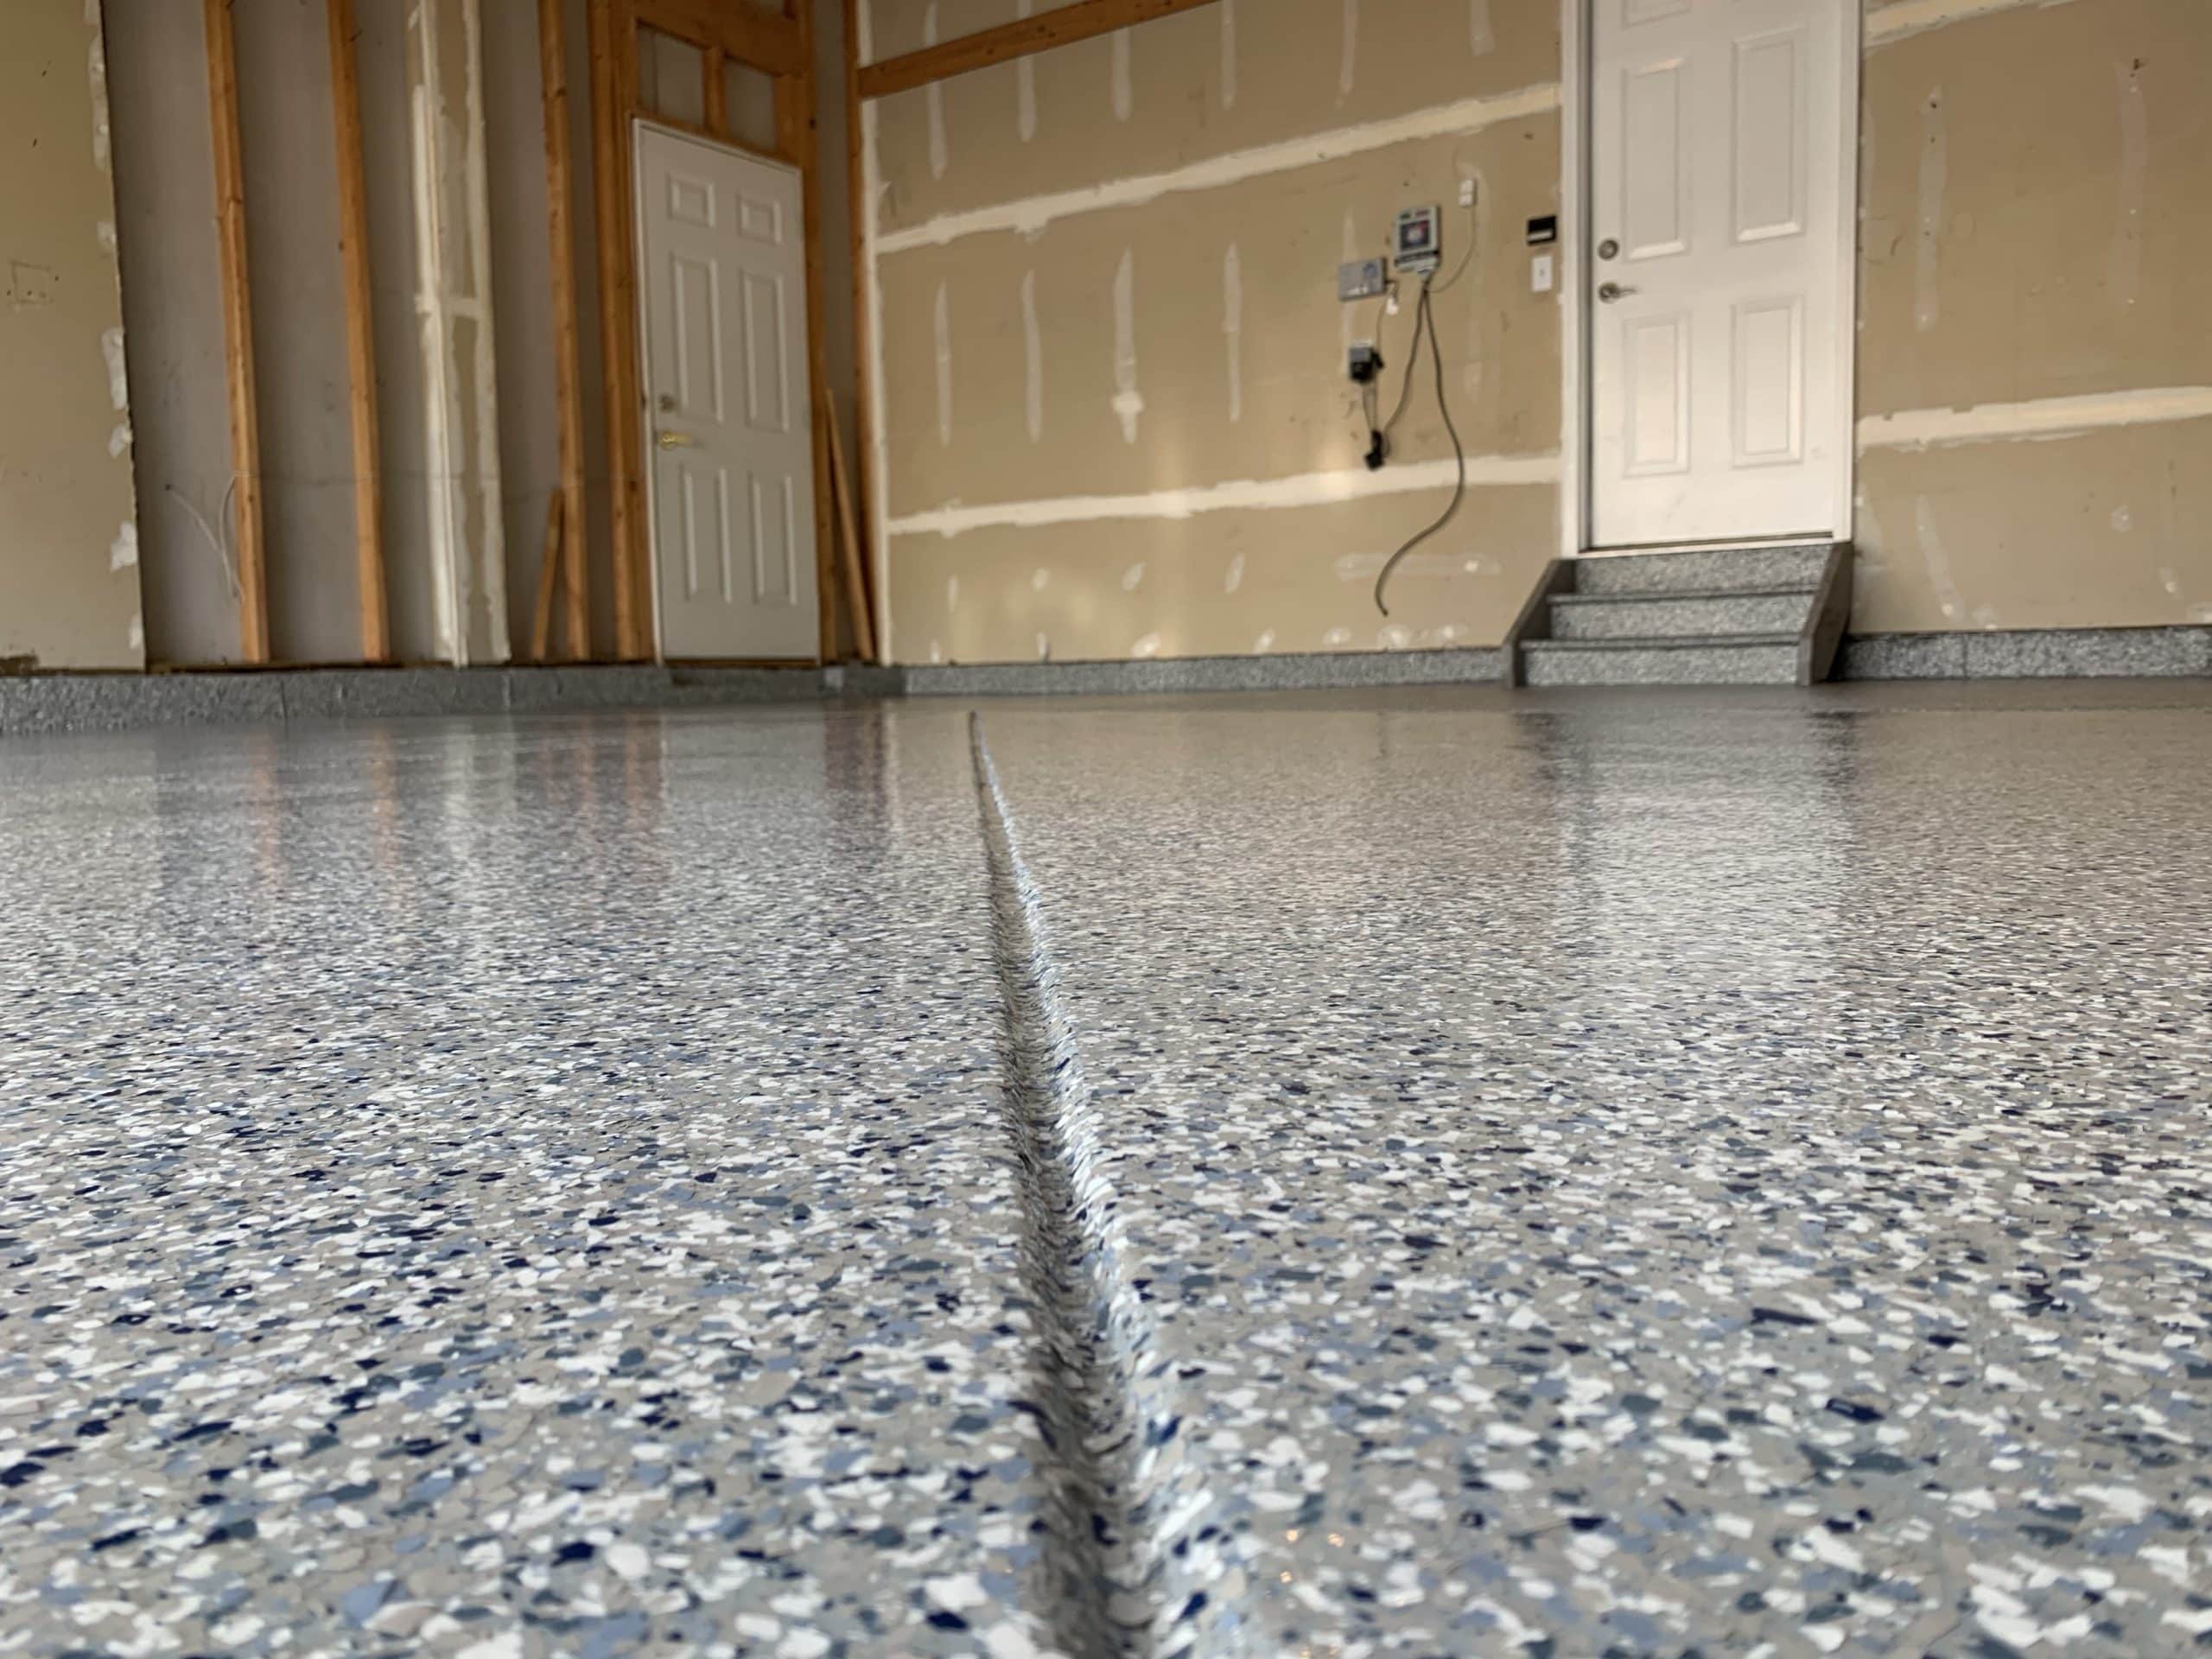
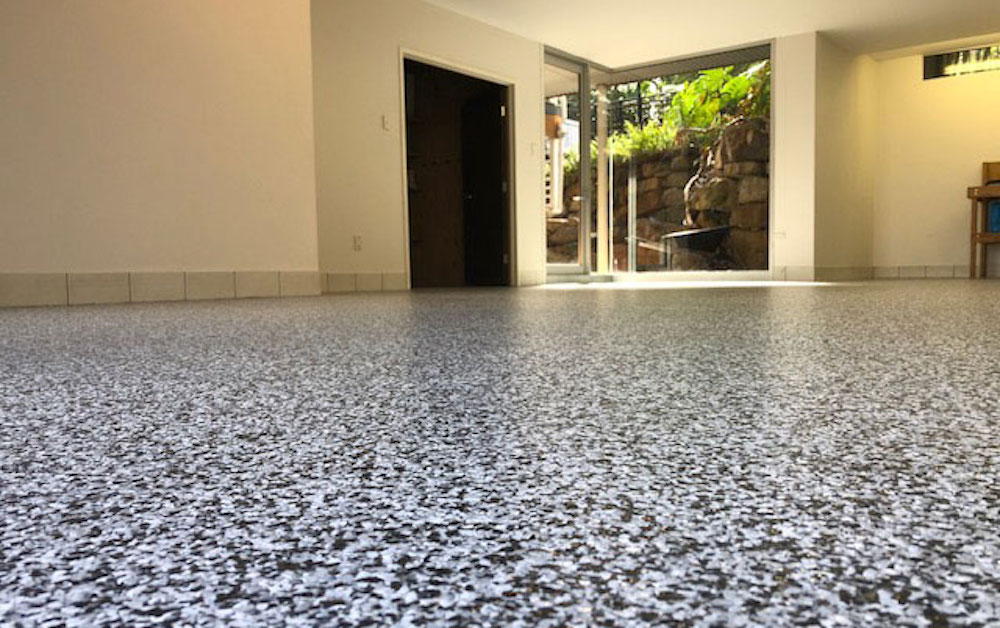
Once your epoxy flooring has dried completely, you can add some finishing touches such as decorative flakes or coatings for extra protection. Decorative flakes can add color and texture to your floor and make it look unique and eye-catching. If you’re looking for added protection from chemicals and UV rays, you can also apply a clear sealant over your epoxy flooring for added durability and longevity.
FAQs
Q1: How long will my epoxy floor last?
A1: With proper maintenance, an epoxy floor can last up to 10 years or more. However, this may vary depending on how often it is exposed to heavy traffic and extreme temperatures. Regular cleaning and resealing of your epoxy floor will help extend its life span considerably.
Q2: What should I do if my epoxy floor gets scratched?
A2: Minor scratches can usually be buffed out using a soft cloth and some mild detergent or polish. For deeper scratches or gouges, you may need to apply a new coat of epoxy or use an epoxy patch kit for more extensive repairs.
Q3: Is it safe to use my garage again after installing an epoxy floor?
A3: Yes! Once your epoxy floor has dried completely (usually 24 hours), it is safe to walk on and use again as normal. Just be sure not to expose your new epoxy flooring to any harsh chemicals or abrasive materials that could damage its finish or integrity over time.
Conclusion
Epoxy flooring is an excellent way to give your garage a much-needed facelift while also protecting its underlying concrete from damage caused by oil, water, dirt, and other contaminants. With proper preparation and application techniques, you can achieve great results with minimal effort or cost. Just remember to