When I decided to convert my cluttered, oil-stained garage into a functional workshop space last year, I knew the concrete floor would need serious attention. The existing surface was a patchwork of stains, cracks, and years of automotive abuse that no amount of scrubbing could fix. After researching various flooring options, I settled on Sherwin Williams epoxy floor coating, drawn by the brand’s reputation and the promise of a durable, professional-looking finish. What I didn’t anticipate was how much this project would teach me about surface preparation, product selection, and the importance of following manufacturer instructions to the letter.
Choosing the Right Sherwin Williams Epoxy System for My Needs
My local Sherwin Williams store became my second home during the planning phase, as I learned that epoxy floor systems aren’t one-size-fits-all solutions. The knowledgeable staff helped me understand that different formulations serve different purposes, from light residential use to heavy industrial applications. After describing my intended use as a woodworking shop with occasional vehicle storage, they recommended the ArmorSeal 1000HS system for its excellent chemical resistance and durability.
The product selection process involved more technical considerations than I expected. I had to evaluate factors like pot life, cure time, temperature sensitivity, and whether I wanted a solid color or decorative flake finish. The 1000HS system offered a reasonable pot life of about 45 minutes, which seemed manageable for a DIY application, and could handle the temperature swings common in my unheated garage. The chemical resistance was particularly important since I planned to store various solvents and finishes in the space.
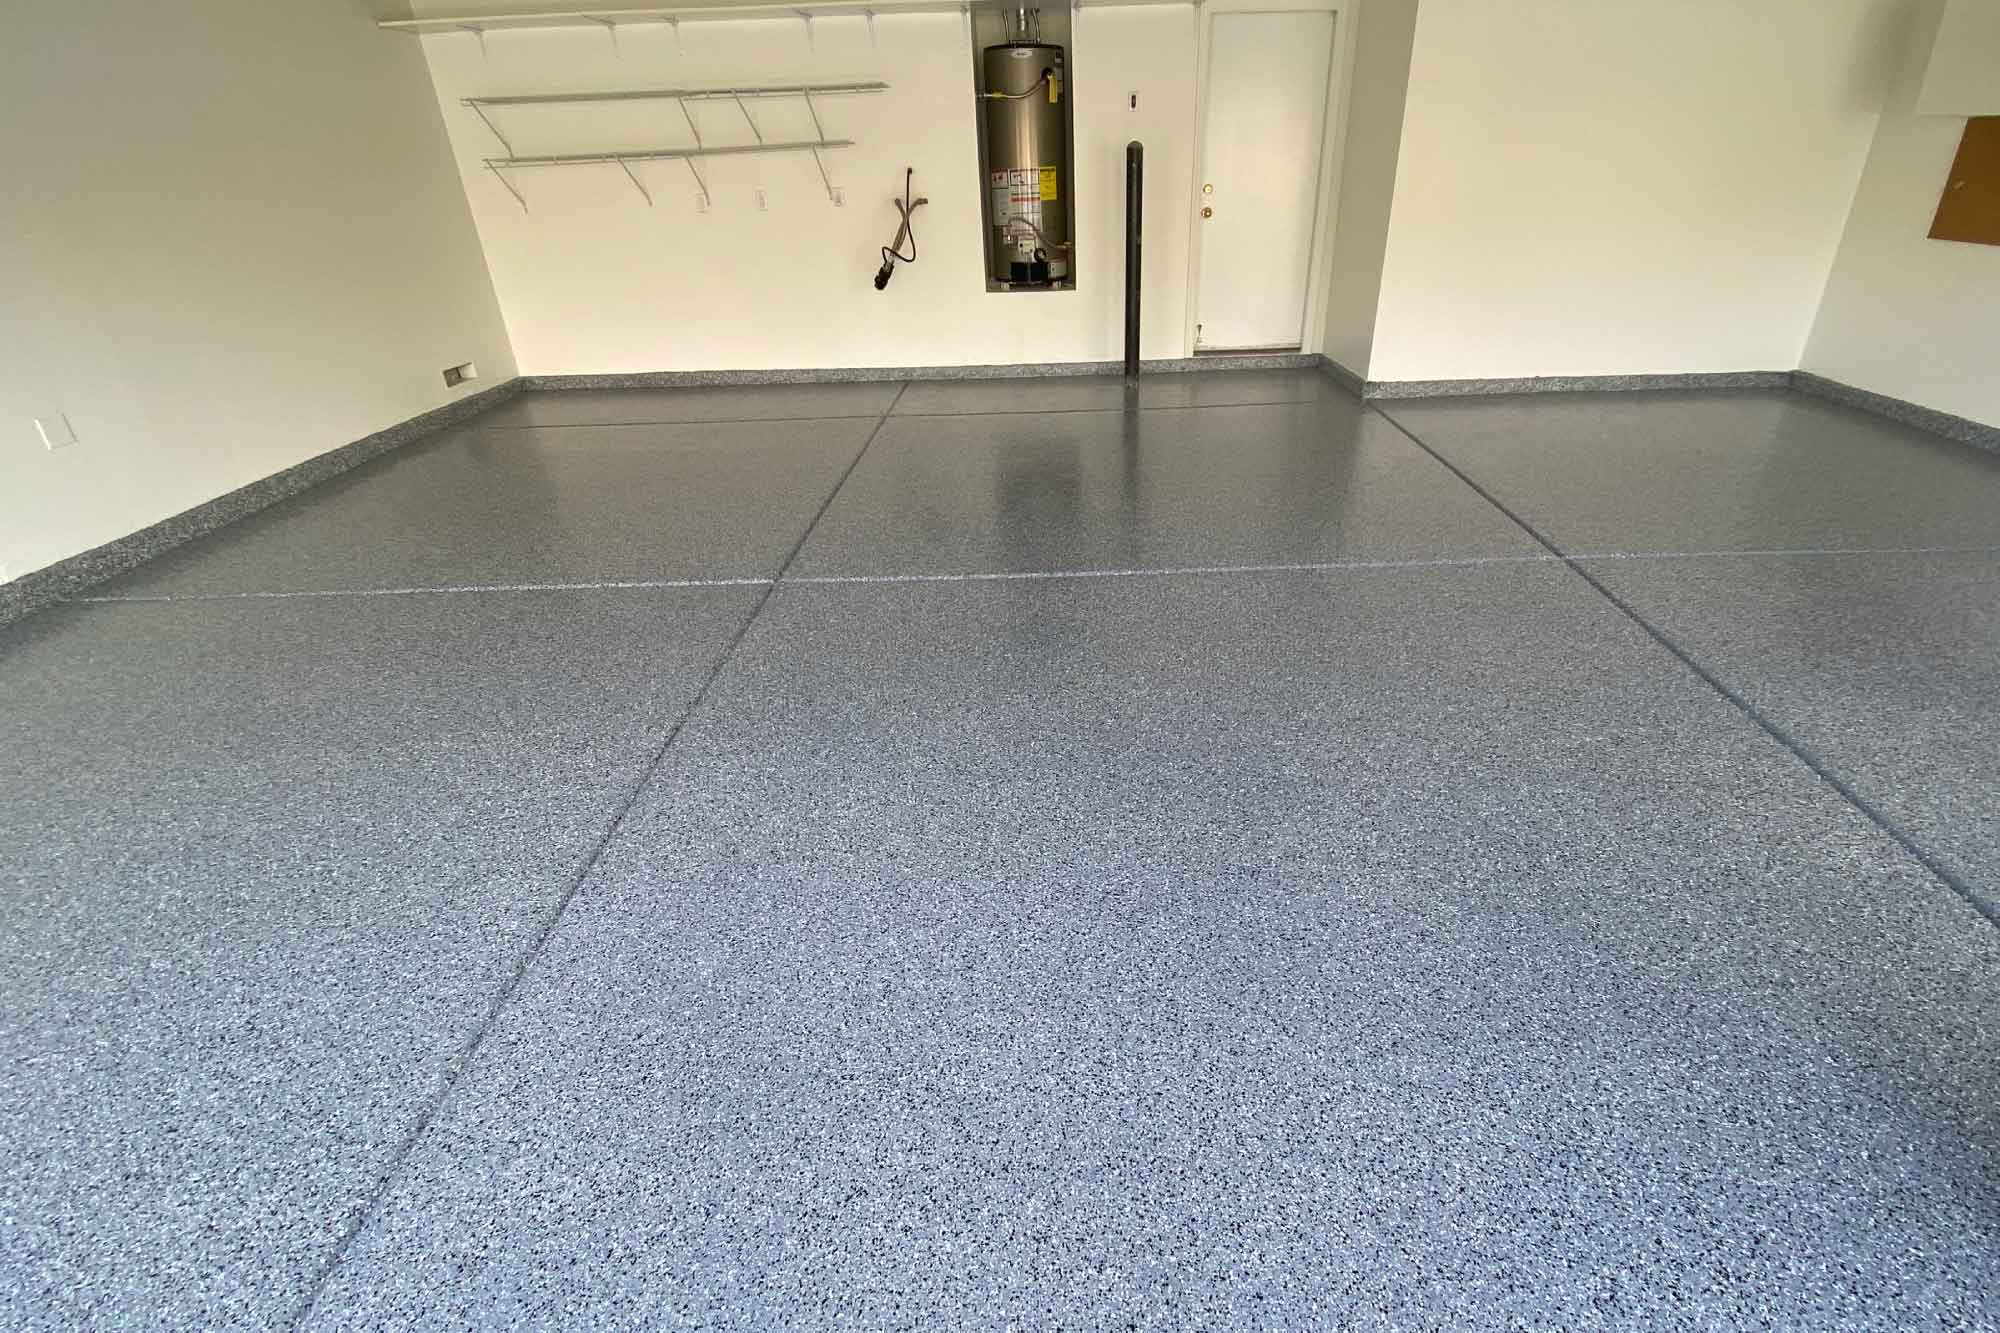
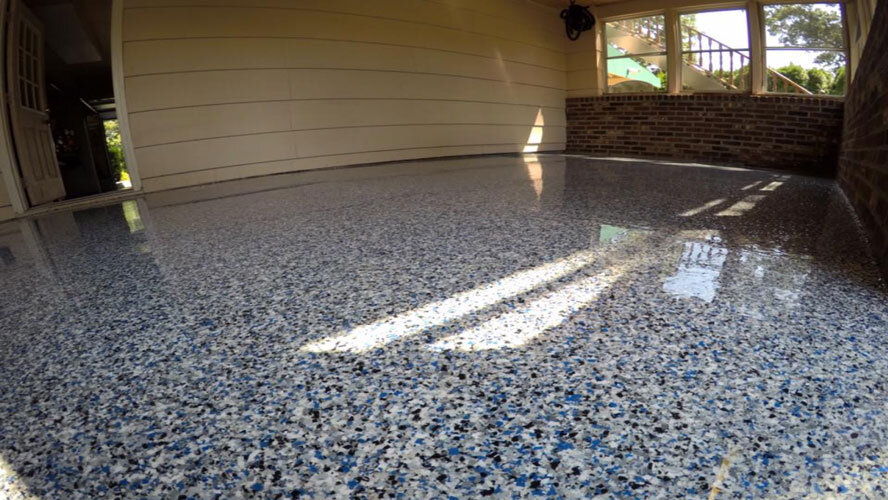
I ultimately chose a light gray base coat with charcoal decorative flakes, which would hide minor imperfections and provide visual interest while maintaining a professional appearance. The complete system included primer, base coat, decorative flakes, and topcoat, totaling about $800 for my 600 square foot space. While more expensive than basic DIY epoxy kits from big box stores, the Sherwin Williams system promised superior adhesion, durability, and technical support throughout the application process.
Surface Preparation: The Foundation of Success
The surface preparation phase consumed far more time and effort than I anticipated, but I quickly learned it was absolutely critical for long-term success. My concrete floor had typical garage issues including oil stains, efflorescence, and several hairline cracks that needed addressing before any coating could be applied. The Sherwin Williams technical data sheets were invaluable in understanding exactly what level of preparation was required for proper adhesion.
I started with a thorough degreasing using their recommended concrete cleaner, followed by mechanically abrading the surface with a rented concrete grinder. This step was physically demanding and created enormous amounts of dust despite my shop vacuum setup, but it was essential for creating the surface profile needed for proper epoxy adhesion. I learned that smooth, power-troweled concrete simply won’t hold epoxy coatings without mechanical preparation.
The crack repair process required mixing and applying a two-part epoxy crack filler, followed by additional grinding to level the repairs with the surrounding surface. I spent an entire weekend just on surface prep, testing the concrete for moisture and pH levels according to the manufacturer’s specifications. This attention to detail during preparation proved crucial, as I’ve seen other DIY epoxy jobs fail within months due to inadequate surface preparation.
Application Day: Managing Working Time and Environmental Conditions
Application day required careful planning around weather conditions, as temperature and humidity significantly affect epoxy curing and final appearance. I waited for a stretch of mild, dry weather and started early in the morning to take advantage of cooler temperatures and longer working time. The two-part epoxy system required precise mixing ratios, and I learned that having all tools and materials organized beforehand was essential for managing the limited pot life.
The primer coat went down relatively easily using a combination of brush work for edges and roller application for the main field. However, I discovered that epoxy flows and levels differently than paint, requiring specific techniques to achieve even coverage without roller marks or streaks. The material’s thickness and self-leveling properties meant I could work it more slowly than regular paint, but once it began to set up, there was no going back for touch-ups.
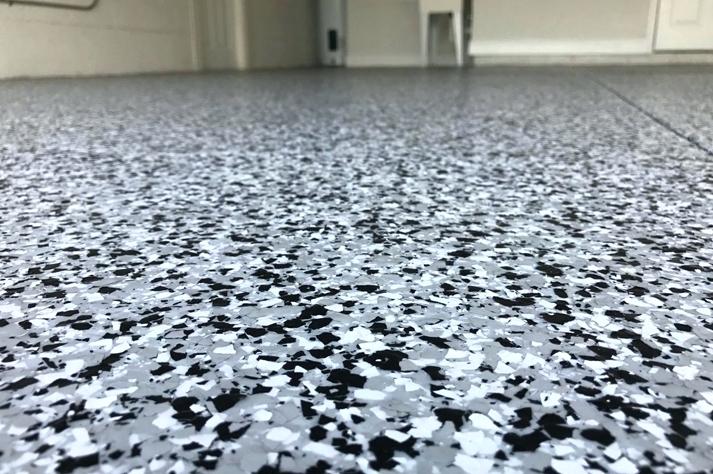
The decorative flake application between base and topcoats added complexity but created the professional appearance I wanted. Broadcasting the flakes required a consistent technique to achieve even distribution without creating thick or thin spots. I practiced the throwing motion on cardboard first, then worked systematically across the floor while the base coat was still tacky. Timing was critical, as the flakes needed to land in tacky epoxy to adhere properly, but couldn’t be applied too early or they would sink completely into the base coat.
Curing Process and What to Expect During the Wait
The curing process tested my patience more than any other aspect of the project, as the temptation to walk on or test the surface before full cure was constantly present. Sherwin Williams’ technical specifications clearly outlined the difference between initial set, recoat window, and full cure, but experiencing these phases firsthand gave me a real appreciation for the chemistry involved. The initial set occurred within about 8 hours, creating a surface that looked finished but was still vulnerable to damage.
I learned that epoxy curing is highly temperature-dependent, with cooler conditions extending cure times significantly. My garage project took place in early fall, and nighttime temperatures in the 50s meant that full cure took nearly a week rather than the 3-4 days specified for optimal conditions. During this time, I had to resist the urge to move equipment back into the space or test the surface durability with heavy objects.
The most dramatic change occurred during the final curing phase, when the coating transitioned from a slightly soft, plasticky feel to the hard, glass-like surface that characterizes properly cured epoxy. I documented this process with daily photos and hardness tests, watching the surface gradually achieve its full gloss and impact resistance. Understanding this timeline helped me plan the project realistically and avoid the common mistake of putting the space back into service too early.

Performance After One Year: Durability and Maintenance Reality
Living with my Sherwin Williams epoxy floor for over a year now has provided real-world insight into its performance under actual workshop conditions. The coating has exceeded my expectations in terms of durability, showing minimal wear even in high-traffic areas where I frequently roll heavy machinery and lumber carts. The chemical resistance has proven excellent, with various wood finishes, solvents, and oils wiping up easily without staining or etching the surface.
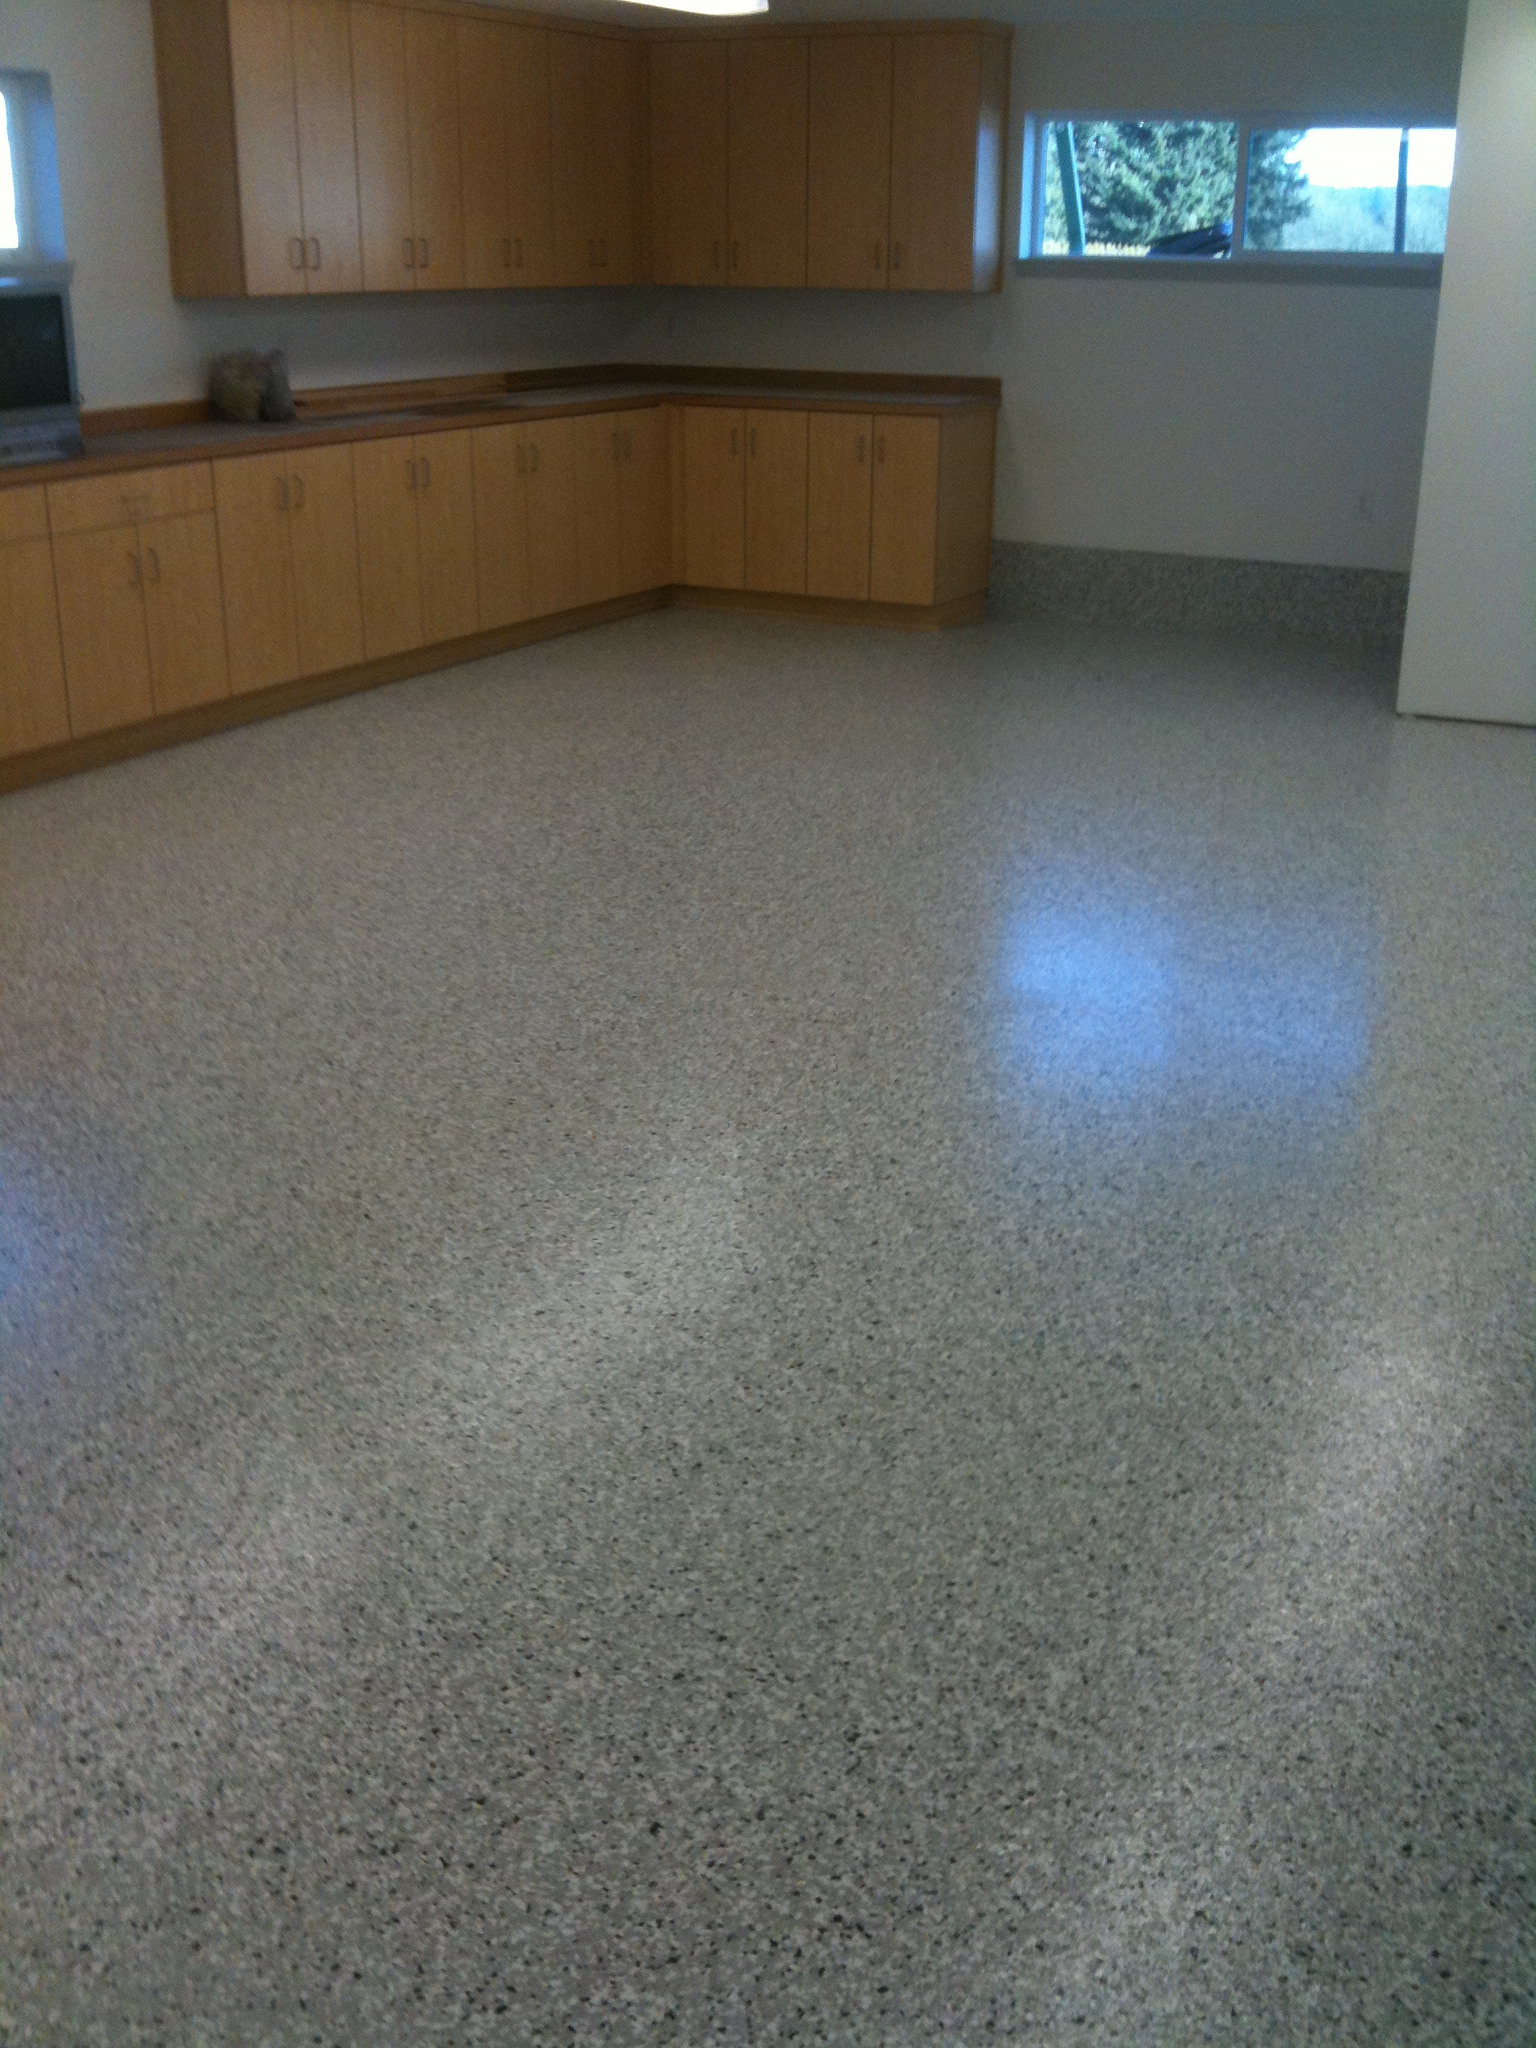
The maintenance requirements have been refreshingly simple compared to other flooring options I considered. Regular sweeping and occasional mopping with mild detergent keep the floor looking nearly new, while the smooth surface makes cleanup of sawdust and debris much easier than the original rough concrete. The decorative flakes not only look professional but also help hide minor scratches and scuff marks that would be more visible on a solid-color surface.
However, I’ve learned that no floor coating is completely bulletproof. Dropping heavy tools from height can chip the coating, and dragging sharp metal objects will scratch the surface. These incidents are rare and generally minor, but they’ve taught me to use furniture pads under heavy equipment and exercise reasonable care during material handling. Overall, the performance has justified the initial investment and preparation effort, creating a workspace that’s both functional and visually appealing.

Common Mistakes and Lessons Learned from My Experience
Reflecting on my epoxy flooring project, I can identify several mistakes that could have been avoided with better planning and more careful attention to the manufacturer’s instructions. My biggest error was underestimating the amount of primer needed for my porous concrete, resulting in a mid-project trip to the paint store and some stress about maintaining consistent coverage across the entire floor surface.
Temperature management proved more challenging than expected, particularly during the cooler fall weather when I completed the project. I should have invested in temporary heating to maintain optimal application and curing temperatures, as working in marginal conditions extended the project timeline and created anxiety about final results. The technical support team at Sherwin Williams helped adjust expectations for extended cure times, but proper environmental control would have prevented these concerns.
The most important lesson was the value of following the manufacturer’s specifications exactly rather than trying to save time or modify the process based on internet advice or previous experience with other coatings. Epoxy systems are engineered as complete packages, and deviating from recommended procedures, timing, or mixing ratios can compromise long-term performance. The investment in proper tools, materials, and time to do the job correctly pays dividends in the final result and eliminates the need for costly repairs or premature recoating.

How much does a Sherwin Williams epoxy floor system cost compared to DIY alternatives?
My 600 sq ft garage cost about $800 in Sherwin Williams materials versus $300-400 for big box store kits. However, the professional-grade system includes better primer, higher solids content, and superior technical support. When I factored in the potential cost of failure and reapplication with cheaper alternatives, the Sherwin Williams system provided better long-term value despite the higher upfront investment.
Can I apply Sherwin Williams epoxy flooring myself, or do I need professional installation?
I successfully applied the system myself with careful preparation and attention to instructions. Sherwin Williams provides excellent technical data sheets and phone support for DIY customers. The key is realistic assessment of your skills and commitment to proper surface prep. If you’re comfortable with detailed preparation work and have experience with coating applications, DIY is definitely feasible and can save significant labor costs.

How long does the floor need to cure before I can use it normally?
Initial foot traffic is possible after 24-48 hours, but I waited 72 hours to be safe. Full cure and maximum durability take 7 days under optimal conditions, longer in cool weather. I moved the light equipment back after 4 days, but waited the full week before subjecting the floor to heavy loads or chemical exposure. Patience during the curing phase is crucial for achieving the full performance potential of the system.
What’s the most challenging part of the application process?
Surface preparation consumed 60% of my project time and effort. Proper concrete cleaning, crack repair, and mechanical abrasion are absolutely critical but physically demanding. The actual epoxy application was straightforward by comparison. Many DIY failures result from inadequate surface prep rather than application errors. Plan for this phase to take much longer than expected, and don’t skimp on the preparation work.

How does the floor hold up to automotive use, oil spills, and chemicals?
Excellent chemical resistance has been my floor’s standout feature. Motor oil, hydraulic fluid, wood stains, and solvents wipe up easily without staining or etching. I’ve had no issues with hot tire pickup, which was a concern with my summer vehicle storage. The coating handles normal automotive use well, though I use drip pans for long-term vehicle storage as a precaution. Heavy impact can still chip the coating, so reasonable care is important.
Would you choose Sherwin Williams epoxy again, or consider alternatives for future projects?
Absolutely would use Sherwin Williams again! The technical support, product performance, and durability have exceeded expectations. While cheaper alternatives exist, the peace of mind from using a proven professional system with excellent warranty support justifies the cost difference. For my next project (basement floor), I’m already planning to use their concrete stain system. The relationship with my local store has been invaluable for ongoing technical questions and future project planning.

Sherwin Williams Epoxy Floor Coating Episa Co Grey House Interior

Epoxy Flooring Colors

Projects – BLACK RHINO GARAGE FLOORS™
BLACK RHINO GARAGE FLOORS™
Garage Floor Epoxy: How to Do it Yourself – Plank and Pillow

Concrete Sealer – Sherwin-Williams

Sherwin Williams ArmorSeal Epoxy Coating – TopCoatReview

Related Posts: