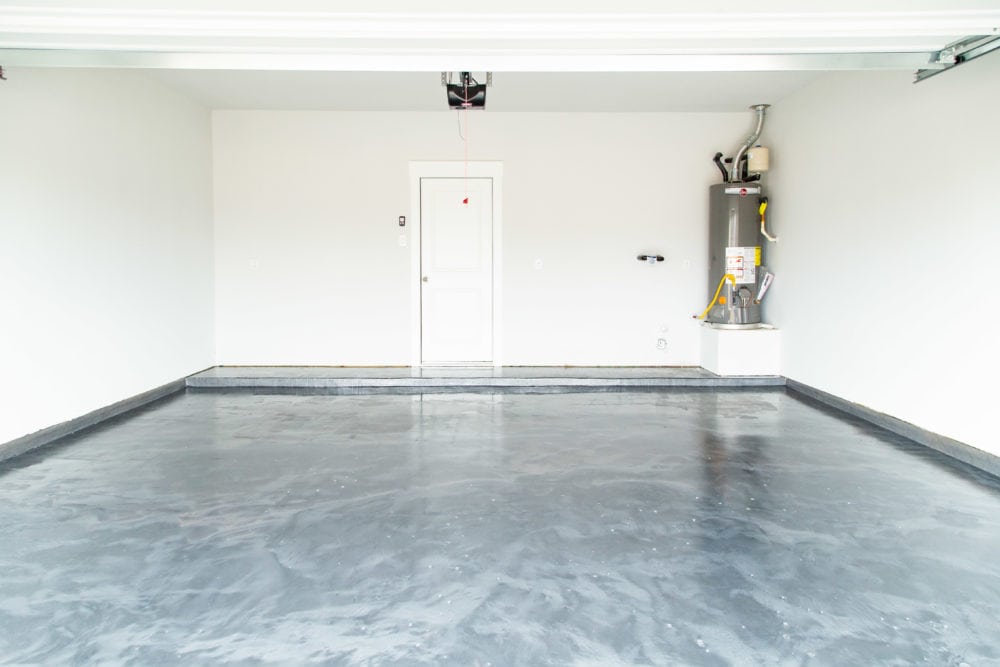
When I first moved into my house five years ago, my garage floor was a disaster. Oil stains, cracks, and that perpetual dusty concrete mess that tracked into the house, no matter how careful I was. I’d heard about epoxy floor coatings but honestly thought they were just for fancy commercial spaces or car showrooms. After finally taking the plunge and coating my garage floor two years ago, I can say without hesitation that it’s been one of the most satisfying and practical home improvements I’ve ever made. The transformation was so dramatic that neighbors still stop by to admire it.
Understanding Different Types of Epoxy Coatings
When I started researching epoxy options, I quickly discovered that not all coatings are created equal. The basic water-based epoxy kits you find at big box stores seemed tempting because of their low price point, but after reading reviews and talking to professionals, I learned they’re really more of a temporary solution. These thin coatings often peel and wear through quickly, especially in high-traffic areas or where hot tires might sit. I decided to invest in a higher-quality system from the start.
Solvent-based epoxies represent the middle ground in terms of both performance and cost. They penetrate deeper into the concrete than water-based options and provide better adhesion and durability. However, the fumes during application can be intense, requiring excellent ventilation and safety equipment. I considered this option for my garage, but ultimately decided the ventilation challenges weren’t worth the modest cost savings over a professional-grade system.
The 100% solids epoxy that I eventually chose has been absolutely worth the investment. This type contains no solvents or water, meaning everything in the can becomes part of the final coating. It’s thicker, more durable, and provides the glossy, chemical-resistant surface that makes my garage floor look showroom-quality. While it costs significantly more upfront and requires more skill to apply correctly, the longevity and performance have exceeded my expectations in every way.
Surface Preparation: The Make-or-Break Factor
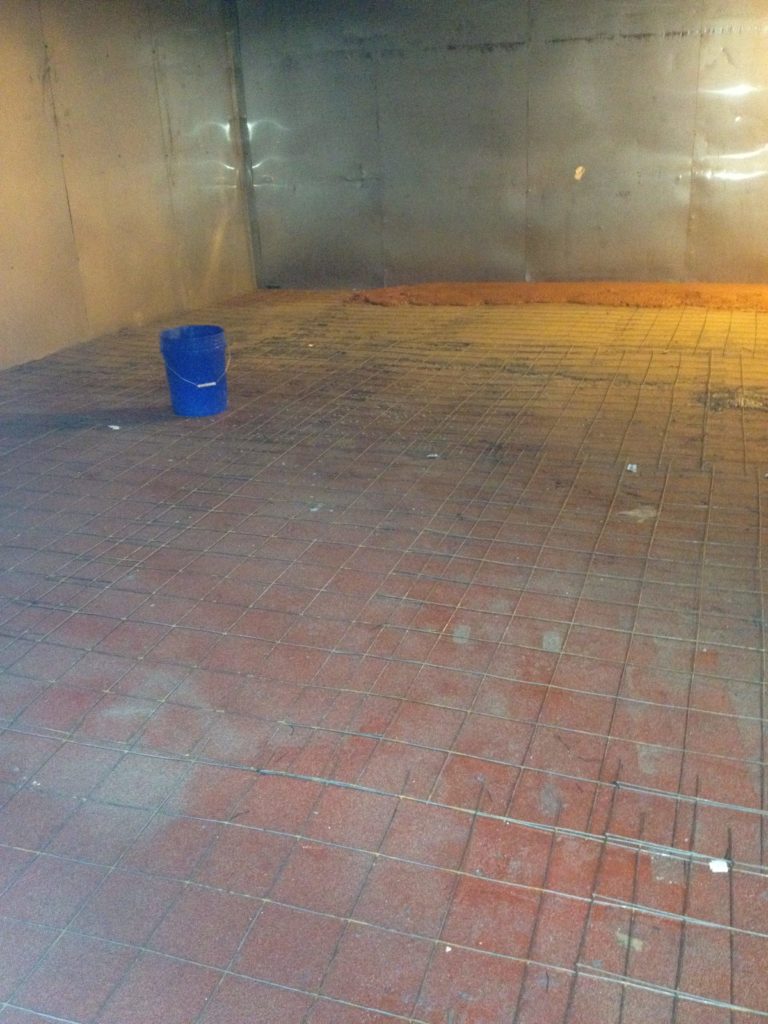
I cannot overemphasize how critical proper surface preparation is for epoxy success. My first attempt at a small test area failed miserably because I rushed this step, thinking a quick cleaning and light sanding would suffice. The epoxy peeled off in sheets within months. Proper preparation means the concrete must be completely clean, profiled correctly, and absolutely dry before any coating application begins.
The concrete profiling process was more involved than I anticipated, but absolutely essential. I rented a diamond grinder to create the rough surface texture that epoxy needs to bond properly. This removes the smooth, glazed surface layer that often forms on concrete and opens up the pores for maximum adhesion. I also had to acid etch areas that couldn’t be ground, followed by thorough neutralization and cleaning. The concrete should feel like medium-grit sandpaper when you’re done.
Dealing with oil stains and existing sealers required special attention that I learned through trial and error. Simple degreasing wasn’t enough for old automotive stains; I had to use a concrete degreaser and actually grind out the most stubborn spots. Any existing sealers had to be completely removed, which meant more grinding in some areas. I tested adhesion with small patches before committing to the full application, a step that saved me from a costly mistake when I discovered one section needed additional prep work.
Application Process and Timing Considerations
The actual epoxy application turned out to be much more time-sensitive than I expected. Most epoxy systems have specific temperature and humidity requirements, and once you start mixing, you’re committed to finishing within the working time. I learned to check weather forecasts carefully and plan for at least 48 hours of stable conditions. My first attempt had to be postponed because an unexpected cold front moved in, dropping temperatures below the minimum application range.
Mixing the epoxy components requires precision and speed. I invested in a proper paddle mixer because hand stirring simply doesn’t achieve the thorough blending necessary for proper curing. The key is mixing smaller batches that you can apply within the working time rather than trying to mix everything at once. I also learned to have all my tools laid out and ready before opening any containers, because once you start, there’s no time for hunting around for supplies.
The application technique took some practice to master. Rolling in overlapping W-patterns while maintaining a wet edge prevents lap marks and ensures even coverage. I found that working in sections with a partner made the process much smoother, with one person rolling while the other maintained the wet edge. Back-rolling immediately after each section helps eliminate bubbles and ensures proper thickness. The learning curve is steep, but the results are worth mastering the technique.

Decorative Options and Design Possibilities
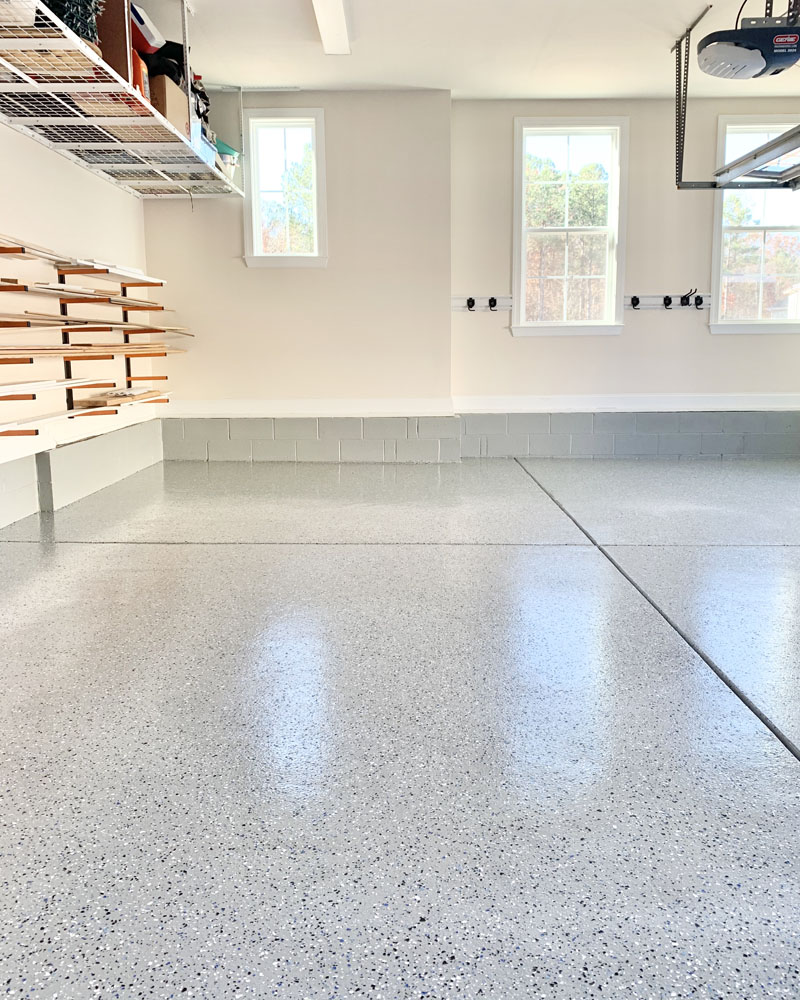
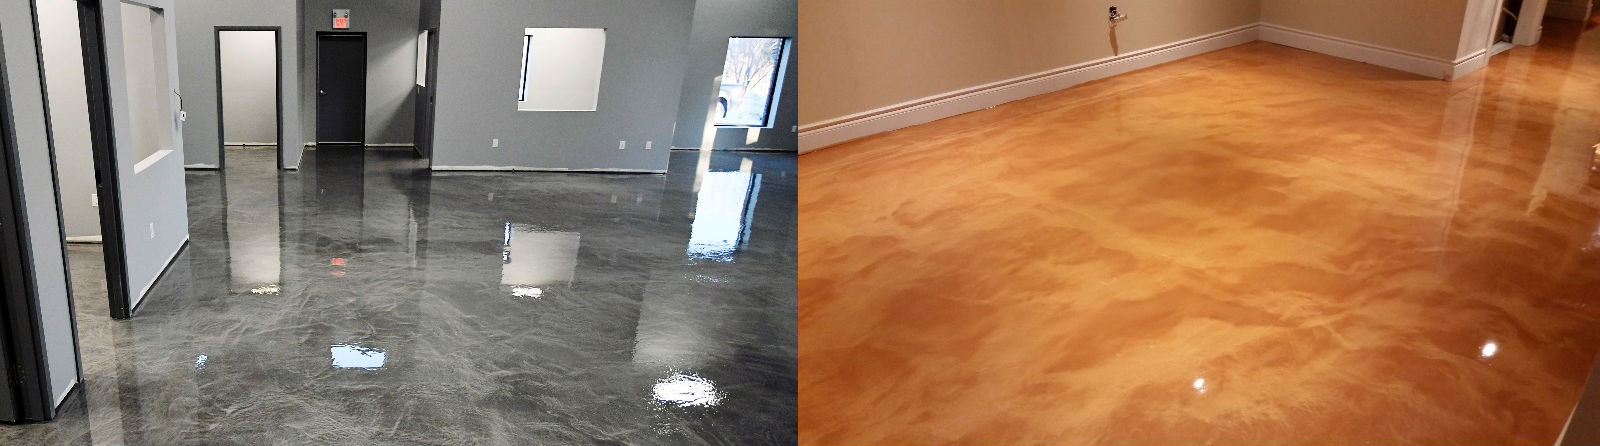
One aspect of epoxy coating that pleasantly surprised me was the range of decorative possibilities available. I initially planned a simple gray coating, but after seeing examples with color flakes and metallic effects, I decided to add some visual interest. The decorative flakes not only look great but also provide additional texture for slip resistance and help hide small imperfections or wear patterns that might develop over time.
The color options available today go far beyond basic gray or beige. I chose a deep charcoal base with multicolored flakes that complement my home’s exterior colors. Some manufacturers offer custom color matching, though I found the standard colors provided plenty of options. Metallic epoxy systems create stunning effects but require more skill to apply evenly, so I stuck with the traditional system with flakes for my first project.
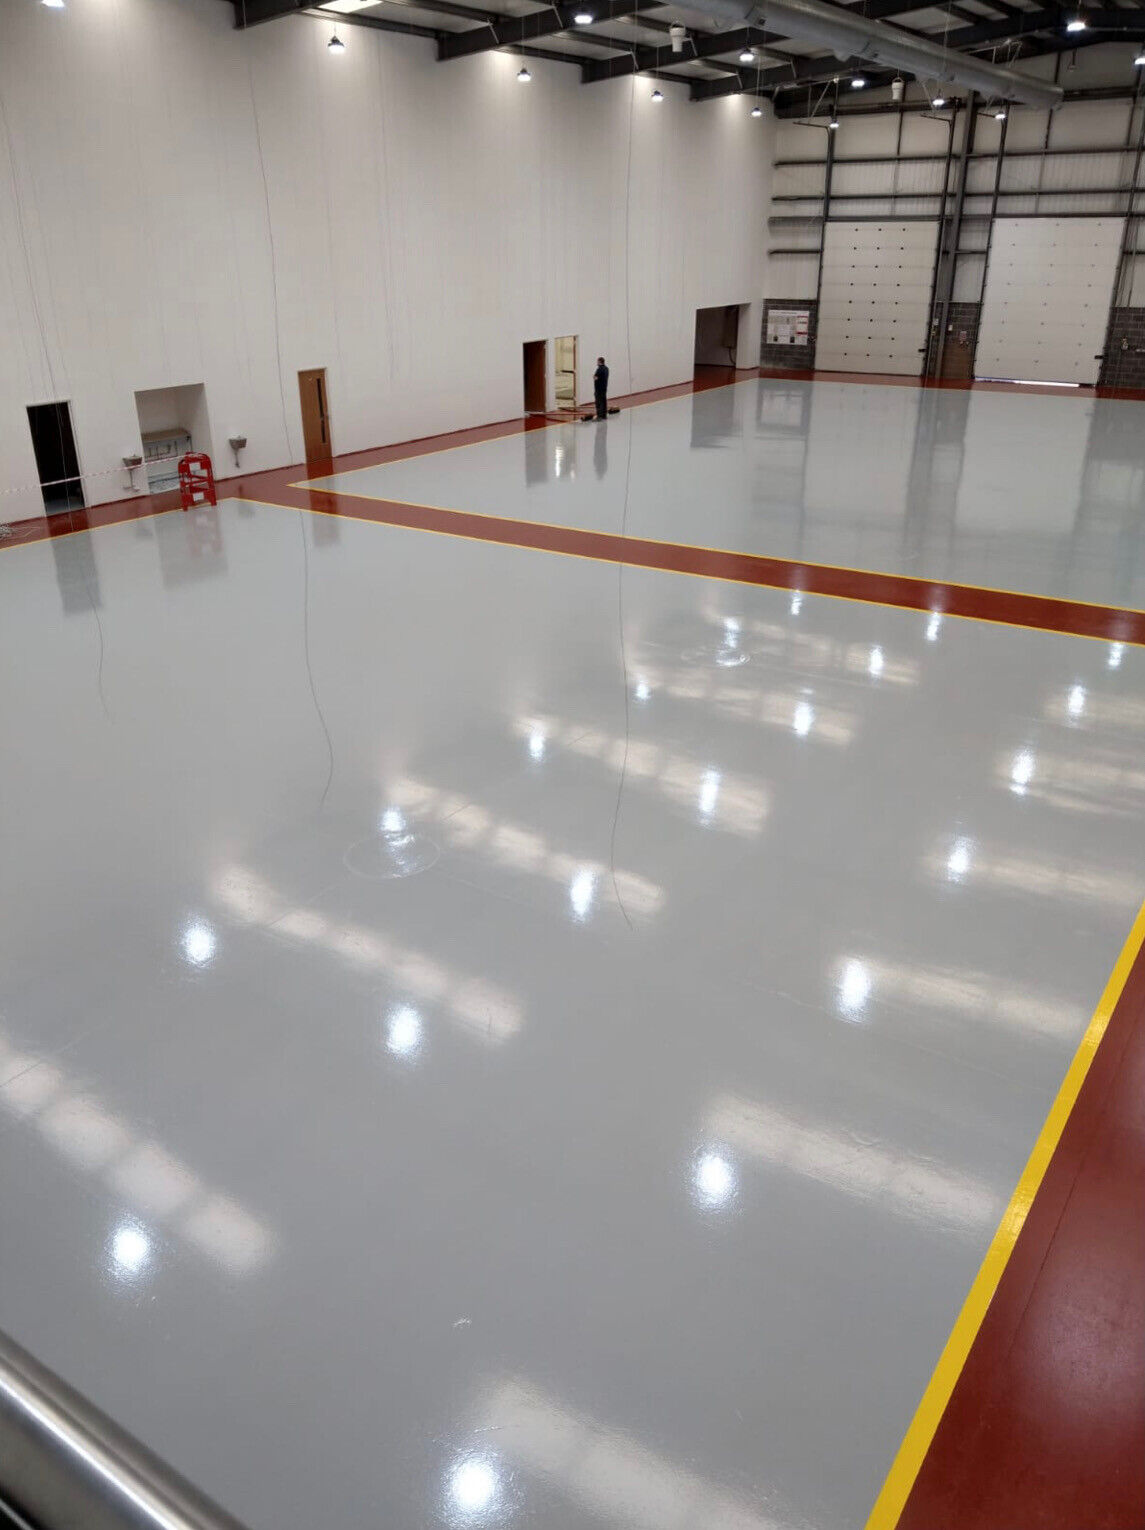
Pattern possibilities range from simple broadcast flakes to elaborate designs using stencils or tape. I’ve seen beautiful checkerboard patterns, racing stripes, and even logo applications that look professionally done. For my garage, I kept it simple but added a contrasting border color that defines the space and adds a finished, intentional look. The key is planning your design completely before starting, as changes become impossible once the epoxy begins to cure.
Maintenance and Longevity Expectations
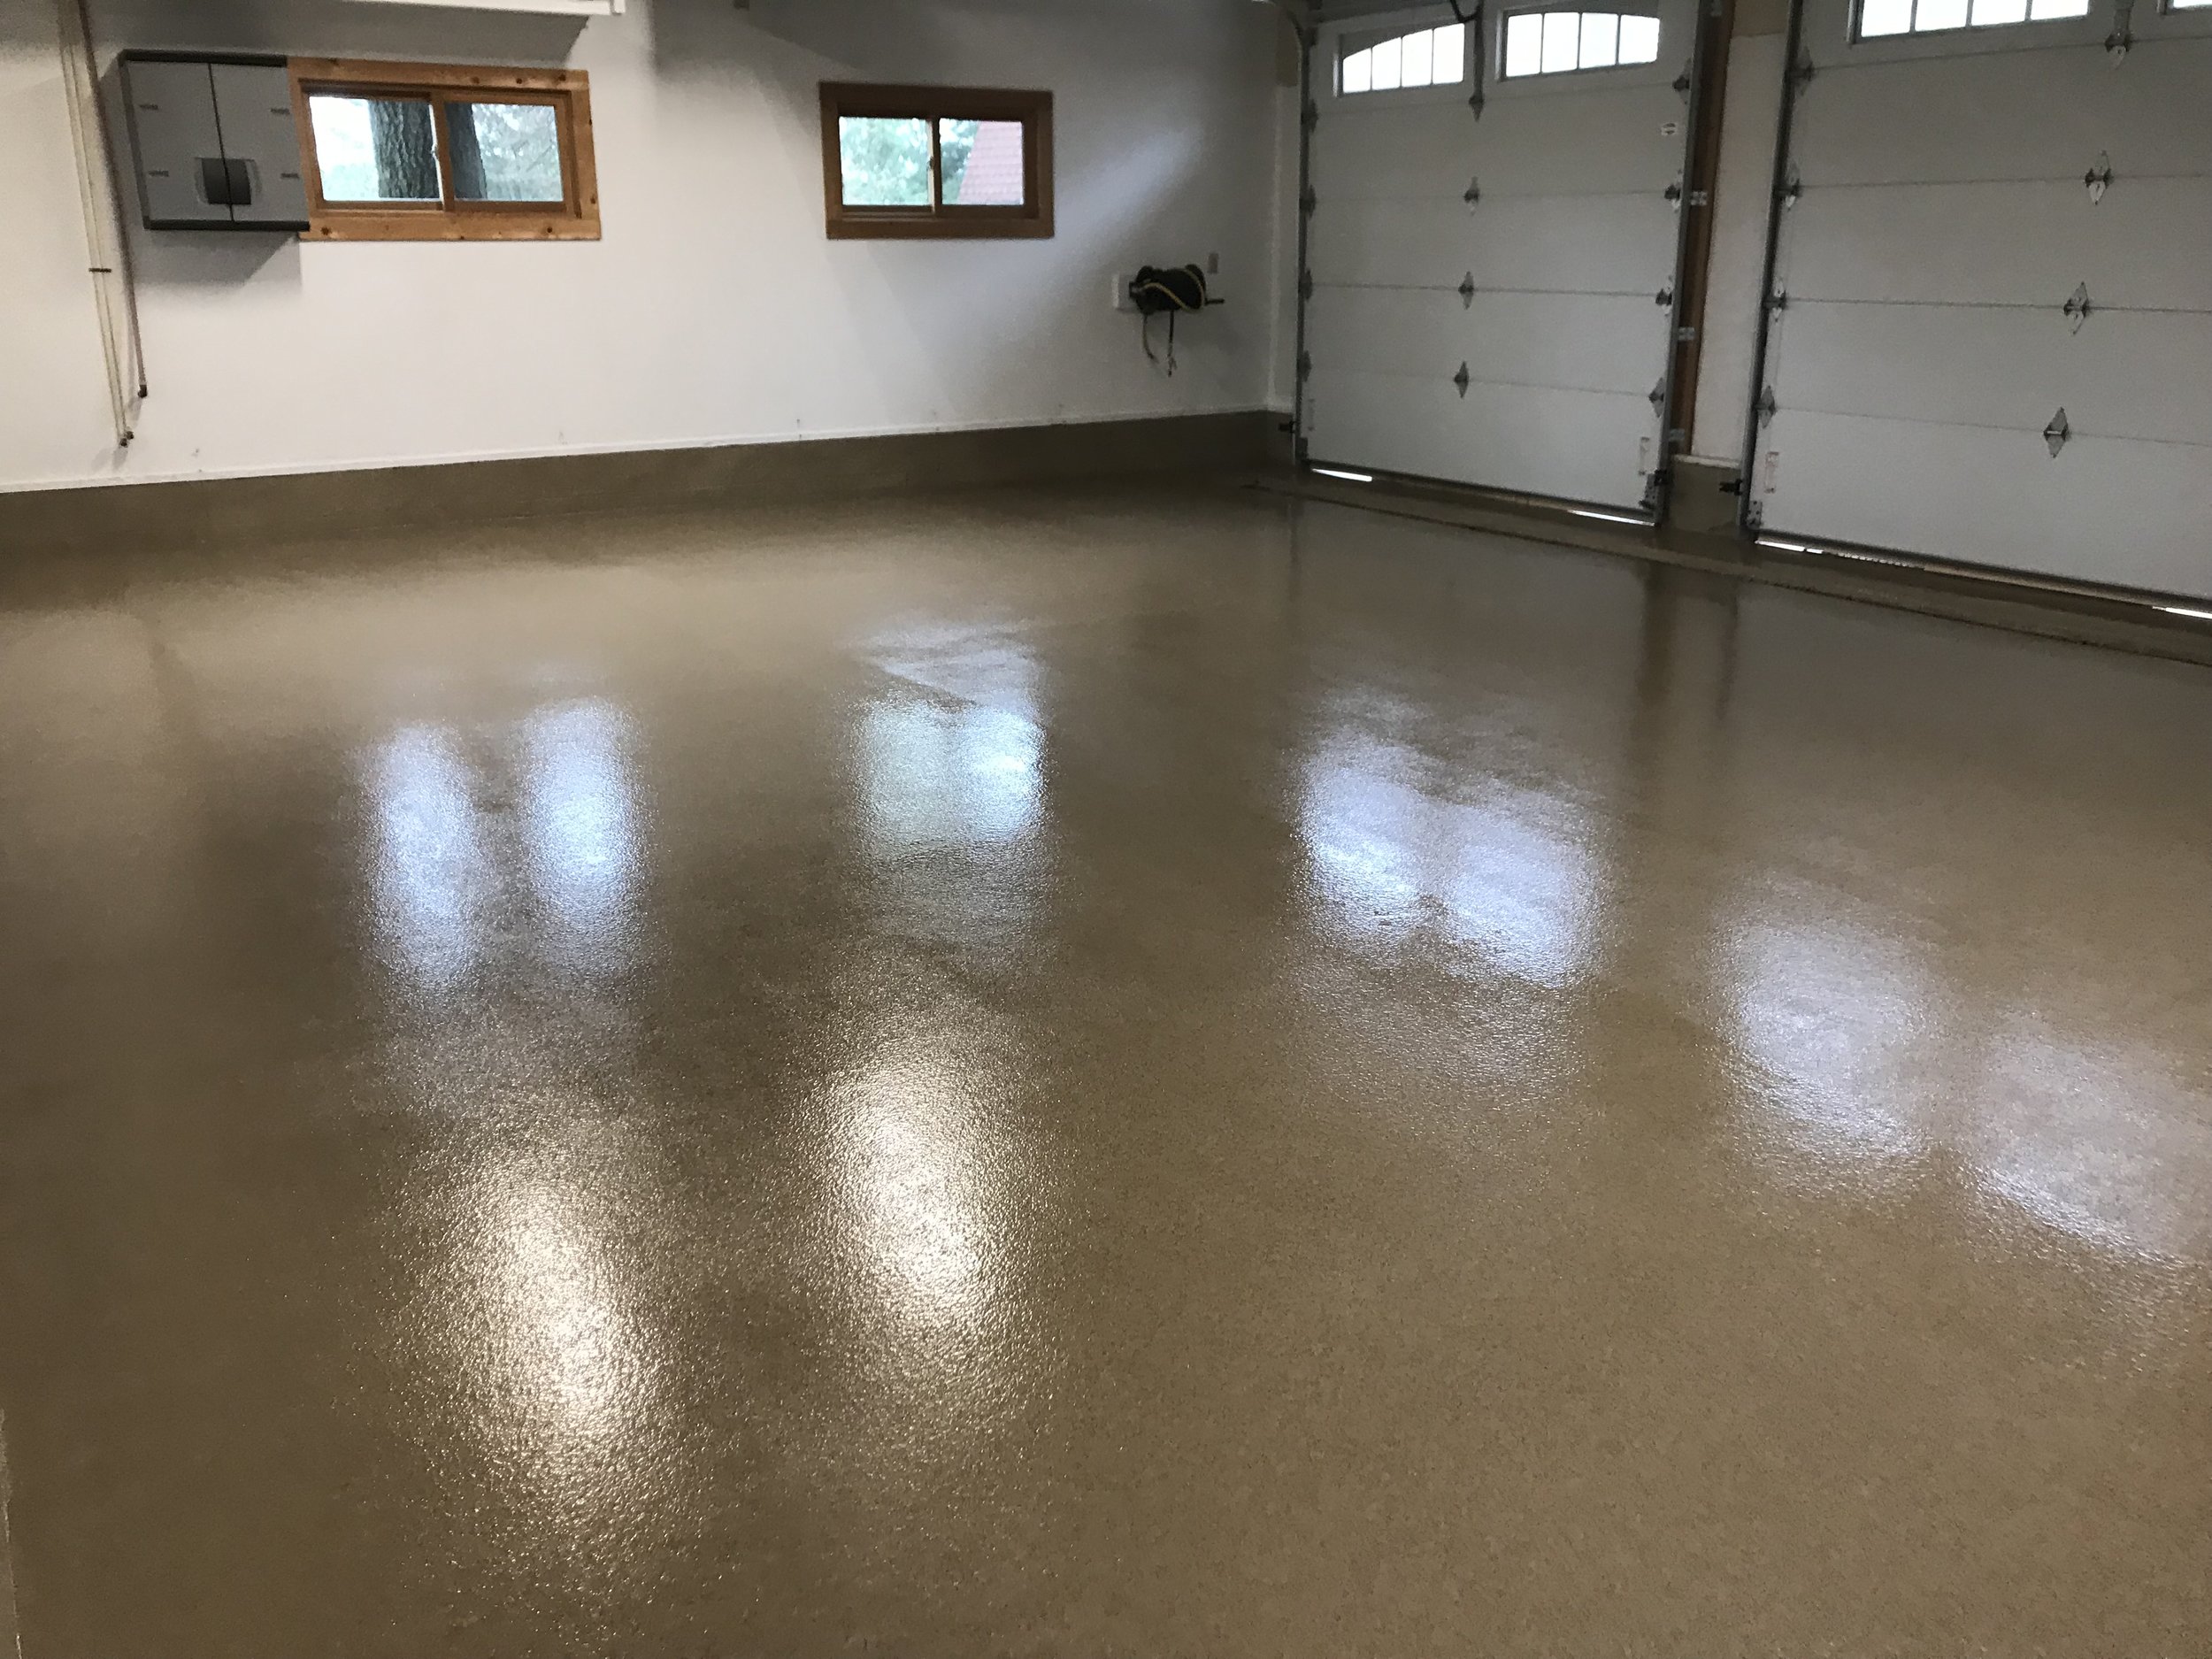
Two years into living with my epoxy-coated garage floor, maintenance has been remarkably simple. Regular sweeping and occasional mopping with mild soap are all that’s typically required. The smooth, non-porous surface means spills wipe up easily without staining, and the chemical resistance handles automotive fluids without damage. I keep a microfiber mop handy specifically for the garage, and cleaning takes just minutes compared to the dusty concrete mess I dealt with before.
The durability has exceeded my expectations, even with daily use, including parking two vehicles, motorcycle maintenance, and various project work. I do see some minor wear patterns in the highest traffic areas, but nothing that affects the coating’s integrity or appearance significantly. Hot tire pickup, which I was warned about, hasn’t been an issue with my particular system, though I do try to let extremely hot tires cool briefly before parking.
Long-term care involves periodic deep cleaning and potentially recoating high-wear areas after several years. Most quality epoxy systems can be recoated without complete removal, making maintenance more economical than full replacement. I inspect the floor regularly for any chips or damage that might allow moisture infiltration, though I haven’t needed any repairs yet. The investment in proper preparation and quality materials continues to pay dividends in reduced maintenance needs.

Cost Analysis and DIY vs Professional Installation
The cost of epoxy coating varies dramatically depending on the system quality and whether you hire professionals or do it yourself. My DIY approach cost approximately $3 per square foot for materials, including the epoxy, primer, flakes, and topcoat for my 600-square-foot garage. Professional installation would have cost $6-8 per square foot, but I valued the learning experience and cost savings enough to tackle it myself.
The hidden costs of DIY installation include equipment rental and the time investment required for proper preparation and application. I spent about $200 on diamond grinder rental, plus additional costs for safety equipment, mixing tools, and application supplies. The time commitment was substantial, requiring a full weekend for preparation and another weekend for application, plus curing time between coats. Factor in the learning curve and potential for mistakes, and professional installation becomes more attractive.
Comparing epoxy coating to other garage floor options, the value proposition is compelling. Interlocking tiles cost similar amounts but don’t provide the seamless, easy-to-clean surface. Polished concrete approaches professional epoxy costs but lacks the chemical resistance and decorative options. Even considering the eventual need for recoating in 10-15 years, epoxy provides excellent long-term value combined with dramatic aesthetic improvement and enhanced functionality.
How long does epoxy floor coating last in a typical garage?
My epoxy coating is two years old and still looks fantastic with daily vehicle traffic. Quality systems typically last 10-15 years with proper maintenance. The key factors are surface preparation quality, coating thickness, and usage patterns. High-traffic commercial areas may need recoating sooner, but residential garages often exceed manufacturer estimates with proper care.
Can I apply epoxy coating over existing paint or sealers?
No, this was one of my biggest lessons. All existing coatings must be completely removed for proper adhesion. I had to grind off old sealer in several areas of my garage. Epoxy needs direct contact with properly prepared concrete to bond correctly. Trying to shortcut this step almost always leads to coating failure within the first year.
Is epoxy coating slippery, especially when wet?
Pure epoxy can be slippery when wet, which is why I added decorative flakes for texture. The flakes provide excellent slip resistance while maintaining easy cleaning. Most epoxy systems include anti-slip additives or texturing options. I’ve had no slipping issues, even when washing cars or during wet weather conditions.
How do I handle repairs if the epoxy coating gets damaged?
Small chips or scratches can often be touched up with matching material if caught early. I keep leftover coating for this purpose. Larger damaged areas may require grinding out the affected section and reapplying. The good news is that quality epoxy systems rarely need repairs if properly installed and maintained according to manufacturer guidelines.
What temperature conditions are required for epoxy application?
Most systems require temperatures between 55-85°F with low humidity during application and curing. I learned to plan carefully around weather conditions, as temperature swings during curing can cause problems. Garage doors should remain closed during application, and heating or cooling may be needed to maintain proper conditions for the 24-48 hour curing period.
Can epoxy coating be applied over cracked concrete?
Minor cracks should be repaired before coating, which I did using concrete crack filler. Large or structural cracks may indicate foundation issues that need professional attention first. The epoxy coating itself won’t prevent existing cracks from growing, so addressing the underlying cause is important for long-term success and coating integrity.

Easy Do-It-Yourself Epoxy Flooring Installation Guide We Are Extreme
Epoxy Floor Metallic Installation Guide
The Cons of DIY Epoxy Garage Coatings Dreamcoat Flooring

Garage Epoxy Floor Coating

Related Posts: