When I inherited my father’s house three years ago, the basement was nothing more than a dark, musty storage space with a cracked concrete floor that seemed to collect dust and moisture like a magnet. I knew I wanted to transform this forgotten area into something functional and appealing, maybe even a family rec room or home office. After researching countless flooring options, I decided to take the plunge with epoxy coating, and I’m excited to share my complete experience with you. From the initial prep work nightmares to the stunning final results, I’ll walk you through everything I learned during this challenging but ultimately rewarding project that completely changed how I use my basement space.
Why I Chose Epoxy Over Other Basement Flooring Options
Initially, I considered carpet, vinyl planks, and even polished concrete, but epoxy kept rising to the top of my list for several compelling reasons. The biggest selling point was durability. My basement gets heavy use from my teenage kids and their friends, plus I store heavy equipment and holiday decorations down there. Epoxy promised to handle all of that while maintaining its appearance for years to come. The seamless surface also meant no cracks or crevices where dirt, moisture, or pests could hide.
Cost played a major role in my decision, too. While professional installation was pricey, I discovered that high-quality DIY epoxy kits could give me professional-looking results at a fraction of the cost. I’m reasonably handy and enjoy weekend projects, so the challenge of doing it myself actually appealed to me. Plus, unlike carpet or luxury vinyl, which would eventually need replacement, epoxy seemed like a once-and-done solution that would last for decades.
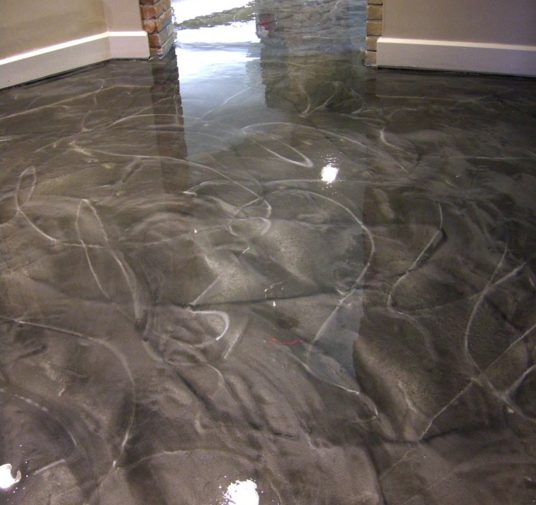
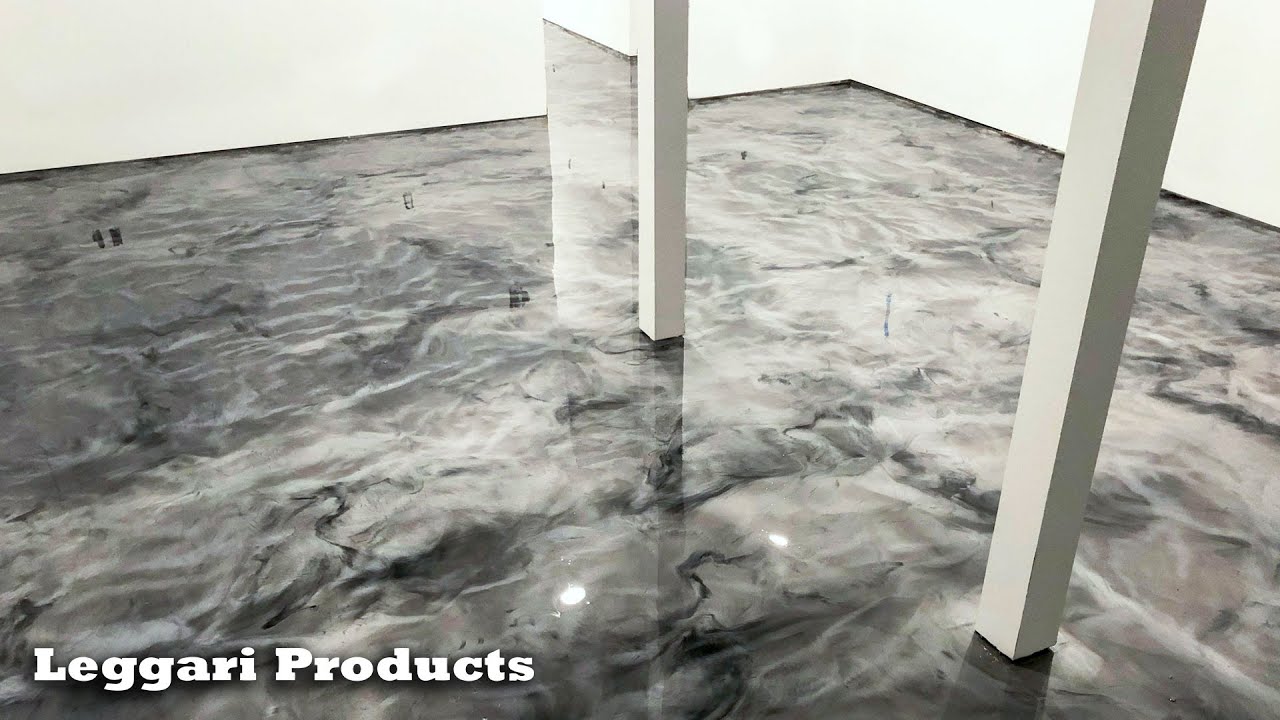
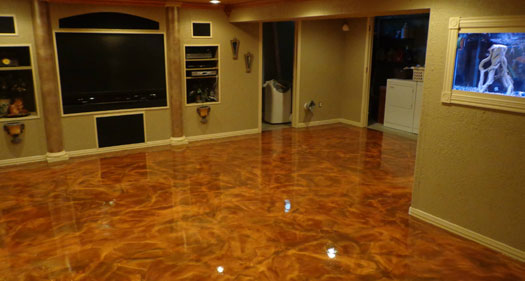
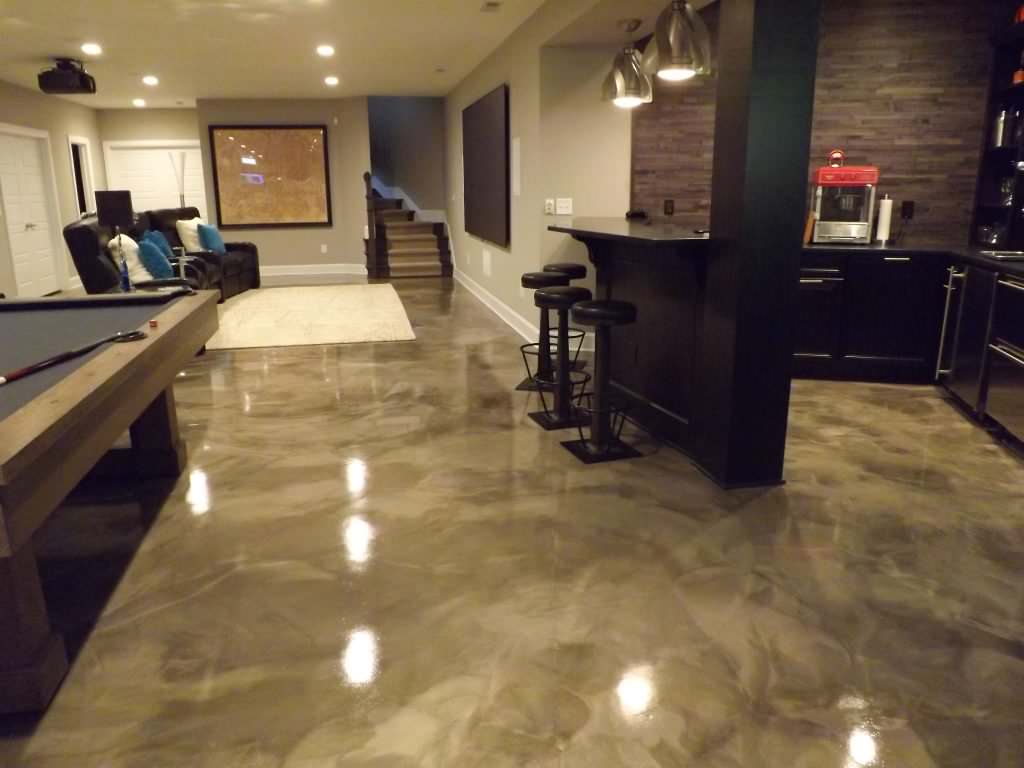
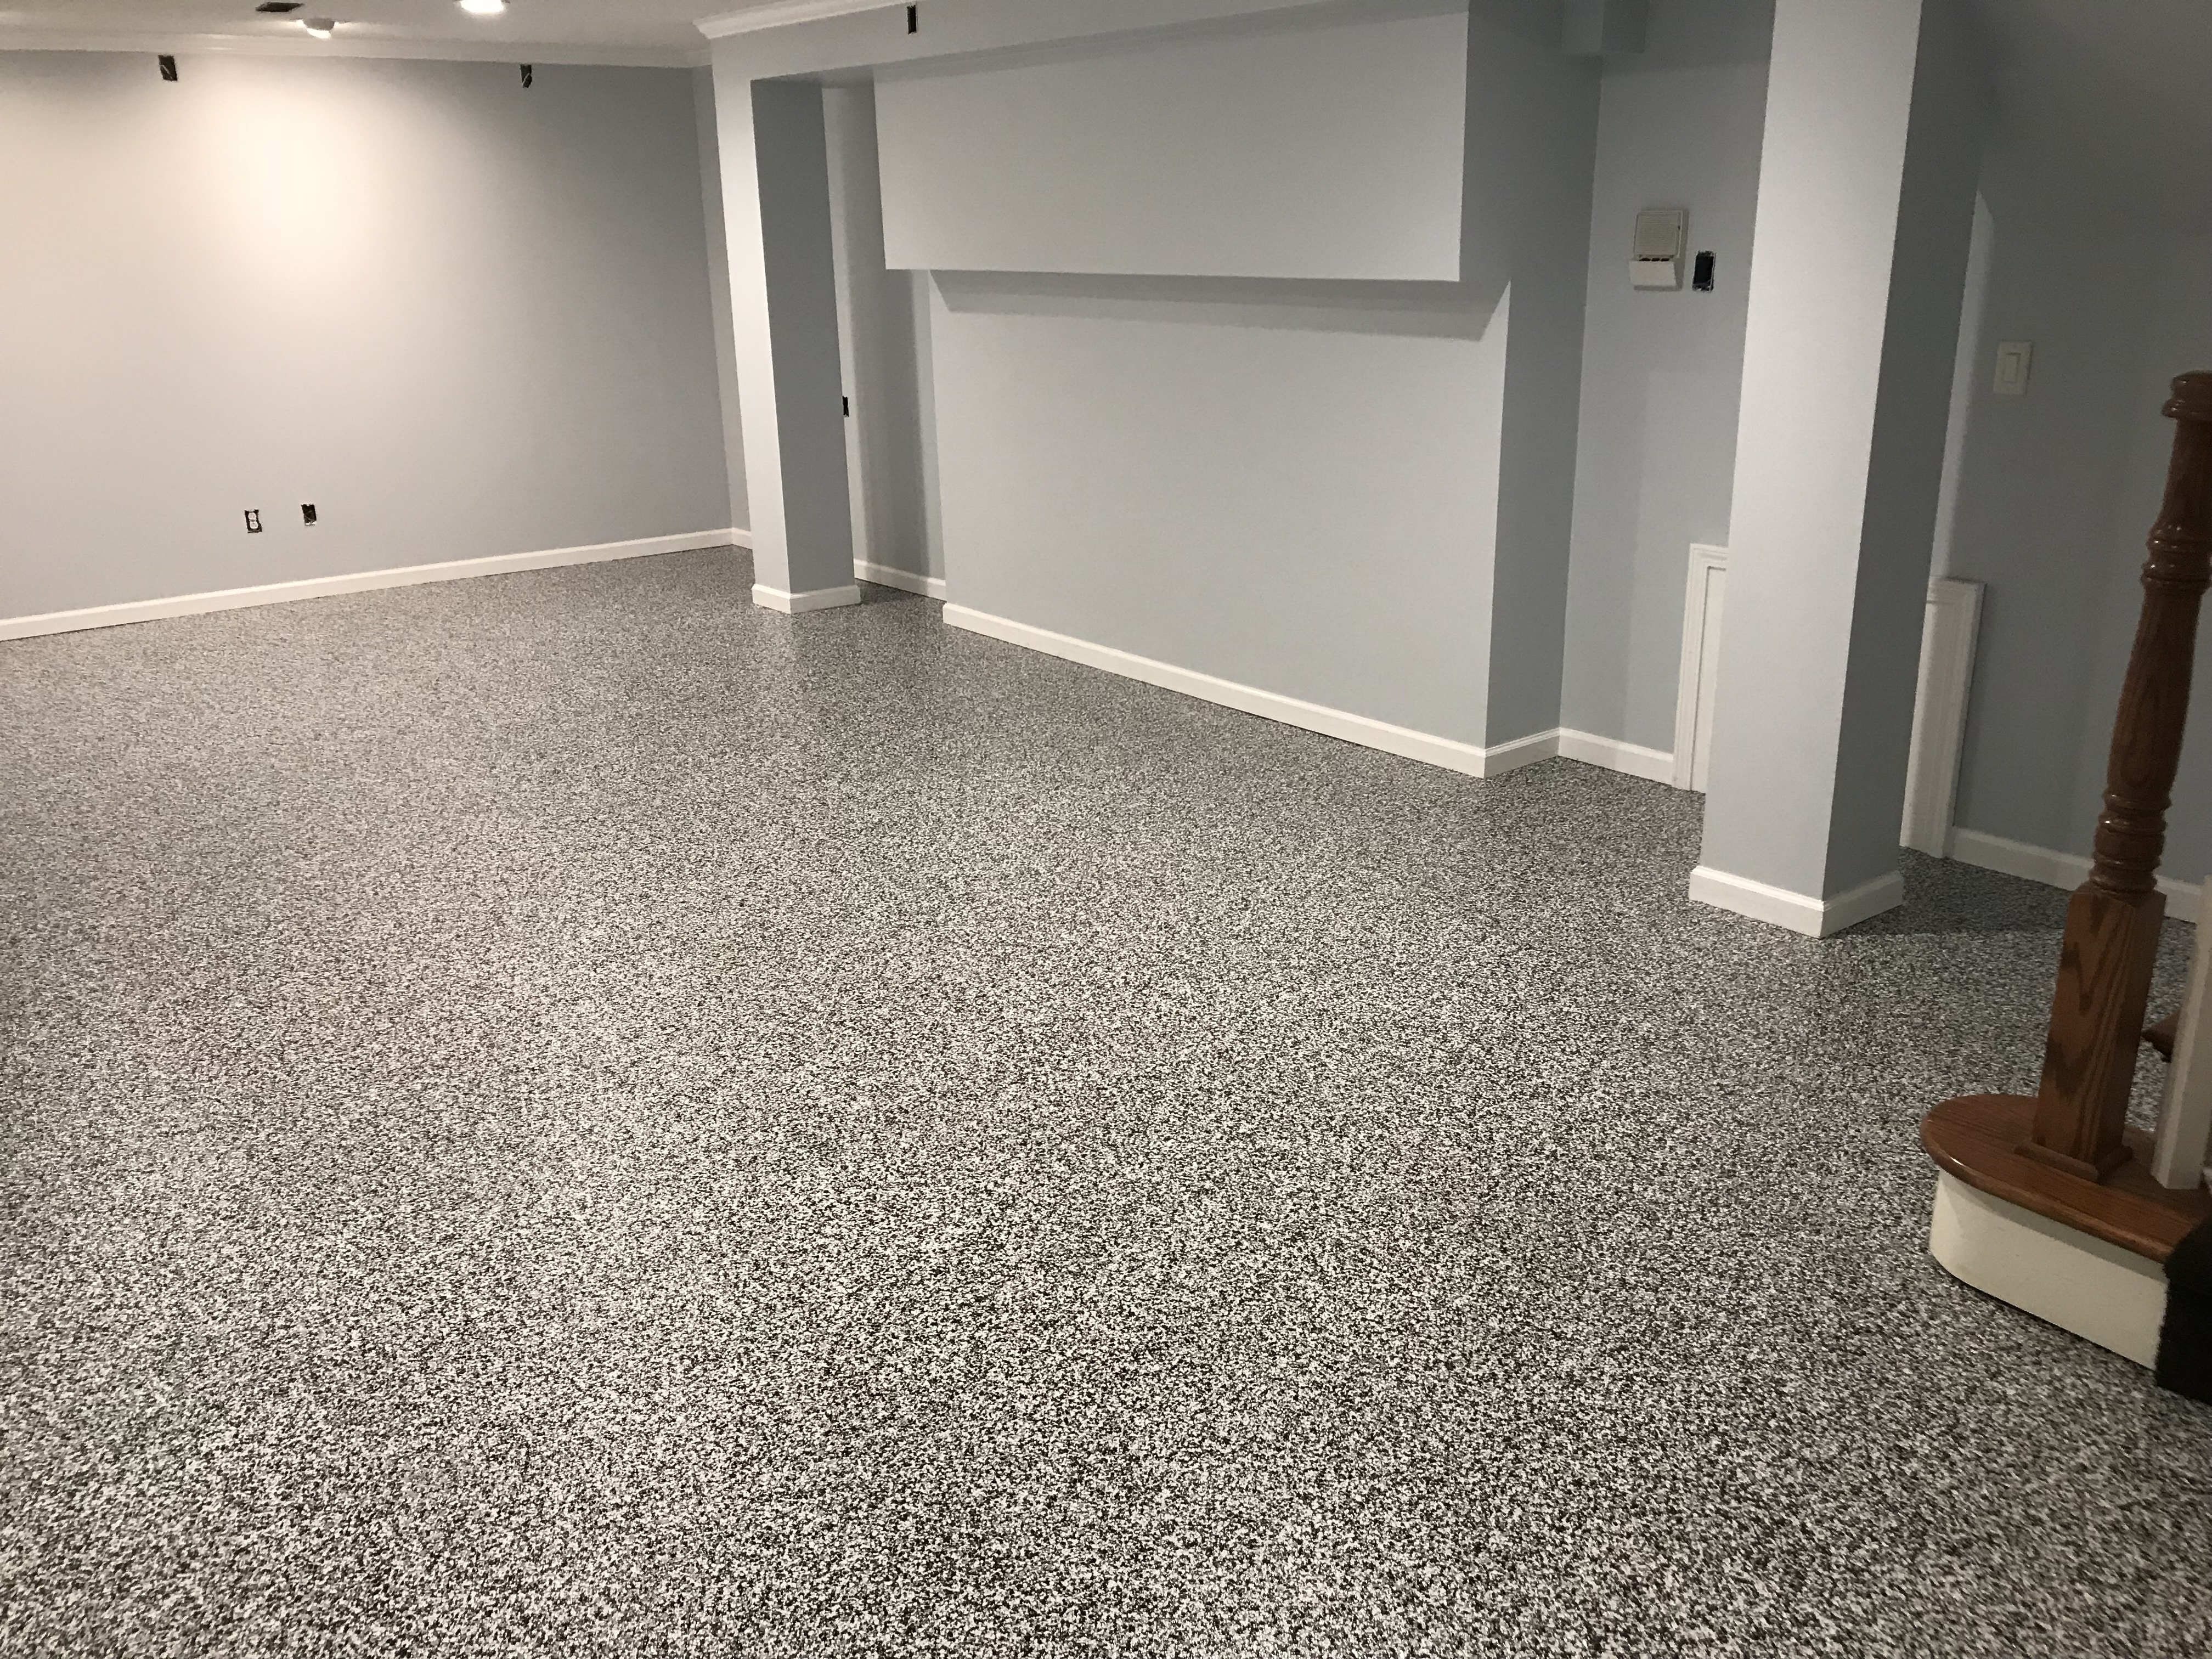
The aesthetic possibilities really clinched it for me. I loved that I could choose from solid colors, decorative flakes, or even create custom patterns. After living with boring concrete for so long, the idea of having a floor that actually looked intentional and finished was incredibly appealing. I ultimately chose a light gray base with blue and white flakes, which gives the space a modern, almost commercial look that I absolutely love.
Preparation: The Make-or-Break Foundation Work
I cannot stress enough how crucial the preparation phase is, and honestly, it was the most grueling part of my entire project. My concrete floor needed serious attention before any epoxy could be applied. I started by thoroughly cleaning the surface, which involved degreasing, scrubbing with industrial cleaners, and removing years of accumulated grime and stains. This alone took an entire weekend and left me questioning whether I should have just hired professionals.
The real challenge came with surface preparation. Epoxy only bonds well to properly prepared concrete, which means I had to etch the surface to create the right texture for adhesion. I used an acid etching solution, following safety protocols religiously with proper ventilation, protective gear, and careful disposal of waste materials. The process was tedious and honestly a bit scary, but I could see the difference it made in how the concrete looked and felt afterward.
Crack repair became my biggest headache. My basement floor had several hairline cracks and one significant crack running about six feet along the back wall. I spent considerable time researching the best crack repair compounds and techniques, eventually using a flexible concrete crack filler followed by grinding to ensure a level surface. This step alone added three days to my timeline, but I knew that any imperfections in the base would show through the final epoxy coating.
My DIY Installation Experience: Triumphs and Mistakes
Installation day arrived after weeks of preparation, and I was both excited and nervous about actually applying the epoxy. I chose a two-part epoxy system that required mixing the resin and hardener in precise ratios. The instructions seemed straightforward, but working with epoxy is very different from painting. The material has a limited working time once mixed, and you absolutely cannot take breaks or work slowly. I learned this lesson the hard way during my first attempt on a small test area.
My biggest mistake was underestimating how quickly the epoxy would begin to set up. I mixed too large a batch initially and found myself rushing to spread it evenly before it became too thick to work with. This resulted in some uneven areas that I had to sand down and reapply later. For subsequent batches, I mixed smaller amounts and worked in manageable sections, which gave me much better control over the application process and final appearance.
The decorative flakes application was actually the most fun part of the entire project. I broadcast the flakes while the epoxy was still tacky, working quickly to ensure even coverage. My kids helped with this step, and we had a great time creating the pattern we wanted. The key was applying enough flakes for good coverage without overdoing it. After the base coat cured, I applied a clear topcoat to seal everything and create the glossy finish I was hoping for.
Dealing with Moisture Issues and Basement-Specific Challenges
Living in an area with high humidity and occasional basement moisture issues, I was particularly concerned about how epoxy would perform in my specific environment. Before starting the project, I conducted moisture tests using plastic sheets taped to various areas of the floor. After 24 hours, I checked for condensation underneath, which would indicate moisture problems that needed addressing before epoxy application. Fortunately, my basement was relatively dry, but I still took extra precautions.
I invested in a high-quality moisture vapor barrier primer as my first coat, even though my initial tests showed minimal moisture concerns. This decision proved wise when we had an unusually wet spring season. The barrier has held up perfectly, and I’ve had no issues with the epoxy coating bubbling or peeling due to moisture pressure from below. I also improved my basement’s ventilation system and installed a dehumidifier to maintain optimal conditions year-round.
Temperature control during application was another basement-specific challenge I hadn’t fully anticipated. Basements naturally stay cooler than upper floors, and epoxy curing is temperature-dependent. I had to time my project for a warm spell and actually used space heaters to maintain proper temperature during the curing process. Cold temperatures would have extended cure times significantly and potentially affected the final finish quality, so this extra effort was definitely worth it.

Long-Term Performance and Maintenance Reality
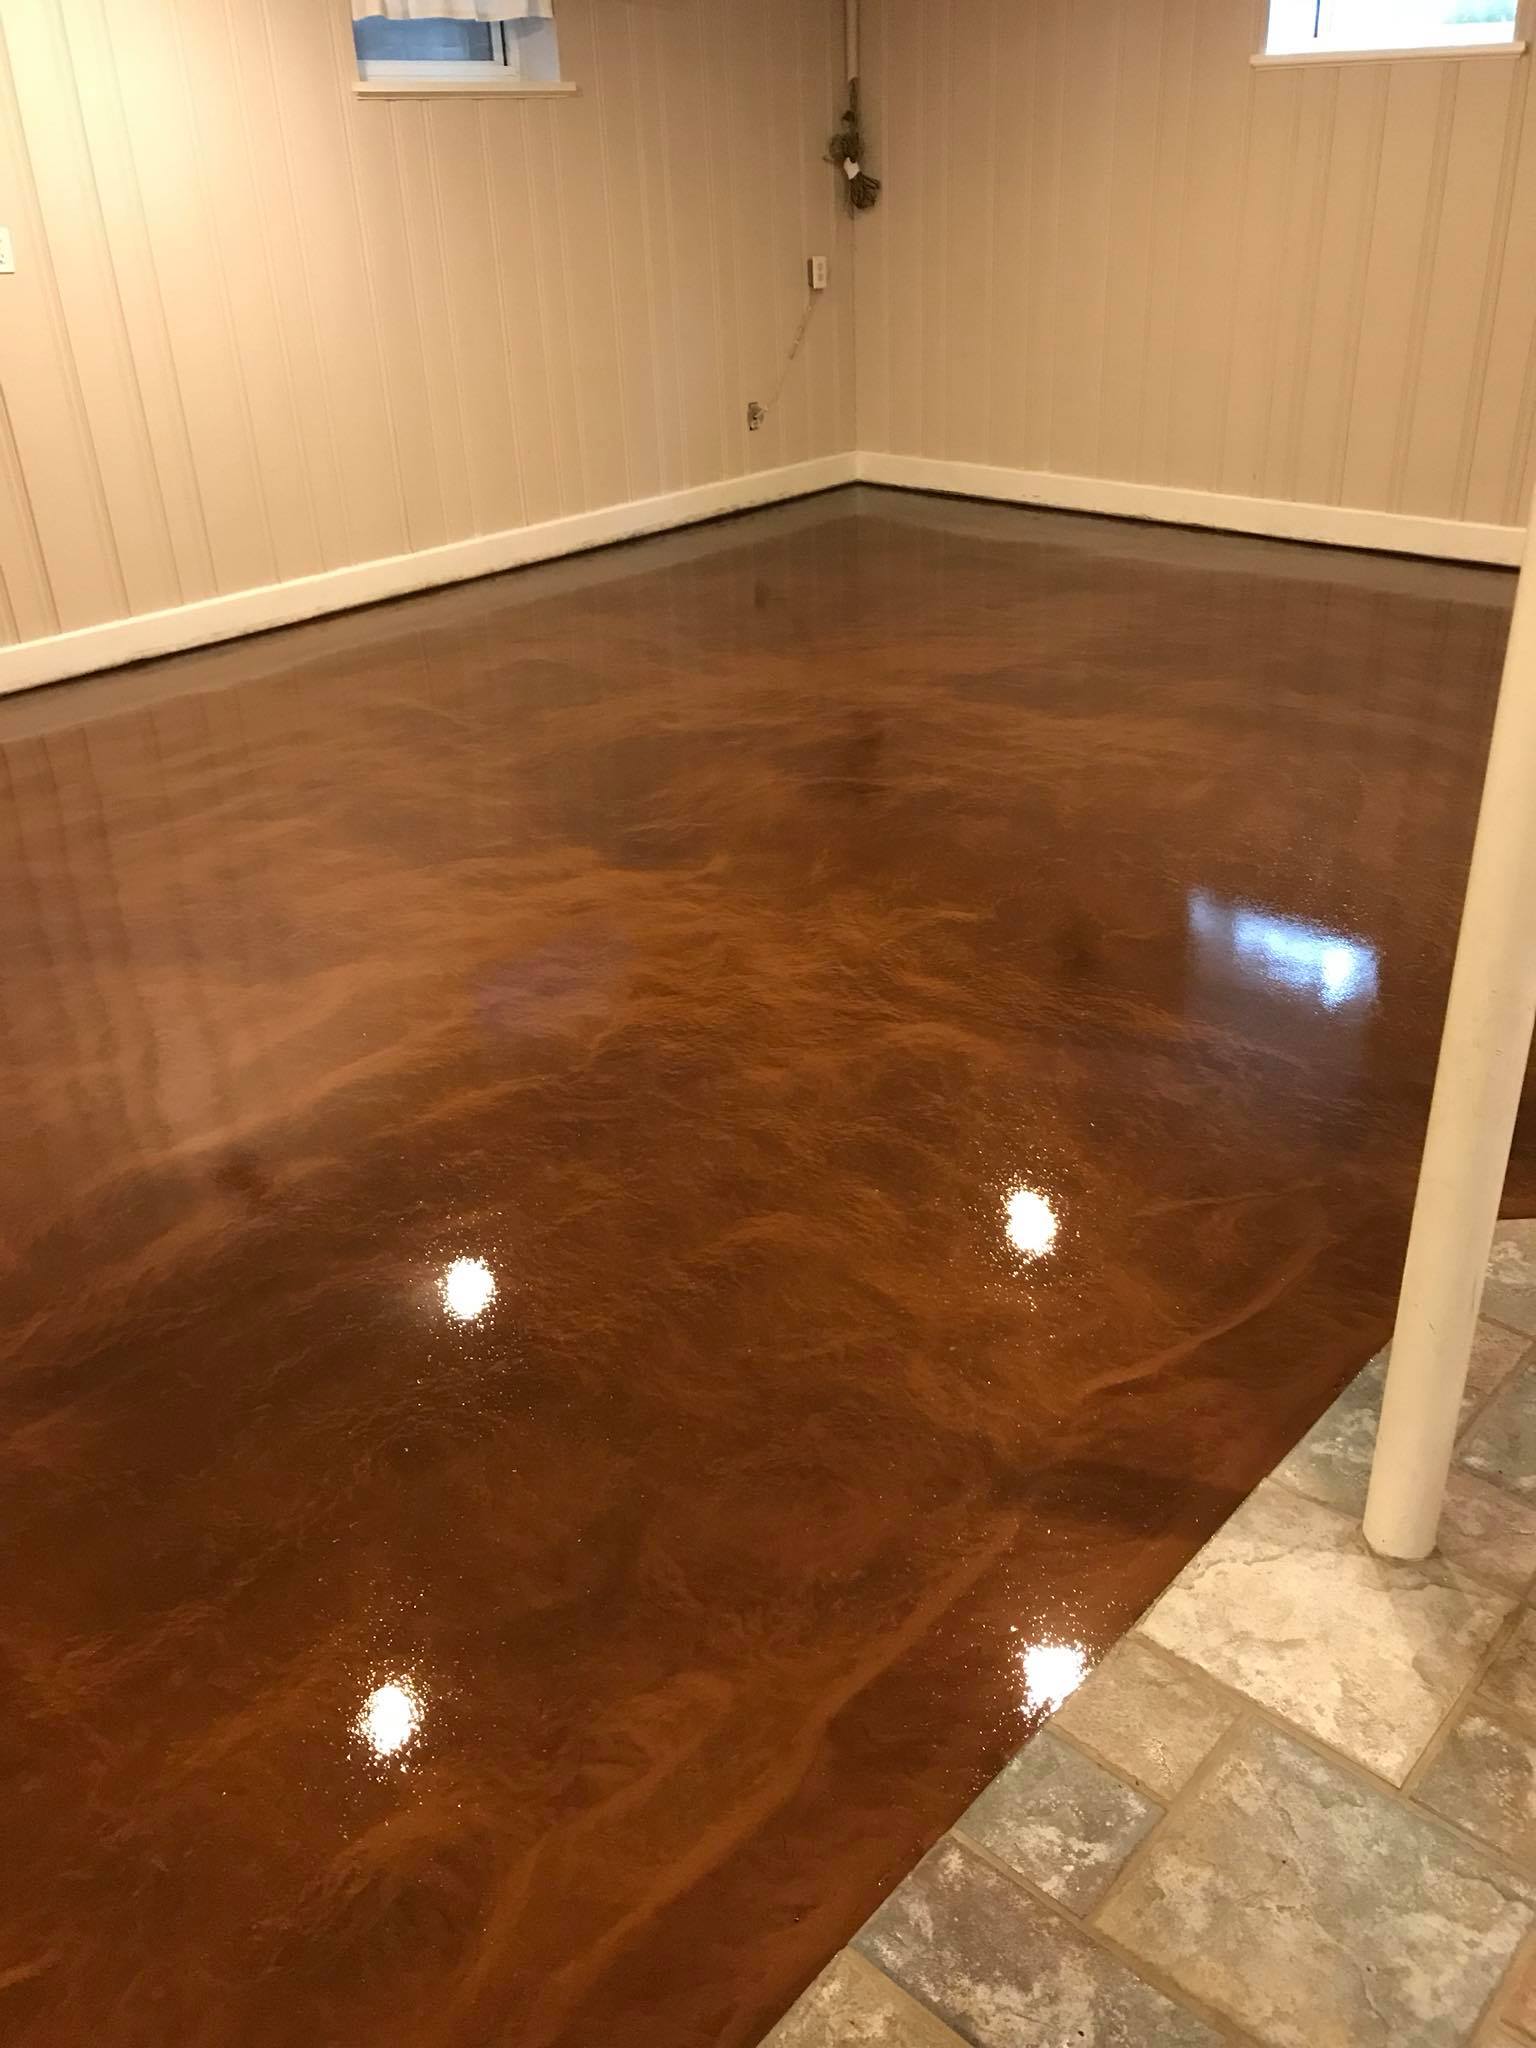
After two years of daily use, I can honestly say my epoxy basement floor has exceeded my expectations in most areas. The surface has maintained its glossy appearance despite heavy foot traffic, furniture moving, and the occasional dropped tool or equipment. Cleaning is incredibly easy, I just sweep regularly and mop with mild detergent when needed. Spills wipe up effortlessly, which is a huge improvement from the old concrete that seemed to absorb everything permanently.
However, I have noticed some minor wear patterns in the highest traffic areas, particularly near the bottom of the stairs and around my workbench. These aren’t failures of the epoxy system, just natural wear that I expected would occur over time. The decorative flakes have helped hide most of these minor imperfections, and the overall appearance is still impressive enough that guests regularly compliment the floor when they visit my basement.
The biggest maintenance surprise has been how the floor responds to temperature changes. During extreme cold spells, I’ve noticed very slight surface changes, nothing dramatic, but the floor seems to become slightly less glossy temporarily. This returns to normal as temperatures moderate, and I’ve learned it’s just a characteristic of epoxy coatings in temperature-variable environments. Overall, maintenance has been minimal, which was exactly what I was hoping for when I started this project.
Cost Breakdown and Value Assessment After Two Years
Looking back at my total investment, I spent approximately $800 on materials for my 600-square-foot basement floor, including the epoxy kit, primer, cleaning supplies, tools, and safety equipment. This represented significant savings compared to the $3,000-4,000 quotes I received from professional installers. However, I need to be honest about the time investment, including preparation, installation, and curing time, this project consumed most of my weekends for nearly a month.
The value I’ve gained extends far beyond just the monetary savings. My basement has become a truly functional living space that I actually enjoy spending time in. The improved appearance has made the area suitable for my home office setup, and my kids now use it regularly for gaming and hanging out with friends. When I consider the increased usability and enjoyment I get from the space, the return on investment has been substantial.
If I were to do this project again, I might consider paying for professional surface preparation while handling the actual epoxy application myself. The prep work was by far the most challenging and time-consuming aspect, and professionals have specialized equipment that makes it much more efficient. The application itself, while requiring attention to detail, was actually enjoyable and gave me great satisfaction in completing the work myself.
What I’d Do Differently and Future Considerations
Reflecting on my epoxy basement floor project, there are several things I would approach differently if I could start over. First, I would invest more time in surface preparation and possibly rent professional-grade equipment for concrete grinding and cleaning. The quality of the final result is directly tied to preparation quality, and cutting corners here just creates more work later. I also would have planned for better climate control during the application and curing phases.
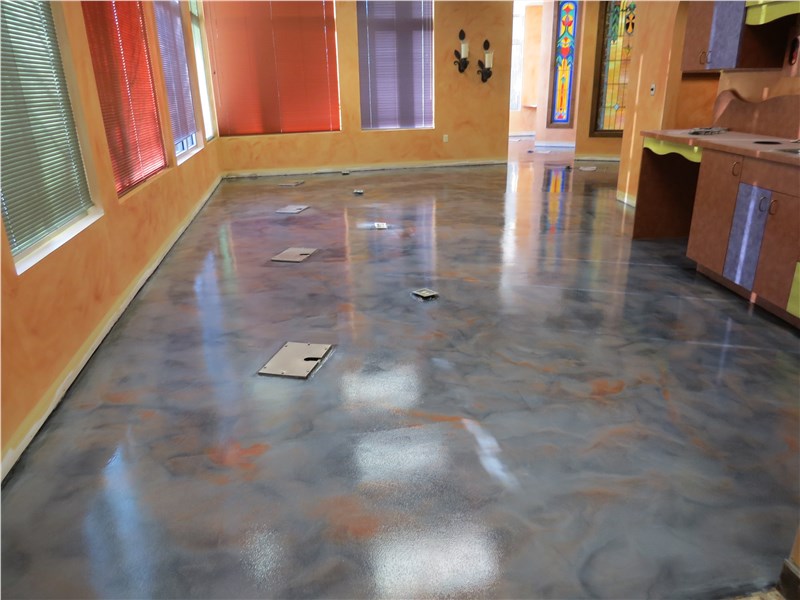
My color choice has worked well, but I sometimes wonder if I should have gone bolder with the decorative elements. The light gray with blue and white flakes looks clean and modern, but a more dramatic color scheme might have made an even stronger design statement. I’ve seen some amazing metallic epoxy finishes that create almost three-dimensional effects, and these definitely have me considering future upgrades or expansions.
Looking ahead, I’m planning to extend the epoxy treatment to my workshop area and possibly the basement bathroom floor. The success and durability I’ve experienced in the main area have convinced me that epoxy is an excellent long-term solution for basement environments. I’m also considering adding some decorative elements like colored borders or geometric patterns in future sections, now that I’m more confident in my application skills and understand the material’s working characteristics better.

How long did your DIY epoxy basement floor project actually take from start to finish?
The entire project took about four weeks of weekend work. Surface prep was the longest phase at nearly two weeks, including crack repair and cleaning. The actual epoxy application was completed over one weekend, but I needed another week for full curing before heavy use. Plan for longer than you initially think.
What’s the most challenging aspect of applying epoxy flooring yourself?
Surface preparation was by far the hardest part, specifically the concrete etching and crack repair. The epoxy application itself requires working quickly but isn’t technically difficult. I’d recommend renting professional equipment for prep work, as hand tools made everything much more time-consuming and labor-intensive.

How has the epoxy held up to moisture and temperature changes in your basement?
After two years, moisture resistance has been excellent. I used a vapor barrier primer which was crucial. Temperature changes cause slight surface variations in gloss, but nothing permanent. The key is proper prep and climate control during installation. No peeling or bubbling issues at all.
What would you estimate as the total cost including your time investment?
A: Materials cost $800 for 600 square feet, but factoring in my weekend time over four weeks, the real cost was substantial. Professional quotes were $3,000-4,000, so I saved money but invested significant time. Consider your time value when deciding between DIY and professional installation.
Is epoxy flooring suitable for basements with occasional moisture issues?
It can work well with proper preparation. I did moisture testing first and used vapor barrier primer as insurance. If you have active moisture problems, address those first. Epoxy won’t solve moisture issues, but it can handle normal basement humidity when properly installed with the right prep work.
Would you choose epoxy again, or consider other basement flooring options?
Absolutely would choose epoxy again. The durability, easy maintenance, and professional appearance have exceeded expectations. The only alternatives I’d consider now would be polished concrete or maybe luxury vinyl, but after living with epoxy’s performance, it’s hard to imagine anything better for my basement needs.
Epoxy Coatings for Your Basement, Too!
Related Posts: