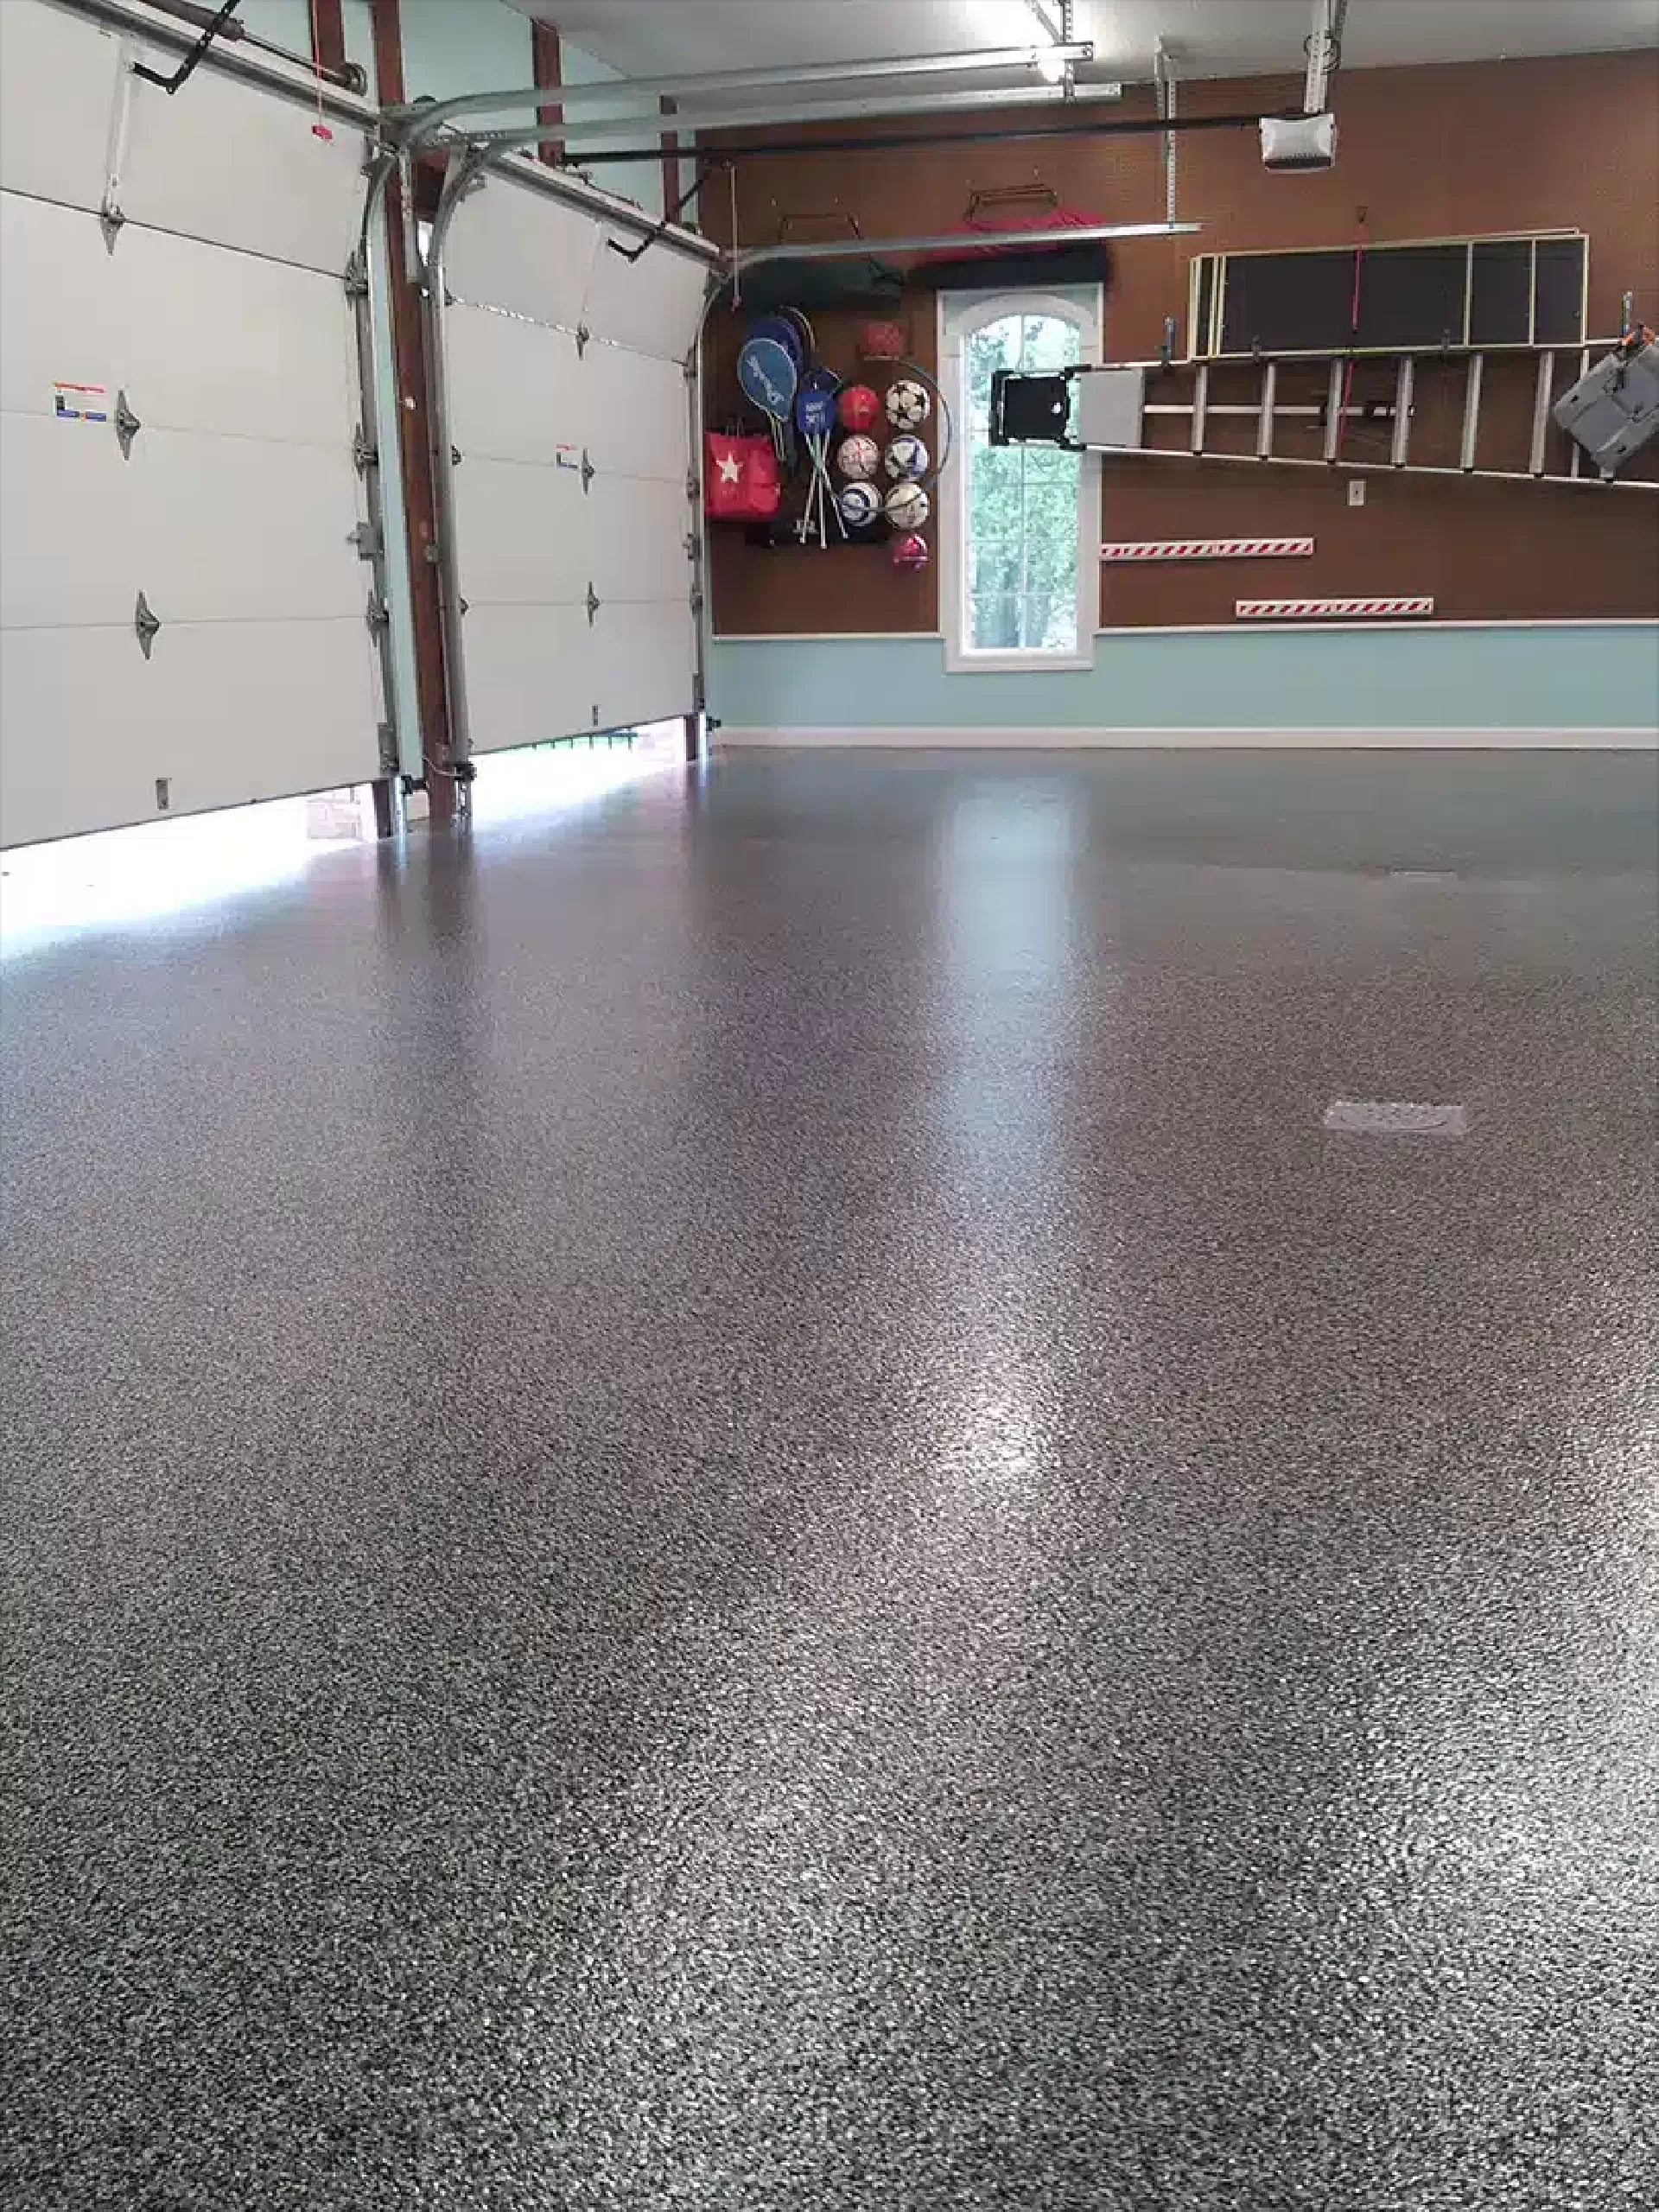
Are you tired of looking at that dull, lifeless concrete floor in your garage, basement, or workshop? Well, it’s time to transform it into a stunning, durable, and easy-to-maintain surface with epoxy paint! Epoxy flooring is a popular choice for its incredible resilience, impressive aesthetics, and wide range of design possibilities. Whether you want a sleek, modern look or a vibrant, eye-catching floor, epoxy paint can make your dreams come true.
In this comprehensive guide, I’ll take you through the entire process of epoxy painting a concrete floor. From preparing the surface and selecting the right epoxy paint to the application techniques and finishing touches, we’ve got you covered. So, let’s roll up our sleeves and embark on this exciting journey to revamp your concrete floor!
Preparing the Concrete Surface
Before we dive into the fun part of the epoxy painting, it’s crucial to get the groundwork right. First things first, we need to ensure that our concrete floor is ready to receive the epoxy treatment. The success of our project depends on how well we clean, repair, and assess the concrete surface.
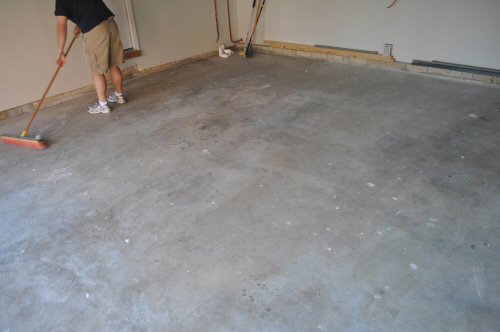
A. Cleaning the floor
Let’s start by clearing out the space and removing any objects or debris from the floor. Sweep the area thoroughly, and then it’s time to tackle those stubborn stains and oil spots. Use a degreaser and a stiff brush to scrub away the grime, ensuring the surface is squeaky clean.
B. Repairing cracks and imperfections
Inspect the floor for any cracks, holes, or uneven areas. We need a smooth and level surface for our epoxy paint to adhere properly. Fear not, for minor imperfections are easily fixable! Fill in cracks and holes with a concrete patching compound, and use a trowel to smooth out uneven sections.
C. Assessing moisture levels
Now, here’s a crucial step that’s often overlooked. Excess moisture can wreak havoc on our beautiful epoxy floor, causing it to bubble and peel. So, it’s essential to conduct a moisture test. Tape a plastic sheet to the floor and leave it for 24 hours. If you notice condensation or water droplets under the plastic, we’ll need to address the moisture issue before proceeding.
Selecting the Right Epoxy Paint
With our concrete floor prepped and ready, it’s time to choose the perfect epoxy paint that suits our needs and style. Epoxy paints come in various formulations, and selecting the right one will ensure the longevity and performance of our floor.
Understanding different epoxy paint types
There are two primary types of epoxy paints: water-based and solvent-based. Water-based epoxy is user-friendly, low odor, and dries relatively quickly. On the other hand, solvent-based epoxy is more durable and resistant to chemicals and abrasions, but it does have a stronger odor during application.
Considering the specific floor requirements
Think about the environment and conditions your floor will face daily. If it’s a high-traffic area or subject to heavy machinery, a more robust epoxy paint might be suitable. For residential spaces or light use areas, a standard epoxy paint should do the trick.
Evaluating color and finish options
Now comes the fun part! Epoxy paints come in a wide array of colors, and some even have decorative flakes or chips that can be added for a unique, textured look. Decide on the color and finish that complements your space and personal style. Remember, you can get creative with patterns, stencils, and borders too!
Gathering the Necessary Tools and Materials
To ensure a smooth and successful epoxy painting process, let’s gather all the essential tools and materials we’ll need for the job.
Essential tools for the application
We’ll need epoxy paint rollers and brushes to apply the paint, paint trays for easy rolling, and extension poles to reach those tricky corners and edges. Squeegees and spreaders are helpful for spreading the epoxy evenly.
Materials required for surface preparation
Besides epoxy paint, we’ll need a primer specifically designed for concrete floors. The primer ensures better adhesion and enhances the durability of the epoxy coating. Make sure you have the appropriate amount of epoxy paint for your floor’s size, and don’t forget to check if you need any additives for specific features like anti-slip properties.
Safety equipment and protective gear
Safety first! Protect yourself by wearing safety goggles, gloves, and a respirator mask to avoid any contact with epoxy or harmful fumes. We want to create a beautiful floor without any health risks.
Applying Epoxy Paint on Concrete
Now that we have everything we need let’s dive into the exciting part—applying the epoxy paint!
Mixing the epoxy components
Epoxy paint comes in two parts: the resin and the hardener. Follow the manufacturer’s instructions carefully to achieve the correct epoxy ratios. We don’t want to mess this up!
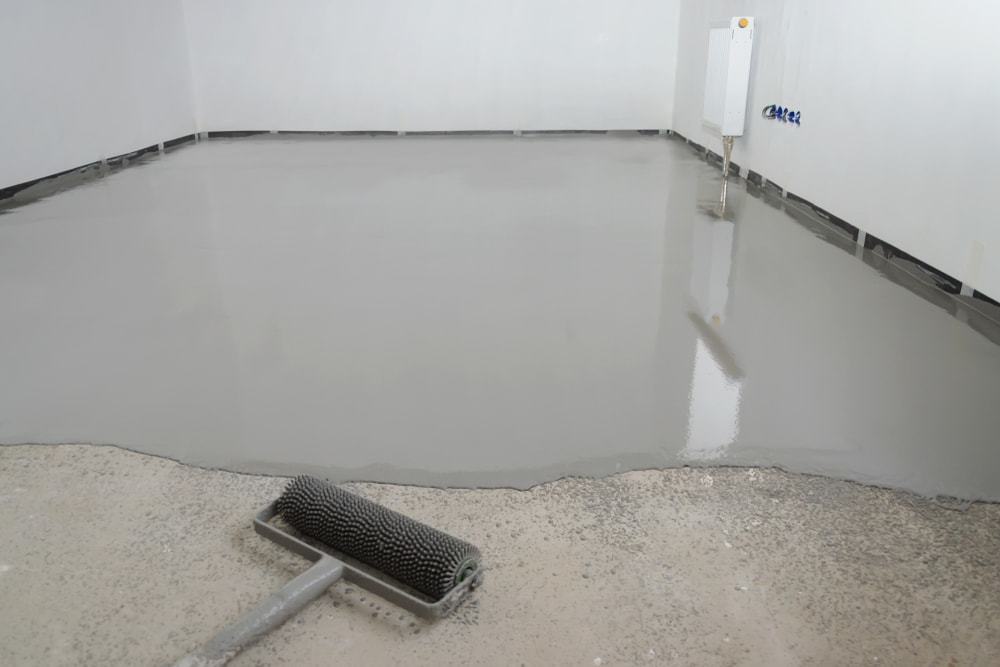
Priming the concrete surface
The primer is essential for ensuring proper adhesion and preventing any potential issues later on. Apply the primer coat evenly, using a roller or brush.
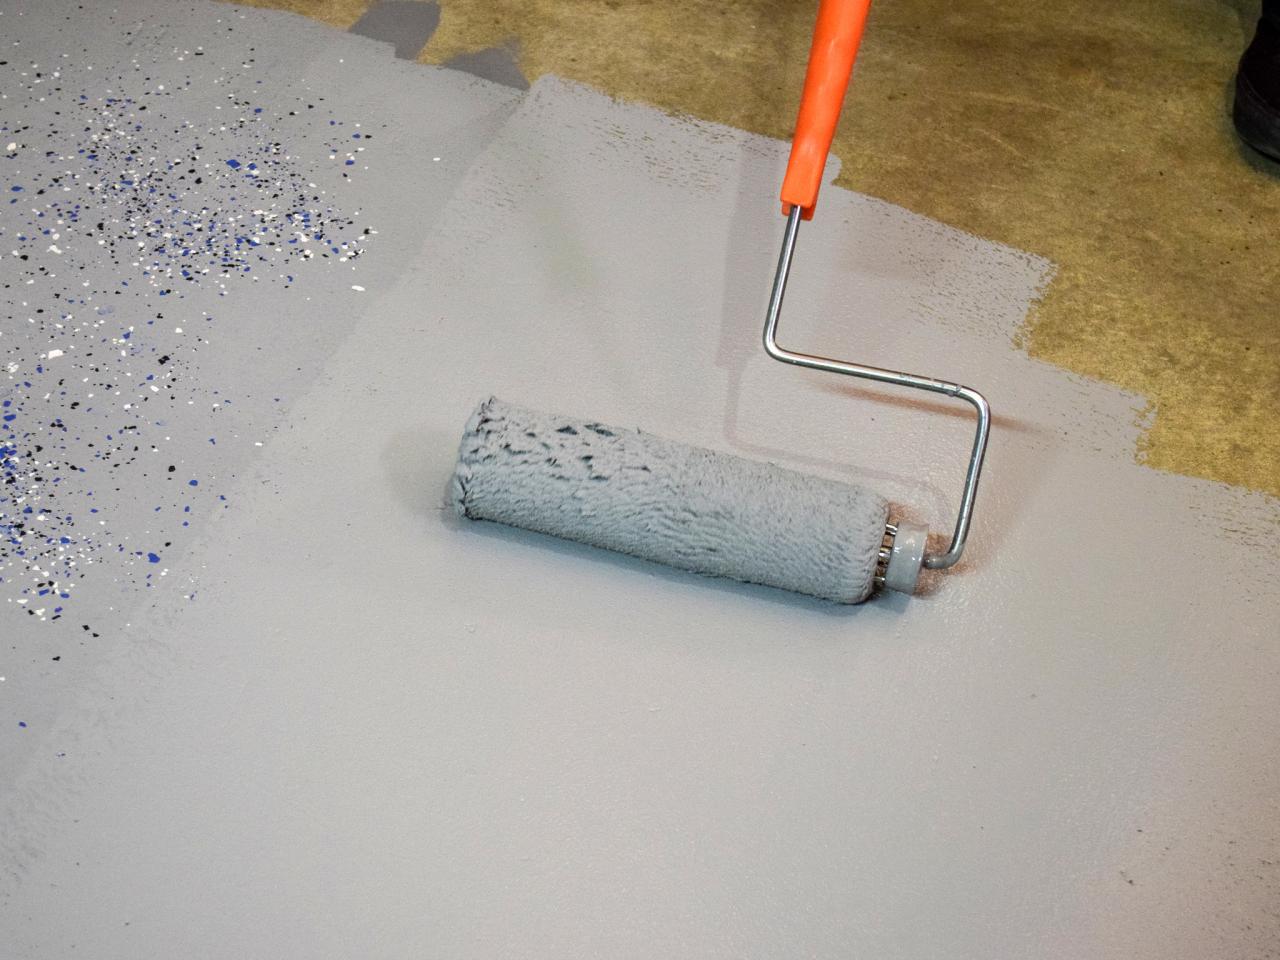
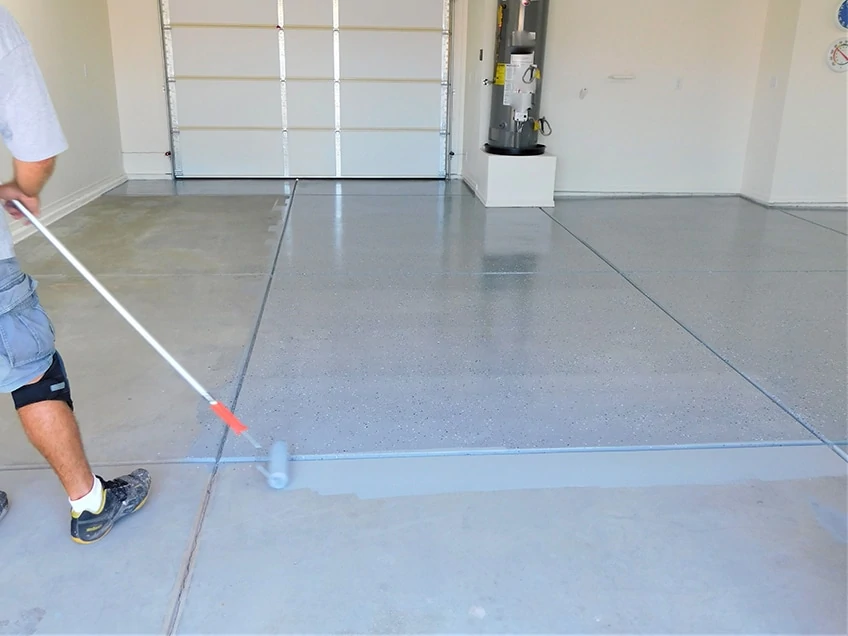
Applying the epoxy paint
Here comes the magic moment! Pour the mixed epoxy paint onto the floor and spread it using a roller or brush. Work in small sections to ensure even coverage and avoid lap marks.
Working in sections and avoiding lap marks
To keep a consistent finish, it’s essential to work in small sections and blend the epoxy paint between sections to avoid visible lines known as lap marks.
Dealing with Common Challenges
Epoxy painting is generally straightforward, but we might encounter some challenges along the way. Let’s address a few common issues and learn how to overcome them.
Bubbles and air pockets
We all know that bubbles can be a real buzzkill when it comes to epoxy painting. But fear not! To prevent bubbles during mixing, it’s essential to mix the epoxy slowly and avoid introducing excess air. If bubbles do form during application, you can carefully remove them using a heat gun or a torch.
Streaks and uneven coverage
Uneven coverage can be a downer after all our hard work. To avoid streaks, maintain a consistent application technique and keep an eye out for any missed spots. If you notice any uneven areas after the epoxy has dried, you can lightly sand them and apply another thin coat of epoxy.
Handling temperature and humidity concerns
The ambient temperature and humidity levels can impact the epoxy’s curing process. Ensure that you’re working within the manufacturer’s recommended temperature range and follow their guidelines on humidity levels. You might need to use dehumidifiers or fans to maintain the ideal conditions.
Adding Decorative Elements (Optional)
Now that we’ve mastered the basics of epoxy painting, let’s take it to the next level with some decorative elements.
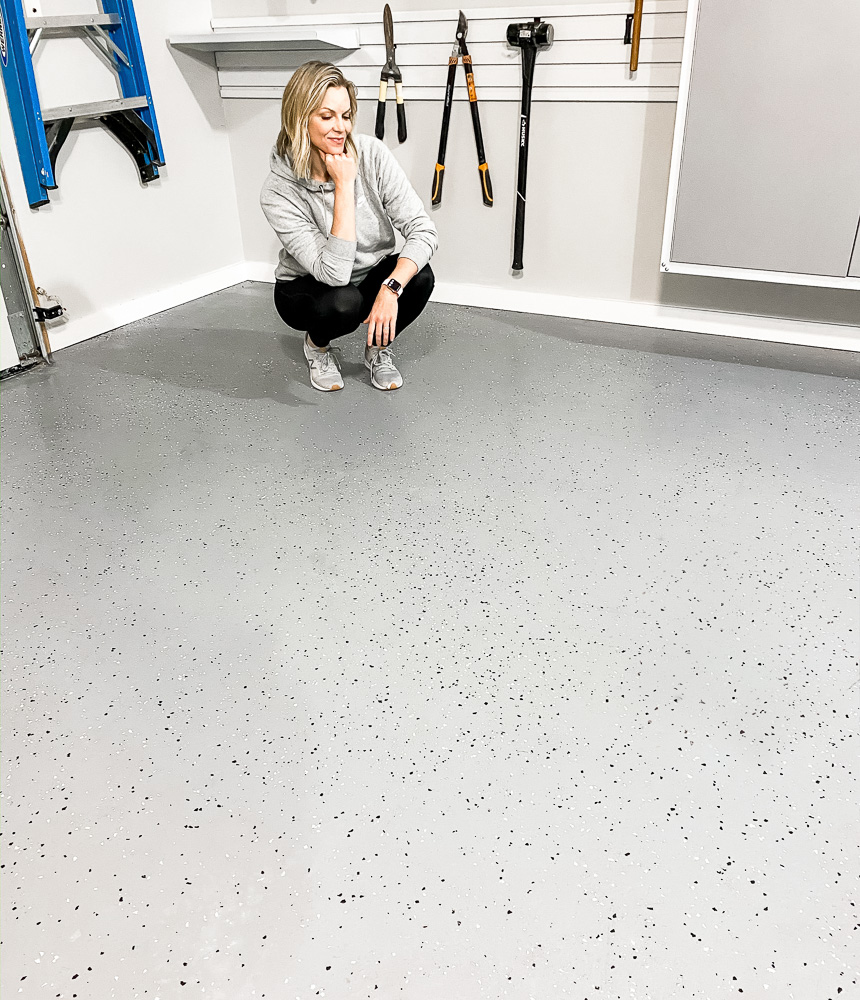
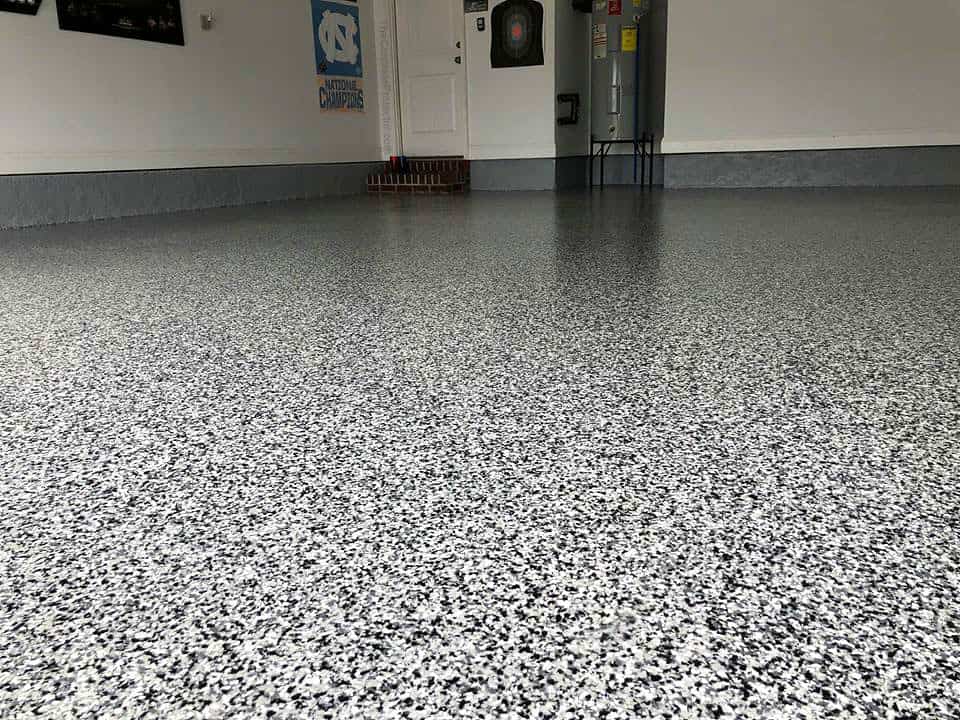
Incorporating colored chips or flakes
Colored chips or flakes add texture and depth to the epoxy floor, giving it a unique and inviting appearance. Sprinkle the chips or flakes onto the wet epoxy, and once it dries, you’ll have a stunning floor with subtle dimension.
Creating patterns and designs
Feel free to let your creativity run wild! You can create patterns, borders, or even use stencils to add intricate designs to your epoxy-painted floor. The possibilities are endless!
Using stencils or tape for borders
Stencils and painter’s tape can be powerful tools in achieving precise lines and borders. Create geometric patterns, logos, or simply add an elegant border to your floor to give it that extra touch of finesse.
Curing and Drying
Patience is key when it comes to curing and drying our newly epoxy-painted floor.
Understanding epoxy curing times
Epoxy paints typically have a curing time of around 24 to 72 hours. It’s essential to follow the manufacturer’s instructions to allow the epoxy to cure properly before subjecting the floor to heavy use.
Creating a controlled drying environment
To ensure a smooth and flawless finish, try to control the drying environment. Keep the area well-ventilated and maintain the recommended temperature and humidity levels during the curing process.
Implementing post-application care
Once the epoxy has fully cured, it’s time to move your furniture and equipment back into the space. However, be cautious with heavy items, as dragging them across the floor might cause scratches. Use protective pads under furniture legs to prevent damage.
Finishing Touches and Maintenance
We’re almost done! Let’s add some finishing touches and learn how to keep our newly epoxy-painted floor looking fabulous for years to come.
Inspecting the final result
Take a step back and admire your fantastic work! Inspect the floor for any touch-ups or corrections that might be needed before considering the project complete.
Addressing touch-ups and corrections
If you notice any areas that require a little more attention, don’t hesitate to apply a thin coat of epoxy paint to touch up those spots. Remember, attention to detail can make all the difference!
Proper maintenance for epoxy painted floors
Epoxy floors are quite low-maintenance, but some basic care will ensure their longevity and beauty. Regularly sweep or vacuum the floor to remove dirt and debris, and occasionally mop with a gentle, non-abrasive cleaner. Avoid using harsh chemicals that might damage the epoxy coating.
Epoxy Coating Concrete Surfaces Dakota Power Washing
We use cookies on our website to give you the most relevant experience by remembering your preferences and repeat visits. By clicking “Accept All”, you consent to the use of ALL the cookies. However, you may visit "Cookie Settings" to provide a controlled consent.
This website uses cookies to improve your experience while you navigate through the website. Out of these, the cookies that are categorized as necessary are stored on your browser as they are essential for the working of basic functionalities of the website. We also use third-party cookies that help us analyze and understand how you use this website. These cookies will be stored in your browser only with your consent. You also have the option to opt-out of these cookies. But opting out of some of these cookies may affect your browsing experience.
Necessary cookies are absolutely essential for the website to function properly. These cookies ensure basic functionalities and security features of the website, anonymously.
Cookie
Duration
Description
cookielawinfo-checkbox-analytics
11 months
This cookie is set by GDPR Cookie Consent plugin. The cookie is used to store the user consent for the cookies in the category "Analytics".
cookielawinfo-checkbox-functional
11 months
The cookie is set by GDPR cookie consent to record the user consent for the cookies in the category "Functional".
cookielawinfo-checkbox-necessary
11 months
This cookie is set by GDPR Cookie Consent plugin. The cookies is used to store the user consent for the cookies in the category "Necessary".
cookielawinfo-checkbox-others
11 months
This cookie is set by GDPR Cookie Consent plugin. The cookie is used to store the user consent for the cookies in the category "Other.
cookielawinfo-checkbox-performance
11 months
This cookie is set by GDPR Cookie Consent plugin. The cookie is used to store the user consent for the cookies in the category "Performance".
viewed_cookie_policy
11 months
The cookie is set by the GDPR Cookie Consent plugin and is used to store whether or not user has consented to the use of cookies. It does not store any personal data.
Functional cookies help to perform certain functionalities like sharing the content of the website on social media platforms, collect feedbacks, and other third-party features.
Performance cookies are used to understand and analyze the key performance indexes of the website which helps in delivering a better user experience for the visitors.
Analytical cookies are used to understand how visitors interact with the website. These cookies help provide information on metrics the number of visitors, bounce rate, traffic source, etc.
Advertisement cookies are used to provide visitors with relevant ads and marketing campaigns. These cookies track visitors across websites and collect information to provide customized ads.


 Related Posts: