Nevertheless, due to modern technology it's not tricky to have a floor which is going to stand as much as the punishment associated with a commercial kitchen. You can choose the best shade from the shades of the furniture or the wall and fixtures in the kitchen of yours. The resulting product is a durable, warp- insect and moisture resistant flooring material which is warp and moisture-resistant and that looks as wood.
Images about How To Install Kitchen Vinyl Floor Tiles
How To Install Kitchen Vinyl Floor Tiles
/cdn.vox-cdn.com/uploads/chorus_image/image/65891755/howto_vinylfloor_05.0.jpg)
I personally recommend the pre-finished type unless you enjoy the procedure of doing the wood flooring and therefore are good at it or you will probably end up messing up a great deal of the flooring. A few will be solid colors where others will have swirl patterns inlayed. A busy restaurant kitchen requires a floor which is dependable to run smoothly.
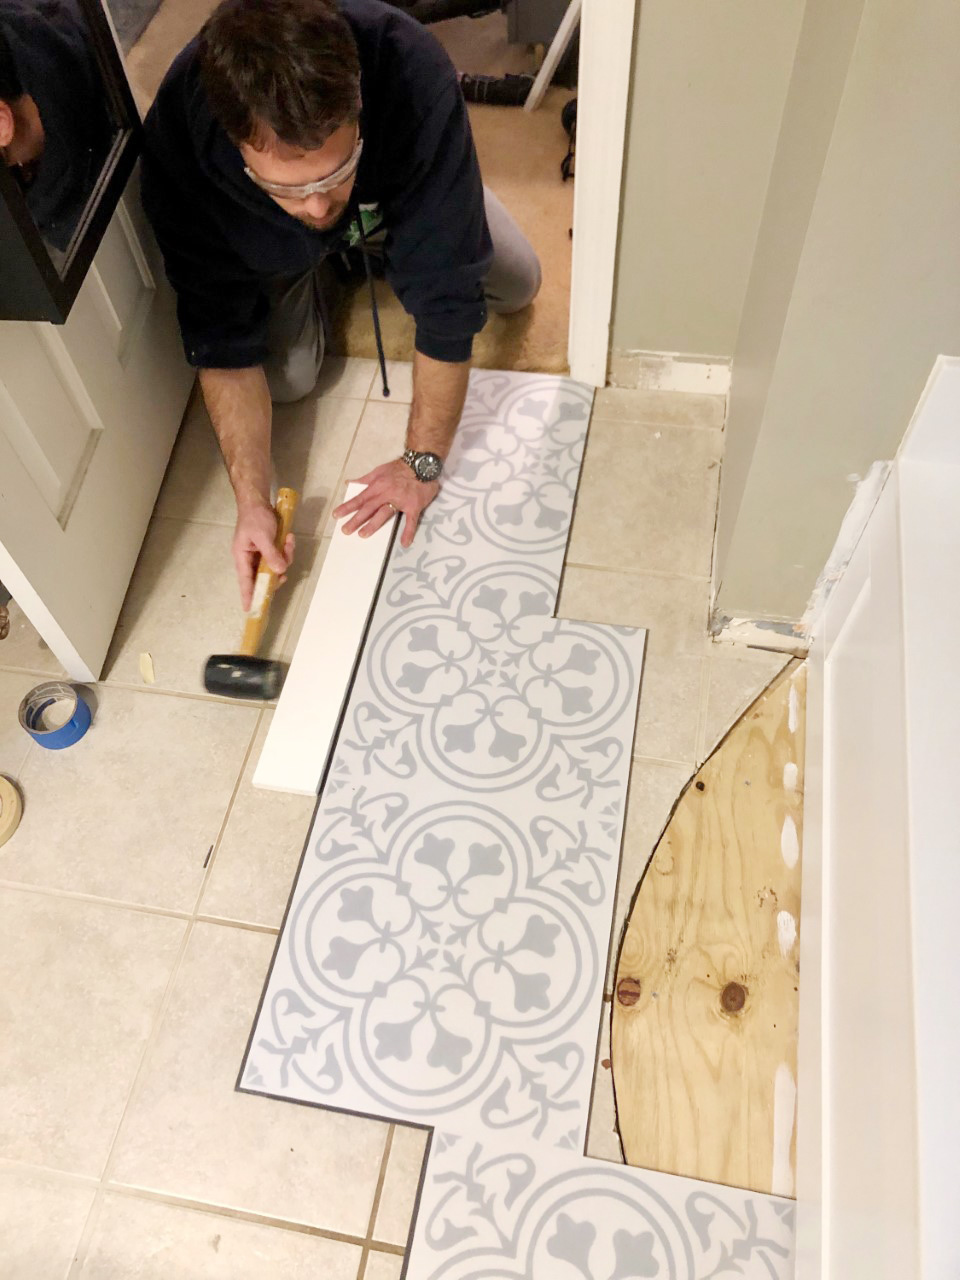
Installing Your Peel-and-Stick Vinyl Tile Floor

Something that you should remember when buying hardwood kitchen flooring is to buy wood that's been pre finished, as pre finished flooring is less likely to become damaged, you won't have staining or treat it yourself, as well as it comes in a broad range of styles that are different and finishes. Feel the materials they've and see the quality they have to offer.
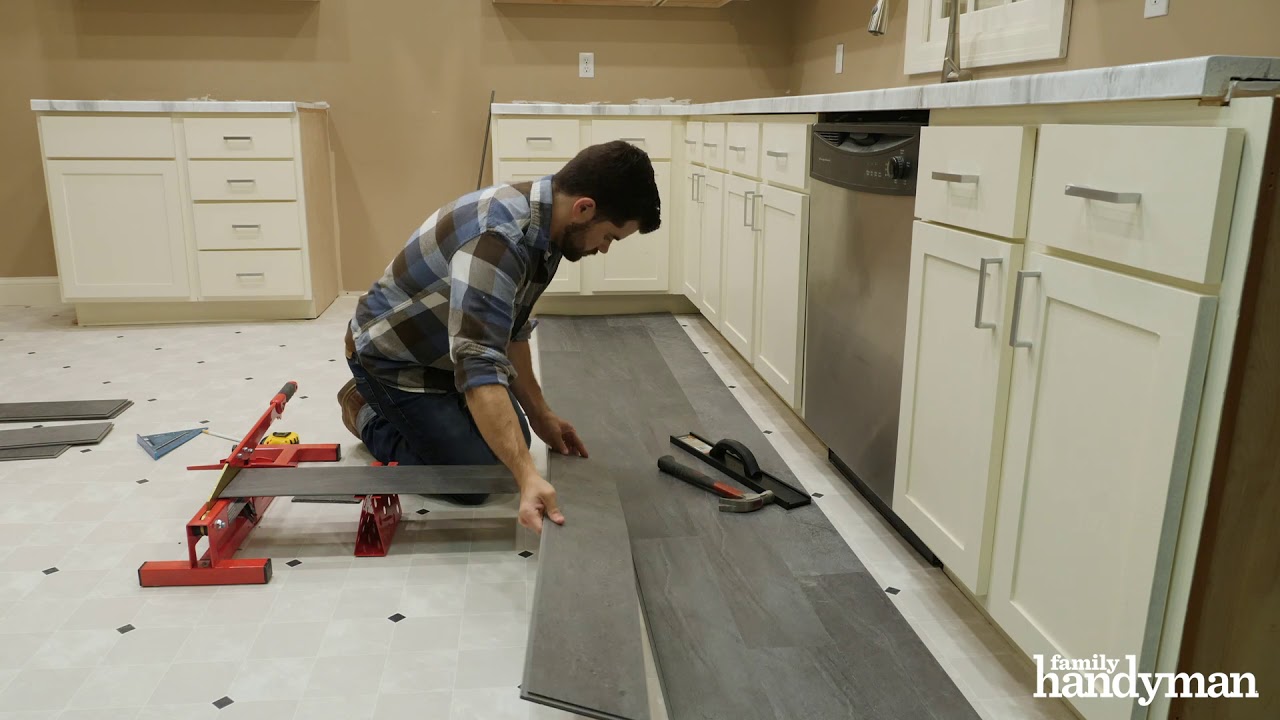
How to Install Vinyl Plank Flooring as a Beginner Home Renovation

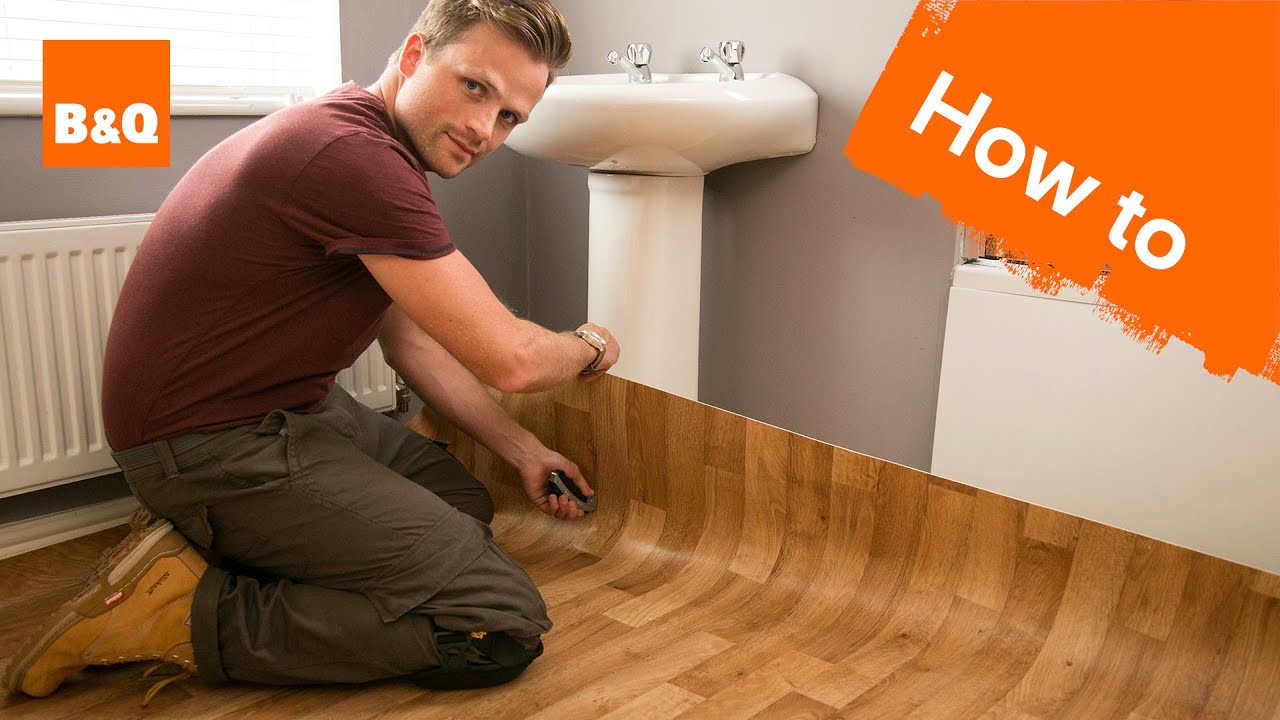
How to Install a Vinyl Floor – Do It Yourself

How To Install Luxury Vinyl Tile

LVT Flooring Over Existing Tile the Easy Way – Vinyl Floor

How to lay sheet vinyl flooring
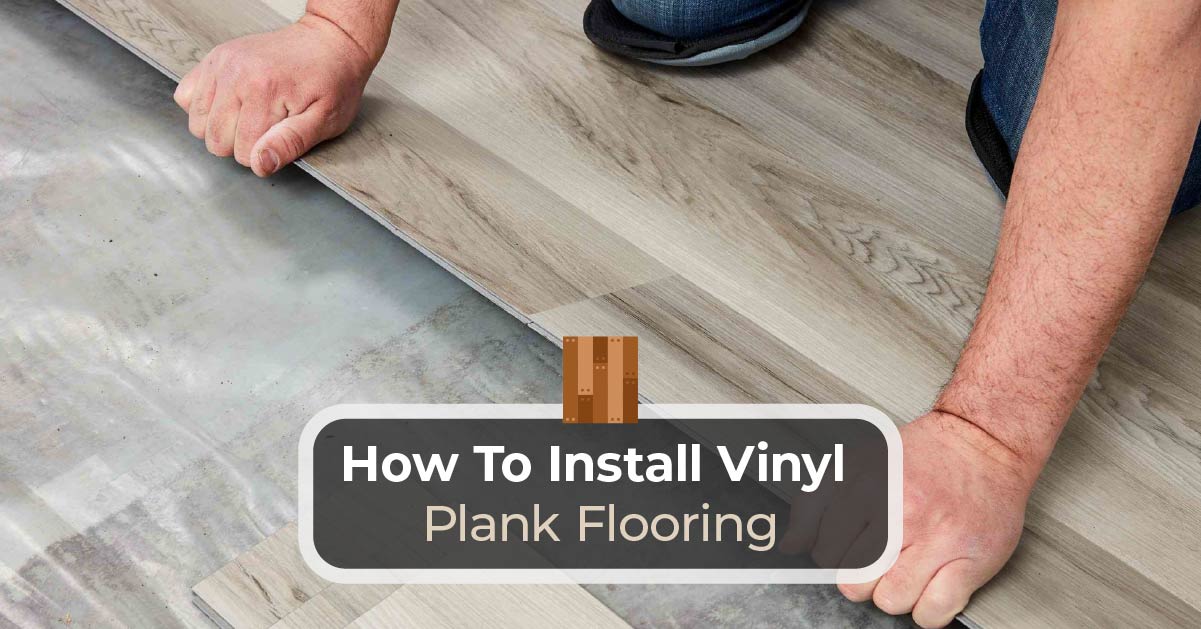
How to Install Luxury Vinyl Plank Flooring
How To Install Vinyl Plank Flooring – Kitchen Infinity
LVT Flooring Over Existing Tile the Easy Way – Vinyl Floor
Types of Vinyl Flooring

LVT Flooring Over Existing Tile the Easy Way – Vinyl Floor

How to Install Floating Vinyl Flooring Over Old Floors u2013 Simply2moms

Installing Vinyl Plank Flooring For Beginners – Anikau0027s DIY Life

Related Posts:
- Commercial Kitchen Floor
- Polished Concrete Floor Kitchen
- Cream Kitchen Floor Tiles Ideas
- Black Slate Tile Kitchen Floor
- Industrial Kitchen Floor Tiles
- Ceramic Tile Kitchen Floor
- Kitchen Floor Designs
- Light Grey Wood Floor Kitchen
- Grey Vinyl Flooring Kitchen
- Country Kitchen Flooring
How To Install Kitchen Vinyl Floor Tiles
Vinyl floor tiles are a great way to give an old kitchen a new look. Not only do they look great, but vinyl floor tiles are also easy to install. With a few simple tools and a bit of elbow grease, you can make your kitchen look as good as new. In this article, we’ll walk you through the steps of installing vinyl floor tiles in your kitchen.
Preparing Your Floor for Installation
Before you begin installing the vinyl floor tiles, you’ll need to prepare the surface of the floor by cleaning it thoroughly. Start by removing any loose dirt and debris from the area with a broom and dustpan. If there are any stains or spots that still remain, use a mild detergent and warm water to scrub them away. Once the floor is completely clean and dry, you can start the installation process.
Measuring and Cutting the Tiles
Once your floor is clean and ready for installation, you’ll need to measure the area where you will be installing the vinyl floor tiles. Make sure to measure both the length and width of the space, as this will help you determine how many tiles you will need to purchase. After you have determined the measurements, you can begin cutting the tiles to size using a sharp utility knife or a tile cutter.
Installing the Tiles
Now that you have all of your materials and measurements ready, it’s time to begin installing the vinyl floor tiles. Start by spreading adhesive onto the floor in small sections at a time. Use a trowel to spread the adhesive evenly across the surface of the floor. Once you have spread the adhesive, carefully place each tile into position and press down firmly with your hands to ensure that it adheres properly. For added strength and stability, use a rubber mallet to gently tap down each tile into place.
Grouting and Sealing
Once all of your tiles are installed, it’s time to grout them together and seal them in place. Begin by mixing up a batch of grout according to manufacturer instructions. Then use a rubber grout float to spread an even layer of grout across all of the joints between tiles. Make sure to wipe away any excess grout with a damp cloth before it has time to dry. Finally, use a sealant designed specifically for vinyl floors to protect your new kitchen tiles from moisture and spills.
FAQs About Installing Vinyl Floor Tiles
Q: What kind of adhesive should I use when installing vinyl floor tiles?
A: When installing vinyl floor tiles, it’s important to use an adhesive specifically designed for vinyl floors. This type of adhesive is designed to provide superior adhesion between both surfaces while also allowing for easy removal if necessary in the future.
Q: How long should I wait before applying sealant after installing my vinyl floor tiles?
A: You should wait at least 24 hours after applying grout before applying sealant to your newly installed vinyl floor tiles. This will allow enough time for the grout to fully cure before being exposed to moisture or spills from everyday activities in your kitchen.
Q: Can I use regular ceramic tile grout when installing vinyl floor tiles?
A: No, it is not recommended that you use ceramic tile grout when installing vinyl floor tiles as it may not provide adequate adhesion or protection against moisture or spills over time. Instead, opt for an acrylic or latex-based grout specifically designed for use with vinyl floors.