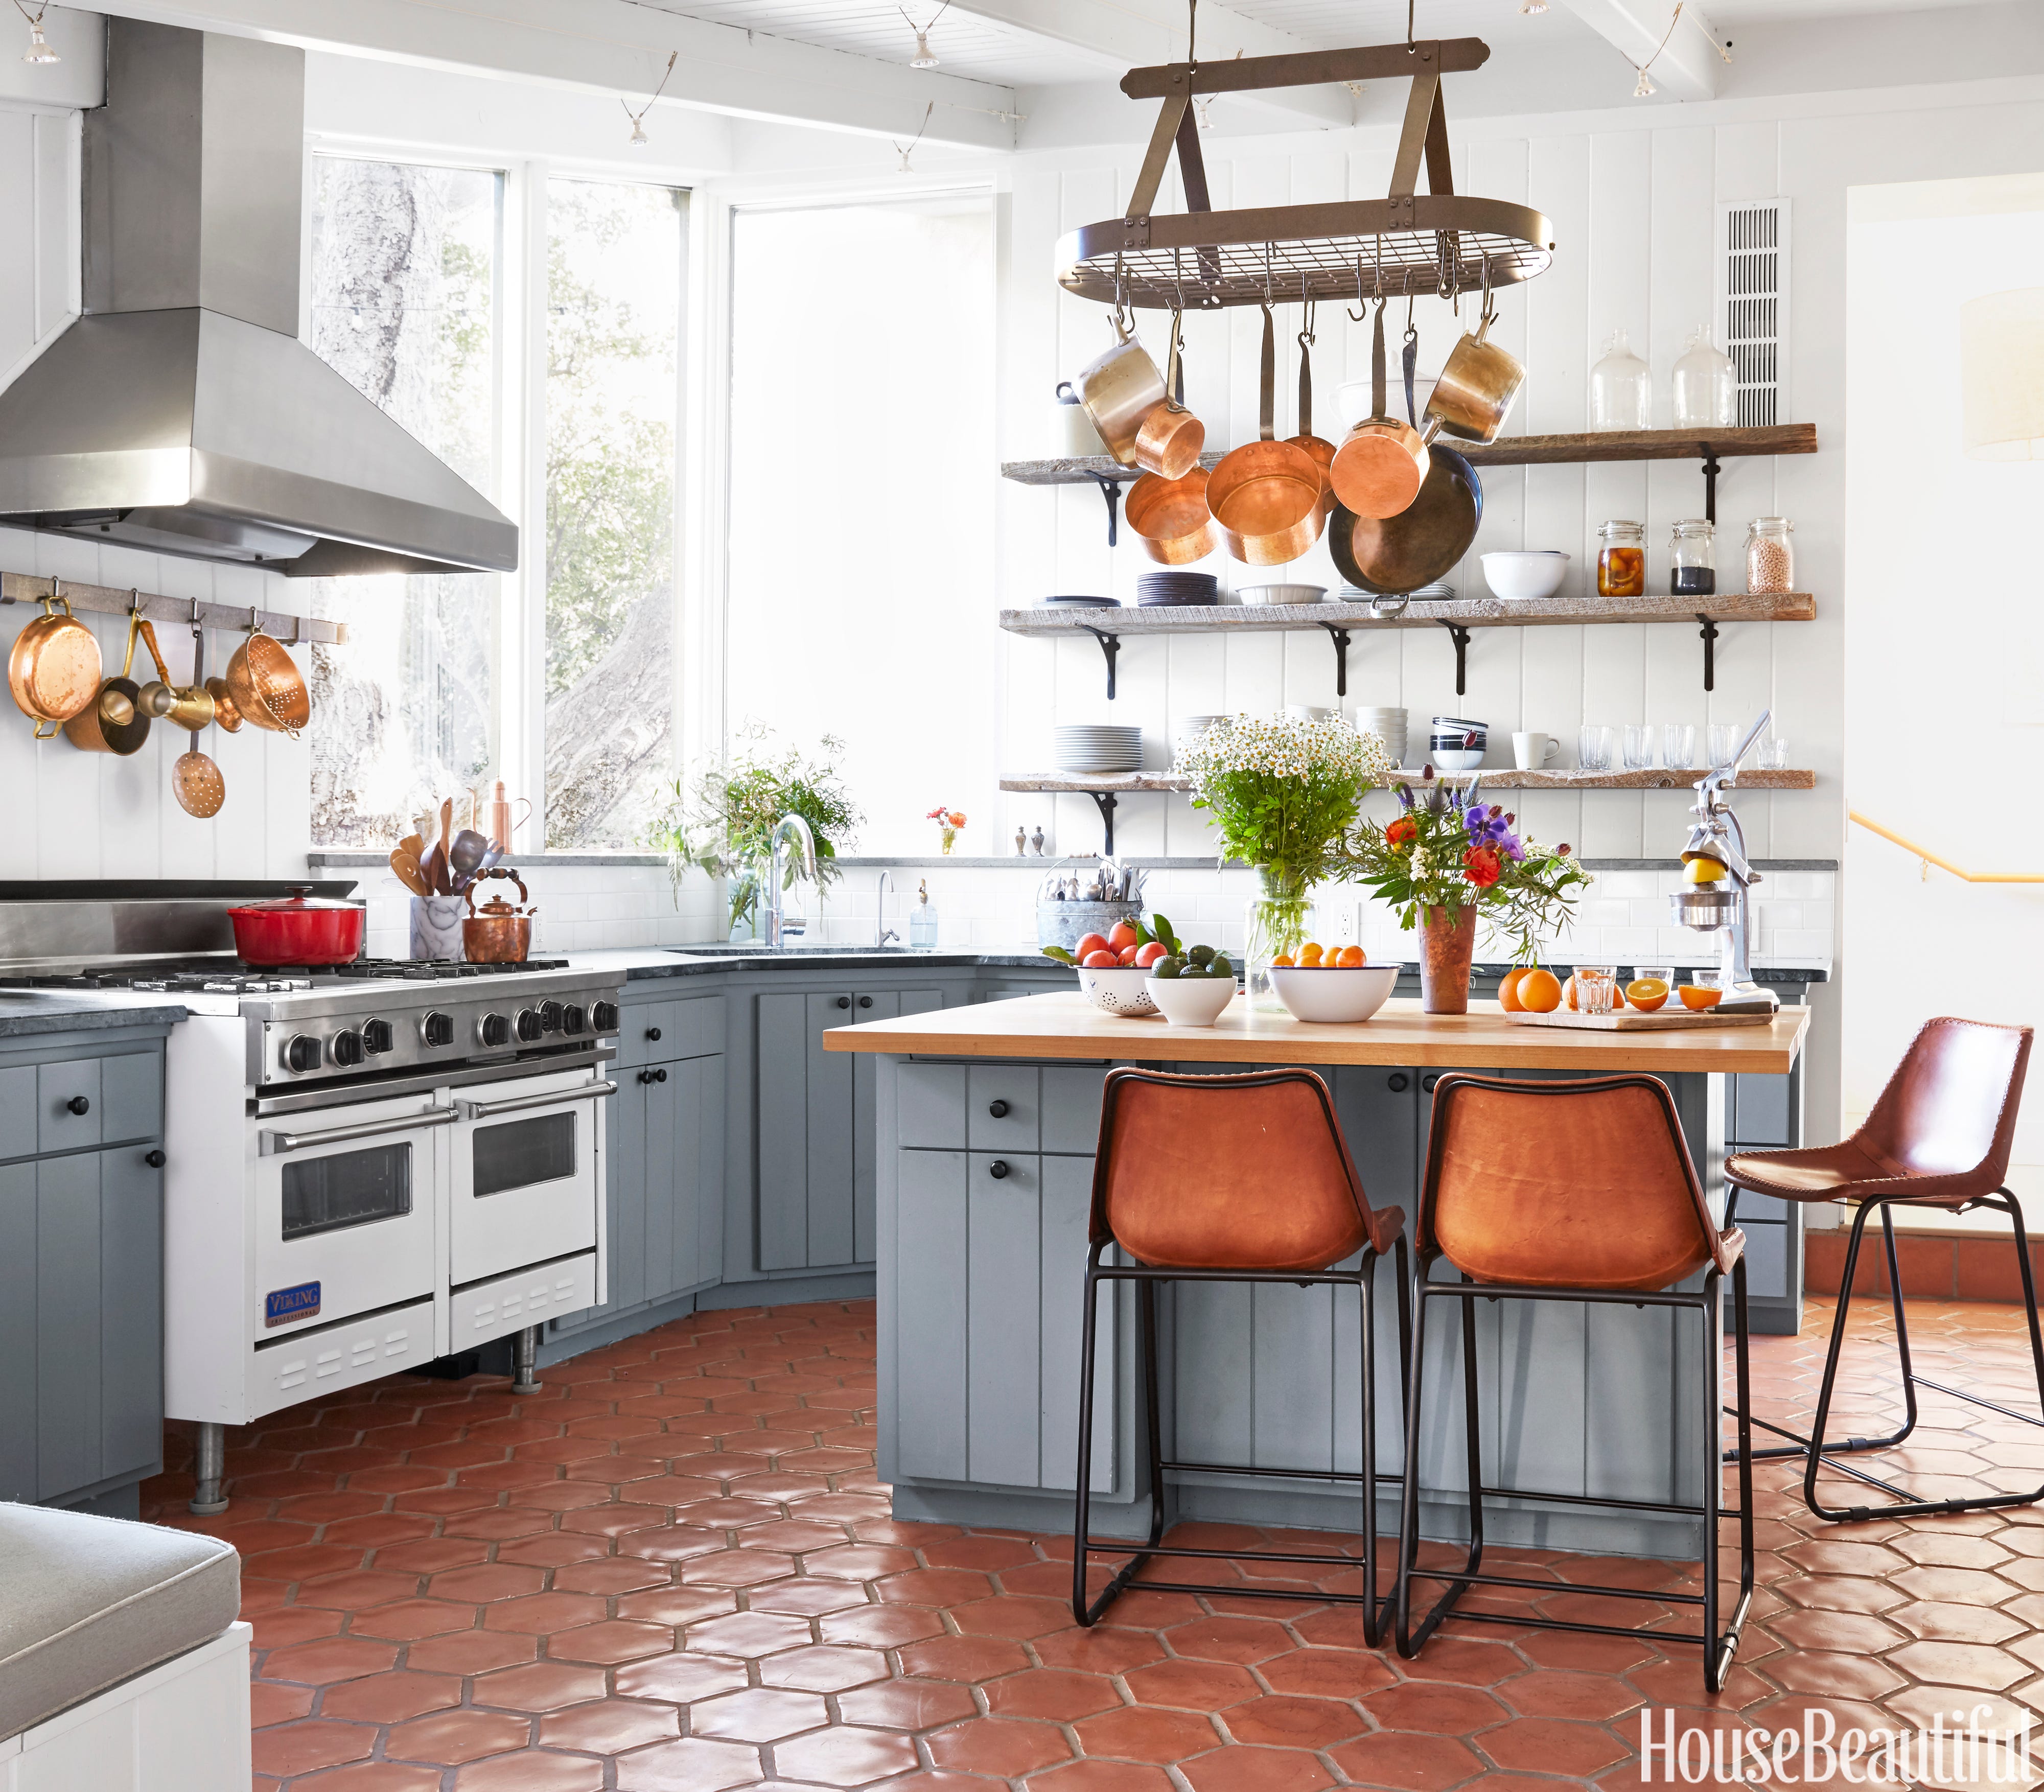
When I started planning my kitchen renovation three years ago, I quickly discovered that the floor would be one of the most important design decisions I’d ever make in my home. The kitchen floor isn’t just a surface you walk on; it’s the foundation that ties together your cabinets, countertops, and overall aesthetic while handling the daily chaos of cooking, cleaning, and family life. I spent months researching various materials, patterns, and design approaches, visiting numerous showrooms and scrolling through countless inspirational photos. What I learned during this process completely changed how I think about kitchen design and helped me create a space that’s both stunning and incredibly functional. From traditional hardwood to modern luxury vinyl, from classic subway patterns to bold geometric designs, I explored every option before finding the perfect solution for my family’s needs.
Choosing Between Classic Hardwood and Modern Alternatives
My first major decision was whether to go with traditional hardwood flooring or explore more modern alternatives that might better suit a kitchen environment. I’ve always loved the warmth and character of real wood floors, and my living room features beautiful oak planks that I adore. However, kitchens present unique challenges with moisture, spills, and heavy foot traffic that made me question whether hardwood was the right choice for this specific space.
After conducting extensive research and engaging in conversations with flooring professionals, I discovered that engineered hardwood offers the best of both worlds. These products provide the authentic wood appearance I craved while offering better moisture resistance and stability than solid hardwood. I visited several homes with engineered hardwood in kitchens and was impressed by how well they held up to daily use. The key was selecting products with proper protective finishes and ensuring excellent ventilation in the kitchen area.
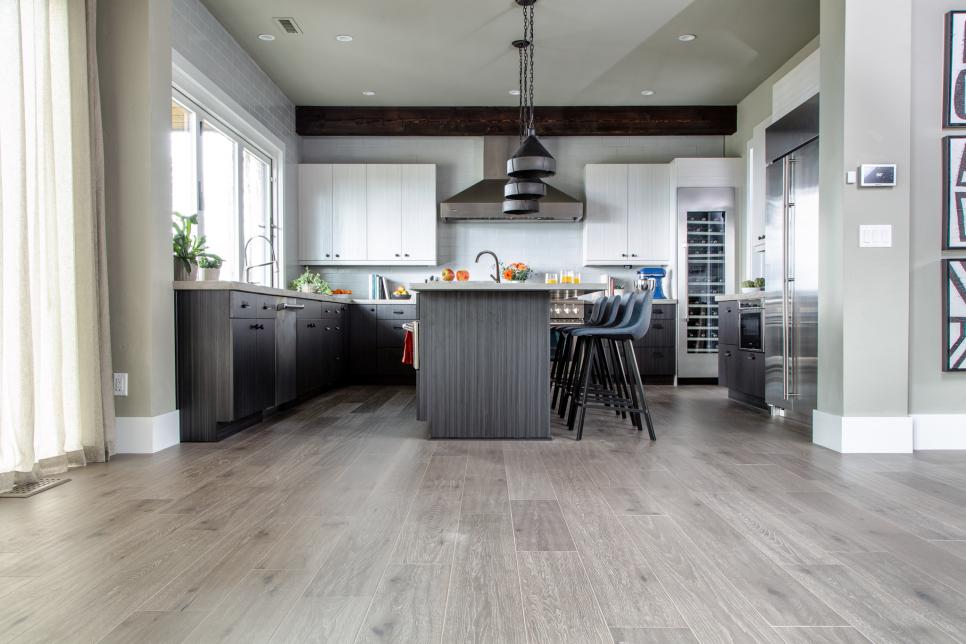
Ultimately, I decided to go with luxury vinyl plank flooring that mimics hardwood grain and texture almost perfectly. This choice gave me the wood aesthetic I wanted while providing waterproof protection, easier maintenance, and significant cost savings. The technology in luxury vinyl has improved dramatically, and the planks I selected are virtually indistinguishable from real hardwood unless you examine them very closely. This decision has proven excellent for my busy family kitchen.
Exploring Tile Patterns That Transform Kitchen Spaces
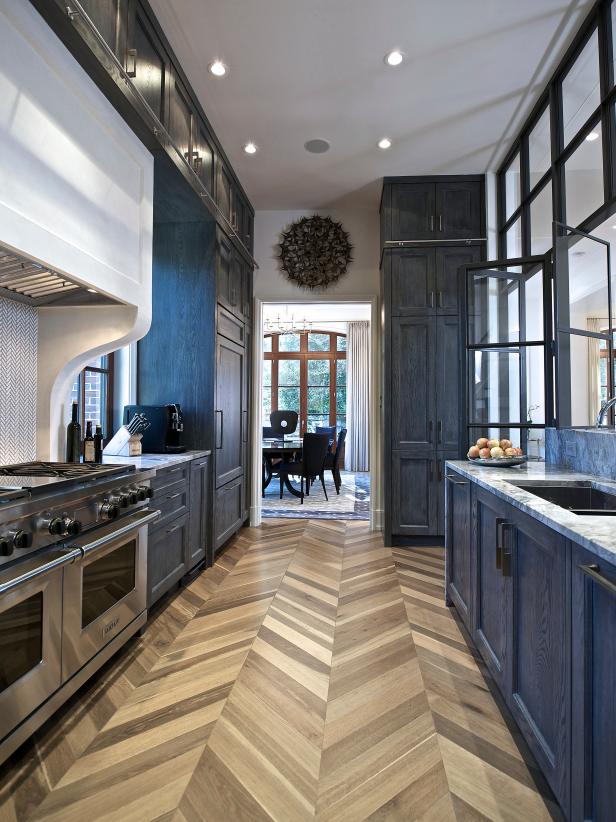
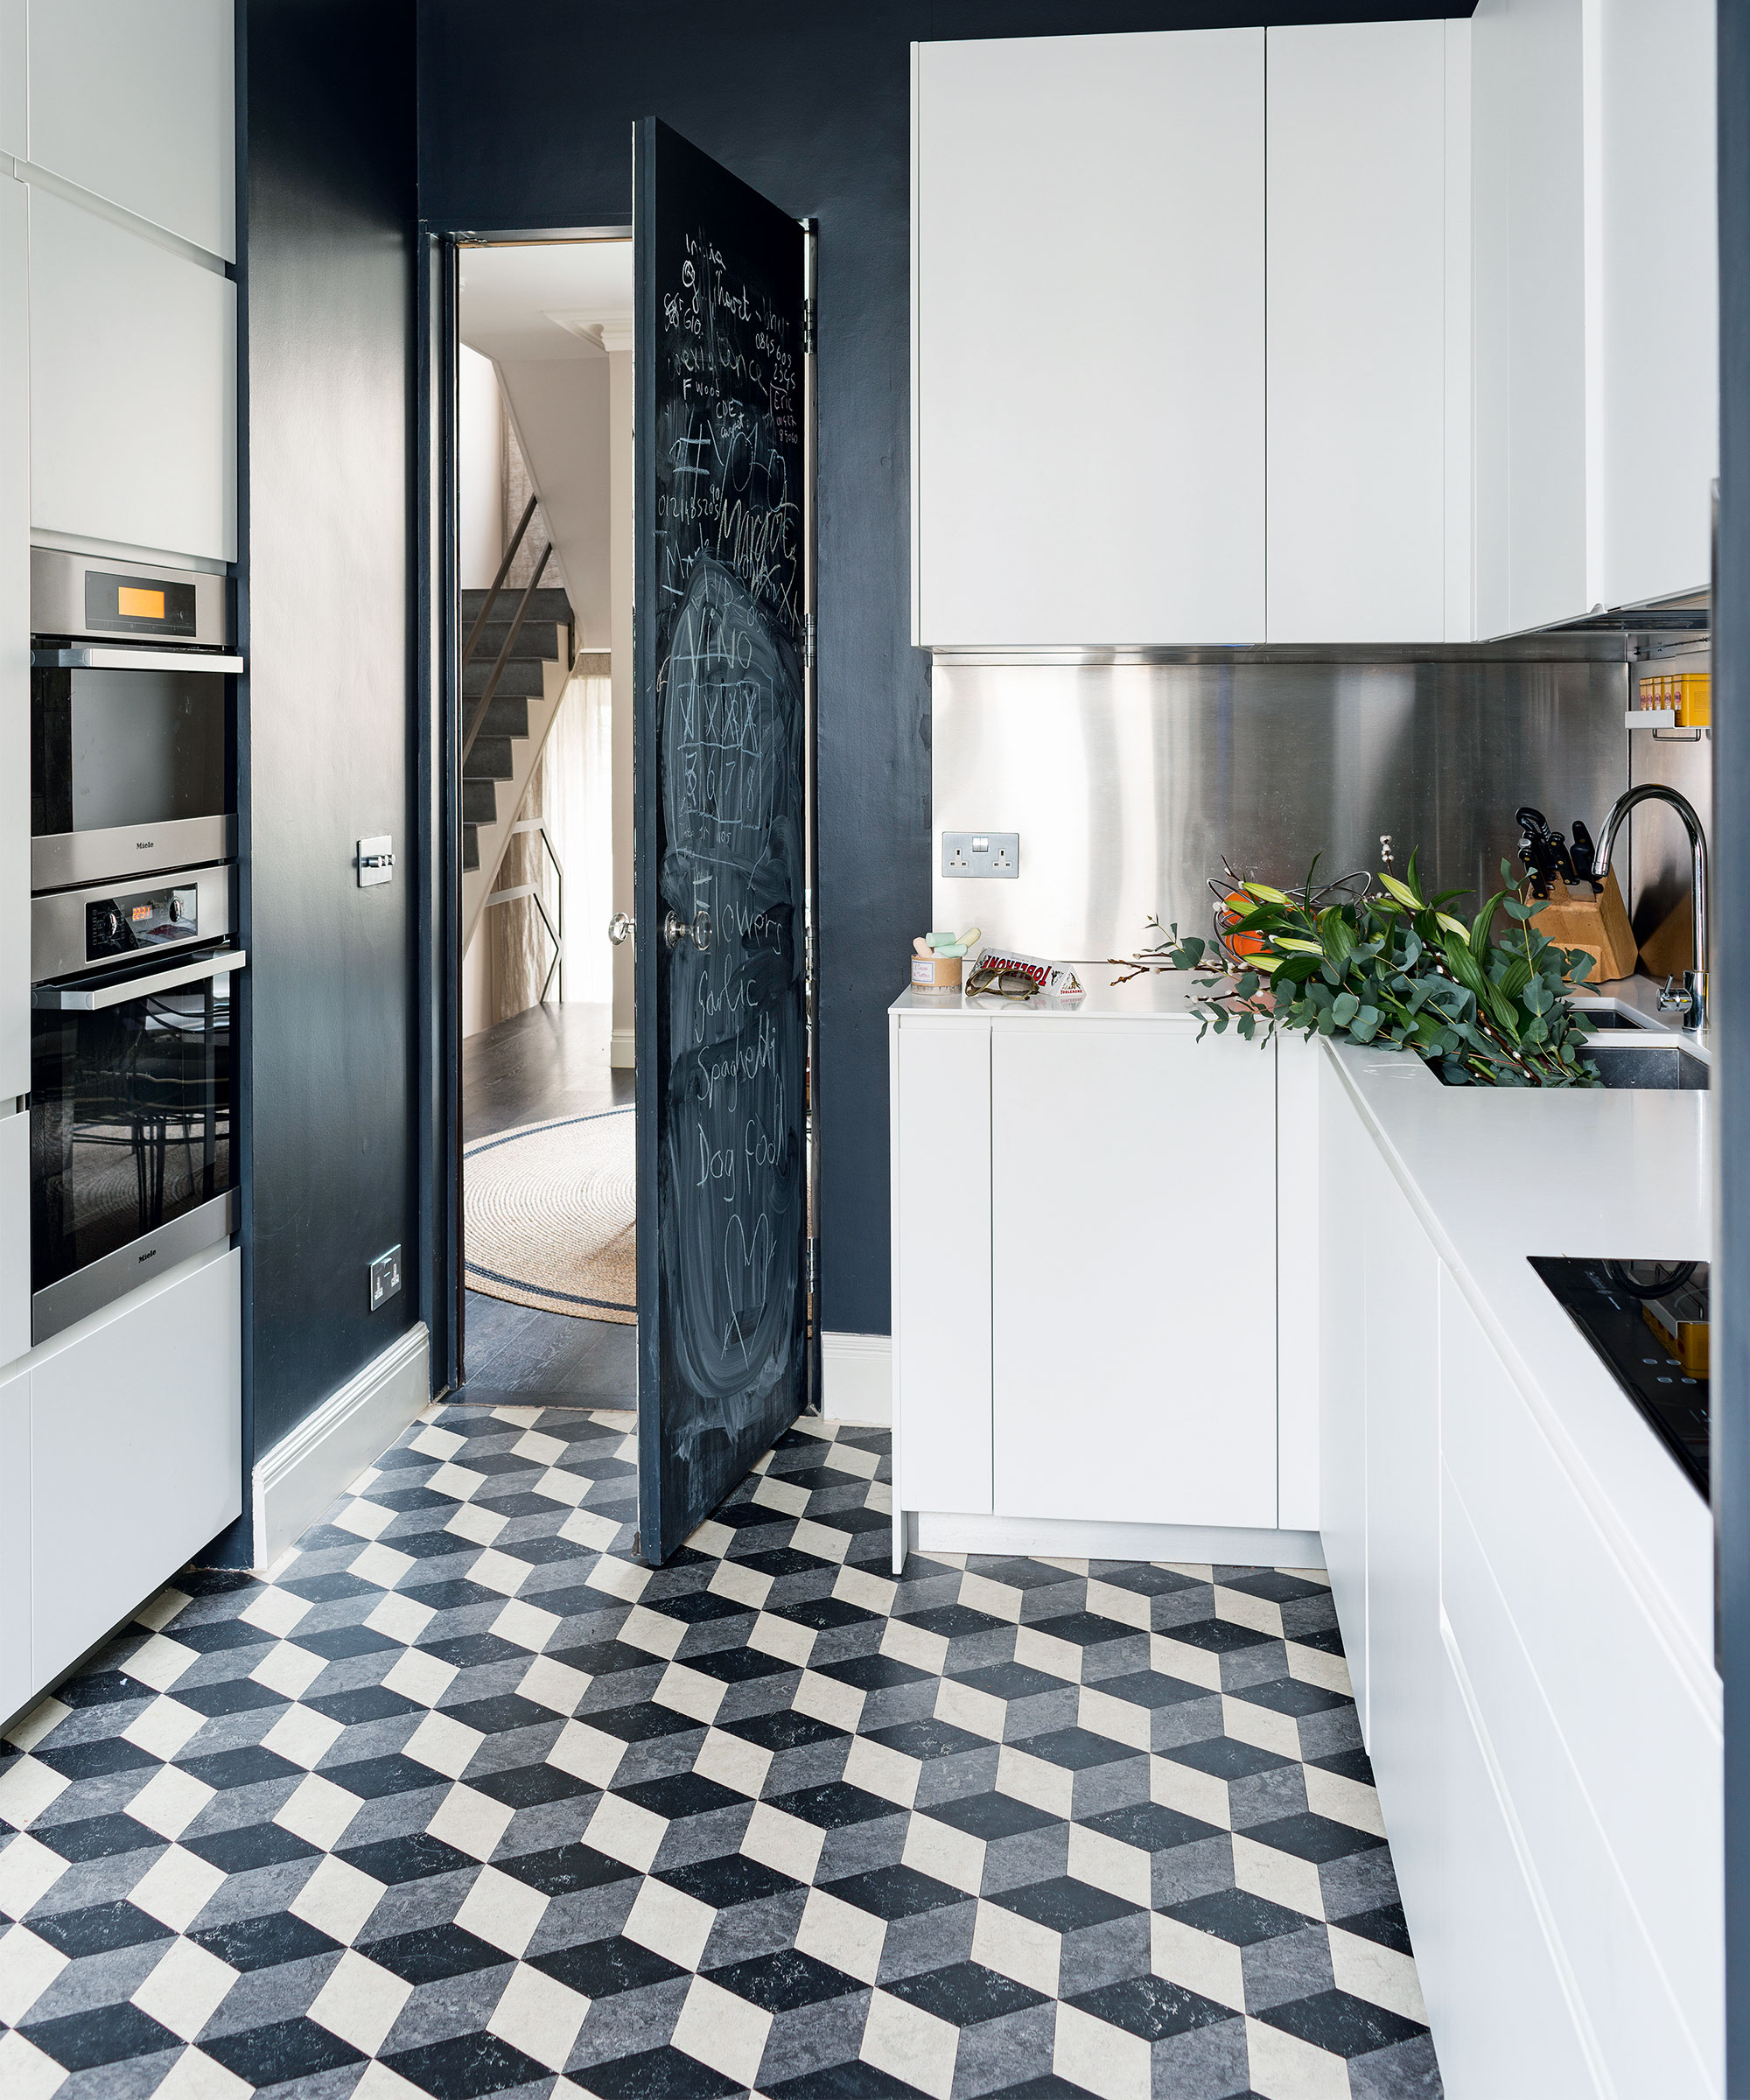
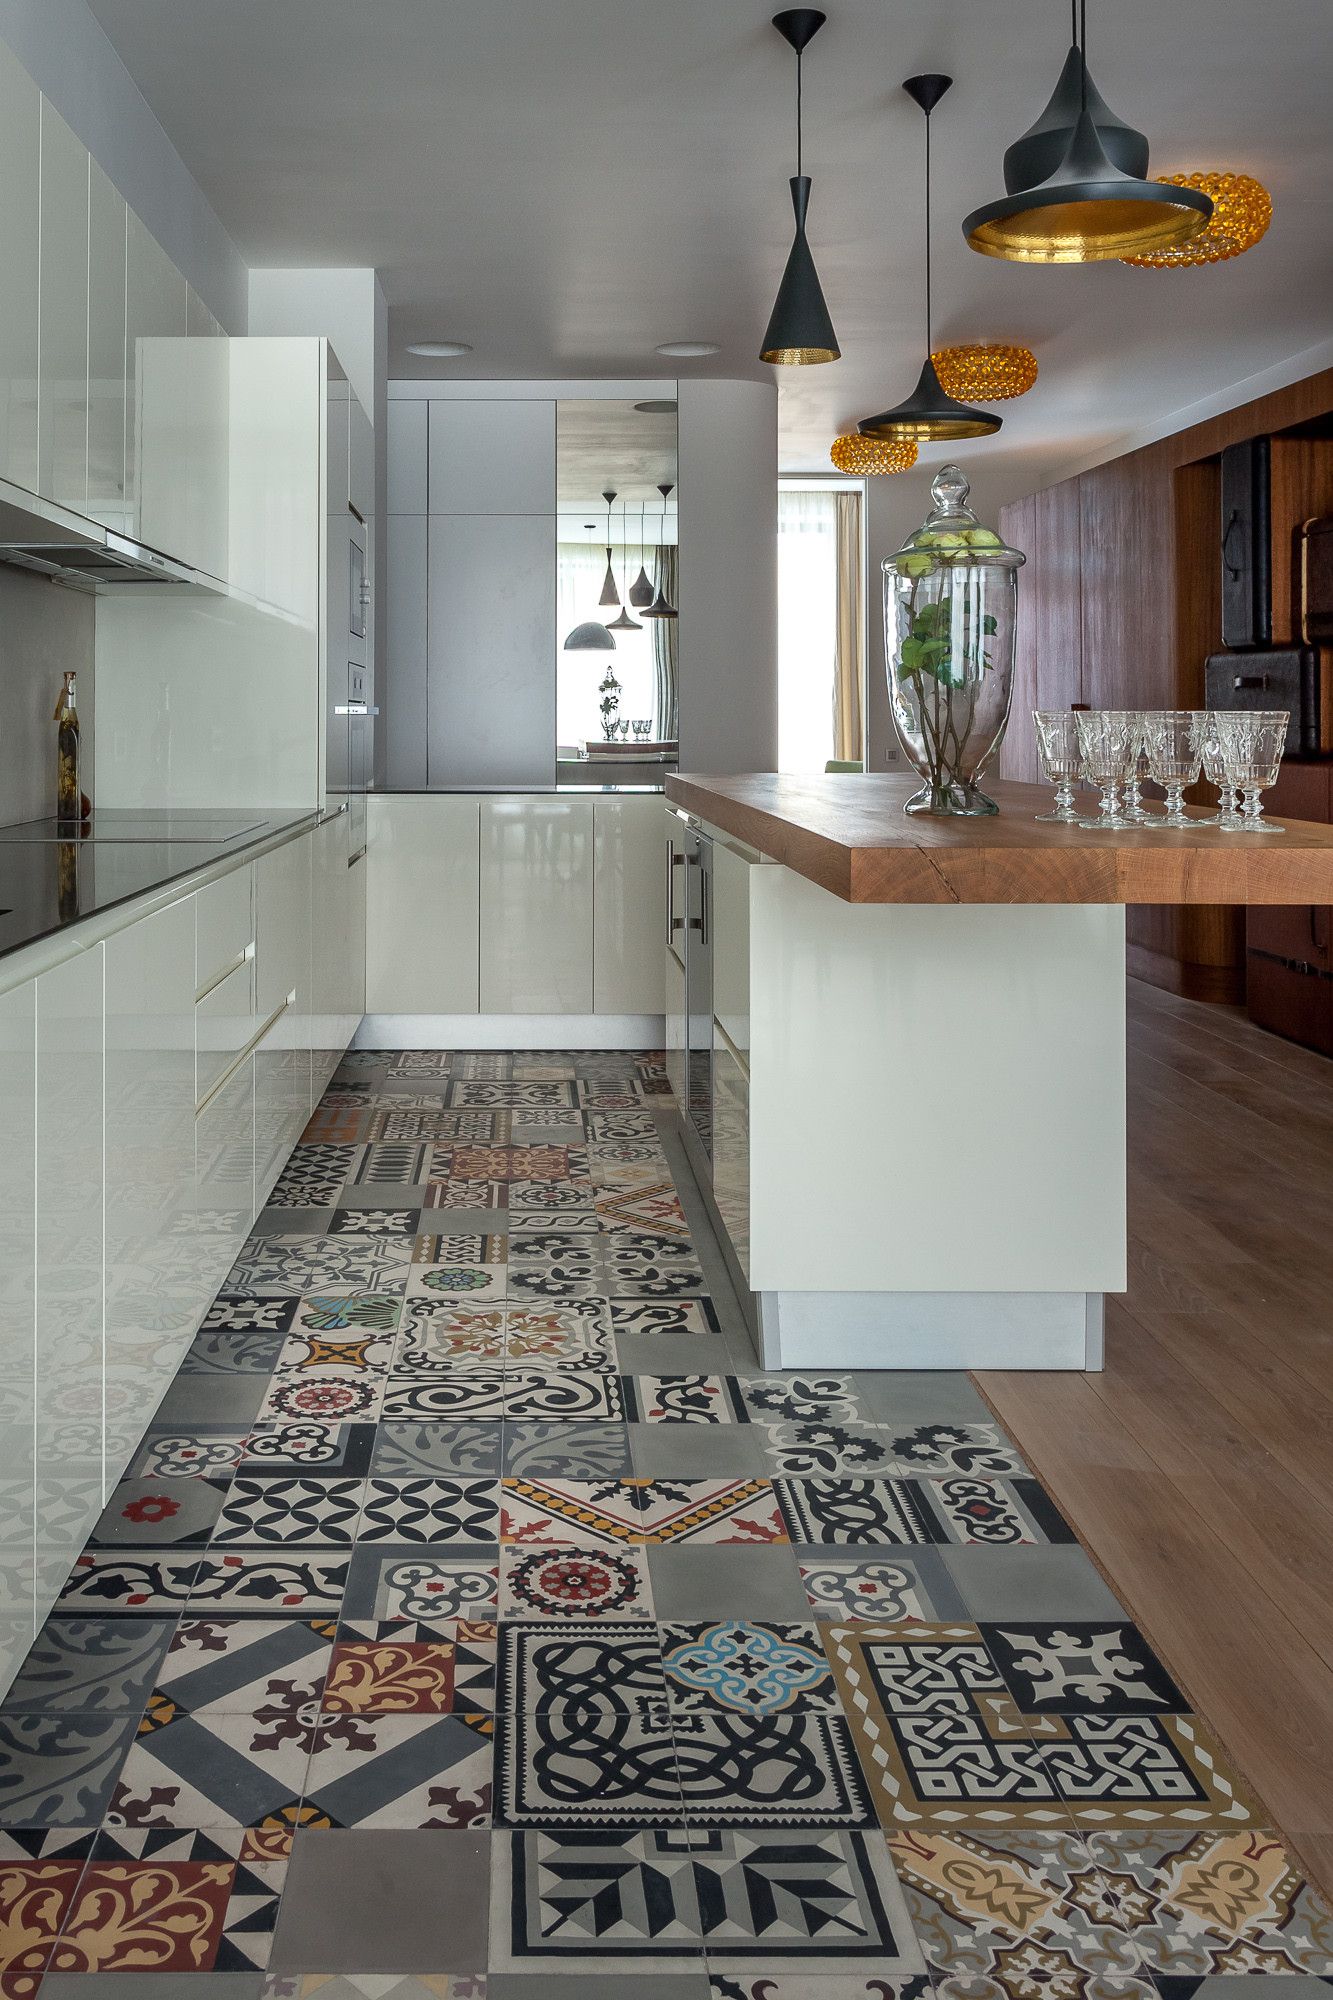
Once I narrowed down my material choices, I became fascinated by how different tile patterns and layouts could completely transform the same space. I spent hours studying design magazines and online galleries, noting how diagonal installations made rooms feel larger, herringbone patterns added sophistication, and large-format tiles created clean, modern looks. The pattern choice seemed almost as important as the material selection itself for achieving the aesthetic I envisioned.
I experimented with different layout options by creating paper templates and laying them out in my kitchen during the planning phase. This exercise revealed how much visual impact the pattern direction and scale could have on the room’s perceived size and flow. Running planks parallel to the longest wall made my narrow kitchen feel more spacious, while a diagonal installation added dynamic energy but made the space feel smaller and more cluttered.
The grout lines also became an important consideration in my pattern planning. Larger tiles with minimal grout lines created the clean, seamless look I preferred, while smaller tiles with contrasting grout could add texture and visual interest. I ultimately chose a running bond pattern with luxury vinyl planks, which provided the classic hardwood appearance with easier installation and maintenance than traditional tile options.
Color Coordination: Making My Floor Work with Everything
Selecting the right color for my kitchen floor became a complex balancing act between my personal preferences, existing design elements, and long-term flexibility for future updates. I had already chosen white shaker cabinets and quartz countertops with subtle gray veining, so I needed a floor color that would complement these elements while providing enough contrast to define the space. The color choice would also need to work with my dining room, which flows directly into the kitchen.
I collected samples of every flooring option I was considering and lived with them in my kitchen for weeks, observing how they looked under different lighting conditions throughout the day. Natural light from my large kitchen window changed dramatically from morning to evening, and the artificial lighting created yet another variation in how colors appeared. This testing period revealed that some colors I initially loved looked completely different under my kitchen’s specific lighting conditions.
After extensive testing, I chose a medium-toned gray-brown luxury vinyl that bridges warm and cool tones beautifully. This color provides subtle contrast against my white cabinets while coordinating with the gray veining in my countertops. The neutral tone gives me flexibility for future backsplash changes or cabinet updates without requiring floor replacement. The color has proven timeless and sophisticated, working well with seasonal decor changes and different styling approaches.
Practical Considerations: Durability Meets Daily Kitchen Life
Living with my kitchen floor choice for two years has taught me that practical performance matters just as much as aesthetic appeal. My kitchen sees heavy daily use from cooking, cleaning, kids’ activities, and entertaining, so durability and maintenance requirements were crucial factors in my selection process. I needed flooring that could handle dropped dishes, spilled liquids, pet accidents, and constant foot traffic without showing excessive wear or requiring constant upkeep.
The waterproof properties of my luxury vinyl planks have proven invaluable in real-world use. I’ve dealt with everything from dishwasher leaks to broken water bottles without any floor damage or concerns about moisture penetration. Cleanup is remarkably easy, usually requiring just a quick mop or even paper towels for minor spills. This peace of mind has been especially important during holiday cooking sessions and kids’ birthday parties where accidents are inevitable.
Scratch and dent resistance has exceeded my expectations, even with heavy appliances, dropped cookware, and furniture moving. The protective wear layer on quality luxury vinyl planks provides excellent protection against daily abuse while maintaining its appearance. I use furniture pads under bar stools and keep the floor clean of debris that might cause scratches, but overall maintenance has been minimal compared to other flooring options I’ve used in previous homes.
Installation Challenges and Solutions I Discovered
The installation process presented several challenges that I hadn’t fully anticipated during my planning phase. My kitchen has an irregular layout with multiple doorways, built-in appliances, and transition areas that required careful measurement and custom cutting. I initially planned to install the flooring myself, but quickly realized that achieving professional results would require more skill and specialized tools than I possessed, especially around the complex areas.
Working around existing cabinets and appliances became particularly tricky since I was doing a floor-only renovation rather than a complete kitchen gut. The flooring needed to fit precisely under appliance kick plates and around cabinet toe kicks without creating gaps or uneven transitions. My installer had to remove and reinstall several appliances to achieve proper fit and finish, which added time and complexity to the project beyond my initial estimates.
The transition areas where my kitchen floor meets the dining room hardwood and hallway tile required special attention and custom trim pieces. Creating smooth, attractive transitions between different flooring materials and heights is both an art and a science that requires experience and proper materials. I’m grateful I hired professionals for the installation, as these details make a huge difference in the final appearance and functionality of the finished floor.
Budget-Friendly Design Ideas That Look Expensive
One of my biggest concerns during the kitchen floor planning process was achieving a high-end look without breaking my renovation budget. I discovered several strategies that allowed me to create an expensive appearance while keeping costs reasonable. The key was focusing on quality materials in simple patterns rather than cheap materials in complex designs that might look trendy but dated quickly.
Choosing luxury vinyl planks with realistic wood grain textures and proper plank dimensions gave me the hardwood look I wanted at a fraction of the cost. I invested in higher-quality products with thicker wear layers and better locking systems, which provided superior performance and appearance compared to budget options. The installation savings from luxury vinyl versus hardwood allowed me to upgrade to premium products that look authentically expensive.
I also saved money by keeping the pattern simple and classic rather than choosing trendy designs that might require replacement sooner. The straight plank installation was more affordable than herringbone or diagonal patterns while still creating a sophisticated, timeless appearance. I splurged on quality baseboards and transition strips, which provide the finished, custom look that makes budget-friendly floors appear much more expensive than their actual cost.
How do I choose the right kitchen floor color that won’t look dated in five years?
I chose a neutral gray-brown that bridges warm and cool tones, avoiding trendy colors like pure gray or honey oak. Stick with classic medium tones that complement both traditional and modern styles. Test samples in your actual lighting for at least a week before deciding. Neutral doesn’t mean boring; it means versatile and timeless.
What’s the most practical kitchen flooring for families with kids and pets?
Luxury vinyl planks have been perfect for my family. They’re completely waterproof, scratch-resistant, and easy to clean. Unlike hardwood, they don’t show water damage from pet accidents or spills. The cushioned feel is comfortable underfoot, and quality products look incredibly realistic. Maintenance is simple sweeping and occasional mopping.

Should I install kitchen flooring under appliances or around them?
I installed around existing appliances since I was only updating floors, not doing a complete renovation. This saved money but required careful cutting and fitting. For new construction or full renovations, installing under appliances provides better protection and easier future appliance replacement, but costs more upfront.
How much should I budget for professional kitchen floor installation?
My 200 square foot kitchen cost $3,500 total, including materials and installation. Luxury vinyl runs $3-8 per square foot installed, depending on quality. Tile installation costs $5-15 per square foot. Hardwood ranges from $8-20 per square foot installed. Always get multiple quotes and factor in subfloor prep, transitions, and appliance moving.

What kitchen flooring works best with an open floor plan?
Since my kitchen flows into dining and living areas, I needed flooring that coordinated with adjacent spaces. I chose luxury vinyl that complements my dining room hardwood while providing kitchen-specific performance benefits. Consider sight lines and traffic flow when selecting materials and patterns for open concepts.
How do I handle the transition between kitchen flooring and adjacent rooms?
Transition strips and careful planning are crucial. My installer used custom trim pieces to create smooth transitions between my vinyl kitchen floor and hardwood dining room. The key is maintaining consistent heights and using quality transition materials. Professional installation really matters for achieving seamless, attractive transitions between different flooring types.

Best Kitchen Floor Tile Ideas – Flooring Designs

Modern Kitchen Floor Tiles Designs
Kitchen Flooring Options and Design Ideas
Kitchen Floor Tile Ideas – Flooring Designs Kitchen

Kitchen Floor Tile Designs

Tiled Flooring ideas tile floor, flooring, kitchen flooring

Kitchen Flooring That Will Endure the Test of Time
Best Kitchen Floor Tile Ideas & Pictures
Related Posts: