Any area of the home of yours that experiences heavy traffic, such as the kitchen or perhaps living room can gain from ceramic kitchen flooring. The right kitchen area flooring will definitely contribute to the complete style and look of your kitchen, can easily change the ambiance, and can really enhance the majority of the decoration in the room.
Images about How To Install Vinyl Flooring In Kitchen
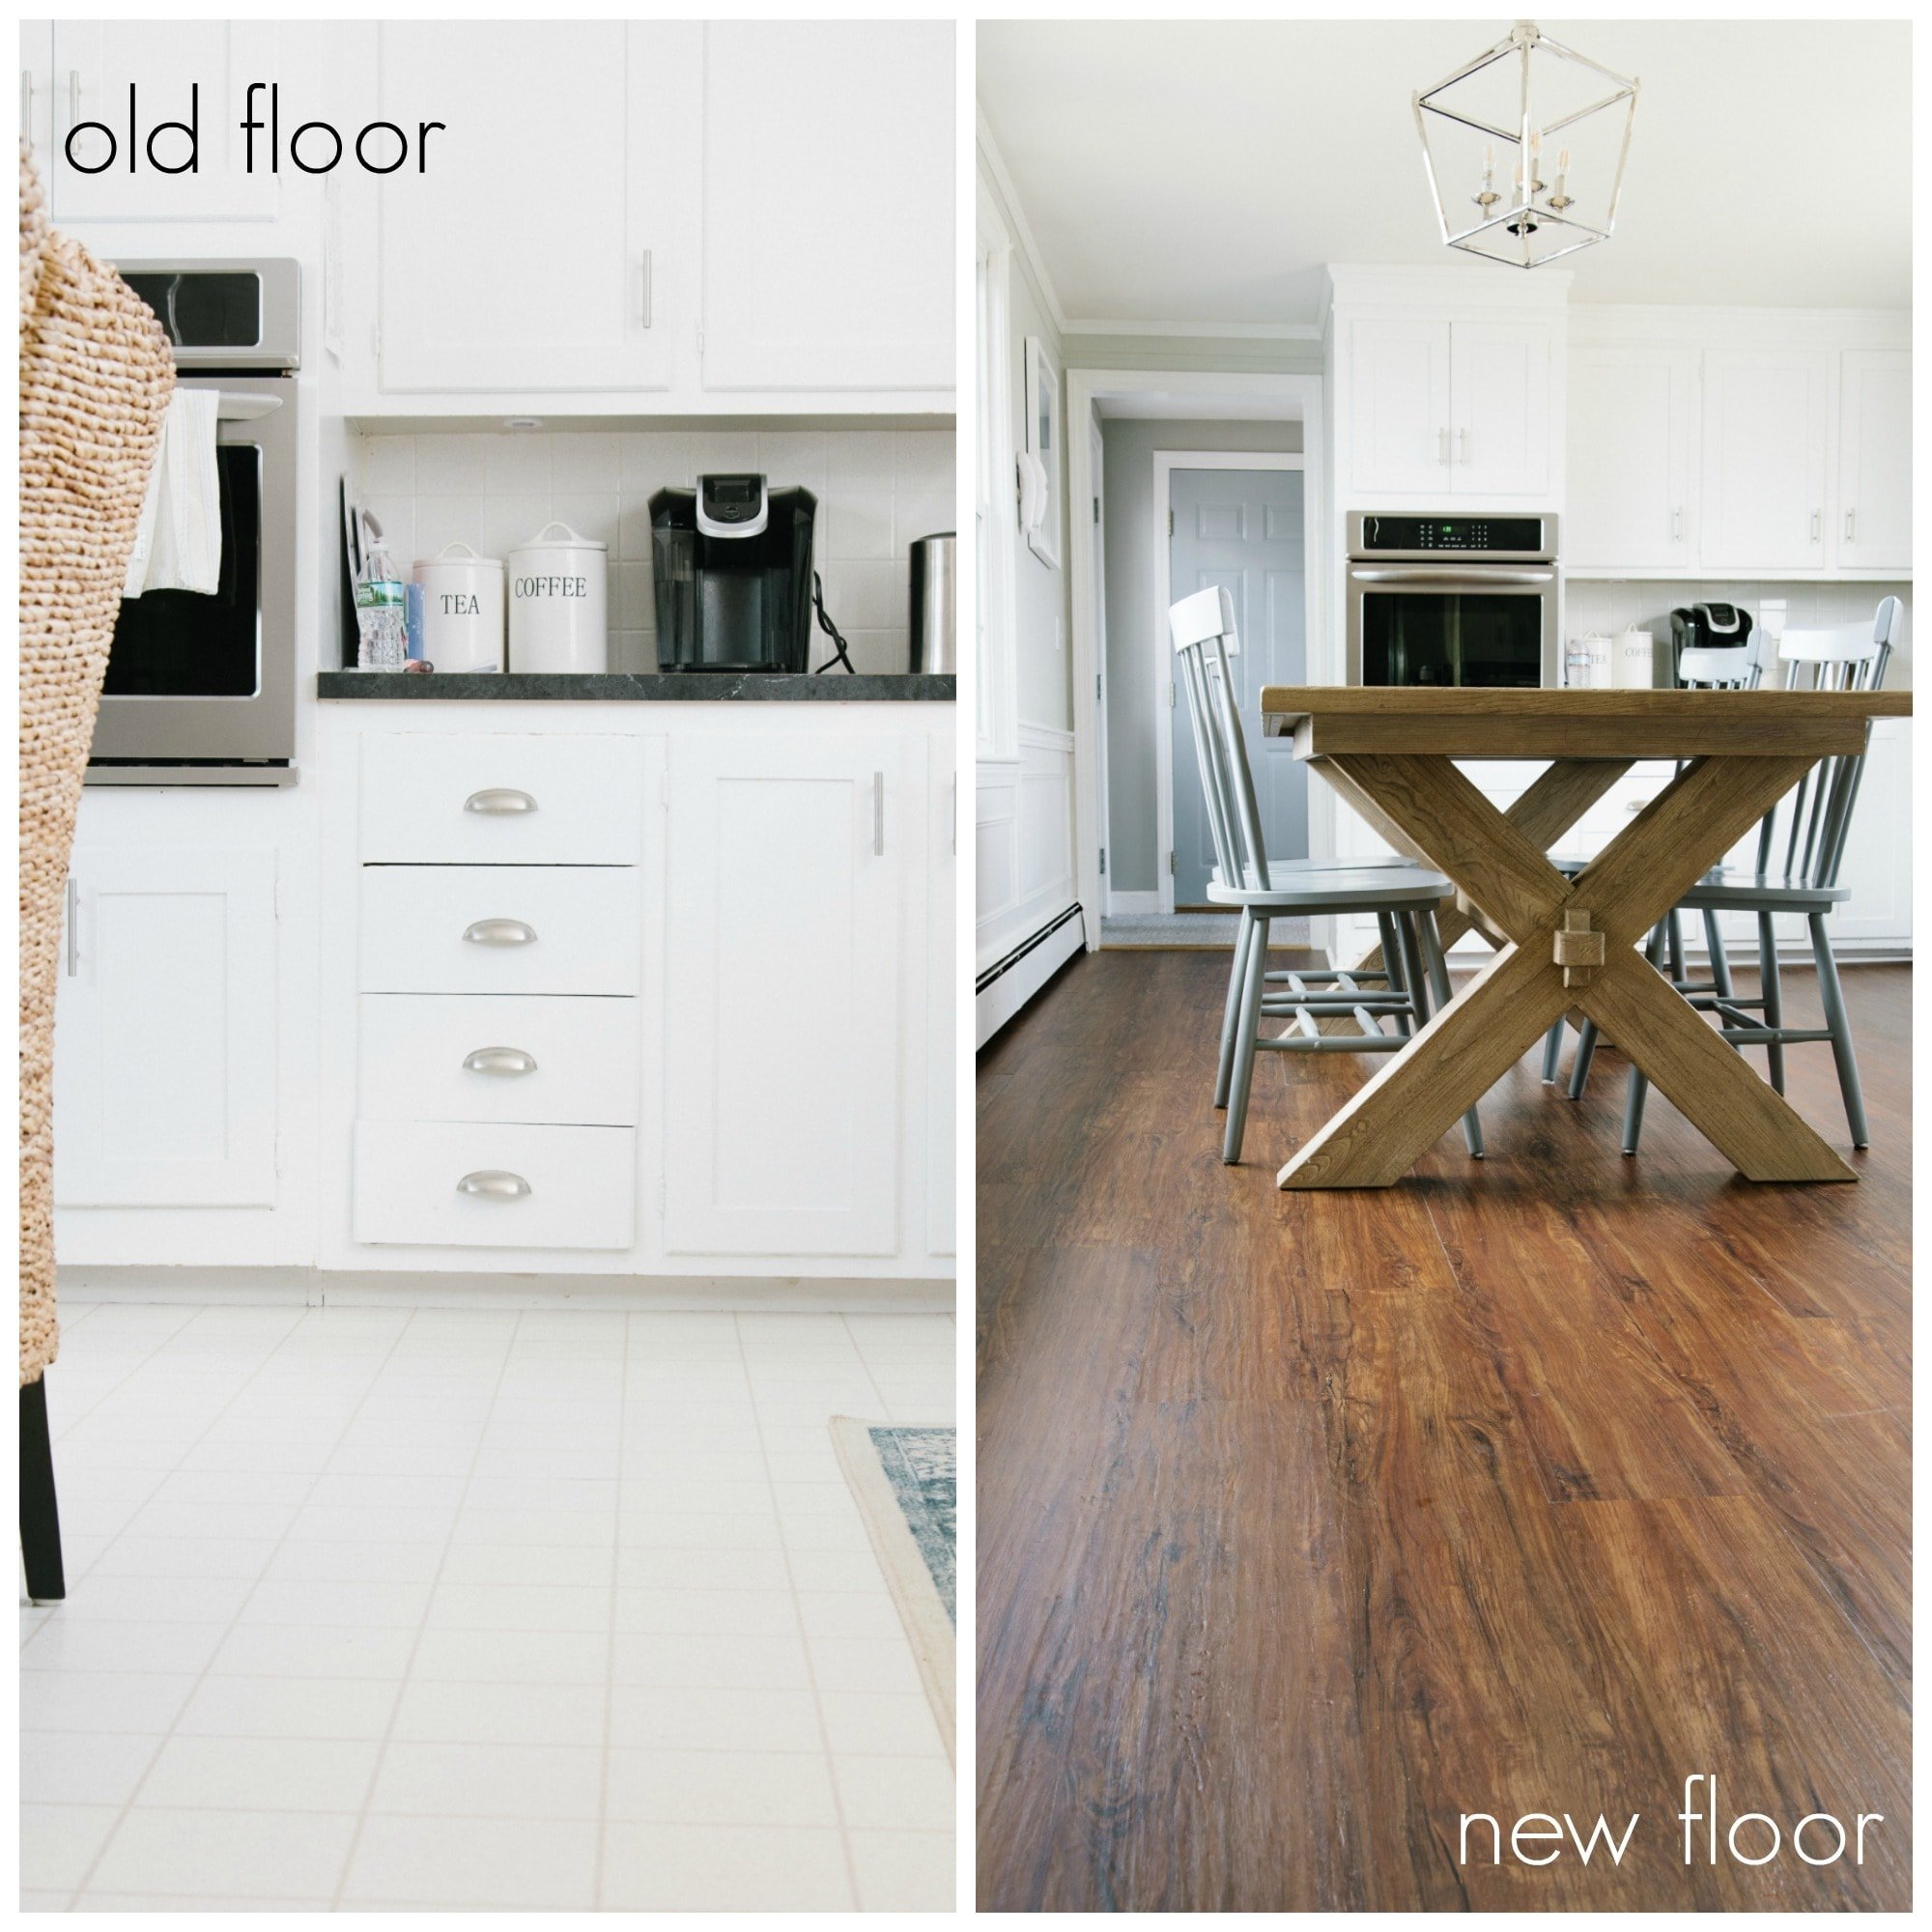
How To Install Vinyl Flooring In Kitchen

Moreover, this kind of kitchen flooring often requires proper care and maintenance. This style stops bacteria, germs, and dirt from getting trapped in the seams inside the exact same way it can in traditional flooring. It’s essential to decide on the appropriate material with regards to Kitchen Flooring. Stronger colors may work in a small kitchen, yet not in an even greater one.
How To Install Vinyl Plank Flooring – Kitchen Infinity
:max_bytes(150000):strip_icc()/easy-install-plank-vinyl-flooring-1822808-06-3bb4422ca1bd49b080bfa73bce749acc.jpg)
One thing that you need to remember when buying hardwood kitchen area flooring is buying wood that’s been pre-finished, as pre finished flooring is much less inclined to become damaged, you will not have to stain or handle it yourself, and also it comes in a broad range of different styles and colors and finishes. Feel the materials they’ve and see the quality they’ve to provide.
Tips For Installing A Kitchen Vinyl Tile Floor merrypad

How to Install Vinyl Plank Flooring – This Old House
/cdn.vox-cdn.com/uploads/chorus_asset/file/23200107/ASK_2016_VinylFlooring_SFa.jpg)
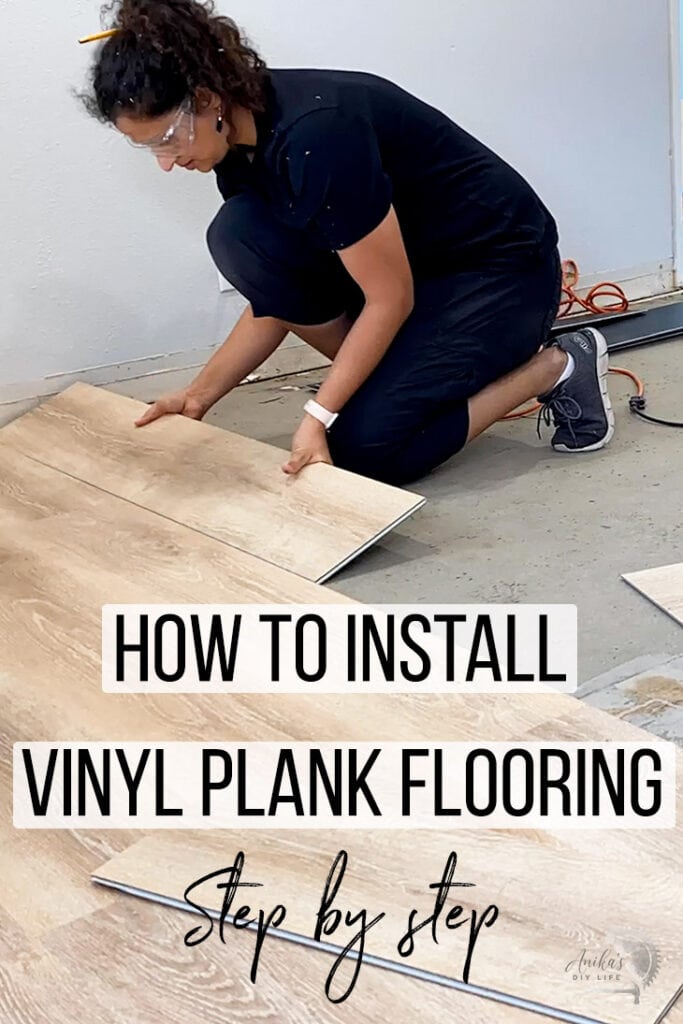
Installing Vinyl Plank Flooring For Beginners – Anikau0027s DIY Life
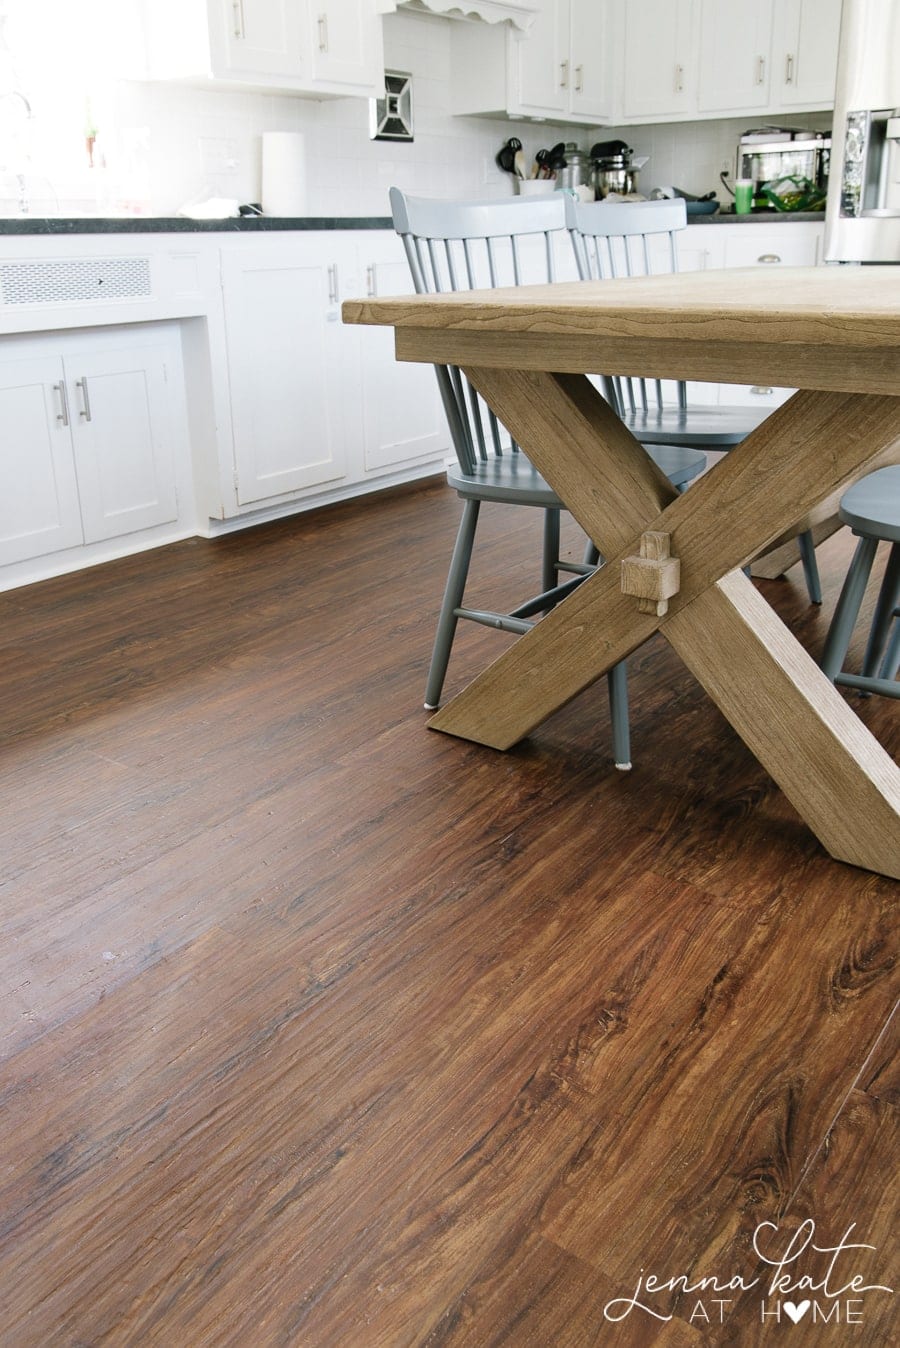
How to Install Luxury Vinyl Plank Flooring – Jenna Kate at Home
10 Beginner Mistakes Installing Vinyl Plank Flooring – YouTube

How to Install Vinyl Plank Flooring
/easy-install-plank-vinyl-flooring-1822808-10-6cfb7acfac434155a53e0ef80bfbc825.jpg)
Installing Vinyl Plank Flooring – How To FixThisBuildThat

How to Install Luxury Vinyl Plank Flooring
How to Install Vinyl Plank Flooring
How to Install Vinyl Plank Flooring

How to Install Luxury Vinyl Plank Flooring – Jenna Kate at Home
LVT Flooring Over Existing Tile the Easy Way – Vinyl Floor

Related Posts:
- Commercial Kitchen Floor
- Polished Concrete Floor Kitchen
- Cream Kitchen Floor Tiles Ideas
- Black Slate Tile Kitchen Floor
- Industrial Kitchen Floor Tiles
- Ceramic Tile Kitchen Floor
- Kitchen Floor Designs
- Light Grey Wood Floor Kitchen
- Grey Vinyl Flooring Kitchen
- Country Kitchen Flooring
How To Install Vinyl Flooring In Kitchen
Vinyl flooring is a great choice for kitchens as it’s highly durable, water-resistant, and relatively easy to install. Whether you’re looking to upgrade your kitchen with a modern look or something more traditional, vinyl flooring is a great choice. Read on for an in-depth guide on how to install vinyl flooring in your kitchen.
Materials Needed for Installation
Before you begin the installation process, make sure you have all the necessary materials on hand. You will need:
• Vinyl flooring
• Underlayment
• Tape measure
• Pencil
• Chalk line
• Utility knife
• Thin putty knife
• Trowel
• Floor roller
• Mastic adhesive
• Tape
Preparation
In order to properly install your vinyl flooring, it’s important to start with a clean and level surface. Remove any existing flooring, such as carpet or tile, and patch any holes or cracks. Sweep the area to ensure that it is free of dirt and debris. Subfloor should be free of moisture and level. If there are large dips or bumps, use a self-leveling compound to even out the surface.
Layout and Cut Pieces
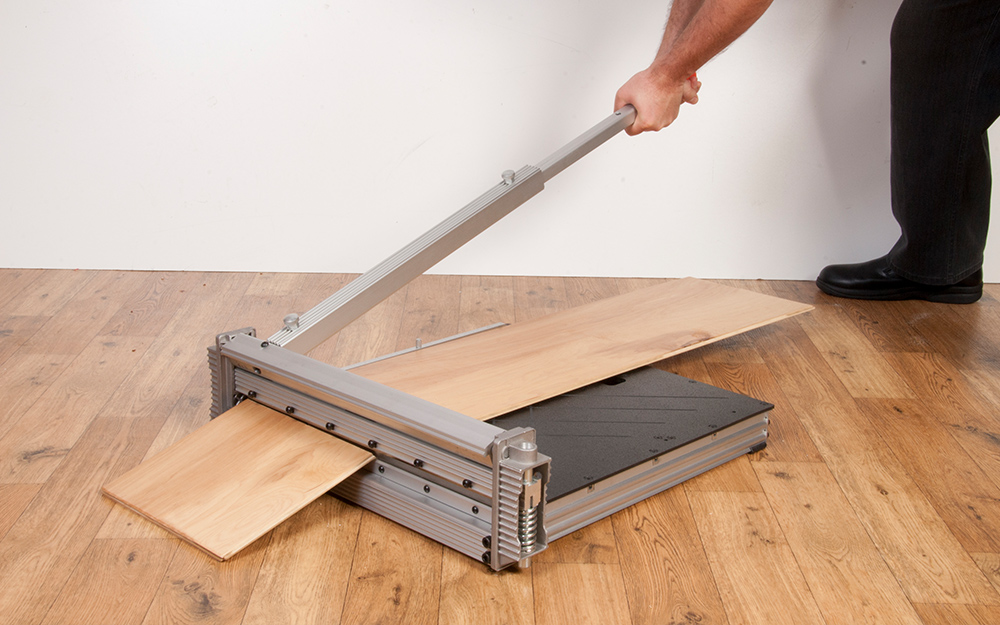
Begin by measuring the room carefully and refer to the manufacturer’s instructions for exact layout recommendations. Mark the center of the room and draw a chalk line from corner to corner to create a reference point. Place the first piece of vinyl along one wall with the tongue side facing inward. Use a utility knife to trim the vinyl along the walls and other edges as needed.
Adhesive Application
Using a trowel, spread mastic adhesive along the entire length of the subfloor where you plan to install your vinyl flooring. Start at one corner and work your way across the room, making sure that you spread an even layer of adhesive over the entire surface. Allow it to dry according to manufacturer’s instructions.
Installation
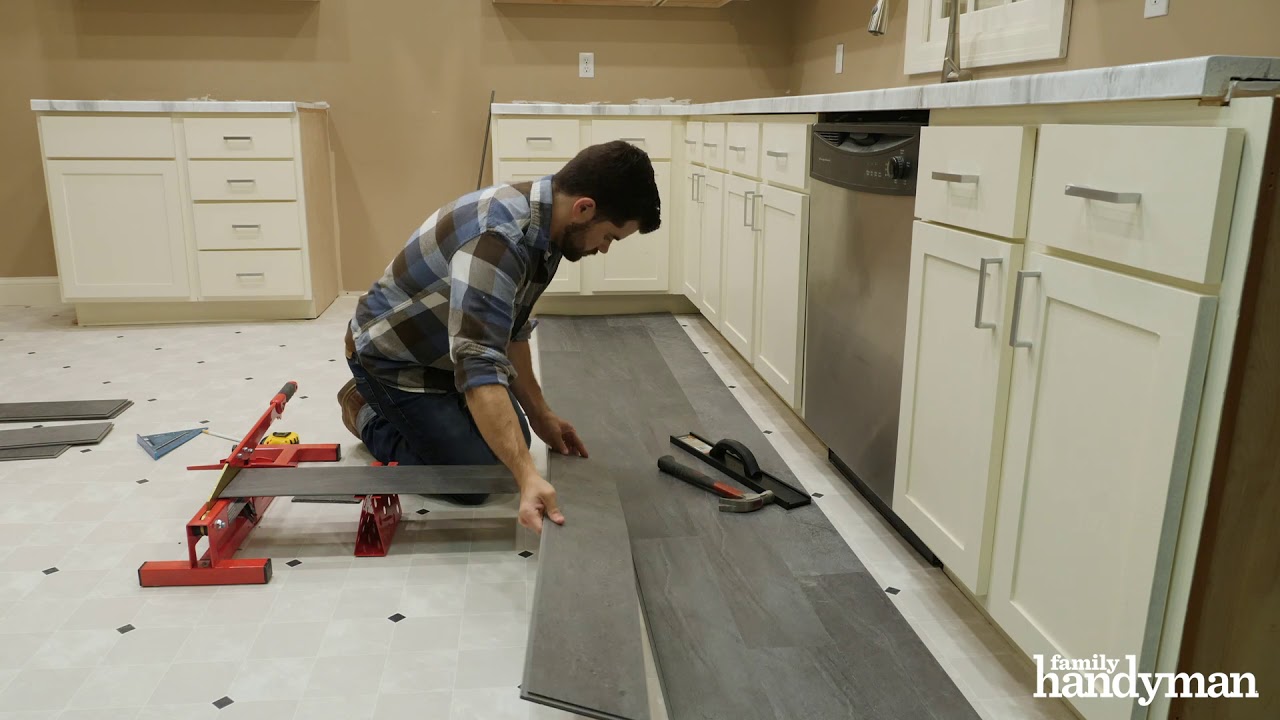
Once the adhesive has dried, begin laying down your vinyl pieces in rows starting from one corner of the room. Place each piece so that it locks into place with the tongue side facing inward. Make sure that seams fit tightly together. Use a thin putty knife to press any air bubbles out from underneath each piece of vinyl as you lay them down. When you get close to walls or other obstacles, use a utility knife to trim away any excess material for a perfect fit.
Finish Up
Once all pieces have been laid down, use a floor roller to ensure that they are firmly attached to the subfloor. Make sure that any seams are sealed with tape. Finally, let the adhesive dry completely before walking on your new vinyl kitchen floor!
FAQs
Q: Is vinyl flooring waterproof?
A: Yes, vinyl flooring is waterproof and highly resistant to moisture damage, making it an ideal choice for kitchens.
Q: How long does it take for adhesive to dry?
A: Depending on environmental conditions, mastic adhesive can take anywhere from 24-48 hours to fully dry and cure before you can walk on it.
Q: What type of subfloor is best for vinyl flooring?
A: Vinyl can be installed over concrete, wood, or plywood subfloors as long as they are level and free from moisture.