When I decided to replace the outdated vinyl tile in my kitchen last year, I naively thought removal would be the easy part. I imagined pulling up tiles in an afternoon, then spending my time on the fun stuff like choosing new flooring.
Instead, I spent three exhausting days scraping, heating, and wrestling with stubborn adhesive. I learned that vinyl tile removal is physically demanding, sometimes surprisingly tricky, and absolutely requires the right approach and tools. Here’s everything I figured out through trial, error, and more than a few frustrated moments.
Understanding What You’re Actually Dealing With
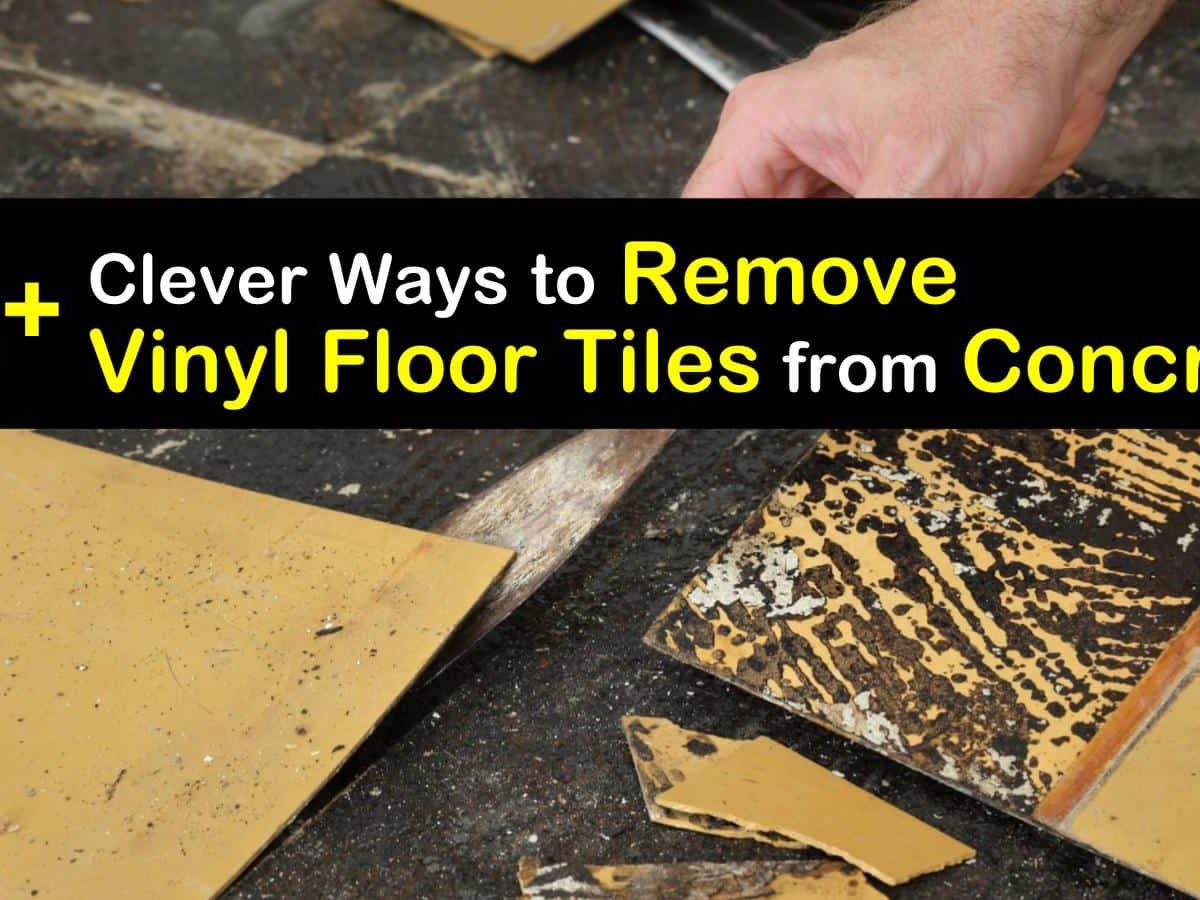
Before I started ripping up tiles, I wish I’d taken time to understand what type of vinyl tiles I had and how they were installed. Vinyl tiles generally fall into two categories: peel-and-stick tiles with pressure-sensitive adhesive, and traditional vinyl tiles installed with mastic or glue spread across the subfloor. The removal difficulty differs dramatically between these types. My kitchen had the latter, installed sometime in the 1980s with rock-solid mastic that had decades to cure into an almost concrete-like bond.
I also learned, unfortunately after I’d already started, that vinyl tiles installed before the mid-1980s may contain asbestos. This is genuinely serious and not something to take lightly. If your tiles or the backing looks old and you’re unsure of the installation date, getting a professional asbestos test before disturbing anything is critical.
Asbestos fibers become dangerous when airborne, and DIY removal of asbestos-containing materials can expose you and your family to serious health risks. My tiles tested negative, but that $50 test gave me essential peace of mind.
The condition of your subfloor beneath the vinyl matters too, though you won’t know for sure until you start removing tiles. My subfloor was plywood in decent shape, which meant I could scrape adhesive off and reuse it.
Some subfloors, particularly particle board or badly damaged plywood, might need replacement entirely. Understanding this possibility upfront helps you budget and plan realistically. I got lucky, but I’d watched enough renovation videos to know that subfloor damage was a real possibility I needed to be prepared for.
Tools and Materials That Actually Made a Difference
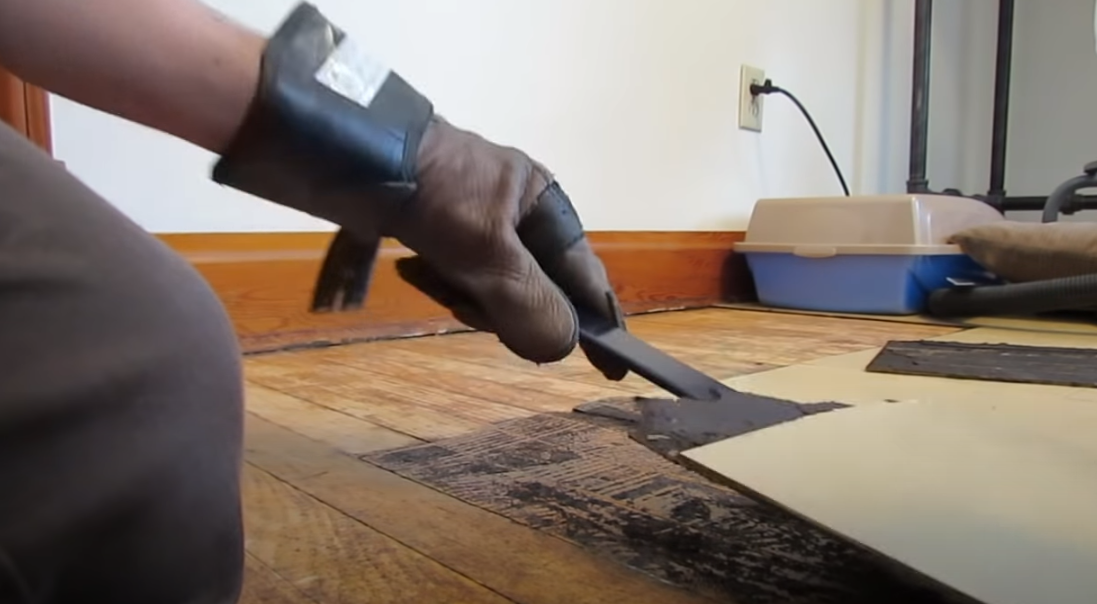
I started my vinyl tile removal project with just a putty knife and determination. That lasted about 20 minutes before I realized I needed serious help. The tool that changed everything for me was a long-handled floor scraper with a sharp, wide blade. I bought one at the hardware store for about $35, and it was worth every penny. The long handle provided leverage and saved my back from the hunched-over position I’d been in with the putty knife.
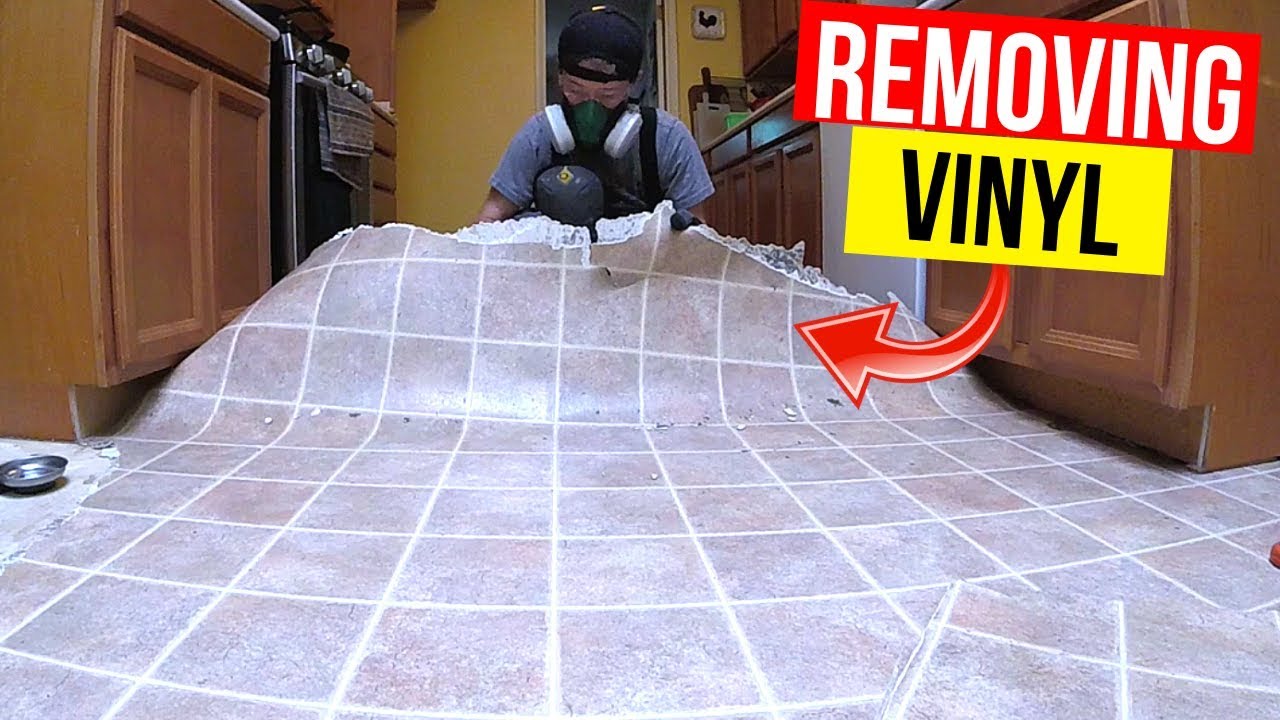
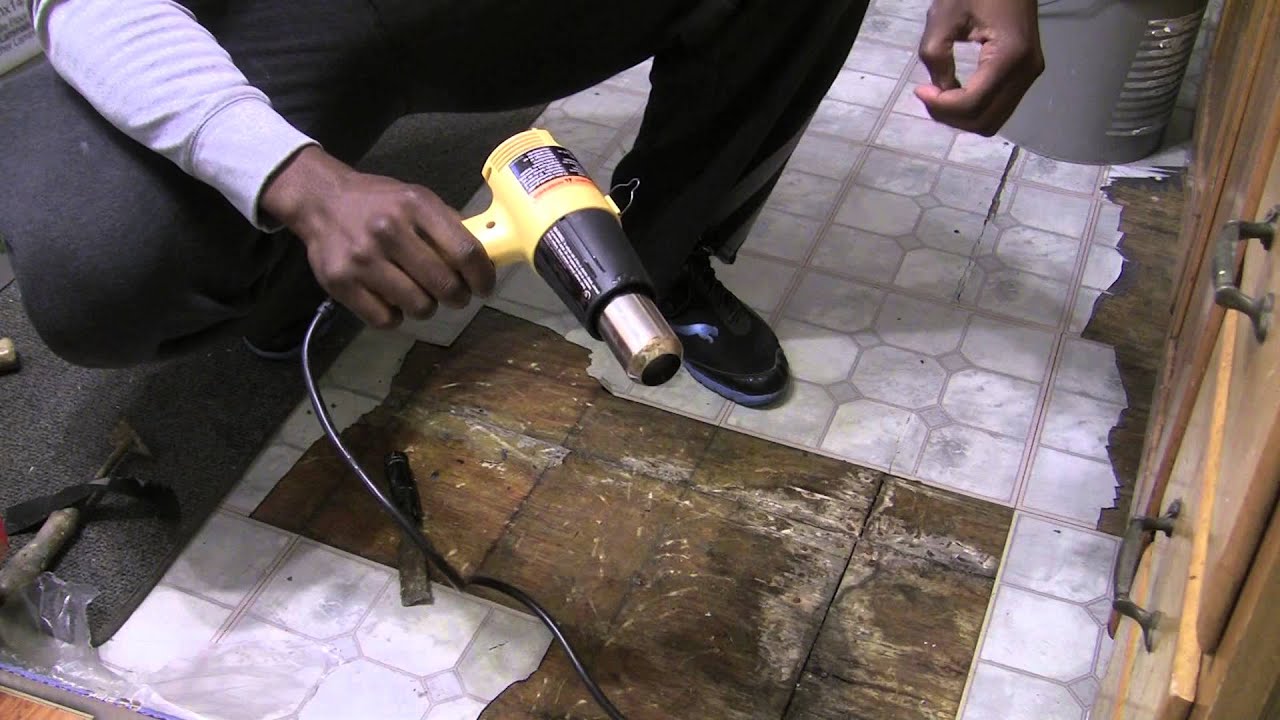
Heat became my secret weapon for stubborn tiles. I used a heat gun on the low setting to warm tiles and soften the adhesive before scraping. This made removal significantly easier, though it required patience because you can’t rush the heating process. Some people recommend hair dryers for this, but I found a proper heat gun more effective. I also kept a spray bottle of hot soapy water handy to help dissolve adhesive as I worked, which helped on areas where heat alone wasn’t enough.
Safety equipment matters more than I initially thought. I wore knee pads because I spent hours kneeling on hard subfloor, heavy work gloves to protect my hands from sharp tools and tile edges, and a respirator mask because scraping adhesive creates dust you really don’t want to breathe. Safety glasses protected my eyes from flying debris. I felt slightly ridiculous in full gear removing kitchen flooring, but I emerged from the project without injuries, which made the precautions completely worthwhile. Don’t skip the safety equipment even if it feels excessive.
My Step-by-Step Removal Process
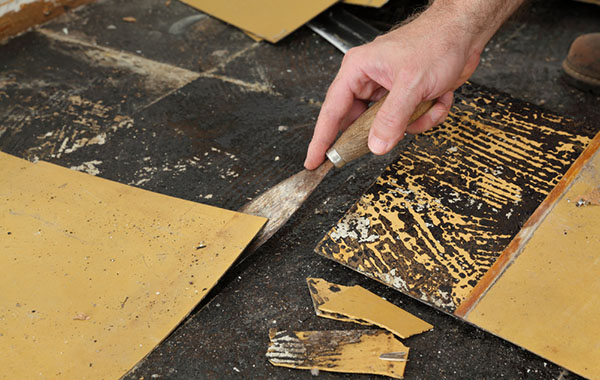
I started in a corner of my kitchen near the doorway, using a putty knife to work under the edge of a tile and pop it up. Some tiles lifted easily, particularly newer peel-and-stick ones near a threshold that had been replaced more recently. Most, however, fought me every step of the way. The key was finding tiles with lifted edges or damage where I could get my scraper underneath, then using that as a starting point to work systematically across the floor.
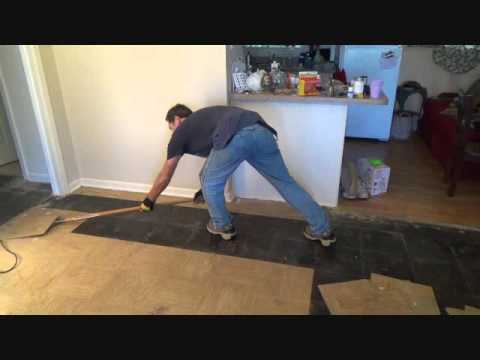
Once I got a few tiles up, I switched to my long-handled floor scraper for the majority of the work. I positioned the blade at a low angle, pushed forward with steady pressure, and felt immensely satisfied when tiles popped free. The technique required surprisingly little strength once I found the right angle and rhythm, mostly just patience and repetition. I worked in roughly three-foot square sections, removing tiles completely before moving to the next area rather than skipping around the room randomly.
The adhesive residue removal took longer than the tile removal itself. After all tiles were up, I went back with my scraper held at a sharper angle to scrape off as much dried adhesive as possible. For really stubborn spots, I applied heat with my heat gun, let it soften for 30 seconds, then scraped while the adhesive was still warm and pliable. In a few particularly difficult areas, I used an adhesive remover solvent following the manufacturer’s instructions carefully in a well-ventilated space. This chemical approach worked but created strong fumes, so I saved it for only the most stubborn spots.
Dealing With Difficult Tiles and Stubborn Adhesive
About halfway through my kitchen, I hit a section where tiles simply would not budge using my standard approach. The adhesive in this area seemed even stronger, possibly because it was near the stove where heat over decades had further hardened the bond. I almost gave up and considered hiring professionals to finish. Instead, I tried a different technique: scoring the surface of the tiles with a utility knife in a crosshatch pattern before applying heat and scraping. This broke the surface tension and gave my scraper something to grip, and suddenly those impossible tiles started coming up.
I also discovered that working when the room was warmest made a noticeable difference. Tiles and adhesive that seemed impossibly stuck in the cool morning lifted more easily in the afternoon when the kitchen had warmed up from sunlight and the heat of my own work. On one particularly cold day, I actually used a space heater to warm the room for 30 minutes before starting, which definitely helped. Temperature affects adhesive pliability more than I’d realized, and working with rather than against this factor saved me considerable frustration.
For adhesive that seemed welded to the subfloor, I found that patience mattered more than force. Aggressive scraping risked gouging the plywood beneath, and I caught myself damaging the subfloor a few times before I learned to work more gently. Multiple passes with moderate pressure proved more effective than trying to force everything off in one aggressive scrape. In the most stubborn spots, I applied adhesive remover, covered it with plastic wrap to prevent evaporation, let it sit for 30 minutes, then scraped. This soaking method loosened even decades-old mastic that had previously seemed permanent.
Subfloor Assessment and Repair After Tile Removal
Once all tiles and most adhesive were removed, I swept thoroughly and then assessed my subfloor condition honestly. I had a few areas where the plywood showed water damage, likely from decades-old spills that had seeped through tile seams. These sections felt soft when I pressed on them and needed replacement. I cut out the damaged sections with a circular saw, being extremely careful not to cut into floor joists below, and replaced them with new plywood pieces cut to fit and screwed securely into the joists.
The remaining adhesive residue across most of the floor wasn’t perfectly smooth, but it didn’t need to be depending on what flooring I planned to install next. For my luxury vinyl plank installation, I needed the floor relatively flat but small adhesive remnants were acceptable. I used a belt sander on the roughest spots to knock down high points, then swept and vacuumed meticulously. If I’d been installing tile, I would have needed a smoother finish and might have used floor leveling compound over the entire surface.
I also discovered a couple of small gaps between plywood sheets that needed attention. I filled these with wood filler, let it dry completely, then sanded smooth. Taking time to properly prepare the subfloor after tile removal made an enormous difference in how my new flooring looked and performed. I’ve seen people rush through this phase, and the imperfections telegraph through their new floor. Spending an extra day on subfloor prep was frustrating when I wanted to move forward, but it was absolutely necessary for professional-looking results.
Timeline, Cost, and What I’d Do Differently
My 150-square-foot kitchen took three full days to complete from first tile removal to cleaned and prepped subfloor ready for new flooring. This was significantly longer than I’d anticipated, and I had to adjust my renovation timeline accordingly. If I’d hired professionals, they quoted $3 to $5 per square foot for removal, which would have been $450 to $750 for my kitchen. I saved that money by doing it myself, but I earned every dollar in sweat and sore muscles.
My DIY cost for tools and materials totaled about $120: floor scraper $35, heat gun $45, adhesive remover $20, replacement plywood sections $15, and various small supplies like scraper blades, sandpaper, and wood filler. I already owned basic tools like a circular saw and drill. For someone starting from scratch, add another $100 to $200 for basic power tools. The cost savings compared to professional removal were substantial, making DIY worthwhile despite the physical difficulty, but only if your time and physical capability allow for the extended timeline.
Looking back, I’d make several changes to my approach. I’d rent a commercial floor scraper from a tool rental shop for $40 per day, which would have saved me at least a full day of work. I’d also start the project knowing that adhesive removal takes longer than tile removal and plan accordingly. Finally, I’d recruit help for at least one day of the work. Having a second person to trade off scraping duties would have prevented the extreme fatigue I felt by day three. Vinyl tile removal is absolutely doable as a DIY project, but going in with realistic expectations about difficulty and timeline prevents the frustration I experienced from underestimating the job.
Can I install new flooring directly over old vinyl tiles instead of removing them?
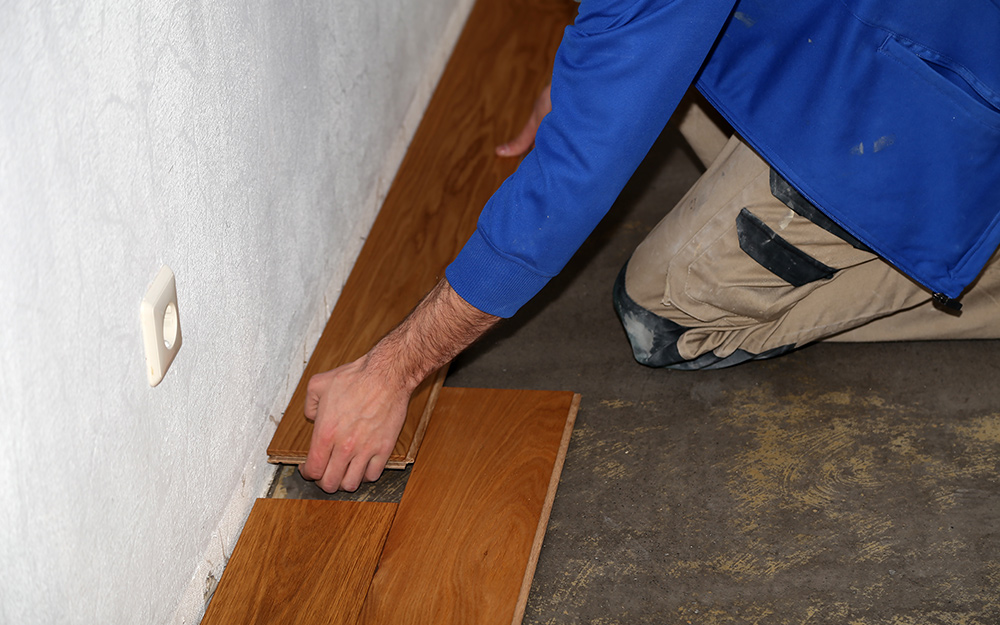
Sometimes yes, depending on what new flooring you’re installing and the condition of existing tiles. I removed mine because they were badly damaged and uneven, but intact, well-adhered vinyl can serve as underlayment for some floating floors. Check your new flooring manufacturer’s requirements. Installing over old tiles saves enormous labor but only works if the surface is smooth and the tiles aren’t loose or damaged.
How do I know if my old vinyl tiles contain asbestos before removing them?
Tiles installed before 1984 may contain asbestos. Get a professional asbestos test before removal, about $50 to $100. Don’t sand, break, or disturb suspected asbestos tiles until testing confirms they’re safe. If positive, hire certified asbestos abatement professionals rather than DIY removal. My tiles tested negative, but that professional confirmation was essential before I proceeded with removal safely.
What’s the fastest method for removing vinyl floor tiles?
Heat application combined with a long-handled floor scraper was fastest for me. Warming tiles with a heat gun softens adhesive before scraping. Some people swear by dry ice for quick adhesive freezing and removal, but I didn’t try this method. Chemical adhesive removers work but require ventilation and safety precautions. Realistically, vinyl tile removal is labor-intensive regardless of method, expect several days for a typical room.
Will removing vinyl tiles damage my subfloor underneath?
Some damage is possible but usually minimal with careful work. Aggressive scraping can gouge plywood. My subfloor emerged mostly intact with only a few spots needing repair. Particle board subfloors are more vulnerable to damage than plywood. Work at shallow scraping angles and use moderate pressure to minimize subfloor damage. Some adhesive residue remaining on the subfloor is normal and acceptable for most new flooring installations.
Do I need to remove all adhesive residue before installing new flooring?
It depends on your new flooring type. Floating floors like laminate or luxury vinyl plank tolerate some adhesive residue as long as the surface is reasonably flat. Glue-down installations or tile require cleaner surfaces. I removed major adhesive chunks but left thin residue for my luxury vinyl plank installation without problems. Check your new flooring manufacturer’s specifications for surface preparation requirements before finishing adhesive removal.
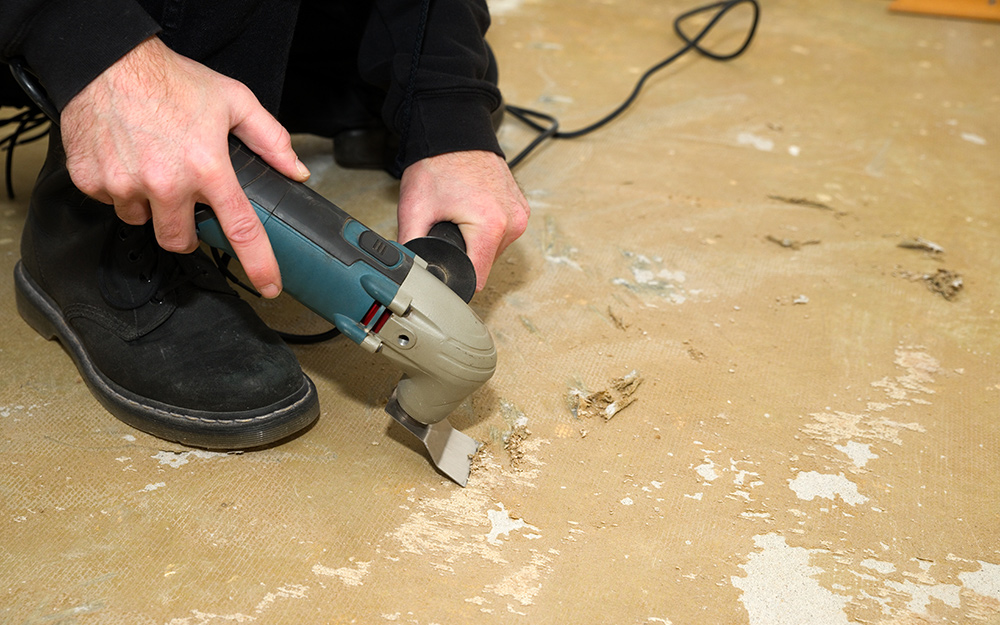
Can I use a power tool like an oscillating multi-tool to remove vinyl tiles faster?
Some people successfully use oscillating tools with scraper blades for vinyl tile removal. I tried borrowing my neighbor’s but found the long-handled manual floor scraper actually more efficient for large areas and less tiring to use continuously. Oscillating tools might help in tight corners or around obstacles where the big scraper doesn’t fit. For main floor areas, simple manual scraping with proper technique worked better for me.

Related Posts: