When I renovated my guest bathroom two years ago, I made what many people would call a risky choice: I installed wood-look laminate flooring instead of traditional tile. My contractor warned me, my mother-in-law thought I was crazy, and honestly, I had my own doubts.
But I wanted the warm, organic look of wood in a space that typically feels cold and sterile. Two years later, I can tell you exactly what worked, what I’d do differently, and whether I’d make the same choice again. Spoiler: it’s complicated, and the answer depends entirely on which type of laminate you choose.
Understanding Traditional vs. Waterproof Laminate for Bathrooms
The first critical lesson I learned is that not all laminate flooring is created equal, especially for bathroom use. Traditional laminate has a wood-fiber core that swells and warps when exposed to moisture, making it completely unsuitable for bathrooms despite what some flooring salespeople might suggest. I almost made this expensive mistake before doing deeper research. Traditional laminate in a bathroom is essentially guaranteed to fail, it’s only a matter of when, not if.
Waterproof laminate, sometimes called WPC or SPC laminate, uses a rigid composite core made from wood-plastic composite or stone-plastic composite instead of traditional wood fiber. This core is genuinely waterproof through its entire thickness, not just surface-resistant. When I learned about this distinction, everything changed.
I could get the wood aesthetic I wanted with actual moisture protection suitable for bathroom environments. The price difference was significant, about $3 to $4 per square foot for waterproof versus $1 to $2 for traditional, but for bathroom use this wasn’t optional, it was essential.
I chose SPC laminate for my guest bathroom specifically because of its superior moisture resistance and dimensional stability. The stone-plastic core is denser and more rigid than WPC, which made installation easier and created a floor that feels more solid underfoot.
It’s also less affected by temperature fluctuations, which matters in a bathroom where hot showers create significant temperature and humidity swings. Understanding these material differences before purchasing saved me from what would have been a costly and frustrating failure if I’d used traditional laminate.
Installation Challenges Specific to Bathroom Spaces
Installing laminate in a bathroom presents unique challenges compared to living spaces, and I learned several of these the hard way. The most obvious is working around the toilet, which required removing it completely before installation rather than trying to cut laminate around its complex curved base. My husband and I tackled this ourselves, which saved money but required watching several tutorial videos and working very carefully to avoid damaging the toilet flange or wax ring during removal and reinstallation.
Moisture barriers and underlayment selection matter enormously in bathroom laminate installations. I used a thick waterproof underlayment with a built-in vapor barrier specifically designed for wet areas. This added about $50 to my 35-square-foot bathroom project but provided crucial protection against moisture wicking up from the subfloor below. I also ran a thick bead of silicone caulk along every wall edge where the laminate meets baseboards, creating an additional moisture seal that prevents water from seeping underneath.
The expansion gap around a toilet base required creative problem-solving. Laminate needs a quarter-inch expansion gap around all fixed objects, but leaving a visible gap around a toilet looks unfinished and creates a place for moisture and grime to collect. I solved this by using a toilet base trim ring that covers the gap while still allowing the floor to expand and contract naturally beneath it. This finishing detail makes the installation look professional and prevents the moisture intrusion that would happen with an exposed gap.
How My Bathroom Laminate Has Held Up Over Two Years
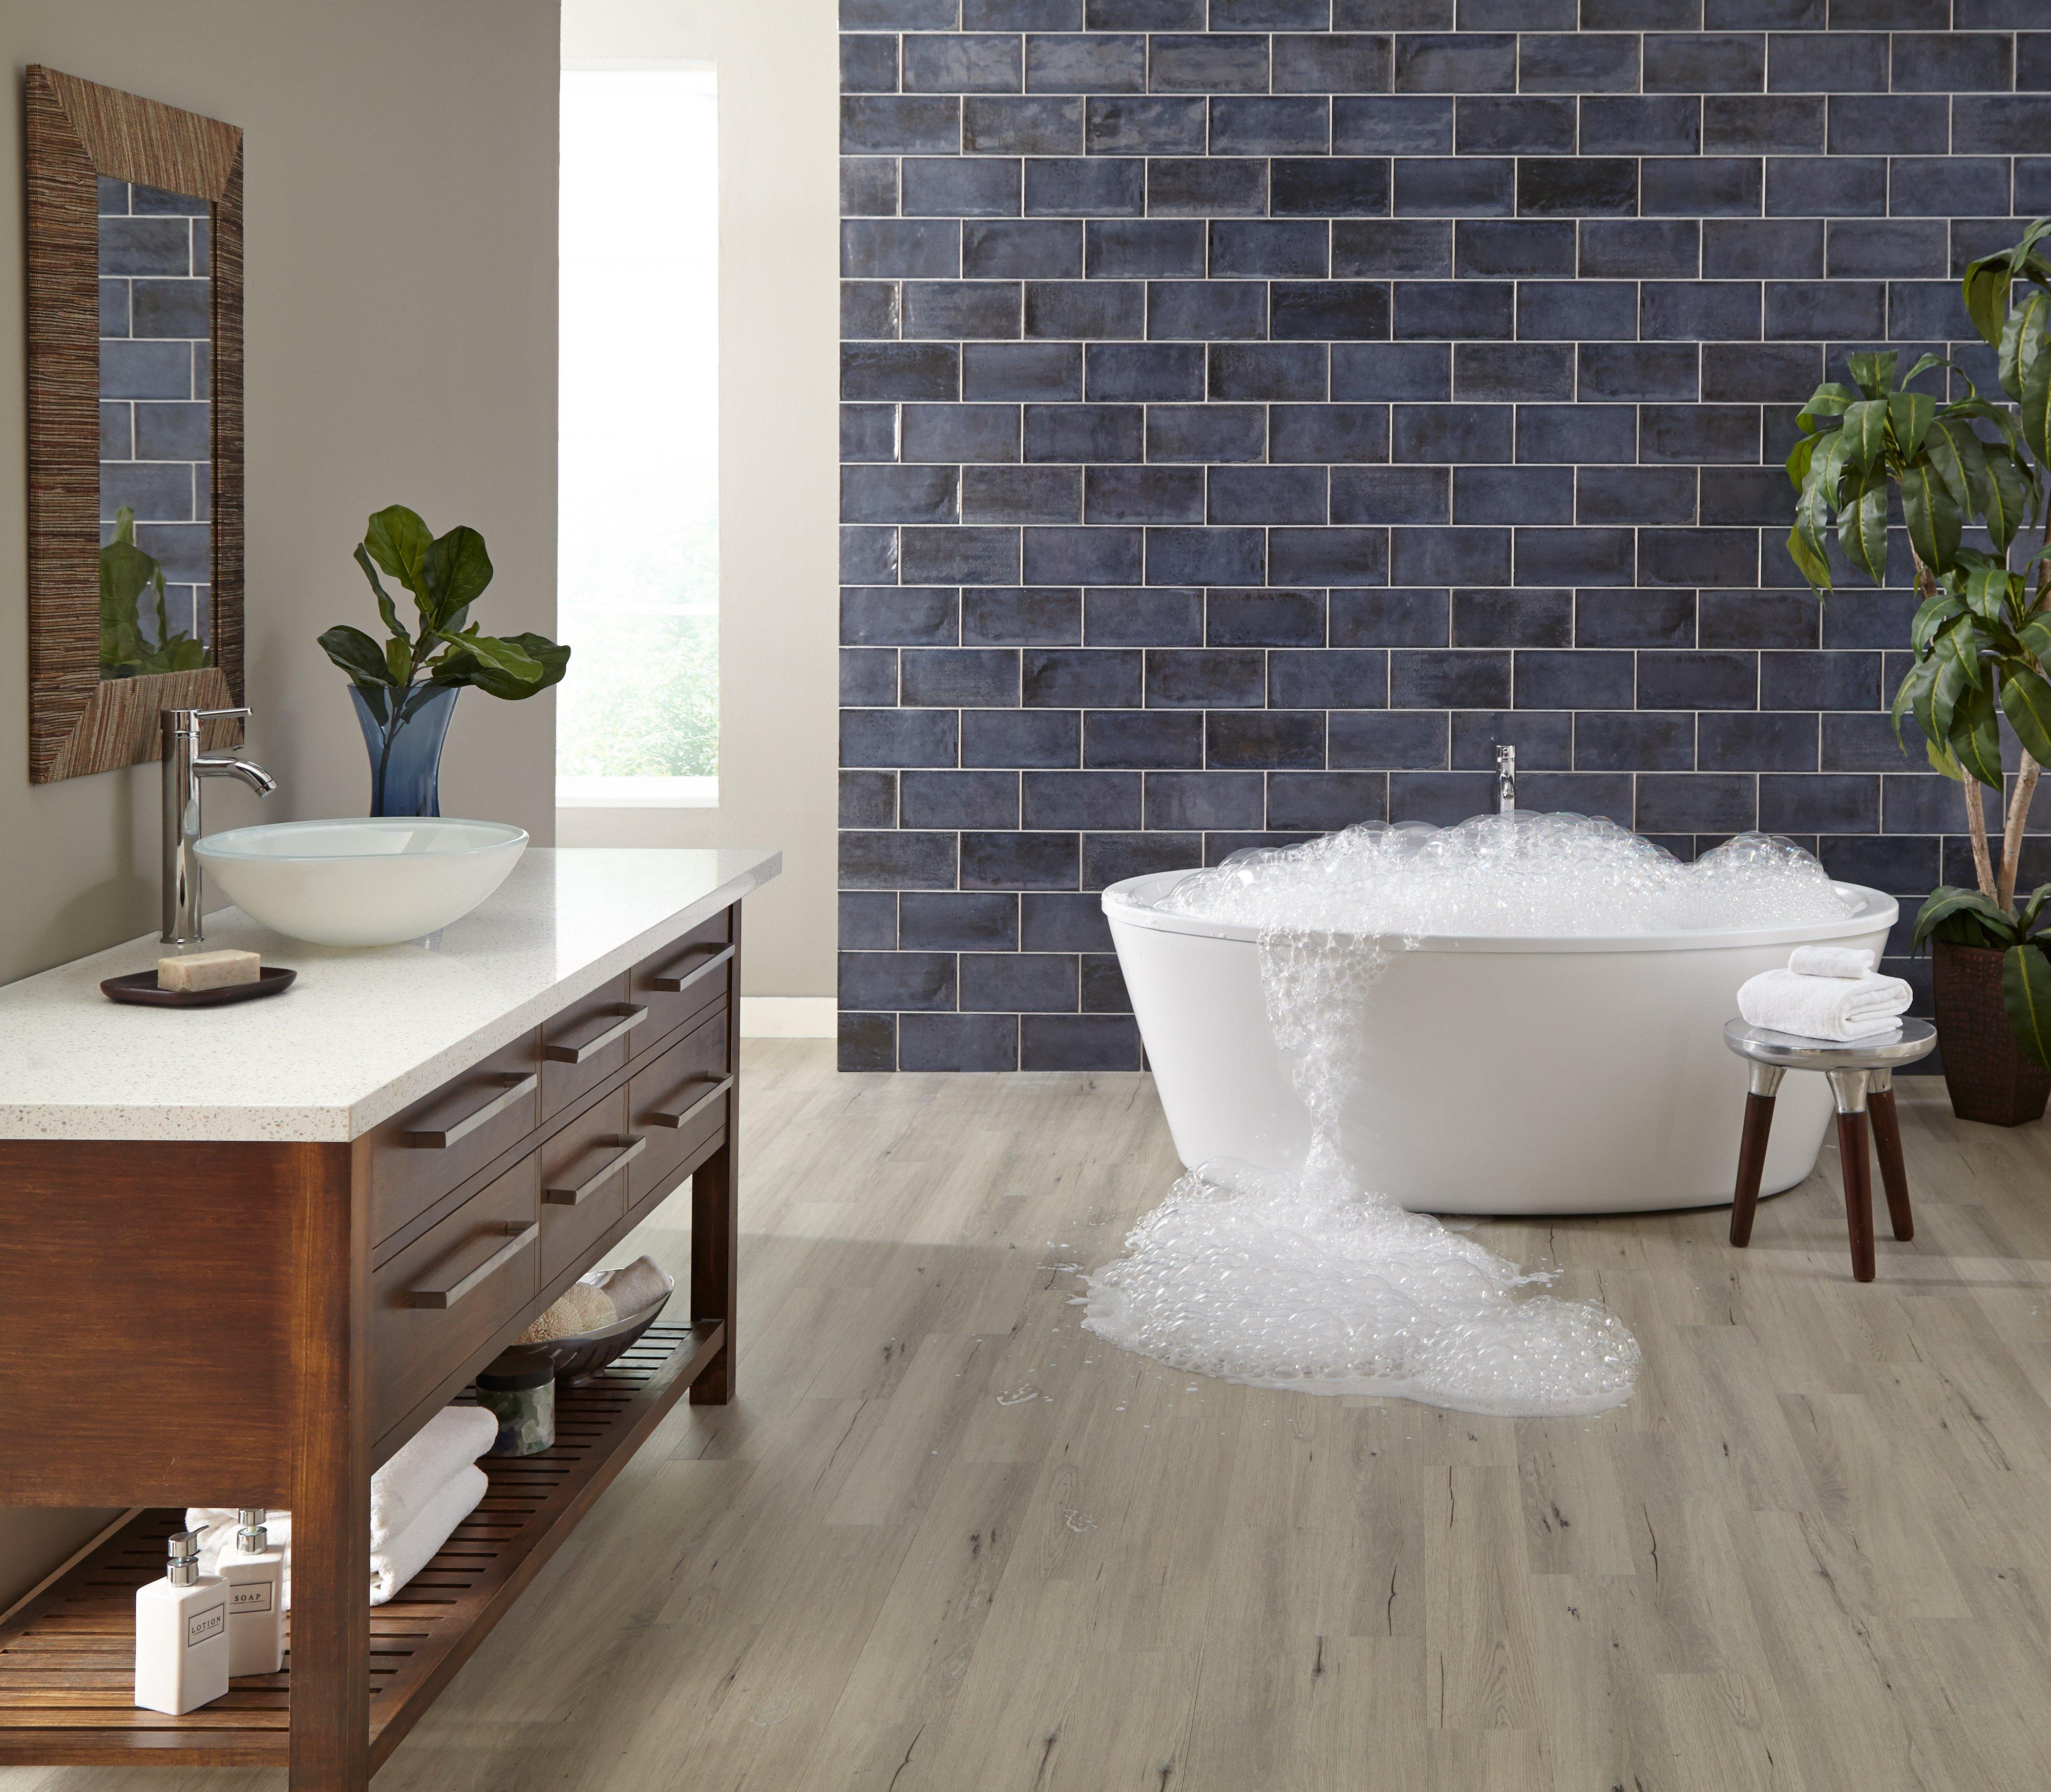
After two years of daily use in a guest bathroom that sees regular but not constant traffic, my waterproof laminate floor has performed better than I expected in some ways and exactly as anticipated in others. The surface shows zero water damage, warping, or swelling despite numerous instances of water splashing from the shower, sink overflow during teeth brushing, and the general humidity that comes with bathroom use. The waterproof core has genuinely lived up to its promises, giving me confidence in my material choice.
The visual appearance has held up remarkably well. The wood-grain pattern still looks fresh and realistic, with no fading or discoloration even near the window where it gets direct sunlight several hours daily. The wear layer has protected against scratching from a dropped hairdryer and various bathroom implements. I did get one small chip near the toilet where I accidentally dropped a heavy glass bottle, which taught me that laminate, while durable, isn’t indestructible. The chip is small enough that only I notice it, but it’s there.
The one performance aspect that hasn’t been perfect is the seams near the shower. Despite my careful installation and silicone sealing, I’ve noticed the tiniest bit of separation in one seam where water exposure is heaviest. It’s not causing damage and the floor isn’t swelling, but it’s a visual imperfection that bothers me when I’m cleaning. This taught me that even waterproof laminate benefits from strategic placement of bath mats to minimize direct water exposure on seams, and that no floor is truly maintenance-free in a bathroom environment.
Design Choices That Make Bathroom Laminate Work
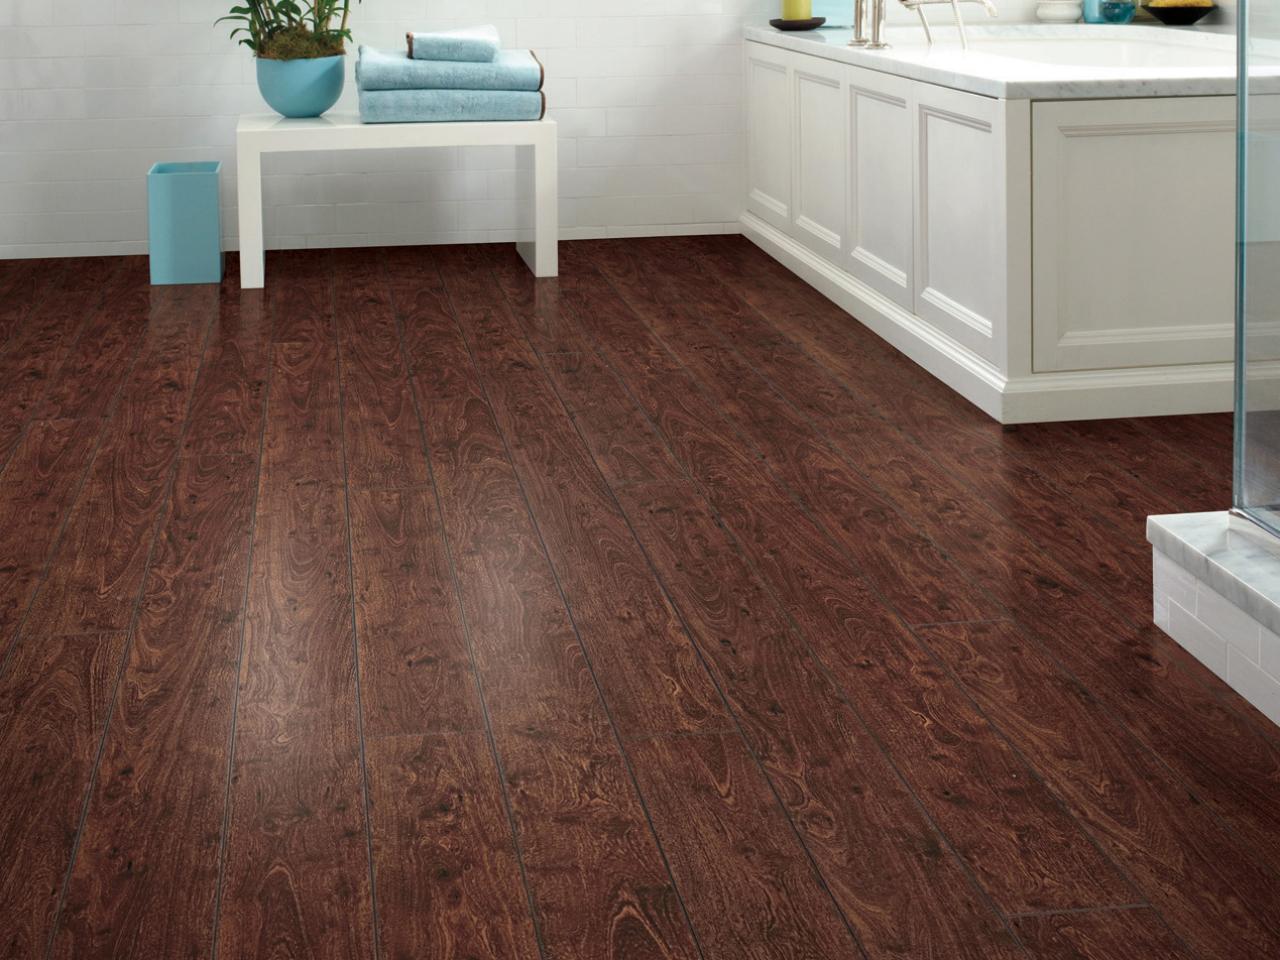
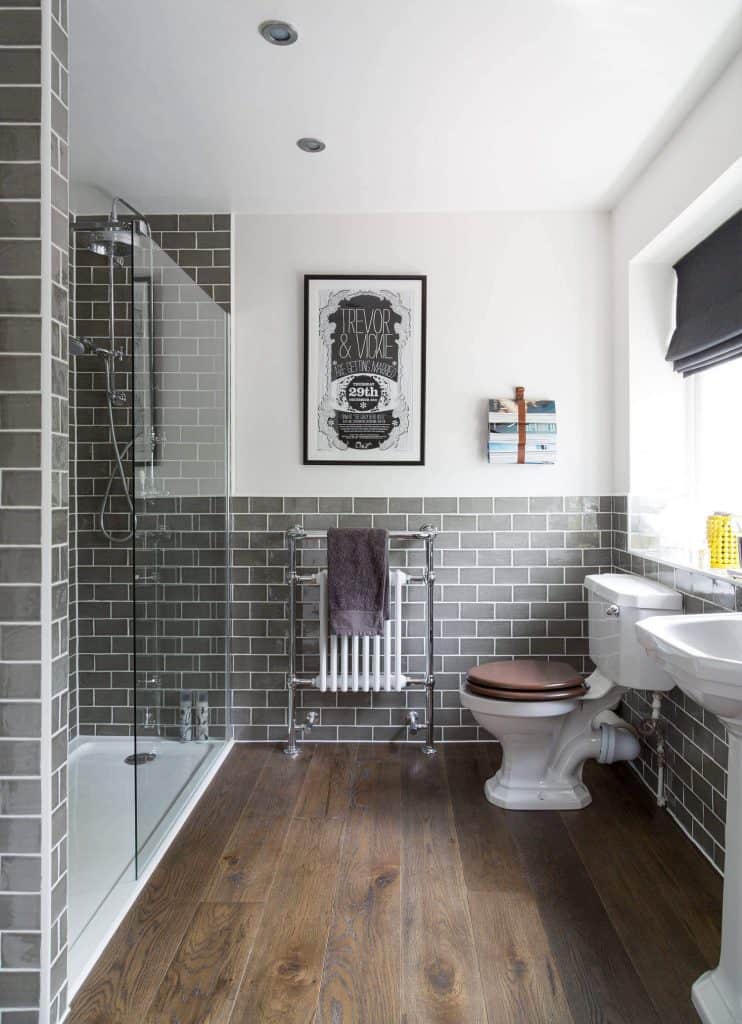
Choosing the right color and finish for bathroom laminate requires different thinking than for other rooms. I selected a medium-toned gray-brown oak pattern that hides water spots and soap residue remarkably well between cleanings. Darker laminate shows every water drop and footprint, requiring constant wiping to look presentable. Very light colors, while beautiful, show dirt and grime that accumulates naturally in bathrooms. The medium tone I chose strikes a practical balance that keeps my bathroom looking clean with reasonable effort.
Texture matters more in bathrooms than I initially realized. I chose a hand-scraped, embossed texture rather than a smooth high-gloss finish, and that decision has proven smart for slip resistance when the floor gets wet. The textured surface also disguises minor imperfections and scratches better than smooth laminate would. High-gloss laminate looks stunning in photos but shows water spots constantly and can become slippery when wet, creating a safety hazard in a bathroom environment.
The plank width and length I selected, 7 inches wide by 48 inches long, work well in my small 35-square-foot bathroom. Wider planks would have required more cuts and created more waste in the tight space. The longer planks still provide that authentic hardwood look without the installation complexity that larger format tiles would have created. For small bathrooms, I’d recommend planks in this size range that balance visual impact with practical installation considerations.

Maintenance Reality: What Actually Works in a Bathroom
My bathroom laminate maintenance routine is more involved than living area floors require, but it’s still manageable. I squeegee the shower area of the floor after every use to remove standing water immediately. This takes maybe 15 seconds and has become such an automatic habit that I don’t even think about it anymore. I also keep a small towel handy to wipe up any water that splashes near the sink during handwashing or teeth brushing. These immediate responses to moisture prevent problems before they start.
For regular cleaning, I sweep or vacuum every few days to remove hair and debris, then clean weekly with a pH-neutral laminate floor cleaner. I avoid using excessive water, instead using a spray bottle to mist the cleaner onto the floor and wiping with a microfiber cloth that’s damp rather than wet. Steam mops are completely off-limits for laminate floors regardless of waterproof claims, as the heat can damage the wear layer and compromise seam integrity over time.
The silicone seal around my floor perimeter requires annual inspection and occasional touch-ups. I check it carefully when doing deep bathroom cleaning, looking for any spots where the seal has degraded or pulled away from the wall. Reapplying takes maybe 20 minutes and costs less than $10 in materials, but it’s essential preventive maintenance that protects against moisture intrusion. This ongoing maintenance is the tradeoff for having wood-look flooring in a bathroom rather than tile, and it’s a tradeoff I’ve been willing to make.

Would I Choose Laminate for a Bathroom Again?
For my low-traffic guest bathroom that sees primarily adult use, yes, I’d choose waterproof laminate again. The warm aesthetic it provides completely transformed the space from feeling cold and generic to feeling like a thoughtfully designed room that flows with the rest of my home’s wood flooring. The cost savings compared to high-end tile installation, about $800 total versus $1,500 to $2,000 for tile, felt meaningful for a relatively small space, especially since I installed it myself.
However, I would not choose laminate for my main family bathroom that sees heavy daily use from kids, multiple showers per day, and generally higher moisture exposure and abuse. For that space, I’d stick with traditional tile despite the higher cost. The difference in water exposure levels and usage intensity matters enormously when deciding if laminate makes sense. Guest bathrooms, powder rooms, and low-use bathrooms are where waterproof laminate shines. High-traffic family bathrooms are where tile’s inherent waterproofing and durability justify the extra investment.
If I were doing another bathroom laminate installation, I’d invest in even higher-quality waterproof laminate with a thicker wear layer than my mid-grade choice. The performance difference between budget waterproof laminate and premium options is significant in terms of both durability and realistic wood appearance. I’d also hire a professional for the toilet removal and reinstallation rather than DIYing that part, as it created more stress than the money savings were worth. The floor installation itself I’d happily do again, but the plumbing aspects I’d outsource next time.
Is waterproof laminate genuinely safe for bathrooms or is it just marketing?
Quality WPC and SPC waterproof laminate is legitimately different from traditional laminate and performs well in bathrooms with proper installation. The core material doesn’t absorb water or swell like wood-fiber laminate. I’ve had zero water damage in two years. That said, it’s not invincible, seams need sealing, and standing water should still be wiped up promptly. It’s bathroom-appropriate but not maintenance-free.
How does bathroom laminate compare to luxury vinyl plank in performance?
Both are good bathroom options. Luxury vinyl is generally more flexible and forgiving with minor subfloor imperfections, while rigid core laminate feels more solid and substantial underfoot. Vinyl is typically easier for DIY installation around complex shapes like toilets. I chose laminate for the more authentic wood look and feel, but vinyl would have been a perfectly valid choice that might have performed even better around high-moisture areas.
Will laminate flooring work in a bathroom without a window or ventilation fan?
I strongly recommend against laminate in poorly ventilated bathrooms. Even waterproof laminate benefits from good air circulation that prevents excessive humidity buildup. My bathroom has both a window and an exhaust fan that I run during and after showers. High persistent humidity can eventually compromise any flooring material, and proper ventilation is essential for successful laminate performance in bathroom environments regardless of waterproof ratings.
Can you install laminate flooring in a bathroom with underfloor heating?
Yes, but check that your specific laminate product is rated for radiant heat systems. Most waterproof laminate specifies maximum temperature limits, typically around 80-85 degrees Fahrenheit at the floor surface. I don’t have radiant heat in my bathroom, but the product I chose is compatible with it. Follow manufacturer guidelines carefully regarding temperature ramp rates and maximum settings to avoid damaging the floor or voiding warranties.
How do you clean bathroom laminate without damaging it?
I use a pH-neutral laminate floor cleaner sprayed lightly onto the floor, then wipe with a barely damp microfiber cloth. Avoid excessive water, harsh chemicals, bleach, or abrasive scrubbers. Never use a steam mop on laminate despite waterproof claims. For stubborn spots, a magic eraser works well used gently. The key is using minimal moisture and cleaning up spills immediately rather than letting anything sit on the floor for extended periods.
What’s the realistic lifespan of laminate flooring in a bathroom setting?
With proper installation and maintenance, quality waterproof laminate should last 10 to 15 years in a bathroom. My floor is two years old and shows minimal wear, suggesting it will easily reach that lifespan. Traditional tile lasts longer, potentially 20 to 30 years or more, but laminate’s lower cost and easier installation make replacement more affordable. If you plan to renovate or change styles within 15 years anyway, laminate makes excellent economic sense.

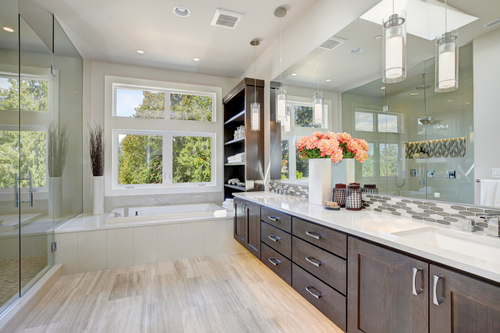
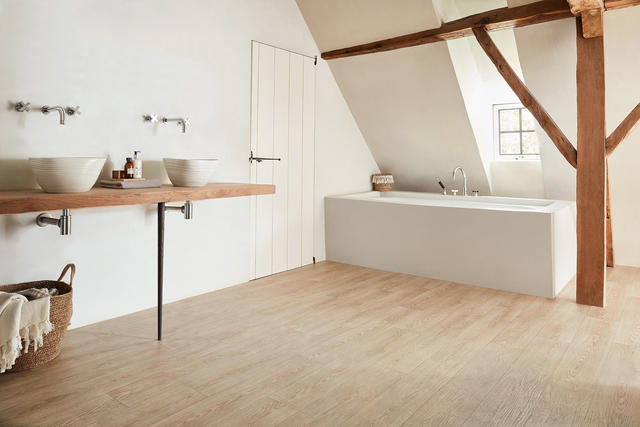
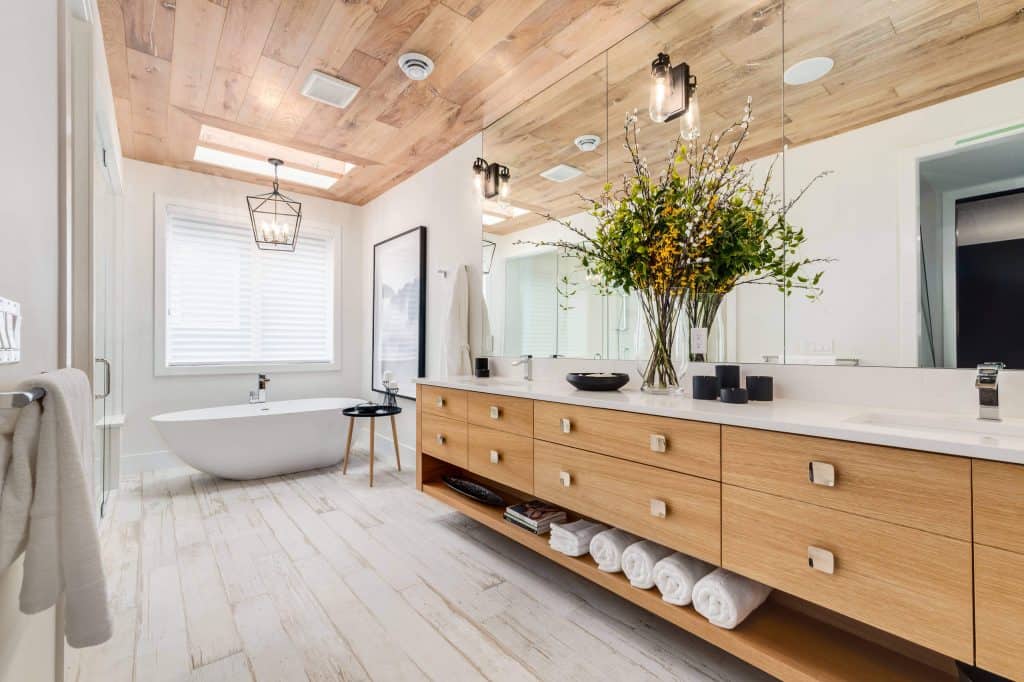
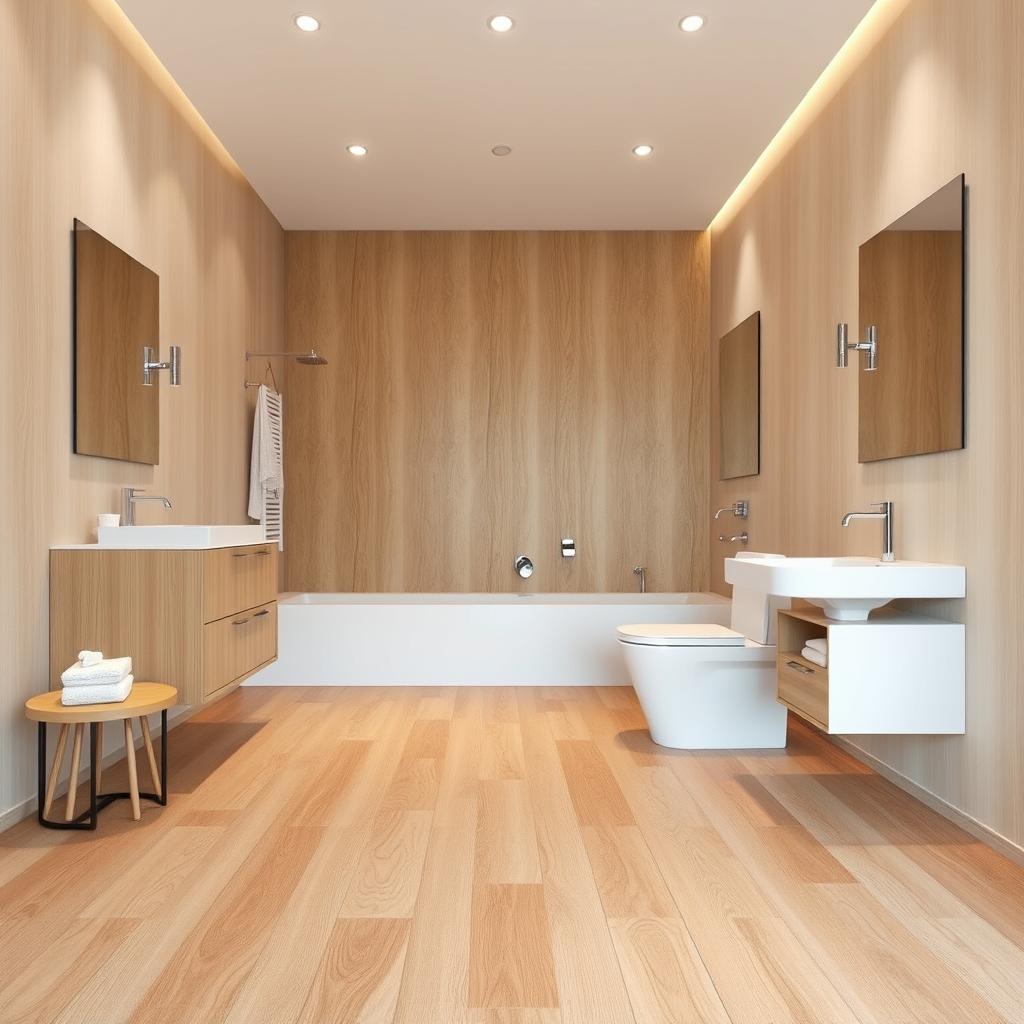
Beautiful Bathrooms With Wood Laminate Flooring
Related Posts: