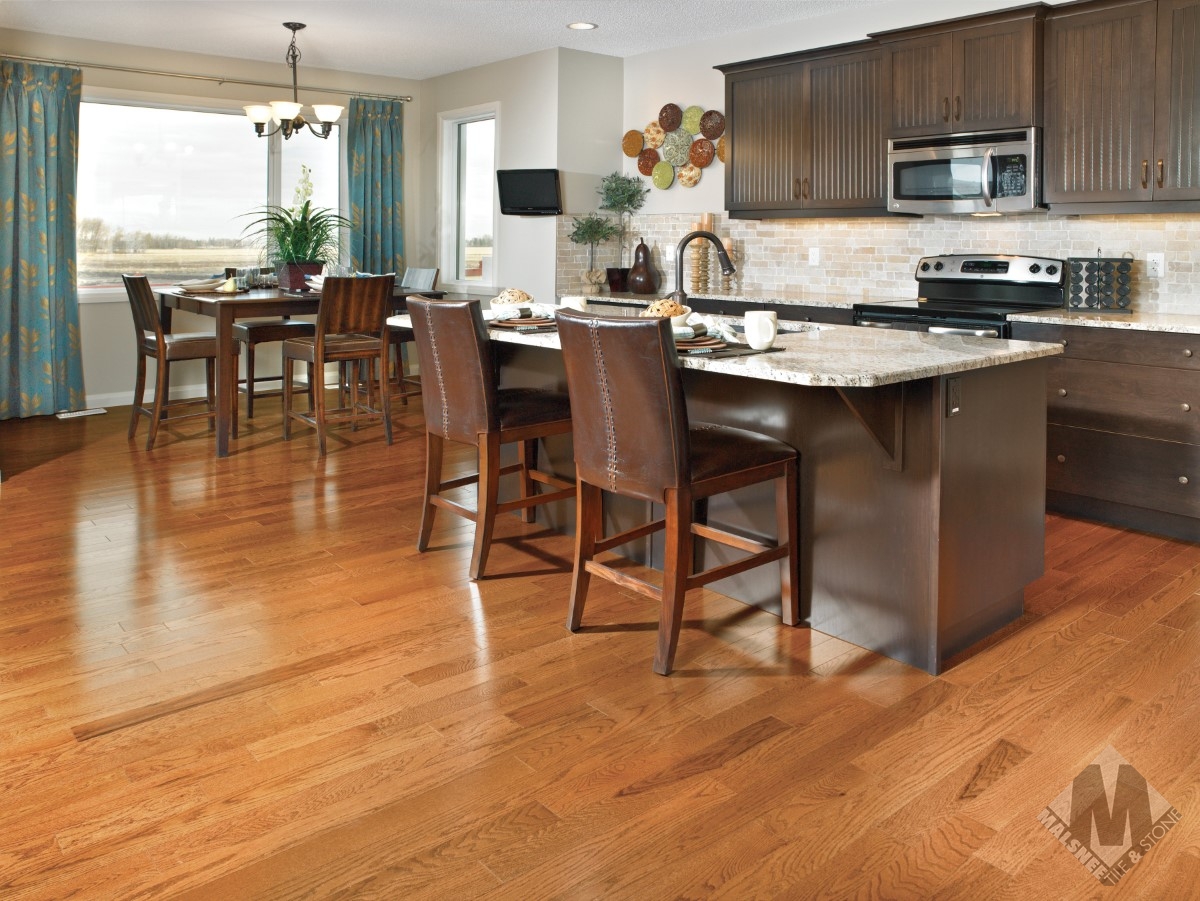
When I first discovered red oak tile flooring three years ago, I was immediately drawn to its ability to combine the warm beauty of natural hardwood with the practicality of ceramic tile. After installing it in my kitchen and two bathrooms, I can honestly say it was one of my best flooring decisions. The realistic wood grain patterns and rich amber tones create the cozy atmosphere I wanted, while the tile’s durability handles everything my busy family throws at it. From spilled wine to muddy paws, these floors have proven they can look stunning while standing up to real life.
Understanding Red Oak Tile Technology: The Best of Both Worlds
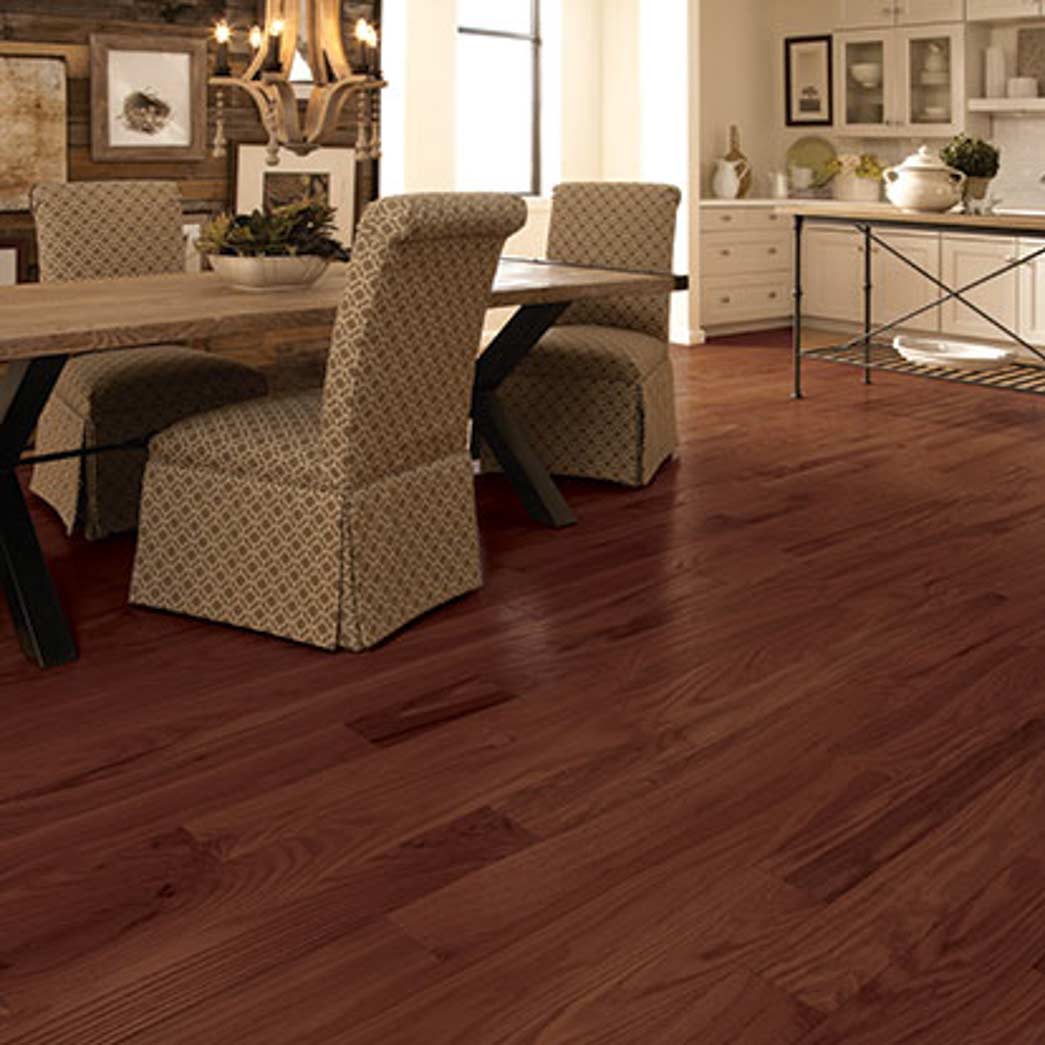
Wood-look porcelain technology has advanced dramatically since I first started researching flooring options. The red oak tiles I chose use high-definition digital printing that captures every detail of real red oak grain, including the subtle color variations and natural imperfections that make wood so appealing. The manufacturing process involves photographing actual red oak planks, then printing those images onto porcelain using specialized inks that penetrate deep into the tile surface. This creates incredibly realistic patterns that fool even close inspection.
Surface texture replication became a crucial factor in my selection process. I discovered that the best red oak tiles feature embossed surfaces that match the printed grain patterns perfectly. When I run my hand across the tiles, I feel the raised grain lines and subtle texture variations just like real wood. This tactile authenticity makes the illusion complete and prevents the flat, artificial feel of cheaper wood-look tiles. The synchronized texture and pattern printing is what separates premium products from budget alternatives.
Durability advantages over real hardwood became apparent immediately after installation. My red oak tiles have a completely waterproof porcelain body, unlike real wood that can warp, cup, or stain from moisture exposure. The surface glazing resists scratches, dents, and stains that would damage natural wood floors. I’ve dropped heavy pots, dealt with pet accidents, and tracked in snow without any permanent damage. This resilience makes red oak tiles perfect for kitchens, bathrooms, and other areas where real wood would be problematic.
Size and Format Options: Finding Your Perfect Fit
Plank sizes dramatically impact the overall appearance and installation complexity of red oak tile floors. I chose 8×48 inch planks for my kitchen because they closely mimic standard hardwood flooring proportions while being manageable for DIY installation. Larger 12×48 inch planks create fewer grout lines and a more seamless wood appearance, but they require more skill to install properly. Smaller 6×36 inch planks work well in compact spaces and are easier to cut around obstacles, though they create busier patterns with more grout lines.
Mixed plank layouts add authentic randomness that mimics real hardwood installation patterns. I used three different plank lengths in my living room, creating the varied appearance of natural wood floors. The manufacturer provided specific mixing ratios to ensure proper randomization without creating awkward patterns. This approach requires more planning during installation, but results in an incredibly realistic wood floor appearance that doesn’t repeat in obvious patterns like single-size installations can.
Thickness considerations affect both appearance and installation requirements. Standard 10mm thick tiles work well for most applications and provide good durability for residential use. I chose 12mm thick tiles for my high-traffic kitchen because the extra thickness provides slightly better sound dampening and feels more substantial underfoot. Thicker tiles also handle minor subfloor imperfections better and provide more thermal mass for radiant heating systems, though they require transition strips at different floor heights.

Installation Techniques: Achieving Professional Results
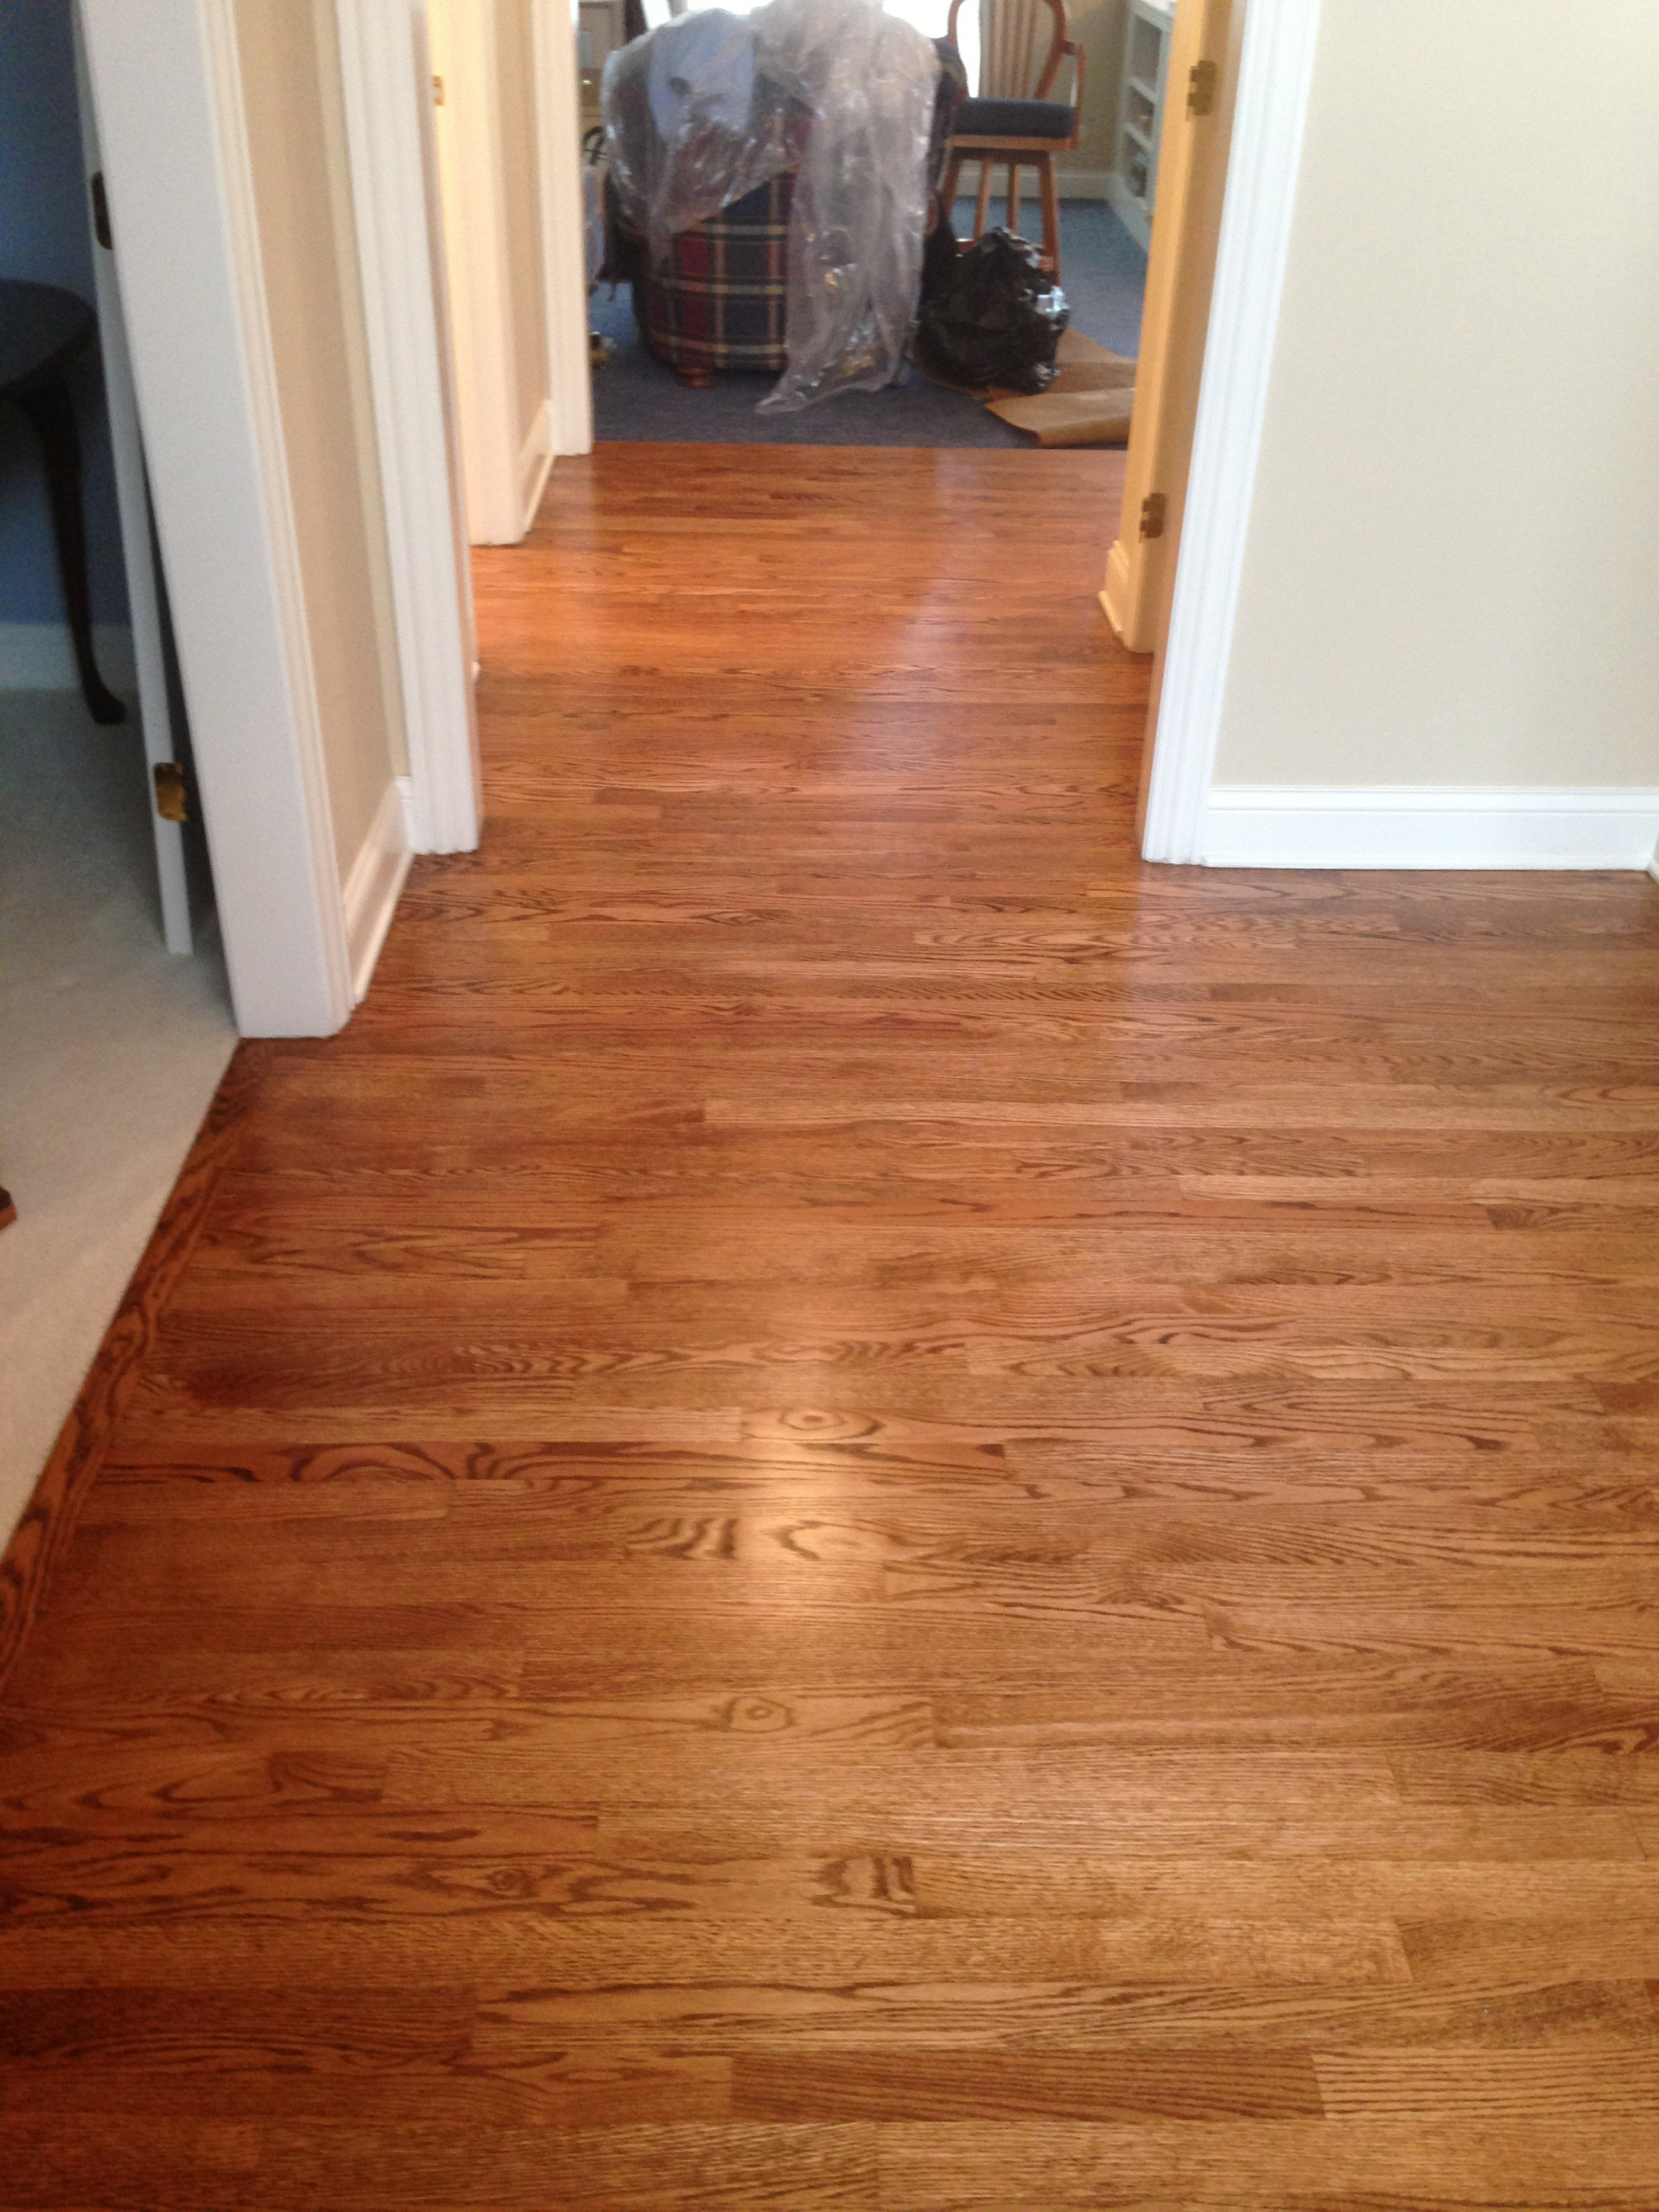
Subfloor preparation proved more critical than I initially realized for achieving an authentic wood floor appearance. Red oak tiles show every imperfection in the subfloor beneath, so I spent considerable time ensuring perfect flatness and stability. I used self-leveling compound to eliminate any dips or high spots, then added a layer of cement backer board for optimal tile support. Taking shortcuts on subfloor preparation results in lippage between tiles that destroys the seamless wood appearance these tiles are designed to create.
Grout line planning became essential for maintaining the wood floor illusion throughout my installation. I used rectified tiles that allow for minimal 1/16 inch grout lines, creating the tight seams found in real hardwood floors. The grout color selection was crucial; I chose a color that closely matches the tile’s base tone to make grout lines virtually disappear. Contrasting grout colors emphasize the tile pattern and destroy the wood floor effect I was trying to achieve.
Layout planning prevented awkward cuts and maintained proper proportions throughout each room. I started installation from the center of each room and worked outward, ensuring balanced border cuts on opposite walls. Planning the layout on paper first prevented the narrow slivers that can occur when starting installation from one wall. I also aligned the tiles with room proportions and architectural features to create the most authentic wood floor appearance possible.
Finishing and Grout Selection: Perfecting the Wood Look
Grout color matching became an art form that significantly impacts the final appearance of red oak tile installations. I tested multiple grout samples against my tile selection, viewing them under different lighting conditions throughout the day. The goal was to find grout that virtually disappears against the tile surface, maintaining the seamless wood appearance. I discovered that grout colors that look perfect in the store can appear completely different under home lighting conditions, so extensive testing is essential.
Grout texture and finish affect both appearance and maintenance requirements. I chose sanded grout for its slight texture that complements the wood-grain surface of the tiles. Non-sanded grout can appear too smooth and artificial against textured wood-look tiles. The grout finish should be matte rather than glossy to maintain the natural wood appearance. I also invested in high-quality grout with stain resistance and antimicrobial properties for easier long-term maintenance.
Sealing considerations protect both tiles and grout while maintaining the natural appearance. While the porcelain tiles themselves don’t require sealing, I sealed the grout lines to prevent staining and make cleaning easier. I chose a penetrating sealer that doesn’t change the grout color or create a glossy surface that would look artificial. Regular grout sealing maintenance every two years keeps the installation looking fresh and protects against moisture and stain penetration.
Design Integration: Creating Cohesive Spaces
Transition planning between red oak tiles and other flooring materials required careful consideration of heights and aesthetics. I used wooden transition strips that match the tile’s wood tone when transitioning to carpet or different tile types. The key is maintaining consistent floor heights and choosing transition materials that complement rather than contrast with the red oak appearance. Metal transitions can look industrial and break the warm wood aesthetic these tiles create.
Color coordination with existing elements helped integrate the red oak tiles seamlessly into my home’s design scheme. The warm amber tones of red oak work beautifully with both traditional and contemporary color palettes. I found that the natural color variation in quality red oak tiles provides enough variety to complement different cabinet finishes and wall colors without clashing. The neutral warmth makes these tiles incredibly versatile for various design styles.
Furniture and decor selection became easier with red oak tiles as the foundation. The classic wood appearance works with both modern and traditional furniture styles, providing flexibility as decorating tastes change. I discovered that the consistent durability allows me to rearrange furniture frequently without worrying about scratches or dents that would concern me with real hardwood. This freedom makes the space more functional and adaptable to changing needs.

Maintenance and Care: Keeping the Beauty Intact
Daily maintenance routines keep red oak tiles looking pristine with minimal effort compared to real hardwood floors. I sweep or vacuum daily to remove grit and debris that could scratch the surface over time. For deeper cleaning, I use a damp mop with pH-neutral tile cleaner, something I could never do safely with real wood floors. The waterproof surface means I can clean up spills immediately without worrying about staining or warping, making these tiles incredibly practical for busy households.
Deep cleaning procedures restore the original luster when tiles begin looking dull from everyday use. I perform deep cleaning monthly using specialized tile and grout cleaners that remove built-up residue and restore the natural sheen. Unlike real wood that requires specialized products and techniques, these tiles handle standard cleaning products safely. I can even use steam cleaners for deep sanitization, particularly useful in kitchens and bathrooms where hygiene is crucial.
Long-term maintenance involves periodic grout resealing and damage inspection, but the tiles themselves require virtually no maintenance. I reseal grout lines every two years to maintain stain resistance and easy cleanup. The porcelain tiles show no signs of wear after three years of heavy family use, unlike real wood, which would show scratches and wear patterns by now. This durability means my initial investment continues paying dividends through reduced maintenance costs and retained appearance.
Cost Analysis: Investment vs. Value
Initial material costs for quality red oak tiles fall between laminate and real hardwood flooring prices. I paid approximately $4-6 per square foot for premium red oak tiles compared to $8-12 per square foot for real red oak hardwood. However, the installation costs are similar since both require skilled labor for the best results. The overall project cost savings come primarily from material pricing rather than installation expenses, though the waterproof nature eliminates the need for expensive moisture barriers.
Long-term value considerations favor red oak tiles over both real wood and cheaper alternatives. The durability and stain resistance mean these floors will look good for decades without the refinishing costs that real wood requires. I calculated that refinishing real hardwood every 7-10 years would cost more than the initial price difference between materials. The permanent nature of the tile installation also means no future replacement costs like with laminate flooring, which can’t be repaired.
Return on investment varies by home value and market preferences, but red oak tiles generally add value without the maintenance concerns of real wood. The realistic appearance satisfies buyers who want wood aesthetics, while the practical benefits appeal to families with active lifestyles. In my market research, these floors are viewed favorably by potential buyers who appreciate the beauty without the maintenance requirements. The durability also means the floors will still look great when it’s time to sell.

How realistic do red oak tiles look compared to real hardwood flooring?
The realism amazes everyone who visits my home. High-quality red oak tiles with synchronized texture and grain patterns are virtually indistinguishable from real wood until you touch them. The digital printing captures authentic color variation and wood grain details. I’ve had flooring professionals mistake my tiles for real wood from a normal viewing distance. The key is choosing premium products with proper installation.
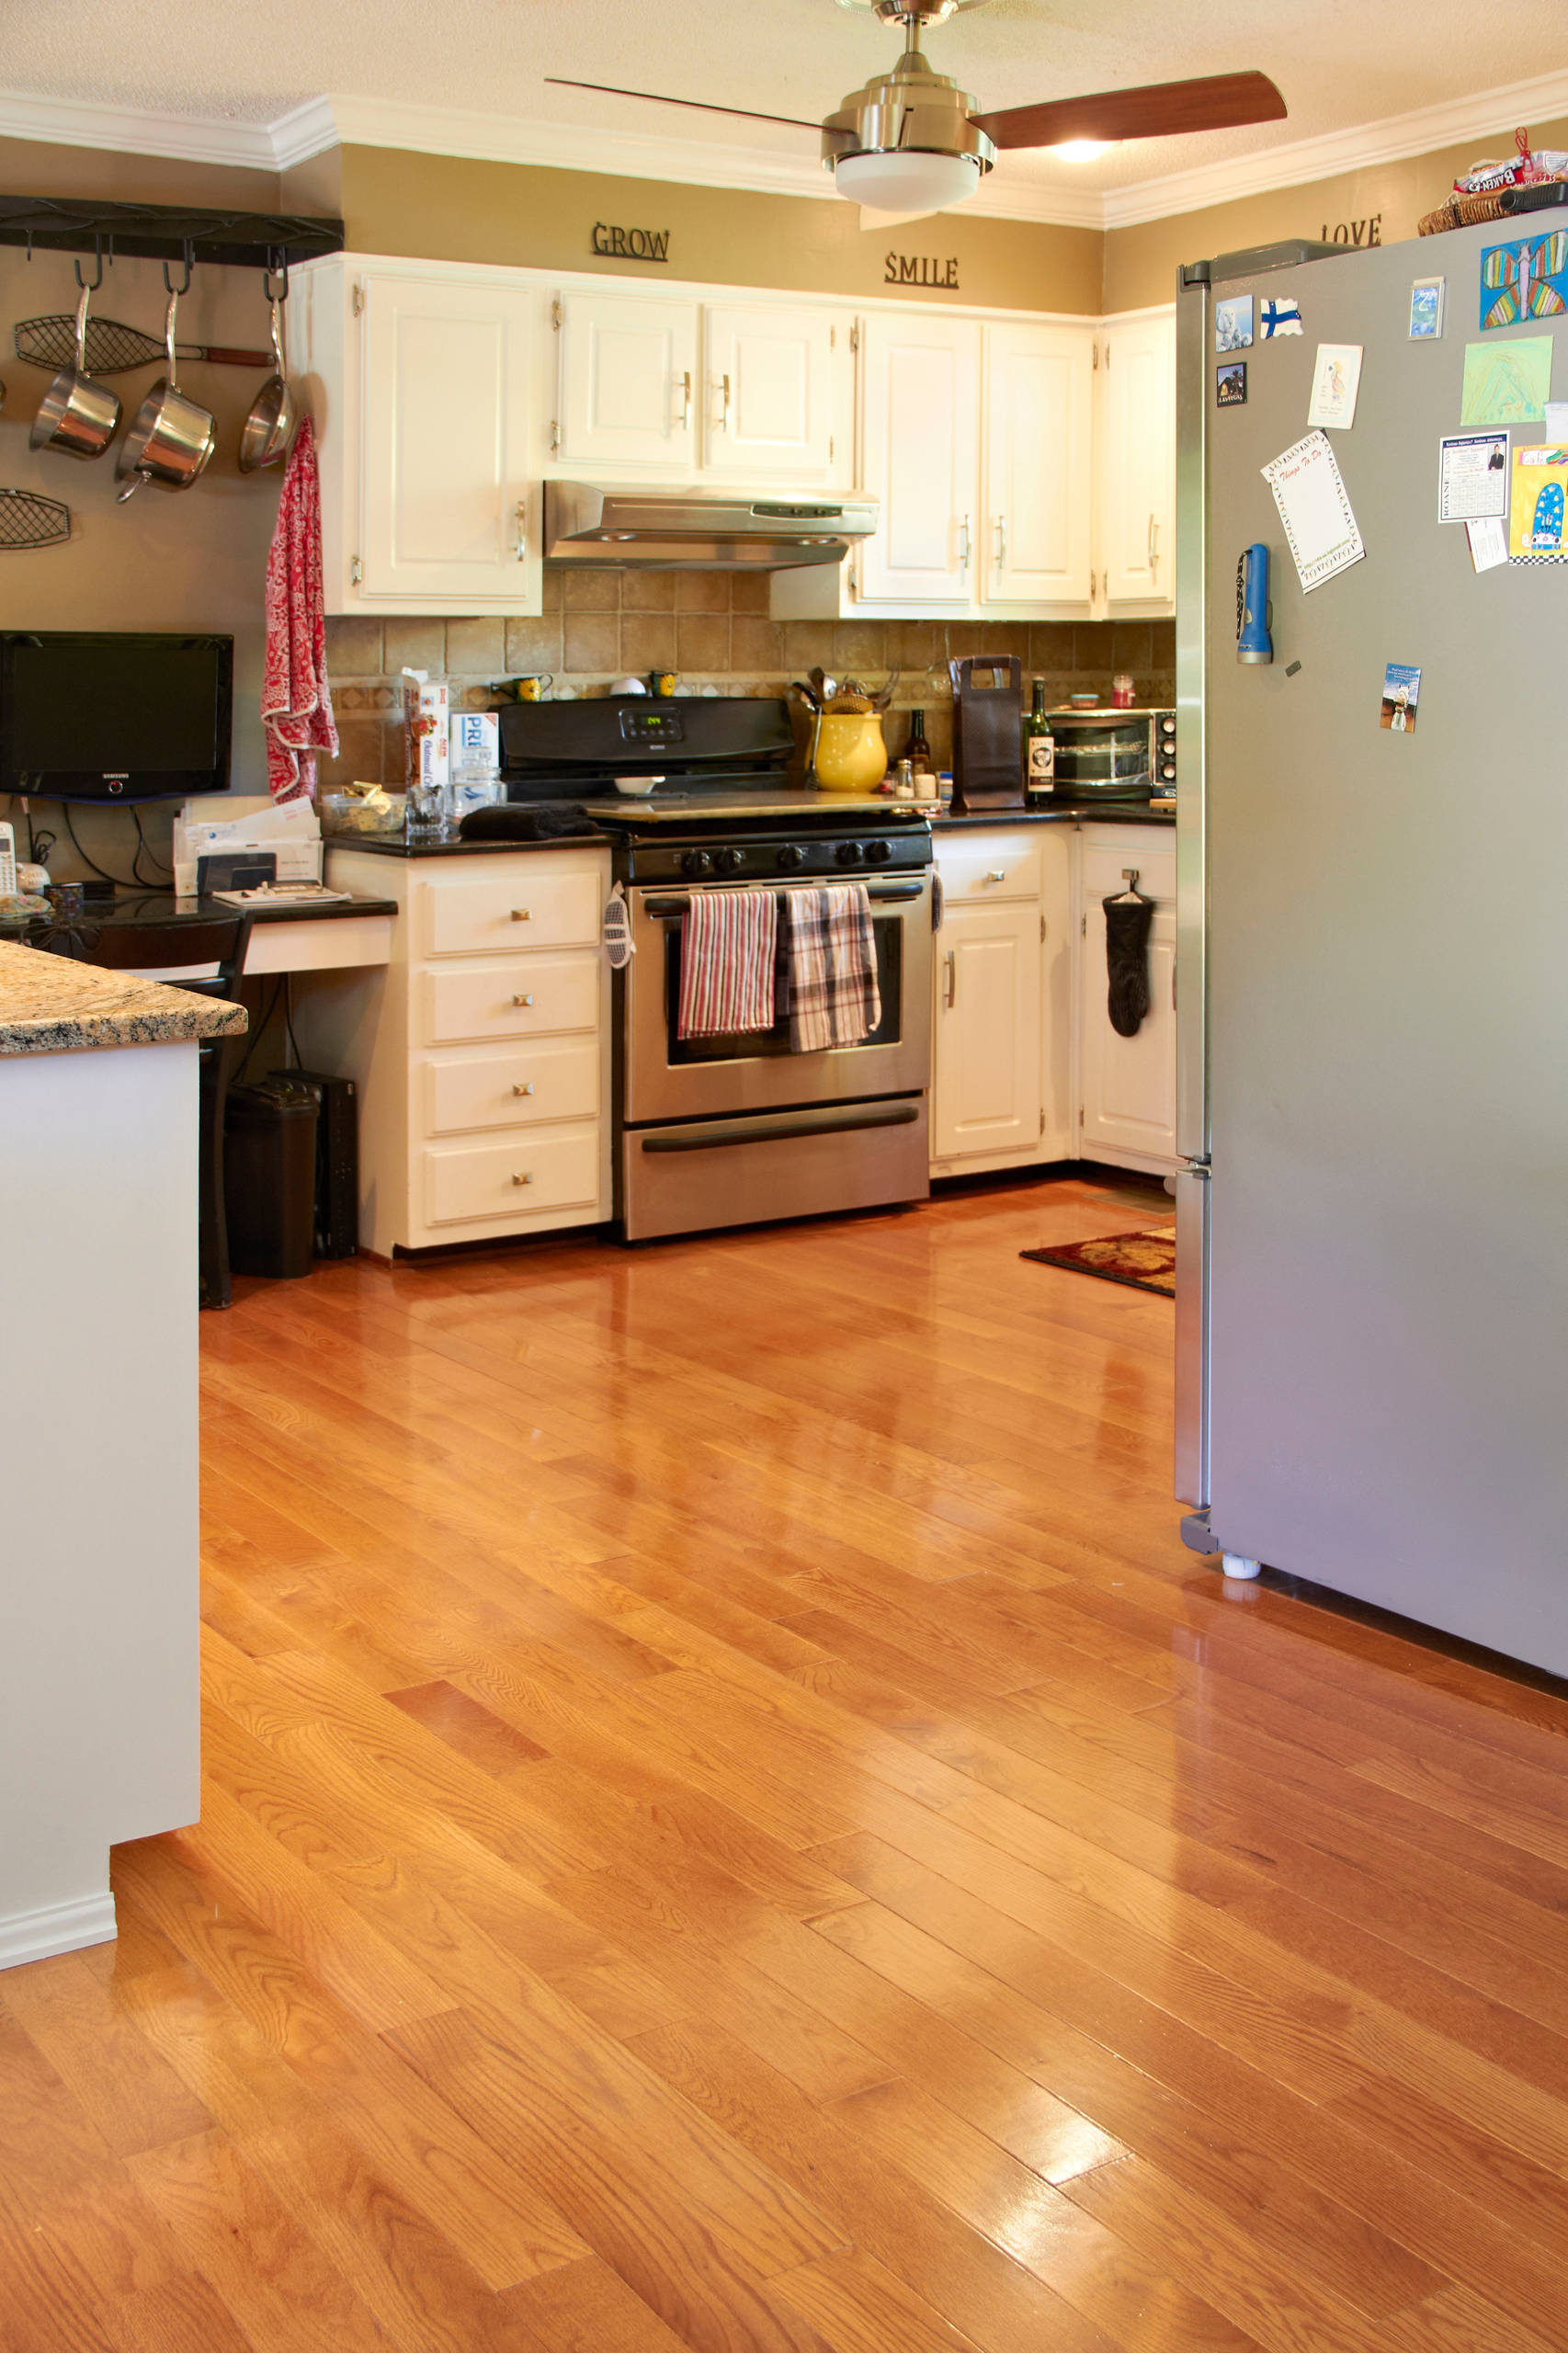
Can red oak tiles be used in wet areas like bathrooms and kitchens?
This is one of their biggest advantages over real wood. I installed them in my master bathroom and kitchen without any moisture concerns. The porcelain body is completely waterproof, unlike real wood, which can warp or stain from water exposure. I clean up spills immediately without worry, and steam from showers doesn’t affect them at all. This makes them perfect for any room in the house.

How difficult is it to install red oak tiles compared to other flooring options?
Installation difficulty is similar to regular ceramic tile, but requires more attention to layout and grout lines to maintain the wood appearance. I managed the installation myself with basic tile experience, though professional installation ensures the best results. The key challenges are maintaining straight lines and minimal grout joints. Planning the layout properly prevents awkward cuts that can break the wood floor illusion.
What maintenance do red oak tiles require compared to real hardwood floors?
Maintenance is dramatically easier than real wood. I sweep daily and mop weekly with regular tile cleaner, no special wood products needed. No refinishing, no worry about water damage, no scratches from furniture movement. I reseal grout every two years, but the tiles themselves need virtually no maintenance. After three years, they look as good as the day they were installed.

Are red oak tiles suitable for homes with pets and children?
They’re perfect for active families. My dogs’ nails don’t scratch them, spilled juice wipes up easily, and dropped toys don’t dent the surface. The durability handles everything my kids throw at them while maintaining the beautiful wood appearance. I can clean pet accidents thoroughly without staining concerns that would worry me with real wood. The combination of beauty and practicality is ideal for busy households.
How do red oak tiles handle temperature changes and radiant heating?
They handle temperature variations much better than real wood since porcelain doesn’t expand and contract with humidity changes. I installed them over radiant heating in my bathroom with excellent results. The thermal mass provides even heat distribution and retention. Unlike real wood that can gap or cup with seasonal changes, these tiles remain perfectly stable year-round regardless of temperature or humidity fluctuations.
Related Posts: