You are able to usually do a through unpolluted up periodically working with water and detergent to get rid of oil discolorations and this sort of. Little tiles look good on wall space. Ceramic or perhaps porcelain tile flooring is extremely durable and a great investment in your home. Should you choose, nevertheless, to hire a professional to do the trick for you, you have just saved yourself a great lot of time.
Images about Replace Tile Floor With Wood
Replace Tile Floor With Wood
This is essential for one to have the ability to calculate exactly what number of tiles you’ll require. In the more traditional days, tiles were merely used in rooms with a lot of moisture, traffic, rough and tumble. There is great freedom in the use of mosaic tiles in addition to virtually all folks who hire artists to design their home opt to work with these as their medium.
replace tile with wood?
Tile goes with other flooring. That is on the list of major reasons why houses even in present times, get tile flooring, no matter if they’ve many other options available to them similar to carpeting. Many hardware stores have floor tile cutters that you can make use of or even rent for a day. Needless to say one would need to consider brand, design, and quality too.
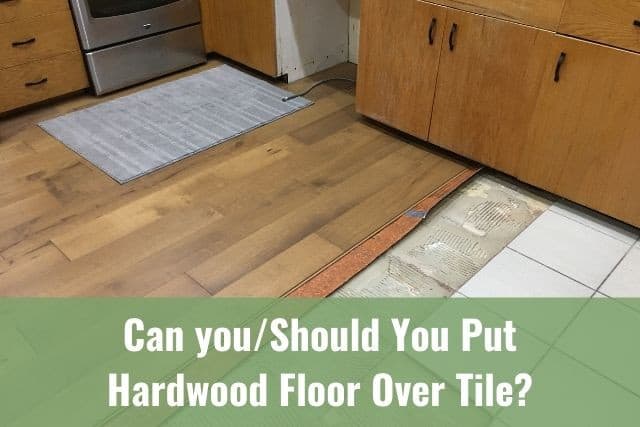
Laying Wood Flooring Over Tile – Todayu0027s Homeowner
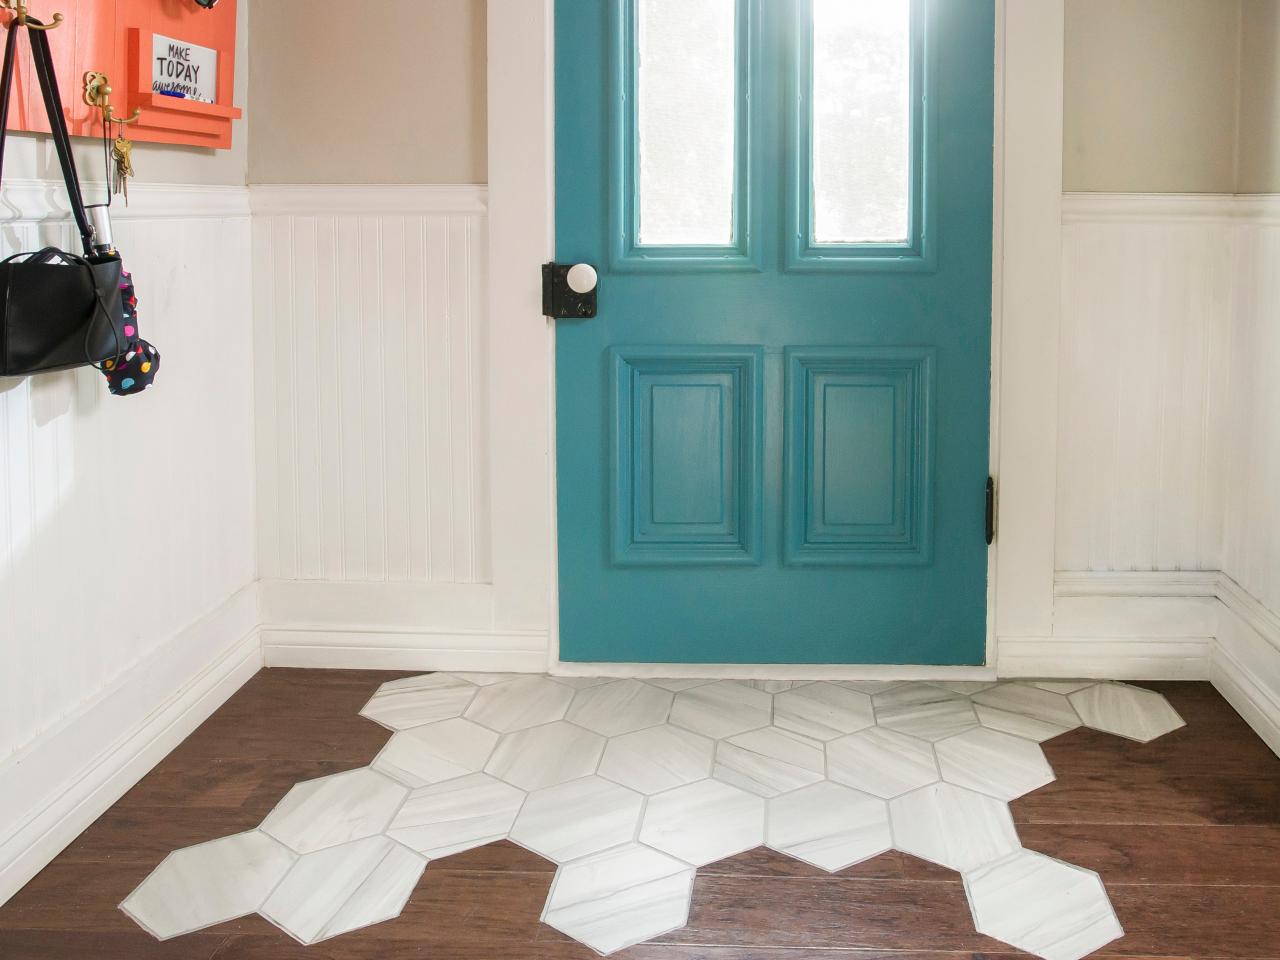
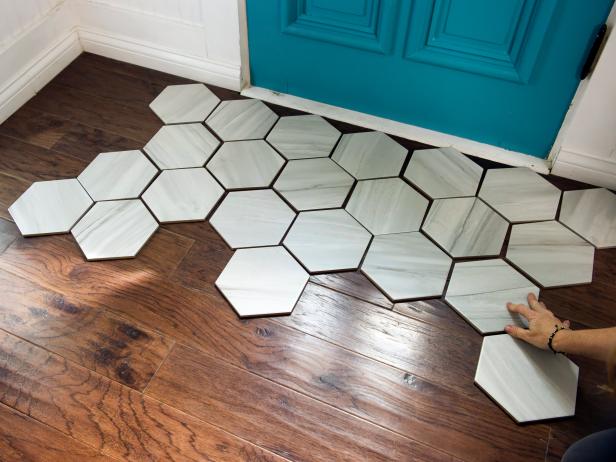
How To Install a Tile “Rug” Within a Hardwood Floor HGTV
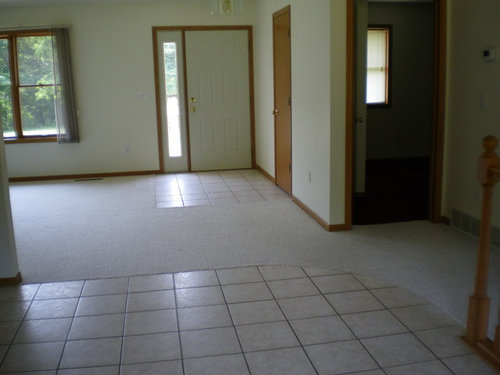
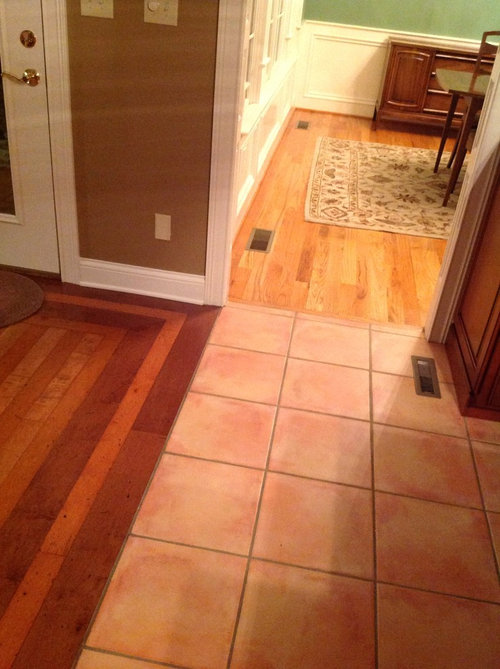
What to replace tile floor with in kitchen with 2 different flooring t
Hardwood Floors Versus Tile – Warmer u0026 Comfortable

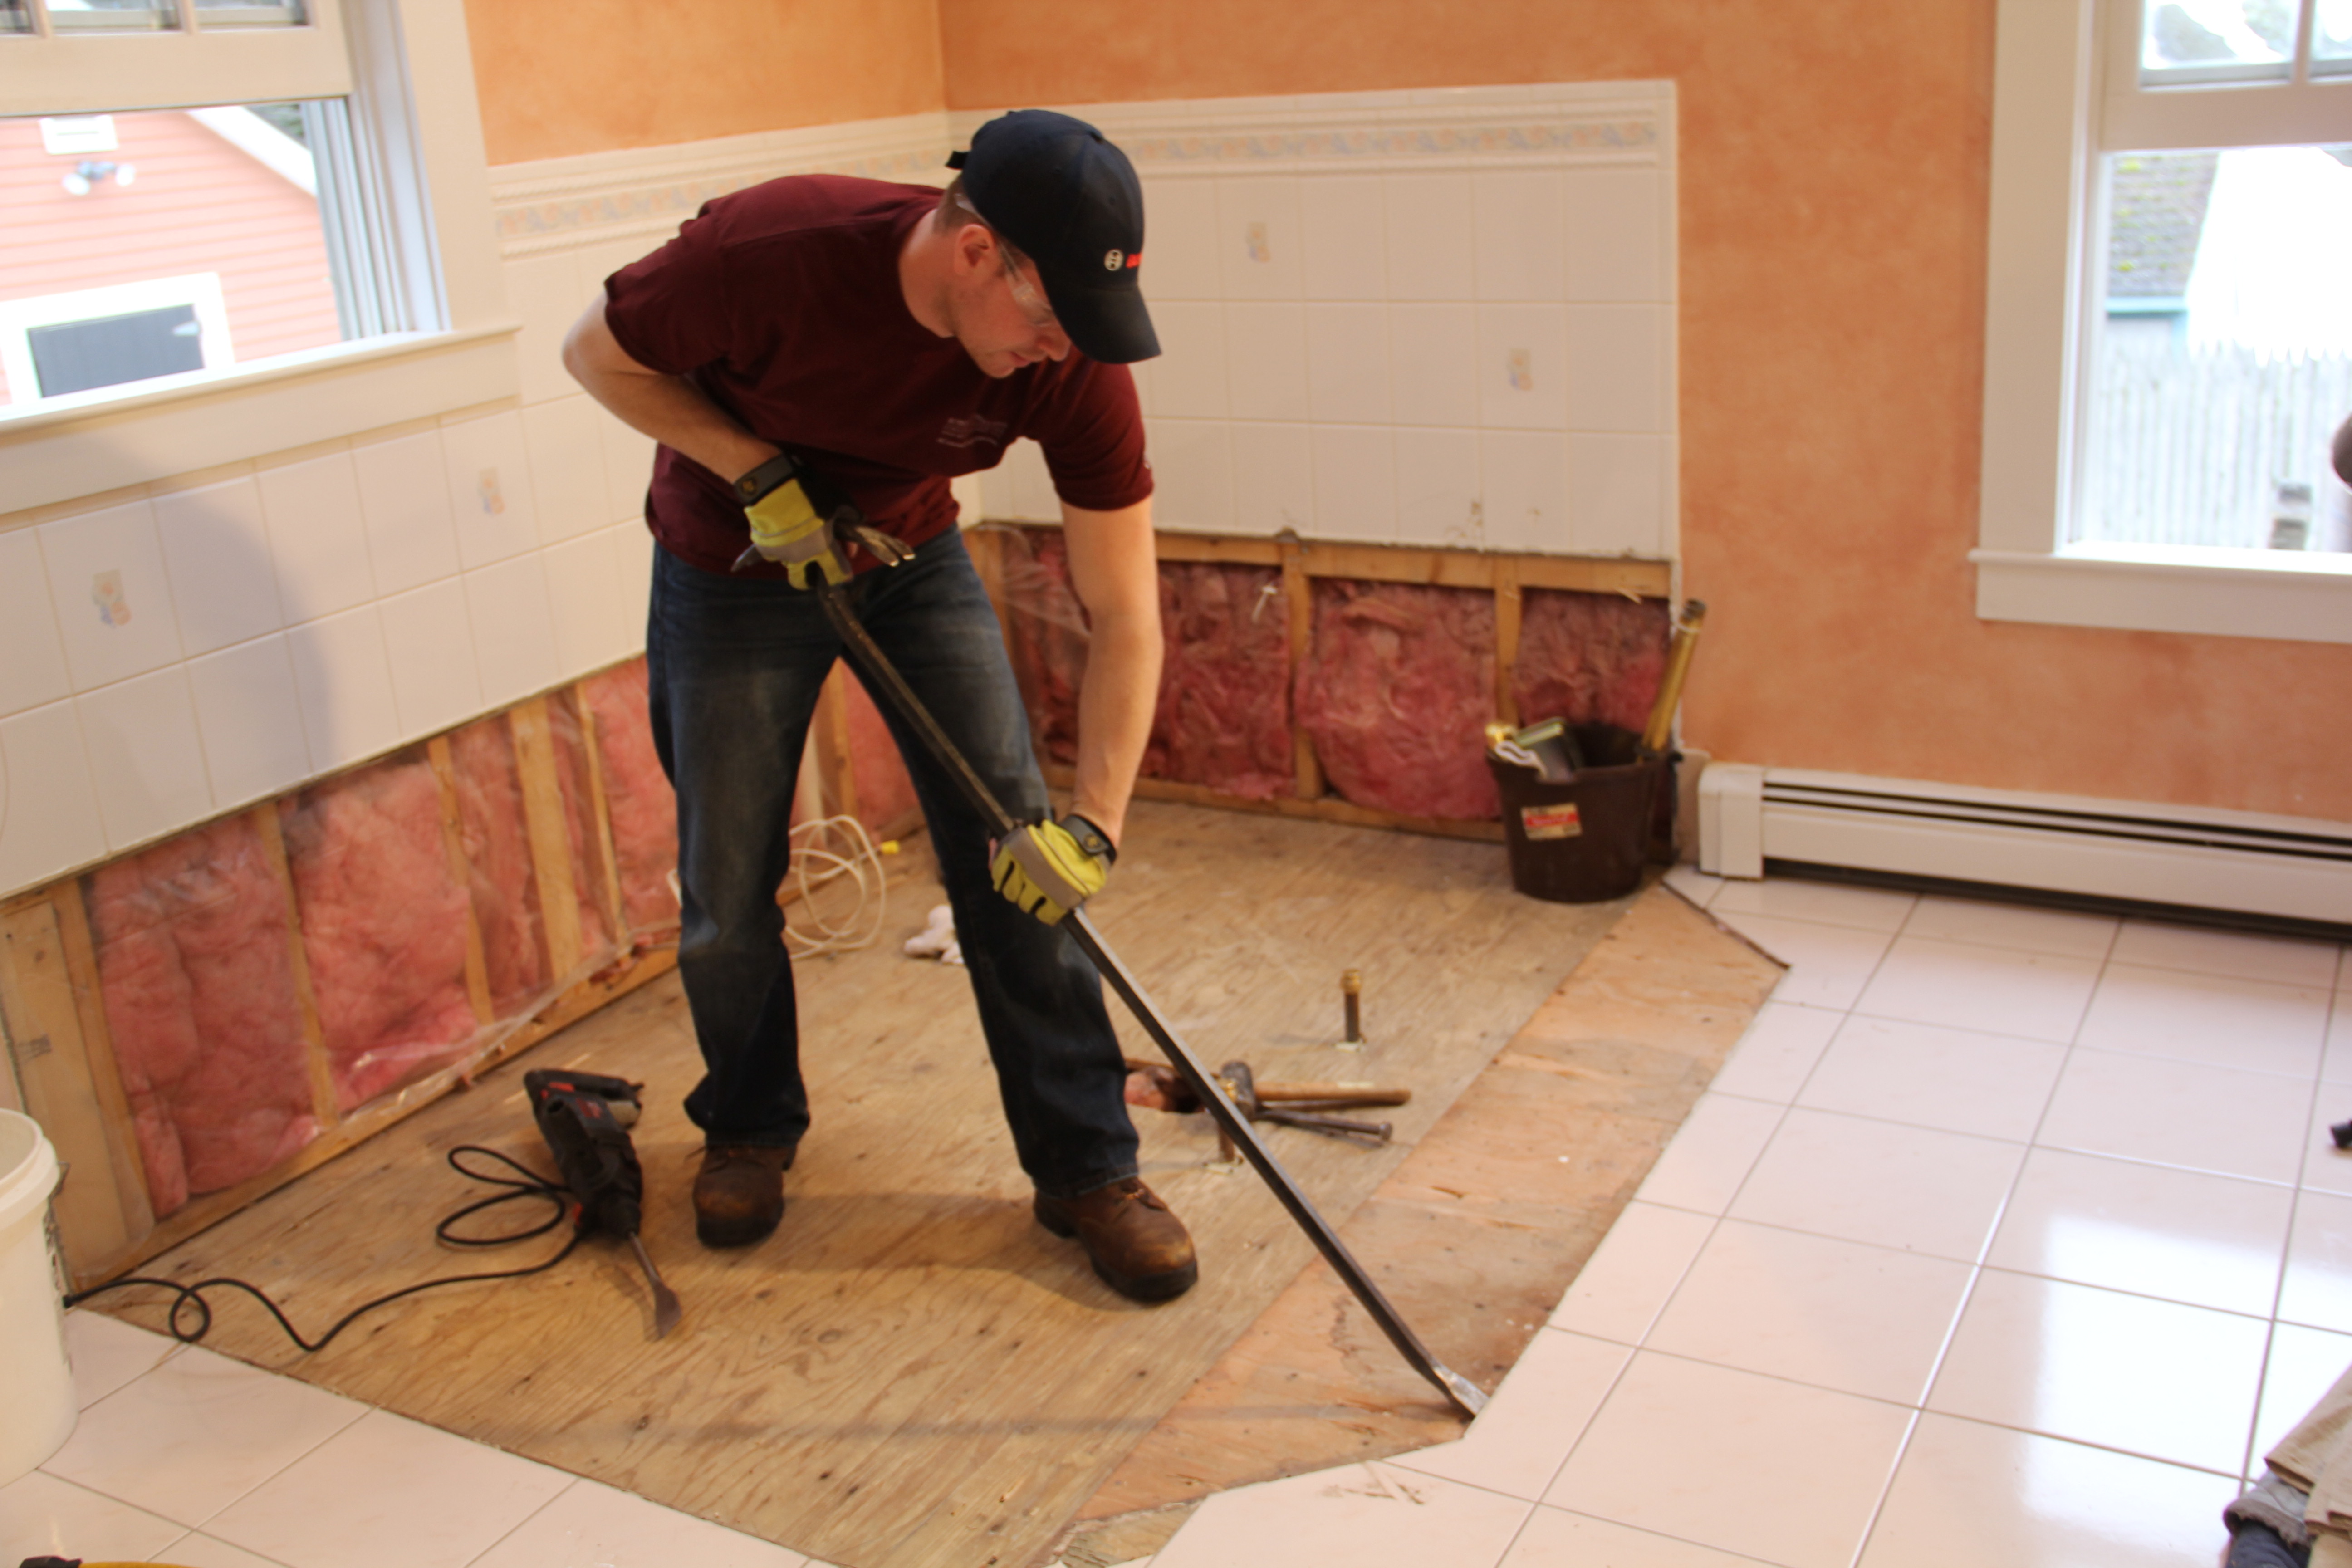
How To Remove A Tile Floor and Underlayment
The 3 Most Surprising Places Hardwood is Replacing Tile SVB

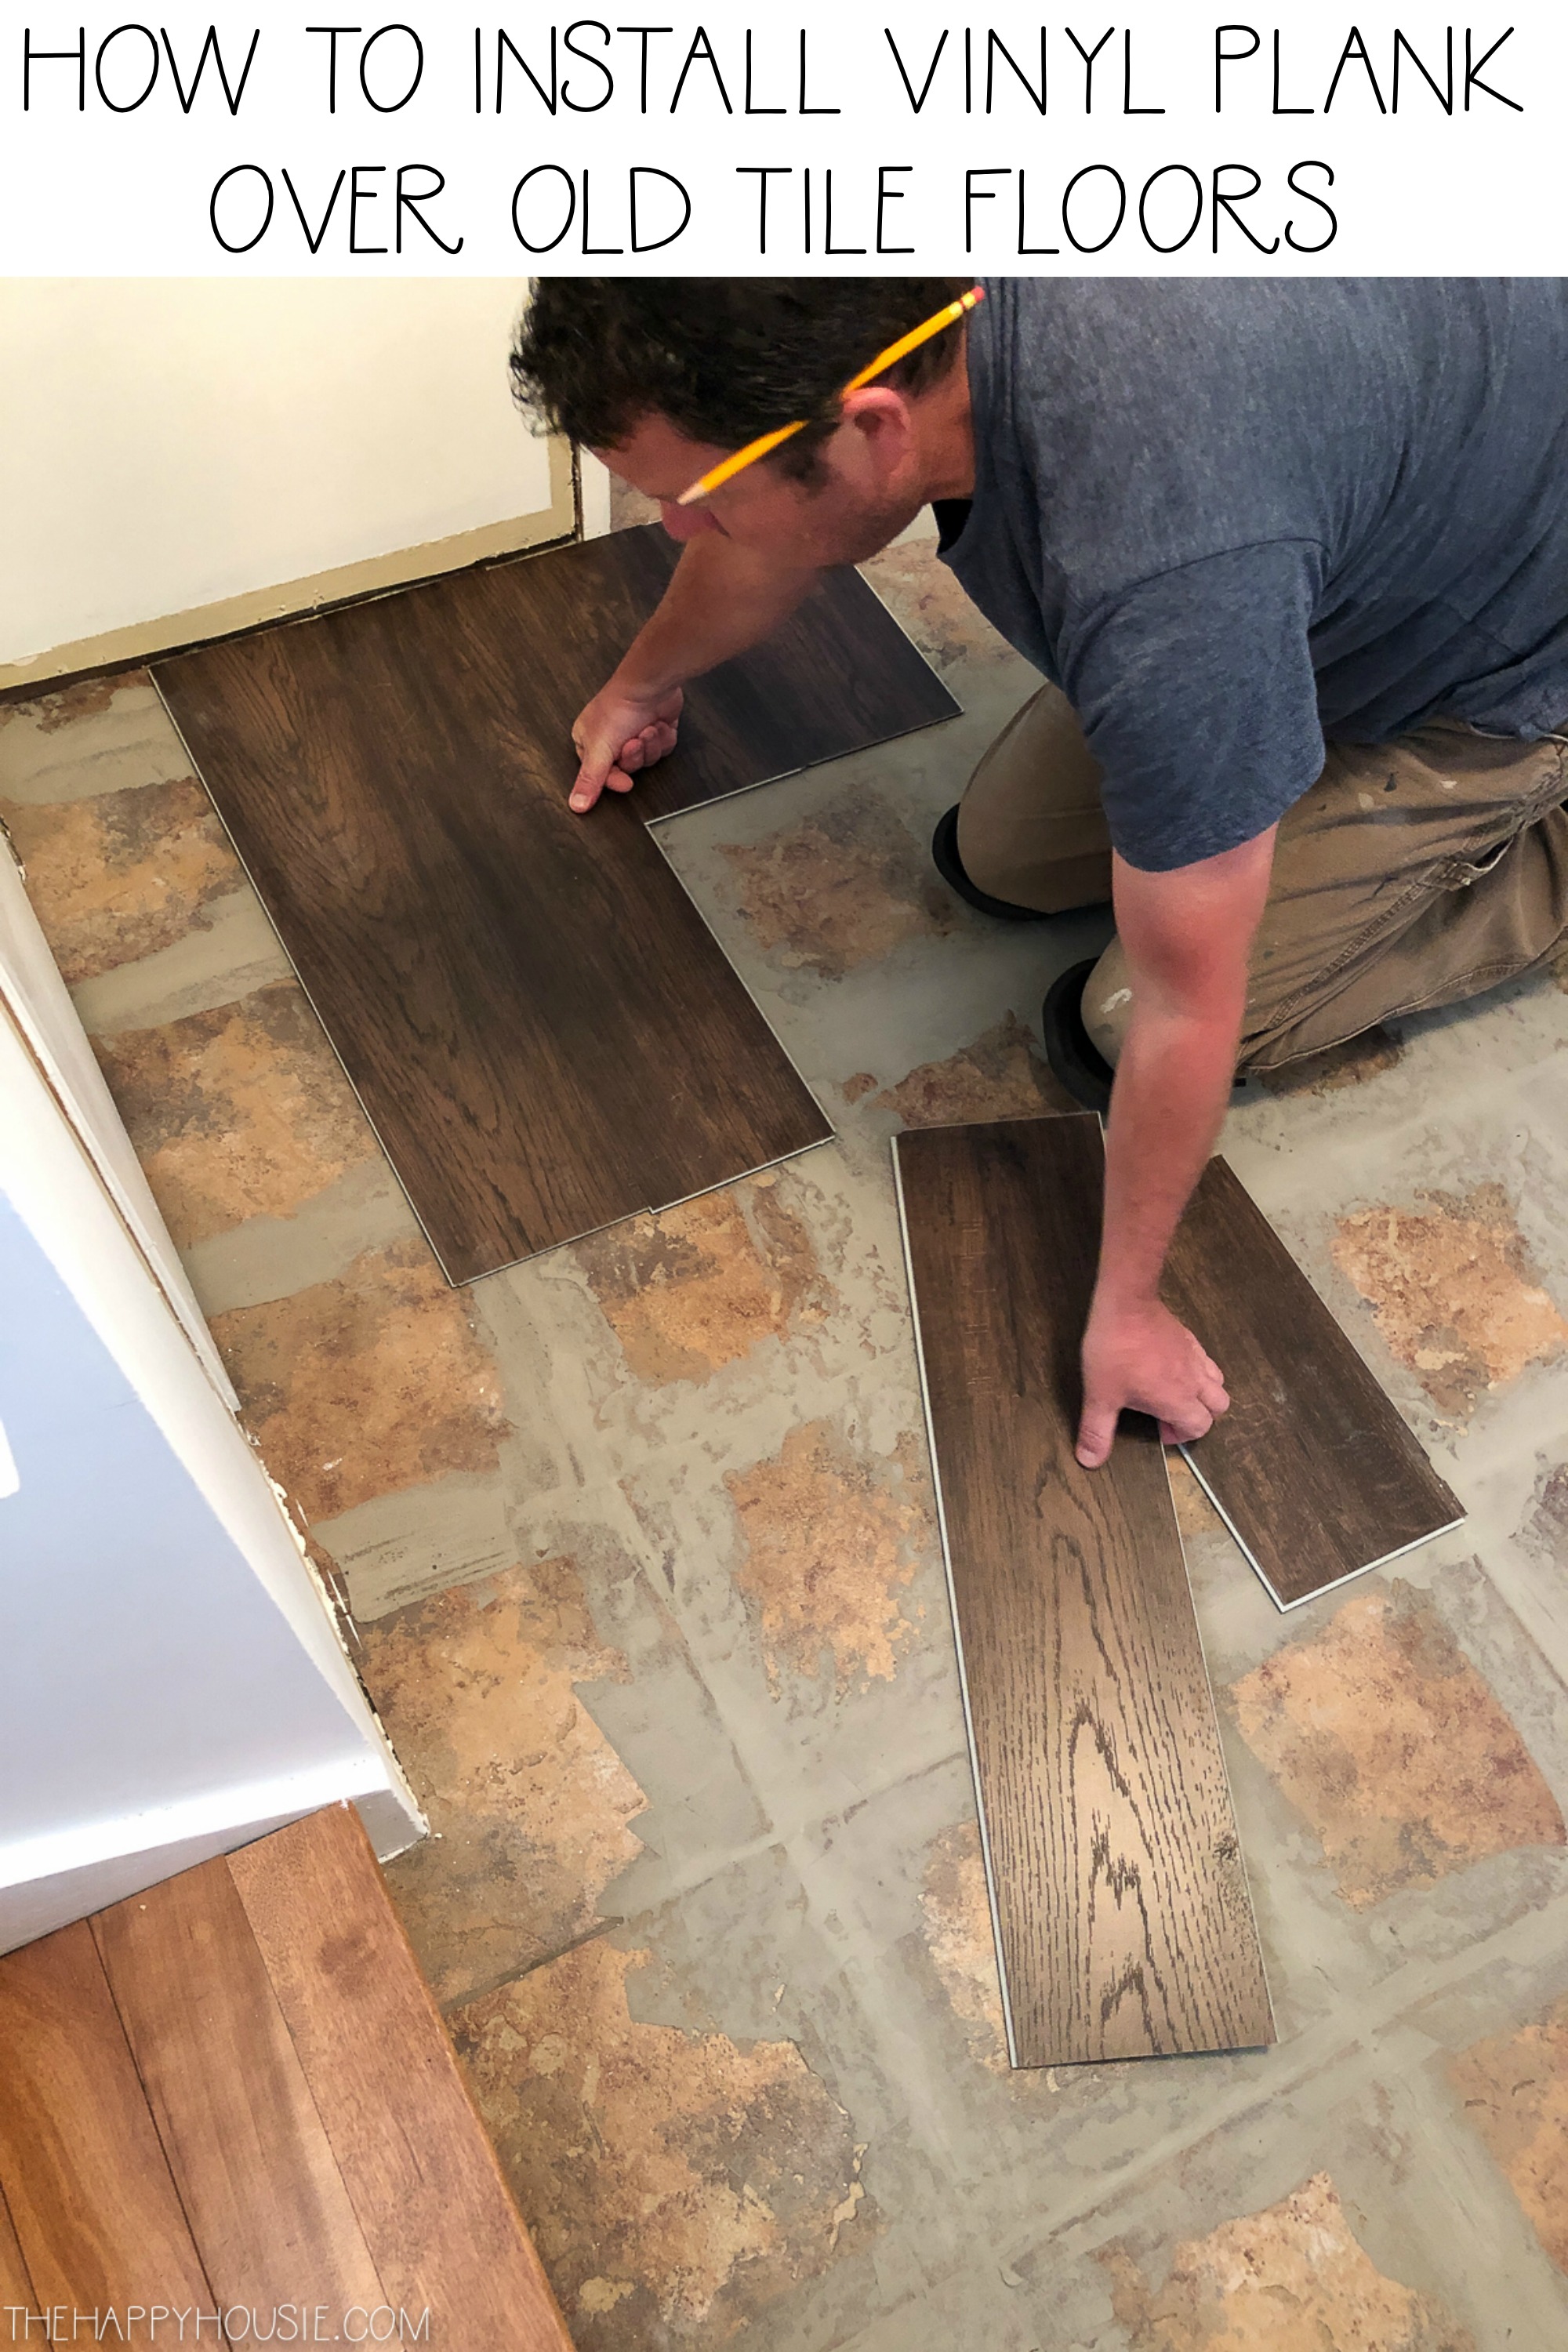
How to Install Vinyl Plank Over Tile Floors The Happy Housie
How To Install a Tile “Rug” Within a Hardwood Floor HGTV
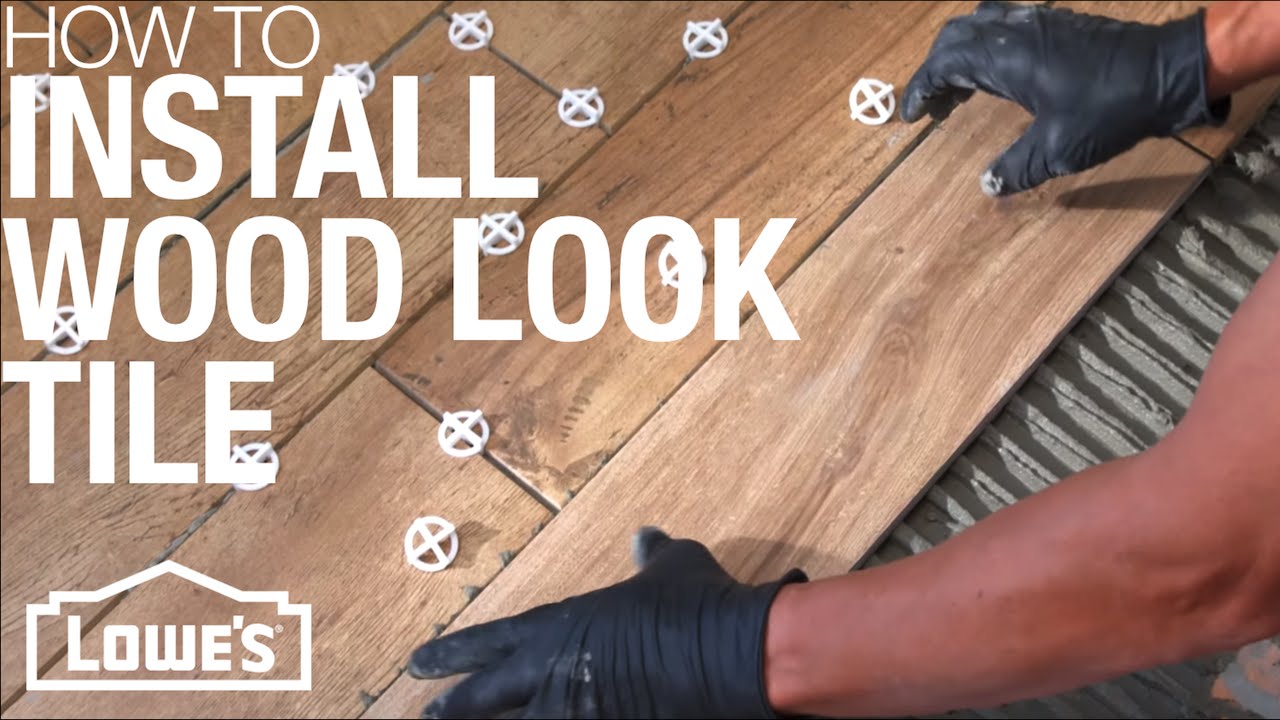
How To Install Wood Look Tile
2022 Cost of Installing Wood Tile Flooring – Home Advisor

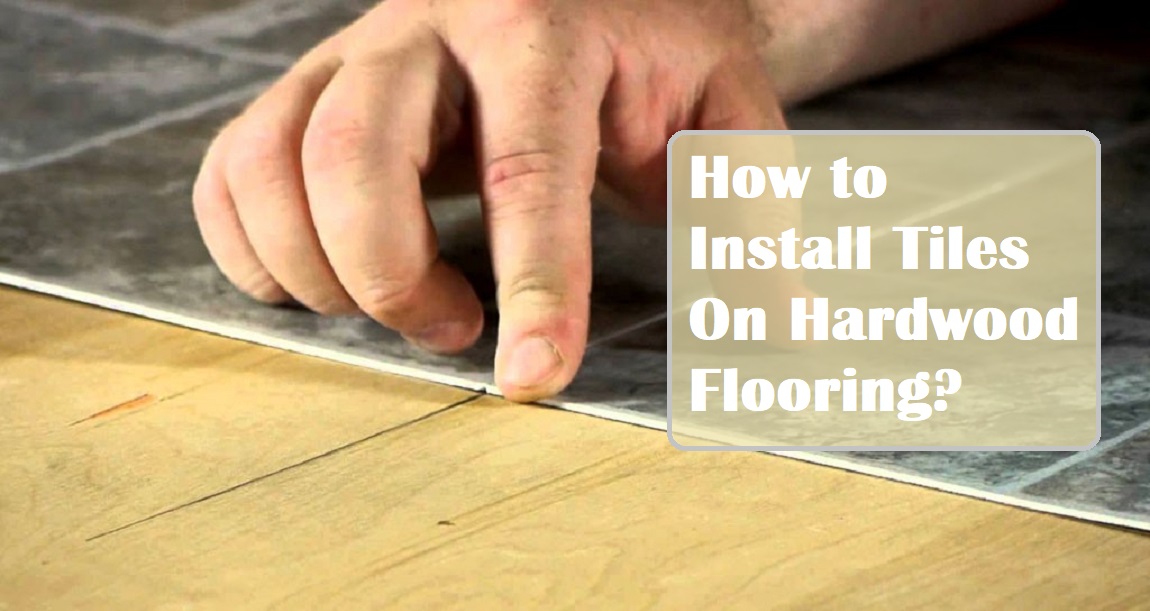
How To Install Tiles On Hardwood Flooring? Almahdi
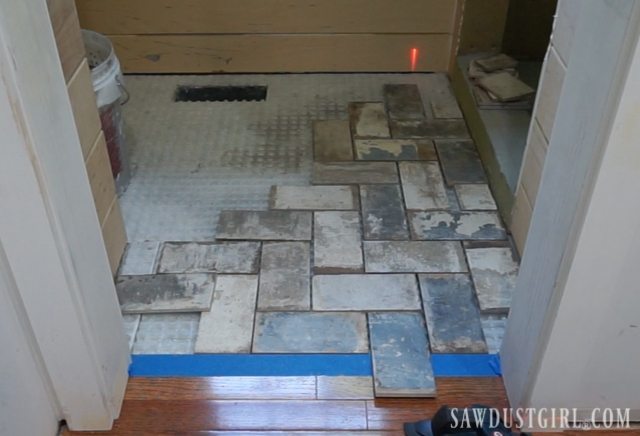
How to Install Tile Flush with Hardwood Floors – Sawdust Girl®
Related Posts:
- Installing Slate Tile Floor
- Painting Ceramic Tile Floor In Kitchen
- Anti Slip For Tile Floors
- Laminate Tile Flooring
- Marble Tile Floors
- Travertine Tile Flooring
- Modern Kitchen Tile Floor
- Country Style Tile Floors
- White Tile Flooring Ideas
- Herringbone Brick Tile Floor
Replacing Tile Floor With Wood: A Step-By-Step Guide
If you’re looking for a way to give your home a fresh new look, replacing your tile floor with wood is a great option. Not only does it create an aesthetically pleasing space, but it can also add value to your home. However, replacing a tile floor is not a job that should be taken lightly; it requires time, effort, and a bit of know-how. In this article, we’ll discuss the step-by-step process of replacing your tile floor with wood.
Preparation
The first step in replacing your tile floor with wood is preparation. Before you begin the replacement process, you must remove all existing tile and adhesive from the floor. To do this, use a hammer and chisel to break up the tile, then use a wire brush to remove any remaining adhesive or grout. Once all the tile is removed, you must make sure that the subfloor is clean and level before you proceed with the installation.
Installing Underlayment
Once the subfloor is prepped and ready to go, it’s time to install the underlayment. Underlayment helps protect the wood from moisture and provides a layer of cushioning for extra comfort. There are several types of underlayment available, so be sure to pick one that is suitable for your particular application. The most common types are foam underlayment, fiberglass mesh underlayment, or cork underlayment.
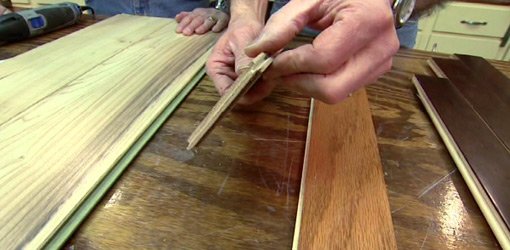
Lay Out The Wood Planks
Once you’ve installed the underlayment, it’s time to lay out the wood planks. Start by laying out the planks along one wall and working your way out from there. Be sure to stagger the planks for a more natural look and use spacers to ensure that there is the proper amount of space between each plank.
Secure The Wood Planks
Once you have laid out all of the planks, it’s time to secure them into place. You can use either nails or screws for this step; just make sure that they are long enough to penetrate through both the plank and the subfloor below it. If using nails, be sure to predrill holes in order to prevent splitting or cracking of the wood planks. For added security, you may also want to use construction adhesive along with your nails or screws.
Finish Up
Once all of the planks are secured into place, it’s time to finish up and complete the job. You’ll need to fill any holes or gaps between planks with wood putty or filler and sand them down until smooth. Then you can apply a finish such as stain or sealant in order to protect and enhance the wood planks.
FAQs
1. What type of underlayment should I use for my wood floor?
The type of underlayment you should use depends on your particular application. Foam underlayment, fiberglass mesh underlayment, or cork underlayment are all popular options. Be sure to read product specifications carefully in order to determine which type is best for your needs.
2. How do I ensure that my wood planks are laid out properly?
In order to ensure that your wood planks are laid out properly, be sure to stagger them for a more natural look and use spacers to make sure that there is the proper amount of space between each plank.
3. Do I need to use nails or screws when securing my wood planks?
Yes, you will need to use either nails or screws when securing your wood planks into place. Just be sure that they are long enough to penetrate through both the plank and the subfloor below it. You may also want to use construction adhesive along with your nails or screws for added security.
4. How do I protect my wood floor after installation?
In order to protect your wood floor after installation, you should apply a finish such as stain or sealant in order to protect and enhance the appearance of your new flooring.