When I installed luxury vinyl plank flooring throughout my home last year, I thought the hardest part was behind me once the planks were down. Boy, was I wrong! The trimming and finishing work turned out to be just as crucial for achieving that professional look I wanted. After making plenty of mistakes and learning through trial and error, I discovered that proper vinyl floor trimming can make or break the entire project. The difference between amateur and professional results often comes down to those final details around edges, transitions, and corners that most people overlook during planning.
Essential Tools and Materials for Vinyl Trimming Success
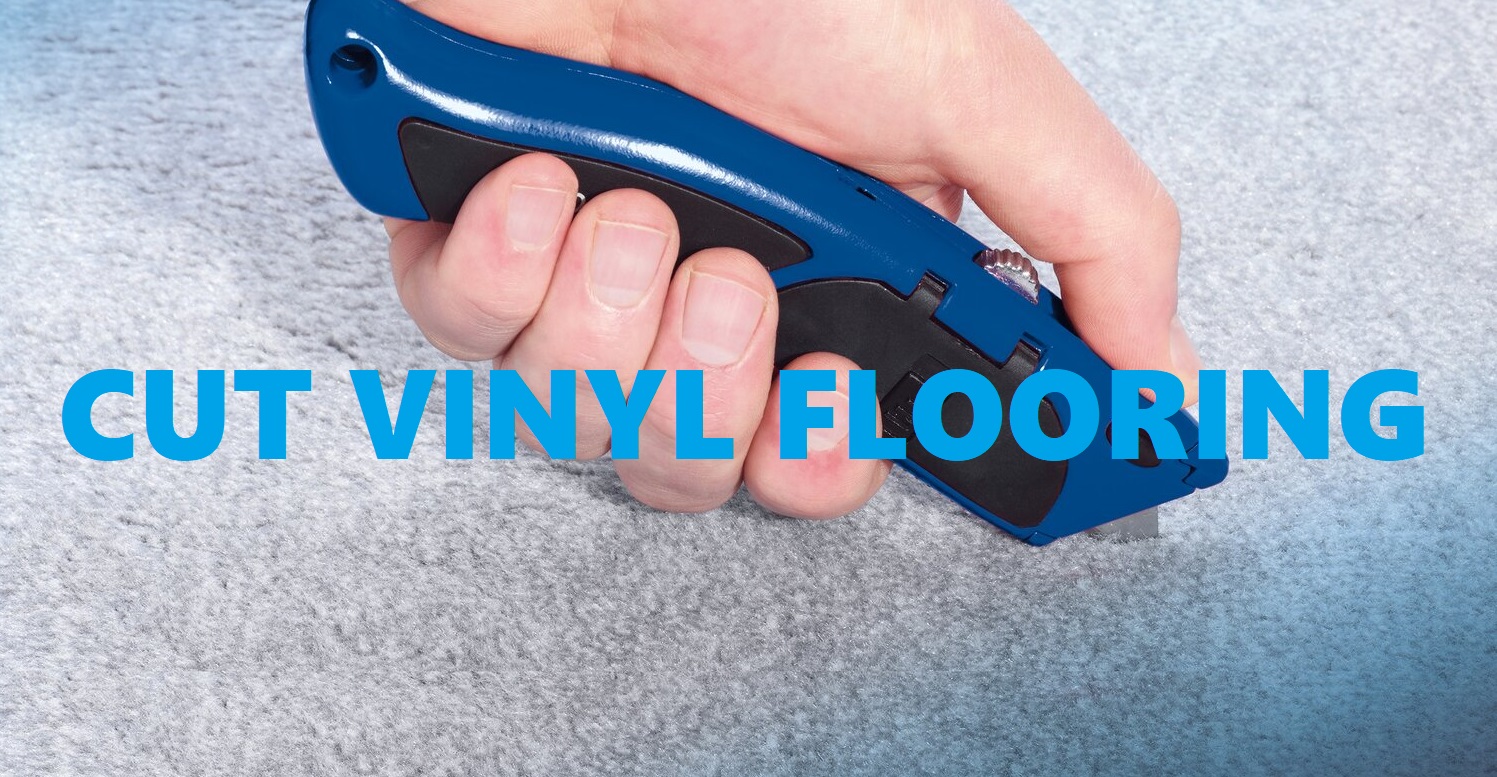
My first lesson in vinyl trimming came from realizing I didn’t have nearly enough of the right tools for the job. A quality utility knife with fresh blades became my best friend, but I quickly learned that cheap blades dull fast when cutting through thick luxury vinyl. I invested in a set of heavy-duty replacement blades and changed them frequently to ensure clean, precise cuts without the ragged edges that plagued my early attempts.
A straightedge ruler and T-square proved invaluable for making accurate measurements and straight cuts, especially around doorways and along walls. I initially tried to eyeball cuts and use whatever straight objects I could find around the house, but the results were inconsistent and unprofessional-looking. Once I committed to using proper measuring tools, my cuts became dramatically cleaner and more precise, saving me time and materials in the long run.
Heat became another crucial element I hadn’t anticipated. A hair dryer or heat gun makes vinyl much more pliable and easier to cut cleanly, especially for curved cuts around fixtures or irregular shapes. I learned this the hard way after struggling with several difficult cuts that cracked or split. Now I always warm the vinyl slightly before making complex cuts, which prevents damage and allows for much more precise trimming results.
Mastering Different Cutting Techniques for Various Situations
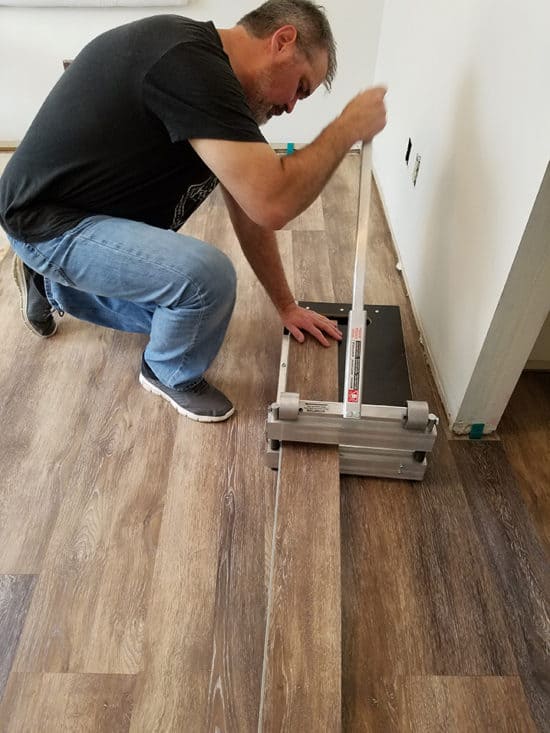
Score-and-snap cutting became my go-to method for straight cuts, but it took practice to get the pressure and technique just right. I learned to make multiple light passes with the utility knife rather than trying to cut through in one aggressive stroke. This approach prevents the blade from wandering and creates cleaner edges that fit together seamlessly. The key is patience and consistent pressure rather than rushing through the process.
For curved cuts around toilets, pipes, and other fixtures, I developed a template-making system using cardboard or paper. I’d create the template first, test the fit, and then trace it onto the vinyl for cutting. This extra step eliminated the guesswork and prevented costly mistakes on expensive planks. I also discovered that making relief cuts, small perpendicular cuts that allow the vinyl to bend around curves, made complex shapes much easier to achieve accurately.
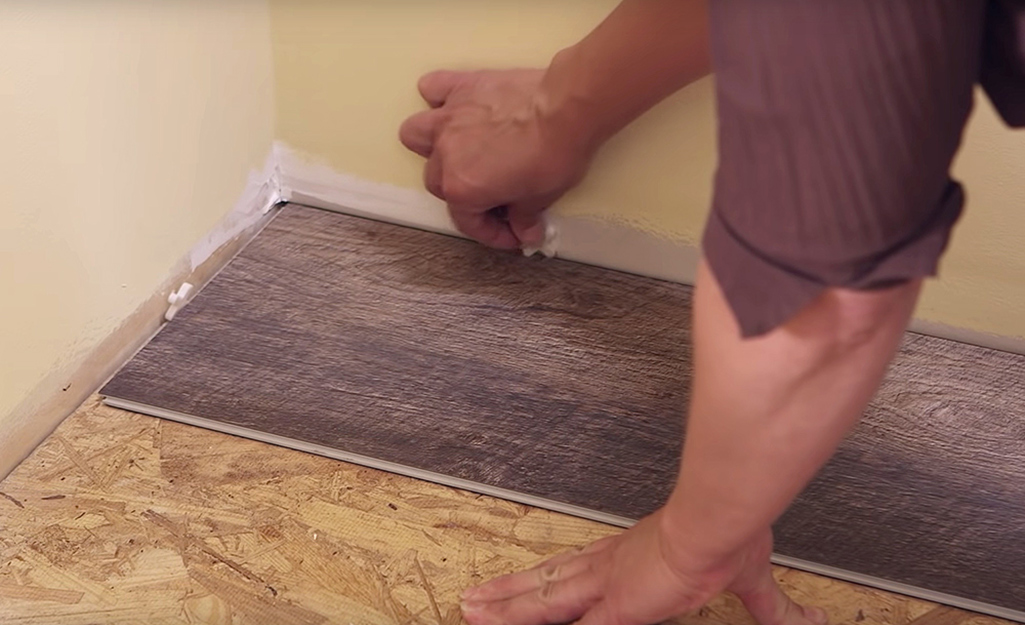
Doorway transitions required a completely different approach that I had to learn through experience. I found that undercutting door jambs slightly and sliding the vinyl underneath created the cleanest, most professional appearance. This technique requires an oscillating saw or jamb saw, but the investment was worth it for the seamless look it created. I also learned to leave small expansion gaps that get hidden under the trim rather than forcing tight fits that could cause buckling later.
Transition Strips and Molding: Creating Professional Connections
Choosing the right transition strips initially overwhelmed me with so many options available, but I learned that matching the thickness and color of your vinyl is crucial for a cohesive look. T-moldings work perfectly between rooms of equal height, while reducer strips handle transitions to thinner flooring materials. I made the mistake of buying generic transitions initially, only to discover they didn’t match my flooring’s thickness, creating unsightly gaps and trip hazards.
The installation of transition strips required more precision than I expected. Each strip needed to be cut to exact length and positioned carefully to cover the expansion gap without restricting the vinyl’s natural movement. I learned to measure twice and cut once, because replacing incorrectly cut transition pieces meant another trip to the store and project delays. Pre-drilling screw holes prevented splitting and ensured straight, professional installation.
Quarter-round and base molding became essential for hiding the expansion gaps around room perimeters. I initially tried to get away without molding, thinking the gaps weren’t that noticeable, but the unfinished appearance bothered me immediately. Installing proper molding transformed the entire look from DIY amateur to professional installation. I learned to nail the molding to the wall, not the floor, allowing the vinyl to expand and contract freely underneath.
Dealing with Complex Corners and Irregular Spaces
Inside corners presented my biggest trimming challenges, especially in older homes with walls that aren’t perfectly square. I learned to measure each corner individually rather than assuming they’d all be the same angle. Creating cardboard templates for complex corners saved me from wasting expensive vinyl on trial-and-error fitting. These templates allowed me to perfect the shape before committing to cutting the actual flooring material.
Outside corners required a different strategy altogether. I discovered that slightly overlapping the vinyl pieces and then cutting through both layers simultaneously created perfectly matched corners. This technique, called scribing, ensures tight joints without gaps or overlaps. It took several practice attempts on scrap pieces before I felt confident enough to use this method on visible corners in my main living areas.
Irregular spaces around built-in cabinets, fireplaces, and architectural features demanded creative problem-solving and patience. I learned to break complex shapes down into simpler geometric pieces, cutting and fitting each section individually. Relief cuts became essential for navigating around obstacles, allowing the vinyl to bend and conform to unusual shapes without cracking or splitting. These challenging areas often took longer than entire rooms, but the results were worth the extra effort.

Common Trimming Mistakes and How I Fixed Them
My biggest early mistake was not accounting for expansion gaps, leading to buckling and warping issues within weeks of installation. I had to remove and retrim several areas, cutting back the vinyl to create proper gaps around all fixed surfaces. This expensive lesson taught me that following manufacturer specifications isn’t optional; it’s essential for long-term performance. Now I always use spacers to maintain consistent gaps during installation.
Rushing the measuring process led to several costly cutting errors that required replacing entire planks. I learned to measure multiple times from different reference points and double-check my math before making any cuts. Creating a systematic approach to measuring and marking eliminated most of my cutting mistakes and significantly improved my efficiency. Taking extra time up front saved hours of corrective work later.
Poor blade maintenance caused ragged cuts and damaged edges that were visible even after installation. I initially tried to extend blade life by using dull blades longer than I should have, but the poor results made this false economy obvious. Now I change blades at the first sign of dulling and keep plenty of sharp replacements on hand. The improved cut quality justifies the minimal additional cost of fresh blades.

Finishing Touches That Make All the Difference
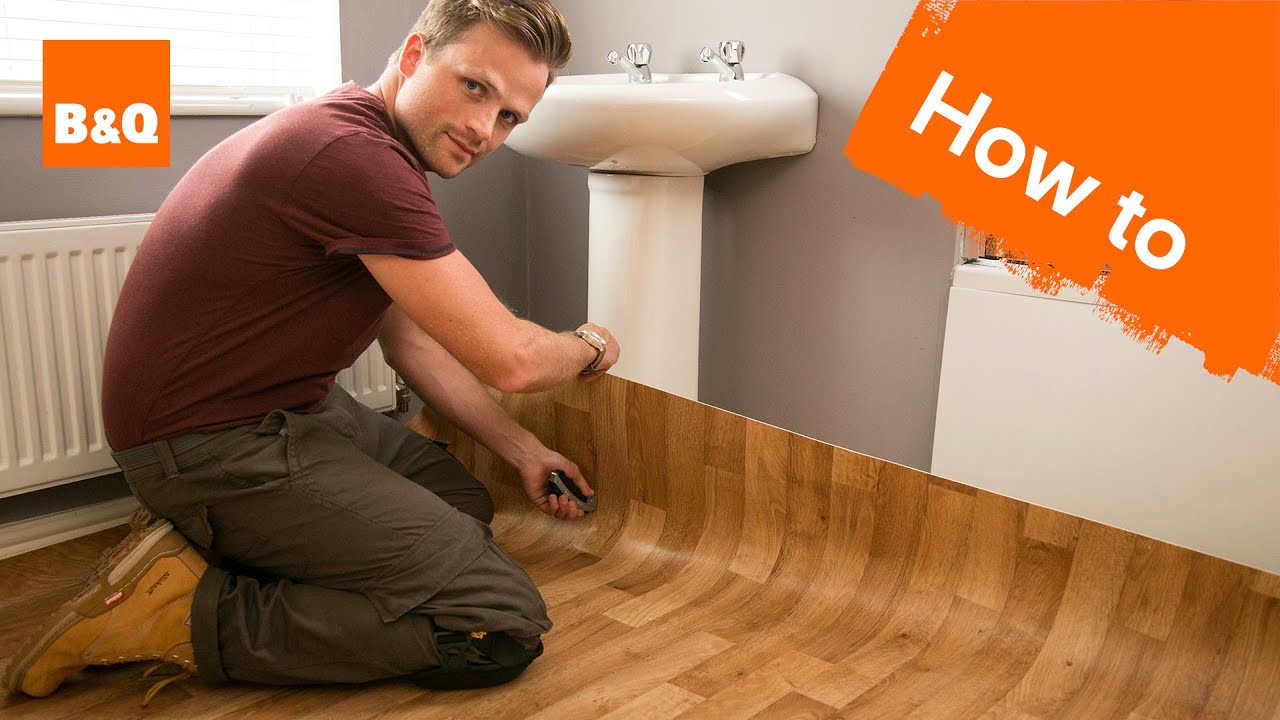
Caulking became the final step that truly made my vinyl installation look professional. I used paintable acrylic caulk to seal gaps between the molding and walls, creating smooth, finished transitions. The key was applying thin, even beads and smoothing them immediately with a damp finger. This step eliminated the visible gaps that made my installation look incomplete and amateurish.
Color matching the trim and molding to either the vinyl or existing room elements required careful consideration. I initially chose white trim for everything, but learned that matching wood-toned trim to wood-look vinyl created a more cohesive, expensive appearance. In rooms with existing painted trim, I painted new molding to match, creating seamless integration with the existing decor.
Final cleanup and inspection revealed small imperfections that needed attention before considering the job complete. I went through each room systematically, checking all cuts, transitions, and trim installations. Small gaps got filled with color-matched caulk, slightly proud molding got sanded flush, and any visible fasteners got touched up with paint. These final details transformed a good DIY job into something that looked professionally installed.
What’s the most important tool for trimming vinyl flooring accurately?
A sharp utility knife with heavy-duty blades is absolutely essential. I go through several blades per room because dull blades cause ragged cuts and can damage the vinyl. I also rely heavily on a good straightedge and T-square for accurate measurements. A hair dryer for warming the vinyl before cutting complex shapes has also proven invaluable for preventing cracks and achieving clean cuts.
How do you cut vinyl around pipes and fixtures without damaging it?
A: I always make a cardboard template first to test the fit before cutting the actual vinyl. For pipes, I measure carefully and make relief cuts that allow the vinyl to wrap around the obstacle. Warming the vinyl with a hair dryer makes it more flexible for these complex cuts. Taking time to create templates eliminates costly mistakes on expensive flooring materials.

Should I install transition strips before or after laying the vinyl?
I’ve learned to install the vinyl first, then add transition strips. This approach allows me to see exactly where the strips need to go and ensures proper fit. I leave the appropriate expansion gaps and then cover them with the transitions. Installing strips first often leads to measurement errors and gaps that are difficult to fix after the vinyl is down.
How do you prevent vinyl from splitting when making cuts?
Sharp blades are crucial, but technique matters too. I make multiple light passes rather than trying to cut through in one stroke. For thick luxury vinyl, I score the top surface first, then bend and cut through the backing. Warming the vinyl slightly with a hair dryer also makes it much less likely to crack or split during cutting.

What’s the best way to hide expansion gaps around room perimeters?
Quarter-round molding or base shoe is the most effective solution I’ve found. The key is nailing the molding to the wall, not the floor, so the vinyl can still move freely. I caulk the top edge where molding meets the wall for a finished appearance. Trying to make tight fits without expansion gaps always leads to buckling problems later.
How do you achieve professional-looking corners with vinyl planks?
Inside corners require careful measuring and often benefit from cardboard templates, especially in older homes where walls aren’t perfectly square. For outside corners, I overlap the pieces slightly and cut through both layers simultaneously for perfect matching. Taking time to get corners right makes the biggest difference in the overall professional appearance of the installation.

Installing Vinyl Plank Flooring – How To FixThisBuildThat

How to Cut Vinyl Plank Flooring Hunker

How To Cut Vinyl Flooring Tiles/Sheets/Planks Best Ways For PVC
Installing Vinyl Floors – A Do It Yourself Guide – The Honeycomb Home
How to lay sheet vinyl flooring
Related Posts: