After renovating three bathrooms over the past decade, I’ve learned that choosing the right tiles can make or break your space. The combination of moisture, daily use, and aesthetic demands creates unique challenges that require careful consideration. Through trial and error, I’ve discovered what works and what doesn’t when it comes to creating a beautiful, functional bathroom that stands the test of time.
Choosing the Right Material for Your Space
When I first started my bathroom renovation journey, I was overwhelmed by the sheer number of tile materials available. Porcelain quickly became my go-to choice because of its incredible durability and water resistance. Unlike natural stone, porcelain doesn’t require sealing and maintains its appearance even after years of daily use. The manufacturing process creates a dense, non-porous surface that’s perfect for wet environments.
Ceramic tiles offer excellent value for money, though they’re slightly more porous than porcelain. I’ve used ceramic successfully in guest bathrooms where traffic is lighter. The glazed surface provides good water resistance, but I always recommend checking the absorption rate before purchasing. Natural stone like marble or travertine creates a stunning visual impact, but requires more maintenance than I prefer for busy family bathrooms.
Glass tiles became my favorite accent material after discovering their light-reflecting properties. They brighten dark spaces beautifully and are completely non-porous, making them ideal for shower walls. However, I learned the hard way that they show water spots easily and require frequent cleaning. For floors, I avoid glass entirely due to slipperiness concerns, especially when wet.
Size Matters: Finding the Perfect Dimensions
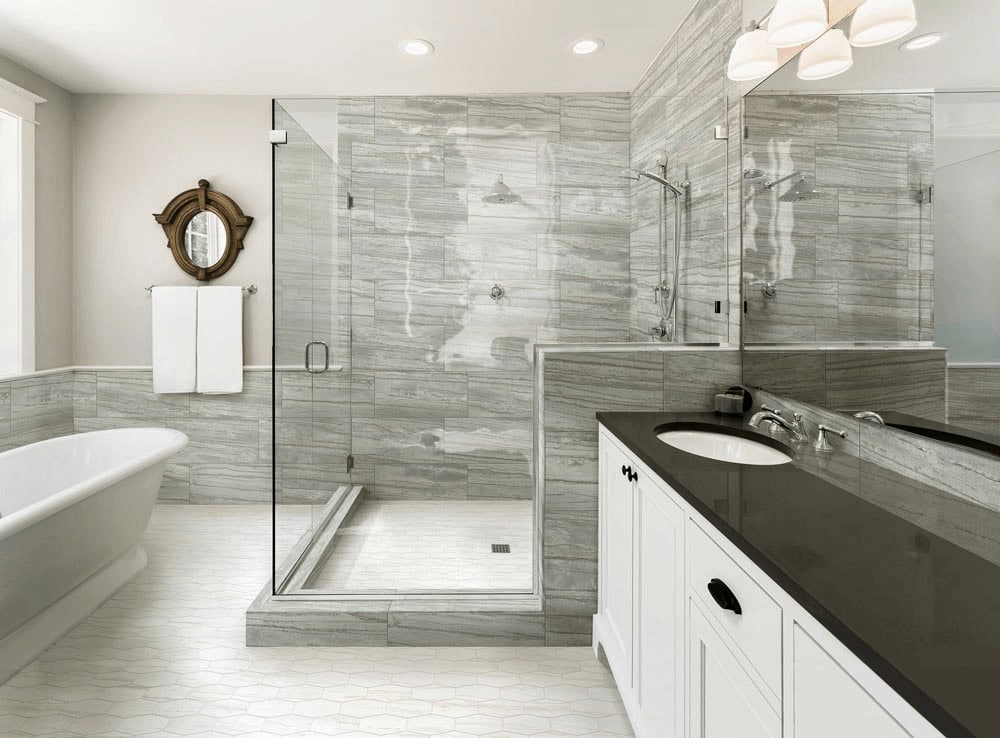
Large format tiles transformed my master bathroom renovation completely. I chose 24×24-inch porcelain tiles for the floor, which created an expansive feeling in the relatively small space. Fewer grout lines mean less maintenance and a cleaner appearance overall. The continuous surface makes cleaning significantly easier, something I appreciate during my weekly bathroom cleaning routine.
Medium-sized tiles, typically 12×12 or 12×24 inches, work well in most standard bathrooms. I’ve found this size strikes the perfect balance between visual impact and practicality. Installation is straightforward, and replacement is manageable if damage occurs. These dimensions also work well with most bathroom layouts without requiring extensive cutting around fixtures and corners.
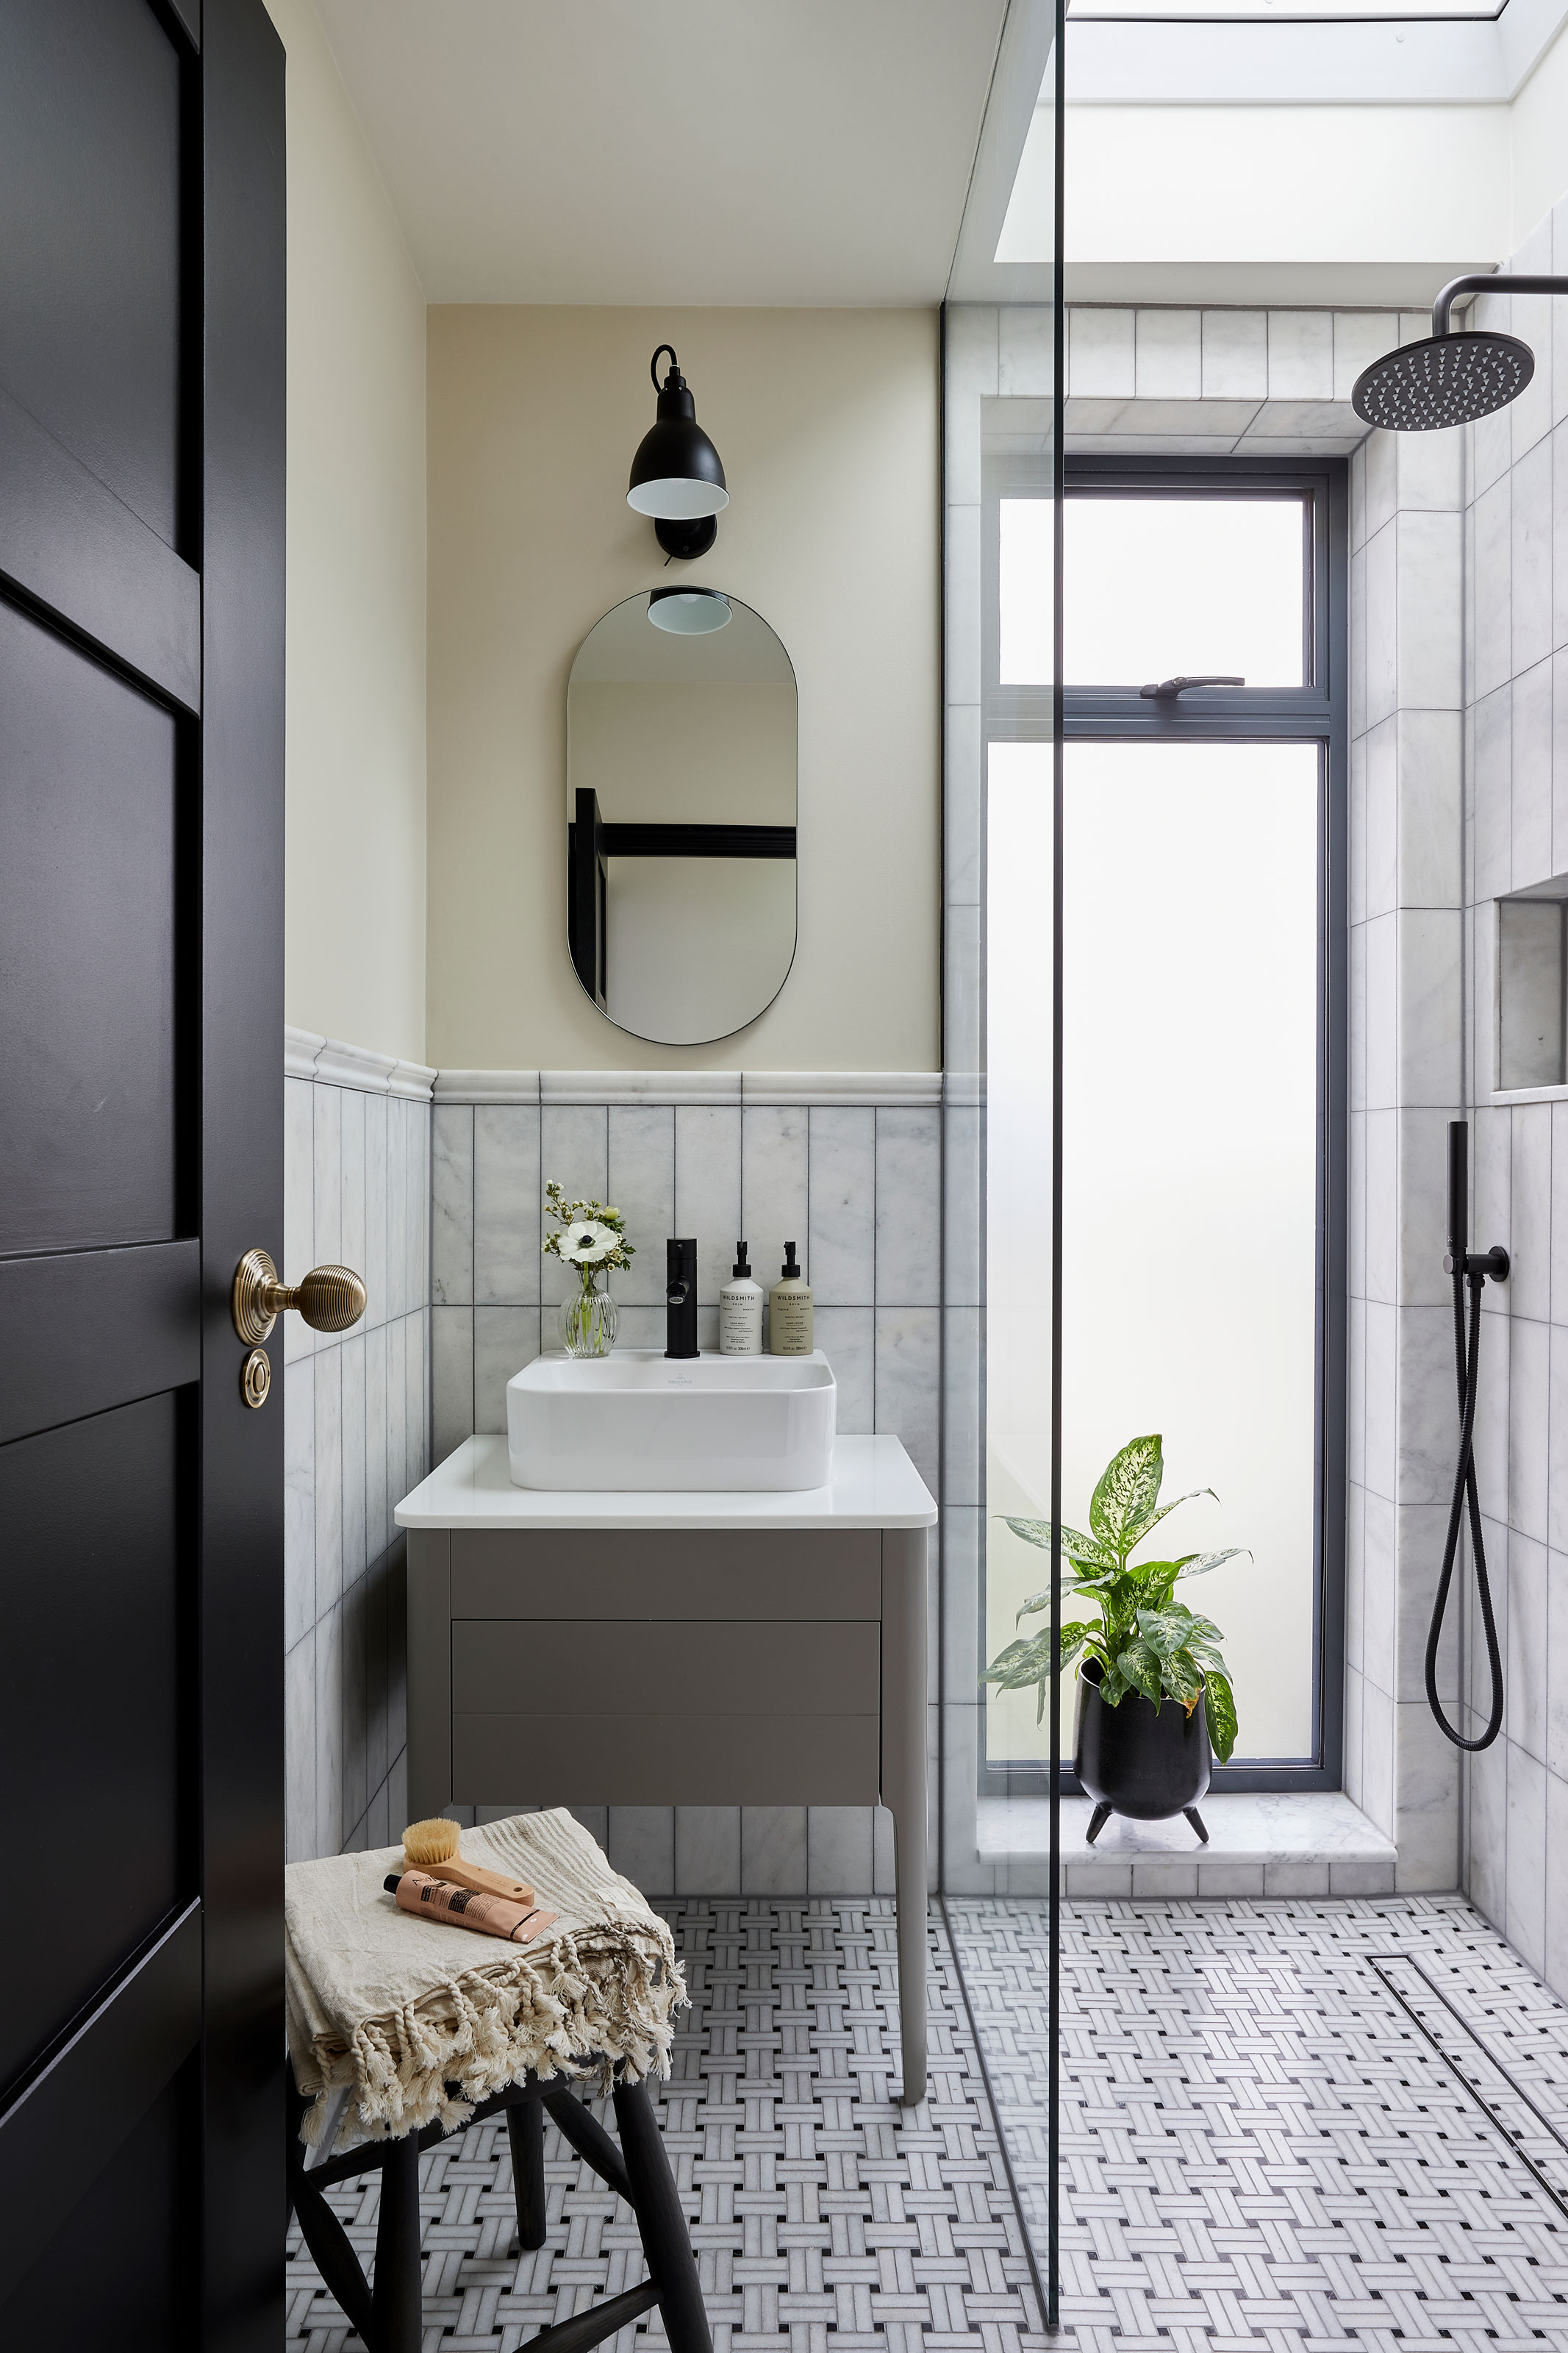
Small mosaic tiles create incredible texture and visual interest, particularly in shower niches and accent walls. I used 2×2 inch mosaics in my guest bathroom shower, creating a spa-like atmosphere. However, the increased grout lines require more maintenance and careful sealing. For floors, small tiles provide excellent slip resistance due to the numerous grout lines, making them safer for wet conditions.
Color Schemes That Stand the Test of Time
Neutral colors have served me well throughout multiple renovations. White, beige, and gray tiles create timeless foundations that won’t look dated in five years. I’ve learned that neutral doesn’t mean boring; countless variations in texture, finish, and undertones add character. These colors also provide flexibility when updating accessories, paint colors, or fixtures without replacing expensive tilework.
Bold colors can create a dramatic impact, but I approach them cautiously. I used navy blue accent tiles in one shower, creating a stunning focal point. However, I kept the majority of surfaces neutral to prevent the space from feeling overwhelming. Dark colors hide dirt well, but can make small bathrooms feel cramped. Light colors brighten spaces but show soap scum and water spots more readily.
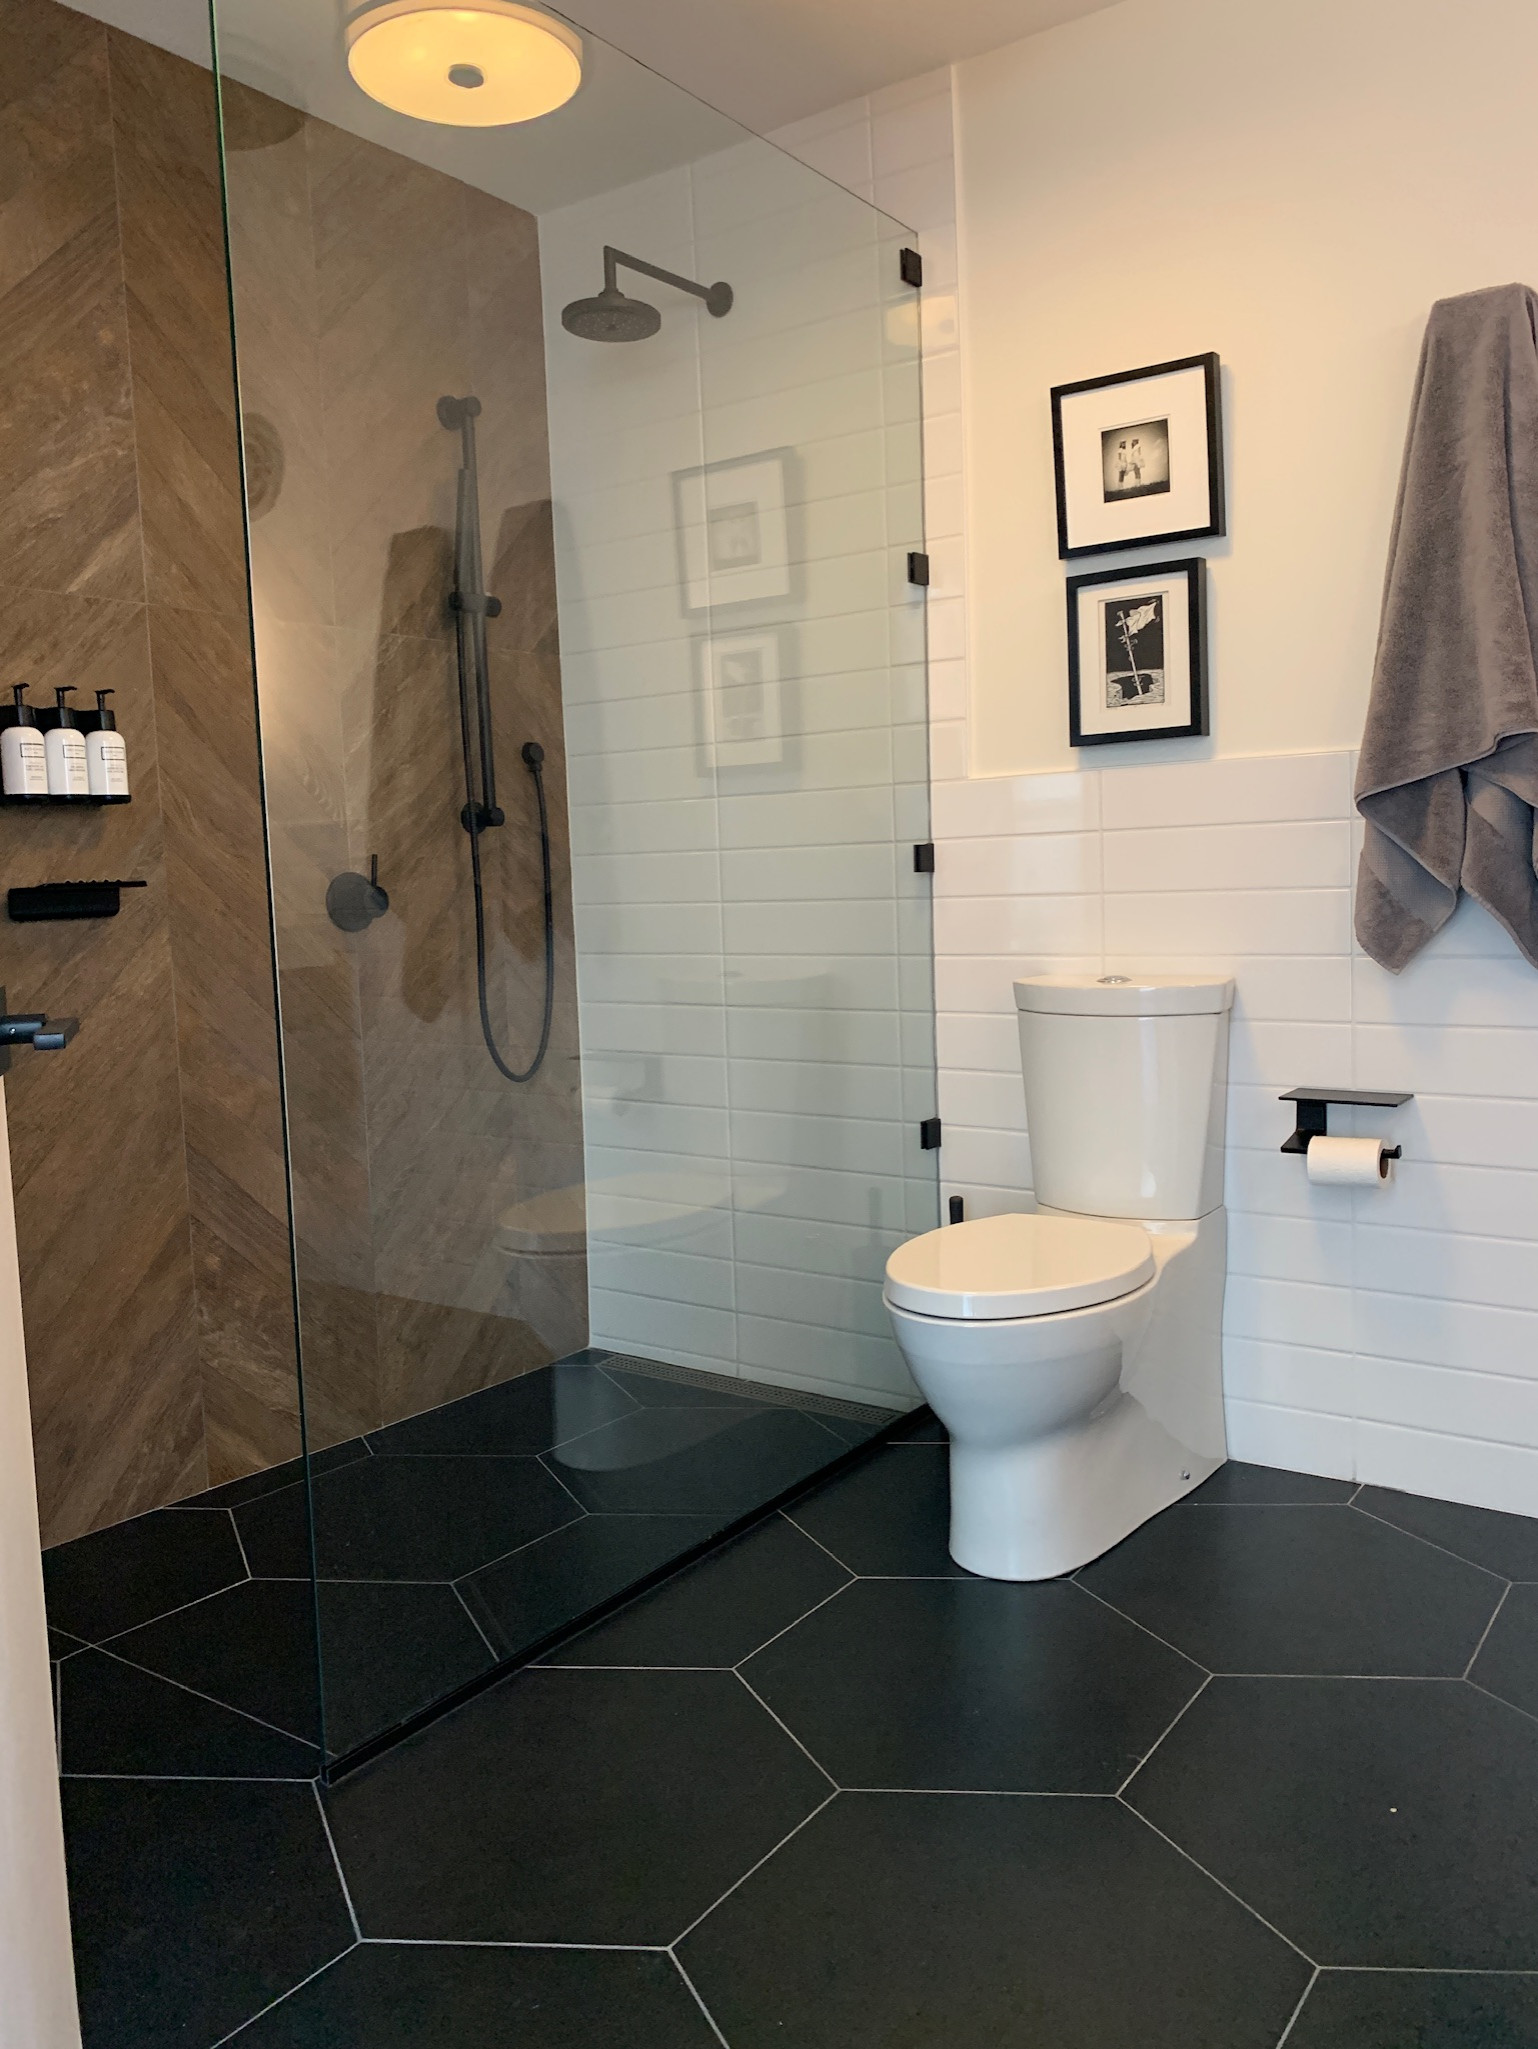
Pattern mixing requires careful consideration and planning. I successfully combined subway tiles with hexagonal floor tiles by keeping colors within the same family. The key is varying scale rather than competing patterns. Too many different patterns create visual chaos, while complementary patterns add sophisticated interest. I always test combinations with samples before committing to large purchases.

Installation Tips From Hard-Learned Experience
Proper substrate preparation saved me from disaster during my second renovation. I learned that even small imperfections in the subfloor telegraph through tiles, creating lippage and potential cracking. I now invest time and money in ensuring perfectly level, stable surfaces before beginning tile installation. This extra step prevents costly repairs later and ensures professional-looking results.
Waterproofing behind shower tiles is critical, something I learned after dealing with water damage. I use liquid membrane systems that create seamless barriers, paying special attention to corners and transitions. Many DIY disasters happen because people skip or skimp on waterproofing. The few hundred dollars spent on quality waterproofing materials prevent thousands in water damage repairs.
Grout selection significantly impacts both appearance and maintenance requirements. I prefer sanded grout for floor tiles and unsanded for wall applications with narrow joints. Epoxy grout costs more initially but resists stains and doesn’t require sealing. Color choice affects the overall look dramatically; light grout emphasizes individual tiles while dark grout creates a more continuous appearance. I always seal grout lines within 24 hours of installation.
Maintenance Secrets for Long-Lasting Beauty
Daily maintenance prevents major problems from developing. I squeegee shower walls after each use, which takes thirty seconds but prevents soap scum buildup and water spots. Weekly cleaning with pH-neutral cleaners keeps tiles looking new without damaging grout or natural stone surfaces. I avoid harsh chemicals that can discolor grout or etch stone surfaces over time.
Resealing grout annually protects against moisture penetration and staining. I mark my calendar because it’s easy to forget this important maintenance step. Quality sealers penetrate deeply and last longer than cheap alternatives. I test sealers in inconspicuous areas first, especially on colored grout, where some products can cause discoloration. This simple step prevents costly repairs and extends tile life significantly.
Deep cleaning quarterly removes buildup that daily maintenance misses. I use steam cleaning for grout lines, which sanitizes without chemicals. For stubborn stains, I make a paste with baking soda and water, let it sit overnight, then scrub gently. Professional cleaning every few years keeps everything looking pristine and can identify potential problems before they become major issues requiring expensive repairs.

Budget-Friendly Strategies That Work
Shopping through tile remnants and clearance sections yielded amazing finds for my projects. I discovered high-end porcelain tiles at seventy percent off simply because the color was discontinued. Buying slightly more than needed protects against future damage or mistakes during installation. I store extra tiles in my basement for repairs, which has saved me multiple times when fixtures needed adjustment or accidents happened.
DIY installation saves significant money if you have patience and attention to detail. I rented professional tools like wet saws and laser levels, which produced better results than cheap alternatives. YouTube tutorials taught me proper techniques, but I practiced on sample areas first. Some tasks, such as waterproofing and complex cuts, are worth hiring professionals, but basic installation is manageable for motivated beginners.
Mixing expensive and budget tiles strategically maximizes impact while controlling costs. I use premium tiles as accents and borders while filling large areas with affordable options. This approach creates custom looks without custom prices. Buying directly from distributors or during contractor sales events provides significant savings. I’ve found that patience and flexibility with timing can reduce costs dramatically without compromising quality.

What’s the best tile size for small bathrooms?
Medium-sized tiles, typically 12×12 or 12×24 inches, work best in small bathrooms. I’ve found they create visual interest without overwhelming the space like large tiles might. They’re also easier to install around fixtures and don’t require as much cutting as larger formats. The moderate number of grout lines provides good traction while still maintaining a clean appearance that makes small spaces feel larger and more open.
How do I prevent mold and mildew in shower areas?
Proper ventilation and daily maintenance are crucial for preventing mold and mildew. I always run exhaust fans during and after showers, ensuring adequate air circulation. Squeegeeing walls daily removes excess moisture, while weekly cleaning with mildew-resistant products prevents buildup. Quality grout sealing creates barriers against moisture penetration. Most importantly, addressing any leaks or moisture issues immediately prevents serious mold problems from developing.
Should I use natural stone or porcelain for bathroom floors?
Porcelain offers superior performance for bathroom floors in my experience. It’s completely non-porous, doesn’t require sealing, and maintains its appearance indefinitely with proper care. Natural stone requires regular sealing and can stain or etch from acidic cleaners. While stone provides unique beauty, porcelain technology now creates convincing stone looks without the maintenance headaches. For busy family bathrooms, porcelain wins every time for practicality.
What’s the ideal grout joint width for shower tiles?
I recommend 1/8 to 1/4 inch grout joints for most shower applications. Narrower joints look sleeker but are harder to clean and more prone to cracking. Wider joints provide better flexibility and are easier to maintain properly. Wall tiles can use narrower joints than floor tiles due to less structural stress. The tile size and type also influence ideal joint width; larger tiles generally need wider joints to accommodate natural size variations during manufacturing.

How often should bathroom tiles be professionally cleaned?
Professional cleaning every two to three years maintains optimal appearance and identifies potential problems early. However, this depends heavily on usage patterns and daily maintenance habits. Homes with hard water or heavy usage may benefit from annual professional service. I combine professional deep cleaning with my quarterly maintenance routine. The investment pays off by extending tile life and preventing expensive repairs from neglected grout or sealant failures.
Can I install heated floors under bathroom tiles?
Electric radiant heating systems work excellently under bathroom tiles and add luxury comfort. I’ve installed them in two bathrooms with great success. The key is proper planning during the substrate preparation phase, as heating elements must be embedded correctly. Porcelain and ceramic tiles conduct heat well, while natural stone may require special considerations. Professional installation ensures proper electrical connections and prevents damage to heating elements during tile installation, making the investment worthwhile.

Related Posts: