When I renovated my master bathroom two years ago, I thought baseboards would be the easiest part of the project, just something to slap on at the end to cover the gap between the floor and walls. I was completely wrong. Bathroom baseboards present unique challenges with moisture, materials, and installation techniques that I had to learn through trial and error. After replacing my first attempt and getting it right the second time, I want to share everything I discovered about choosing and installing baseboards that can handle bathroom conditions while looking beautiful.
Choosing Moisture-Resistant Materials That Work
My first mistake was installing standard MDF baseboards in my bathroom, thinking they would be fine since they looked great in the rest of my house. Within six months, I noticed swelling and warping near the shower area, and by the end of the first year, the baseboards were completely ruined. The constant humidity and occasional water splashes had caused irreversible damage that made my beautiful bathroom renovation look amateur and neglected.
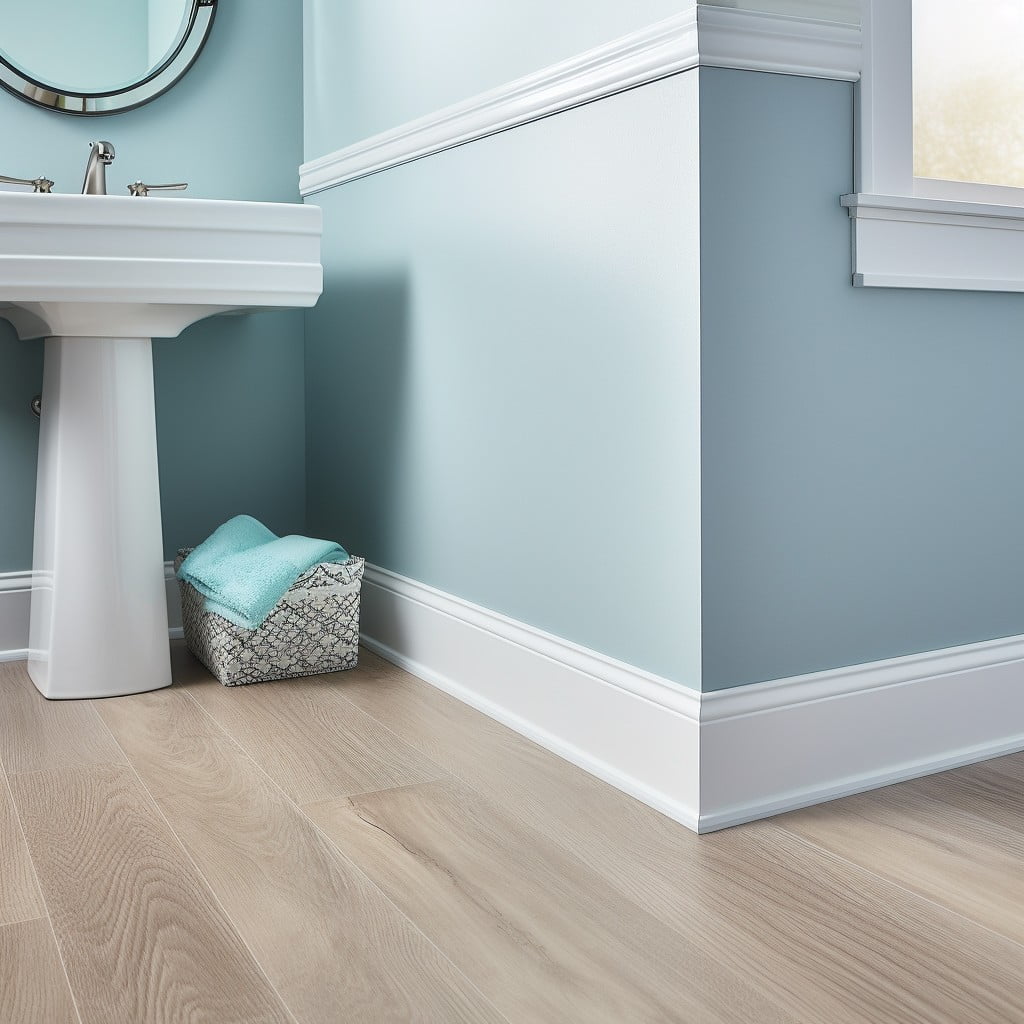
When I replaced them, I chose PVC baseboards specifically designed for wet areas, and the difference has been remarkable. These synthetic baseboards look identical to painted wood but are completely impervious to moisture, humidity, and direct water contact. They’ve been installed for over a year now, and they still look perfect despite the steamy showers and occasional flooding from my kids’ bath time adventures.
I also considered tile baseboards to match my floor, but the PVC option gave me the traditional look I wanted while solving the moisture problem completely. The PVC baseboards accept paint beautifully and can be cut and installed using standard woodworking tools, making them much easier to work with than ceramic alternatives. The investment in proper materials saved me from having to redo this project again, and I wish I’d chosen them from the beginning.
Installation Challenges with Wet Areas
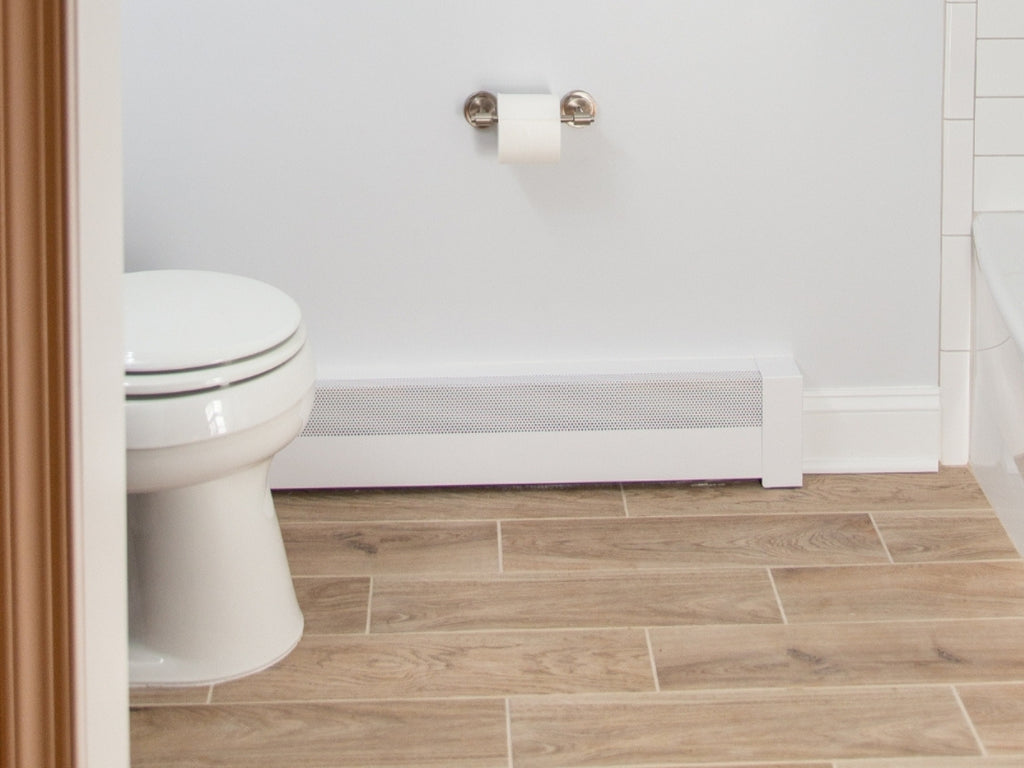
Installing baseboards around a toilet presented my biggest challenge because of the tight spaces and odd angles involved. I had to make precise cuts to fit around the toilet base while ensuring the baseboards would sit flush against both the floor and wall. My first attempt left visible gaps that looked unprofessional, so I learned to create cardboard templates first, then transfer those shapes to the baseboard material for perfect cuts.
The area behind the toilet required special attention because it’s nearly impossible to access once the toilet is back in place. I pre-painted these sections and did a dry fit multiple times before final installation, using a flexible caulk to seal any small gaps. Working in this confined space taught me the importance of having the right tools, including a small handsaw for tight cuts and a headlamp for better visibility in cramped quarters.
Moisture considerations during installation meant I couldn’t use standard wood glue or nails that might rust over time. I used stainless steel finishing nails and a high-quality construction adhesive designed for wet areas. This combination provides strong adhesion while preventing corrosion problems that could cause staining or failure down the road. The extra attention to fastener selection has paid off with a rock-solid installation that shows no signs of loosening.
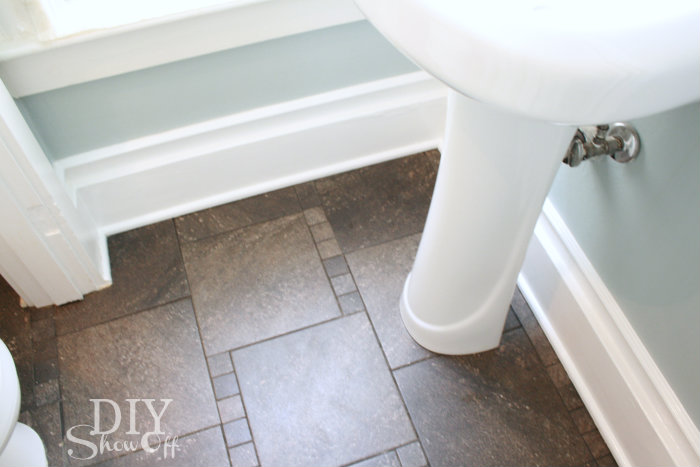
Dealing with Uneven Floors and Walls
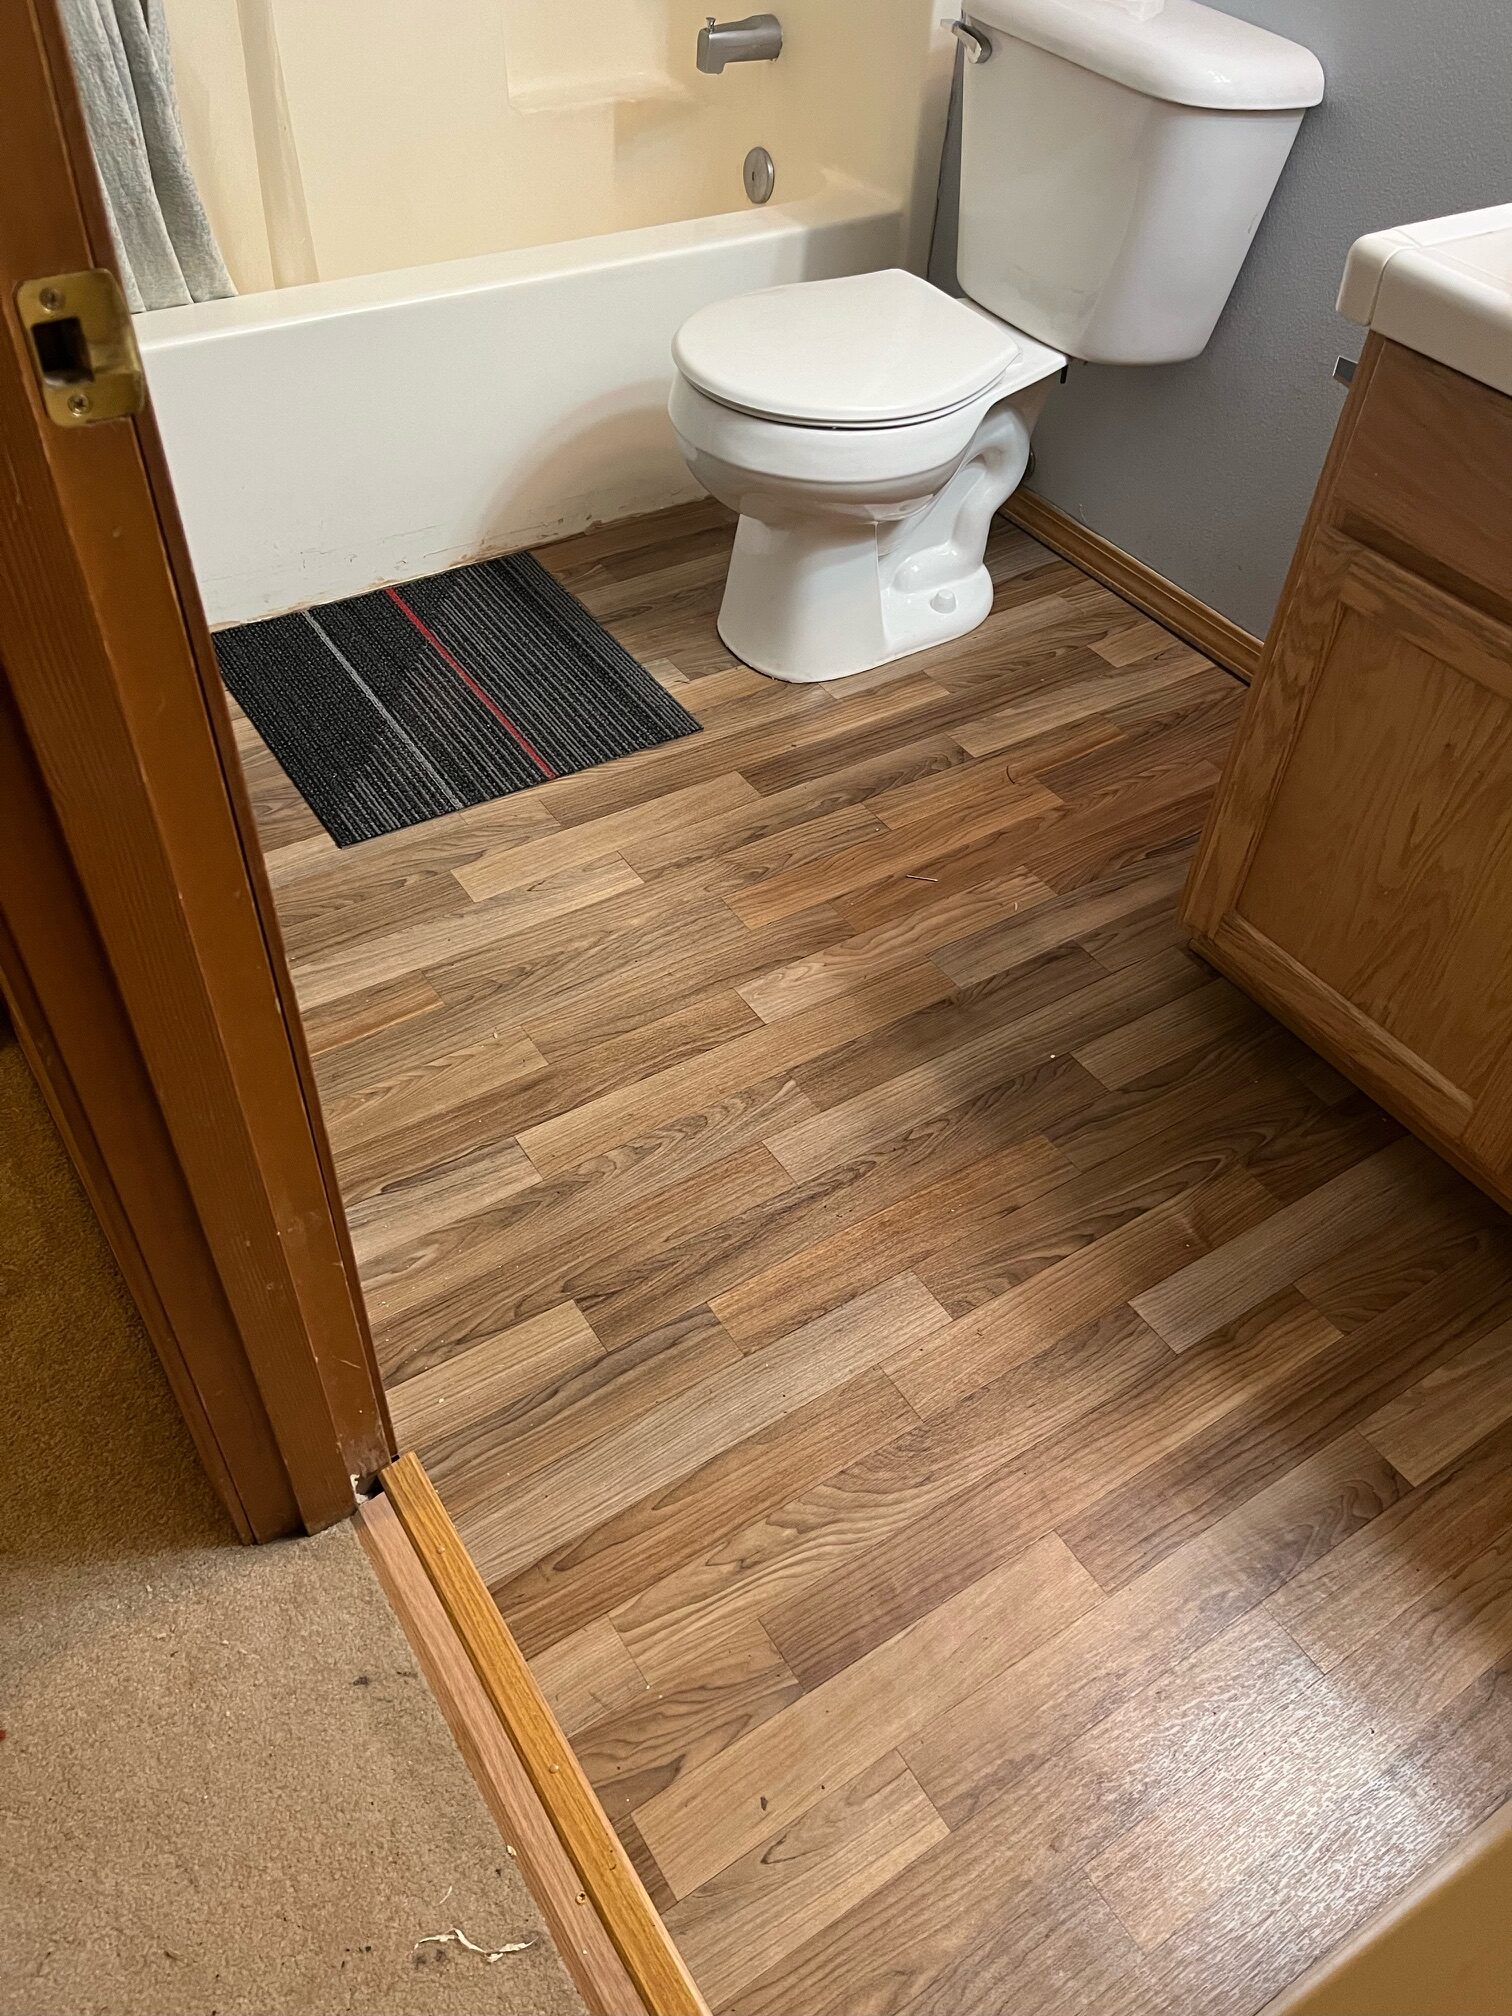
My bathroom floors weren’t perfectly level, which created gaps under the baseboards that looked terrible and could allow water to seep behind them. I learned to use a flexible caulk along the bottom edge to seal these gaps while allowing for slight movement as the house settles. This technique creates a clean, finished appearance while providing essential moisture protection behind the baseboards.
The walls in my bathroom weren’t perfectly straight either, which meant the baseboards didn’t sit flush in some areas. I used shims behind the baseboards to create a straight line, then filled any remaining gaps with paintable caulk. This process required patience and multiple adjustments, but the final result looks professionally installed and creates the clean lines that make the bathroom feel polished and complete.
I discovered that measuring and marking the wall at multiple points is crucial for getting straight baseboard lines. I used a laser level to project a reference line around the entire bathroom, which helped me identify the high and low spots in both the floor and walls. This extra preparation time made the actual installation much smoother and resulted in baseboards that look perfectly level even when the underlying surfaces aren’t quite perfect.

Caulking and Sealing Techniques for Bathrooms
Learning to caulk properly was essential for creating a professional-looking installation that would resist moisture infiltration. I use a high-quality, mold-resistant silicone caulk along the top edge where the baseboard meets the wall, and a flexible acrylic caulk along the bottom where it meets the floor. The different caulk types accommodate different types of movement and provide the best long-term seal for each application.
My technique for smooth caulk lines took practice to perfect, but the results are worth the effort. I apply the caulk in a continuous bead, then smooth it with my finger dipped in soapy water for a clean, professional finish. Working in small sections prevents the caulk from skinning over before I can smooth it, and keeping a damp rag nearby for cleanup makes the process much more manageable.
I learned that removing old caulk completely is crucial before applying new caulk, especially in bathroom environments where mold and mildew can grow behind failed seals. I use a caulk removal tool to scrape out all the old material, then clean the area with rubbing alcohol before applying fresh caulk. This preparation ensures good adhesion and prevents moisture problems that could damage the baseboards or underlying wall structure.
Paint and Finish Options for Bathroom Durability
Choosing the right paint for bathroom baseboards is crucial because regular wall paint won’t hold up to the moisture and cleaning requirements of bathroom environments. I use a high-quality semi-gloss paint specifically designed for bathrooms and kitchens, which provides superior moisture resistance and can be cleaned regularly without damage. The semi-gloss finish also makes the baseboards more resistant to scuff marks and easier to wipe down.
Priming the baseboards properly before painting made a huge difference in the durability and appearance of the final finish. I use a high-adhesion primer designed for synthetic materials, which ensures the paint bonds properly to the PVC baseboards. This step is especially important with PVC materials because paint can peel if the surface isn’t properly prepared and primed.
I apply two coats of paint for maximum durability and coverage, lightly sanding between coats with fine-grit sandpaper for a smooth finish. The extra coat provides better protection against moisture and wear, and the light sanding helps each coat adhere properly. This process takes an extra day but results in a finish that looks and performs like professional work, maintaining its appearance through daily bathroom use and regular cleaning.

Maintenance and Long-Term Care
My bathroom baseboards require minimal maintenance, but I’ve developed a routine that keeps them looking perfect after two years of heavy use. I wipe them down monthly with a mild cleaner and check the caulk lines for any signs of cracking or separation. Catching small problems early prevents water infiltration that could lead to more significant issues requiring more extensive repairs.
The PVC material has proven incredibly easy to maintain compared to my original wood baseboards. Scuff marks wipe off easily, and the material doesn’t absorb stains or odors like wood can in humid environments. When my kids got creative with markers on the bathroom wall, the marks cleaned off the baseboards completely without affecting the finish or requiring touch-up painting.
I recaulk the joints every two years as preventive maintenance, even if the existing caulk looks fine. This schedule prevents moisture problems before they occur and maintains the clean, sealed appearance that gives the bathroom a professionally finished look. The small time investment in regular maintenance has kept my baseboards looking like new and prevented any moisture-related problems that plagued my first installation attempt.

What type of baseboard material works best in bathroom environments?
PVC baseboards are hands down the best choice for bathrooms. I learned this after my MDF baseboards failed within a year due to moisture damage. PVC looks identical to painted wood but is completely waterproof and humidity-resistant. They cost slightly more upfront but last much longer and never need replacement due to moisture damage.
How do you properly seal baseboards to prevent water damage?
I use two types of caulk: mold-resistant silicone along the top where the baseboard meets the wall, and flexible acrylic along the bottom where it meets the floor. Apply in continuous beads and smooth with a soapy finger for professional results. Good caulking is essential for preventing moisture infiltration behind the baseboards.
Can you install bathroom baseboards yourself, or should you hire professionals?
I installed mine myself and saved hundreds of dollars. The key is using proper materials, taking time for accurate measurements, and having patience with the caulking process. If you’re comfortable with basic woodworking and have the right tools, it’s a DIY-friendly project that most homeowners can handle successfully.
How often do bathroom baseboards need maintenance or replacement?
With proper materials like PVC and good installation, bathroom baseboards require minimal maintenance. I wipe them down monthly and recaulk every two years preventively. Quality PVC baseboards should last 15-20 years or more, while wood baseboards in bathrooms typically need replacement every 5-8 years due to moisture damage.
What’s the biggest mistake people make with bathroom baseboards?
Using regular wood or MDF materials that can’t handle moisture. I made this mistake and had to completely redo the project within a year. Also, skipping proper caulking or using the wrong type of caulk leads to water infiltration and damage. Investing in proper materials upfront saves money and headaches long-term.
How do you achieve professional-looking results when cutting around toilets and fixtures?
Create cardboard templates first, then transfer the shapes to your baseboard material. This lets you test fit and adjust before making final cuts. Work slowly and measure multiple times. Having the right tools, like a coping saw for curves and a miter saw for straight cuts, makes a huge difference in getting clean, professional-looking joints.

Related Posts: