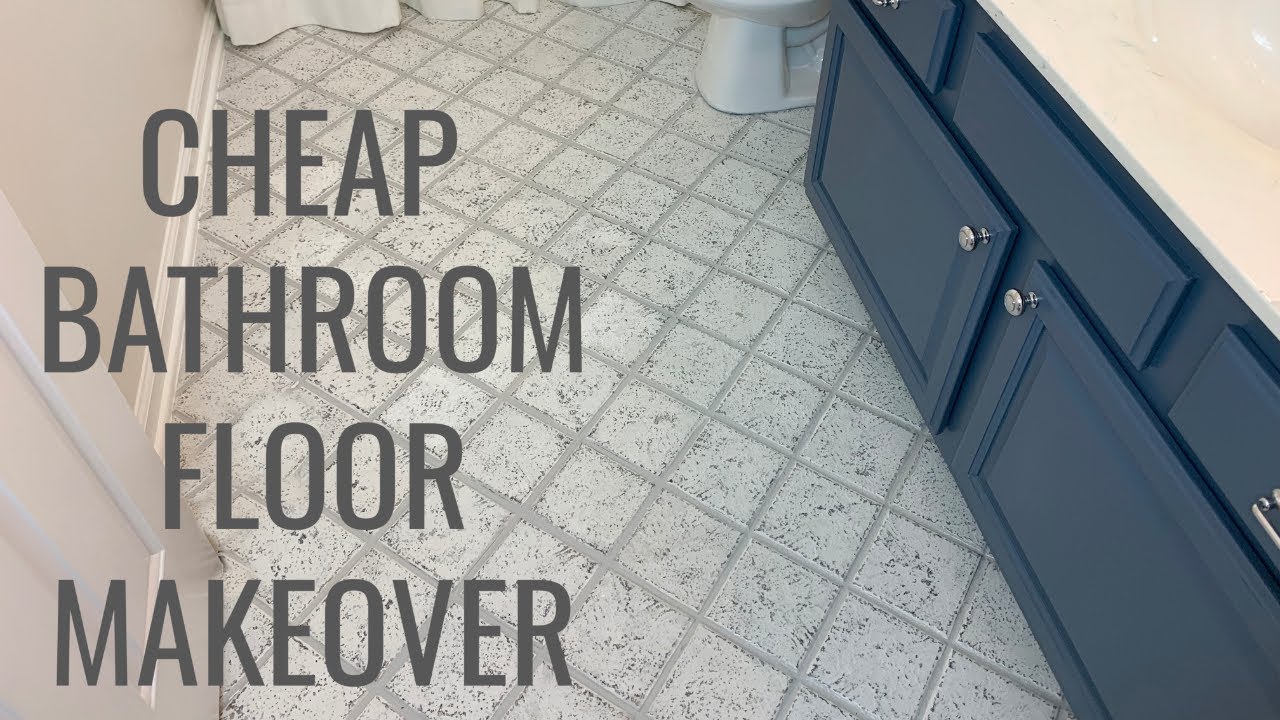
A bathroom floor makeover can completely change the look and feel of your space without requiring a full renovation. I’ve helped countless homeowners upgrade their bathroom floors, and I’m always amazed at what a difference this single change can make. Whether you’re working with a tight budget or ready to splurge, there are options to suit every style and need. From quick fixes to complete overhauls, the right flooring choice can make your bathroom feel cleaner, more spacious, and more luxurious. Here are my favorite bathroom floor makeover strategies that deliver maximum impact.
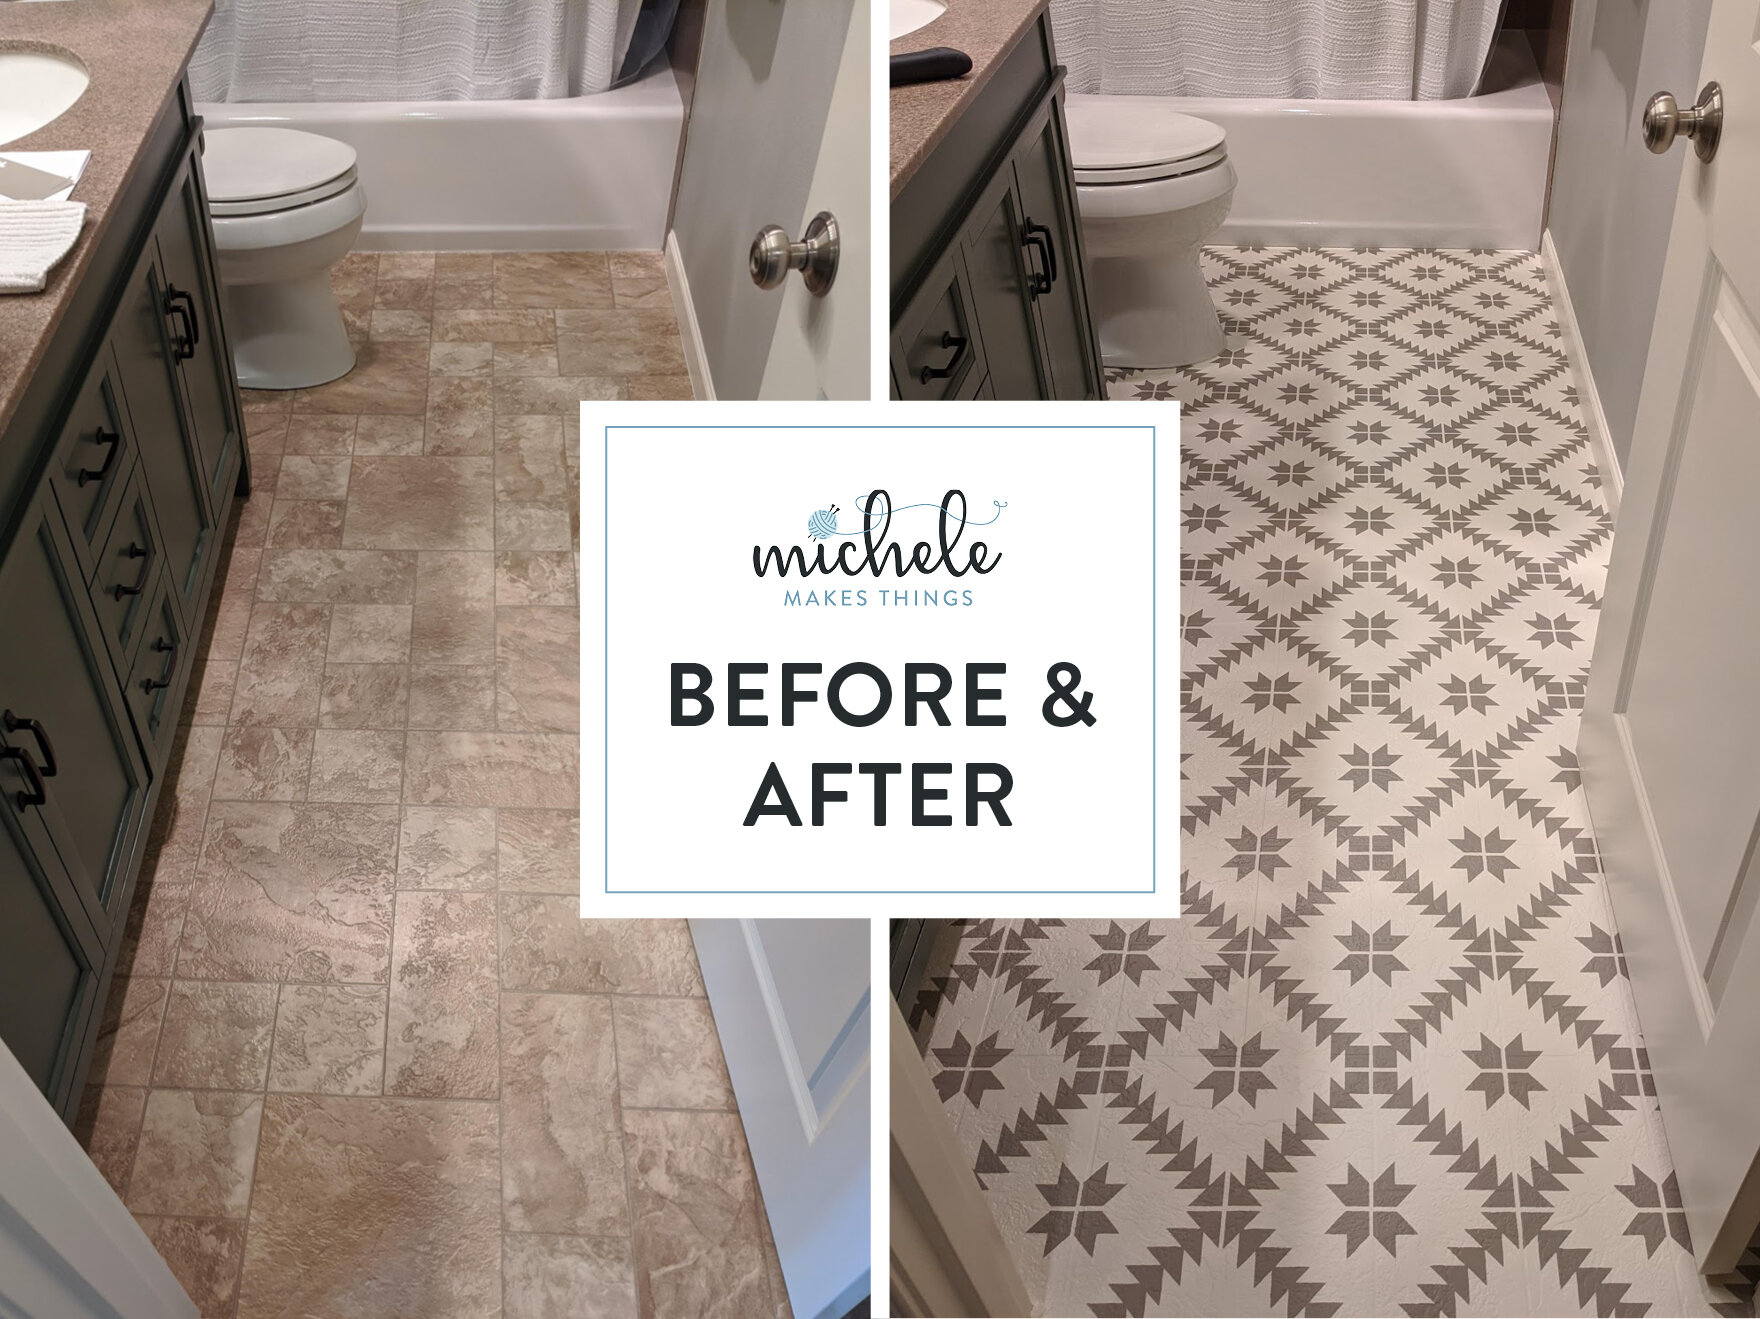
Peel-and-Stick Vinyl Tiles for Quick Updates
When time and budget are limited, peel-and-stick vinyl tiles offer an impressive transformation. I recently used these in my guest bathroom and was shocked by how professional they look. The latest designs mimic ceramic tile, stone, and even wood so convincingly that guests often can’t tell the difference. Installation couldn’t be simpler – just clean the existing floor, measure carefully, and stick them down. No grout, no special tools, and no waiting for adhesives to dry. The whole project can be completed in an afternoon.
Durability has improved dramatically in recent years. Quality peel-and-stick tiles now feature waterproof coatings and wear layers that stand up to daily bathroom use. I recommend looking for thicker vinyl (at least 2mm) for better longevity. The tiles resist moisture beautifully, making them ideal for bathrooms where spills and humidity are constant. If one tile gets damaged, you can simply replace it rather than redoing the entire floor. Just be sure to properly seal the edges and seams with waterproof caulk to prevent water from seeping underneath.
For renters or anyone wanting a temporary solution, these tiles are perfect because they can be removed later without damaging the original floor. I’ve used them to cover ugly but functional linoleum in rental properties, instantly upgrading the space. The only real drawback is that they may not last as long as permanent options – expect 3-5 years with proper care. But for an affordable, DIY-friendly makeover that delivers big visual impact, peel-and-stick tiles are hard to beat.
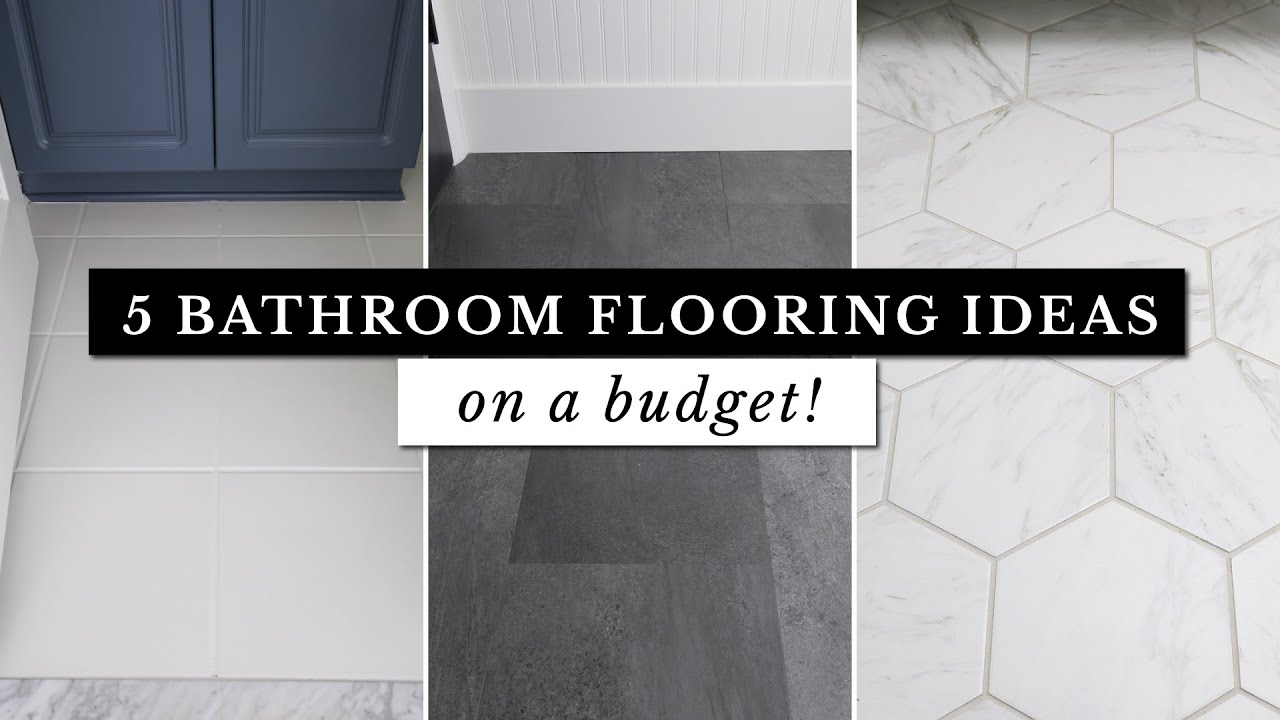
Ceramic or Porcelain Tile for Classic Beauty
Nothing beats ceramic or porcelain tile for a timeless bathroom floor that lasts decades. I’ve installed tile in dozens of bathrooms and still consider it the gold standard. The material is completely waterproof, easy to clean, and available in endless styles from classic subway tile to realistic wood and stone looks. Large-format tiles (12×24 inches or bigger) create a sleek, modern appearance with fewer grout lines to maintain. For traditional charm, smaller hexagonal or penny rounds deliver vintage appeal.
Tile installation requires more skill than some options, but ambitious DIYers can handle it with proper preparation. The key is starting with a perfectly level subfloor – I use cement backer board over plywood to prevent cracking. Layout planning is crucial; I always dry-lay tiles first to minimize cuts at visible areas. Using a quality thin-set mortar and taking time to get the spacing right makes all the difference in the final look. While grouting can be messy, new premixed options simplify the process for beginners. The effort pays off in durability – properly installed tile lasts a lifetime.
Maintenance is straightforward – regular sweeping and occasional mopping with pH-neutral cleaner keeps tile looking new. I recommend sealing grout annually to prevent staining, especially in high-moisture areas. The only real downside is that tile feels cold underfoot, but this can be solved with radiant heating mats or strategically placed bath mats. For homeowners wanting a permanent, waterproof solution that adds value to their home, tile remains my top recommendation despite the higher initial investment.
Luxury Vinyl Plank for Waterproof Warmth
Luxury vinyl plank (LVP) has become my go-to recommendation for bathroom floors that need to balance beauty and practicality. Modern LVP convincingly mimics hardwood or stone while providing complete waterproof protection – something real wood can’t offer. I recently installed waterproof LVP in my master bathroom and love how warm and comfortable it feels underfoot compared to tile. The planks click together easily without glue, making installation manageable for DIYers with basic skills.
What sets quality LVP apart is its realistic textures and durability. The best products feature embossed surfaces that feel like authentic wood grain or stone underfoot. Thick wear layers resist scratches from dropped items or pet claws. I particularly like LVP for basement bathrooms where moisture is a constant concern – it handles humidity beautifully without warping. Maintenance couldn’t be simpler: just sweep and occasionally damp mop. Unlike tile, there’s no grout to clean or reseal, saving significant time over the years.
Installation requires attention to detail but follows straightforward principles. I always acclimate planks to the room’s humidity for 48 hours first. A proper underlayment provides cushioning and sound absorption. The floating installation allows for expansion and contraction with temperature changes. While LVP costs more than basic vinyl, the long-term value is excellent – I’ve seen it last 15+ years in busy bathrooms. For homeowners wanting wood-look warmth without wood’s moisture vulnerabilities, LVP delivers outstanding performance.
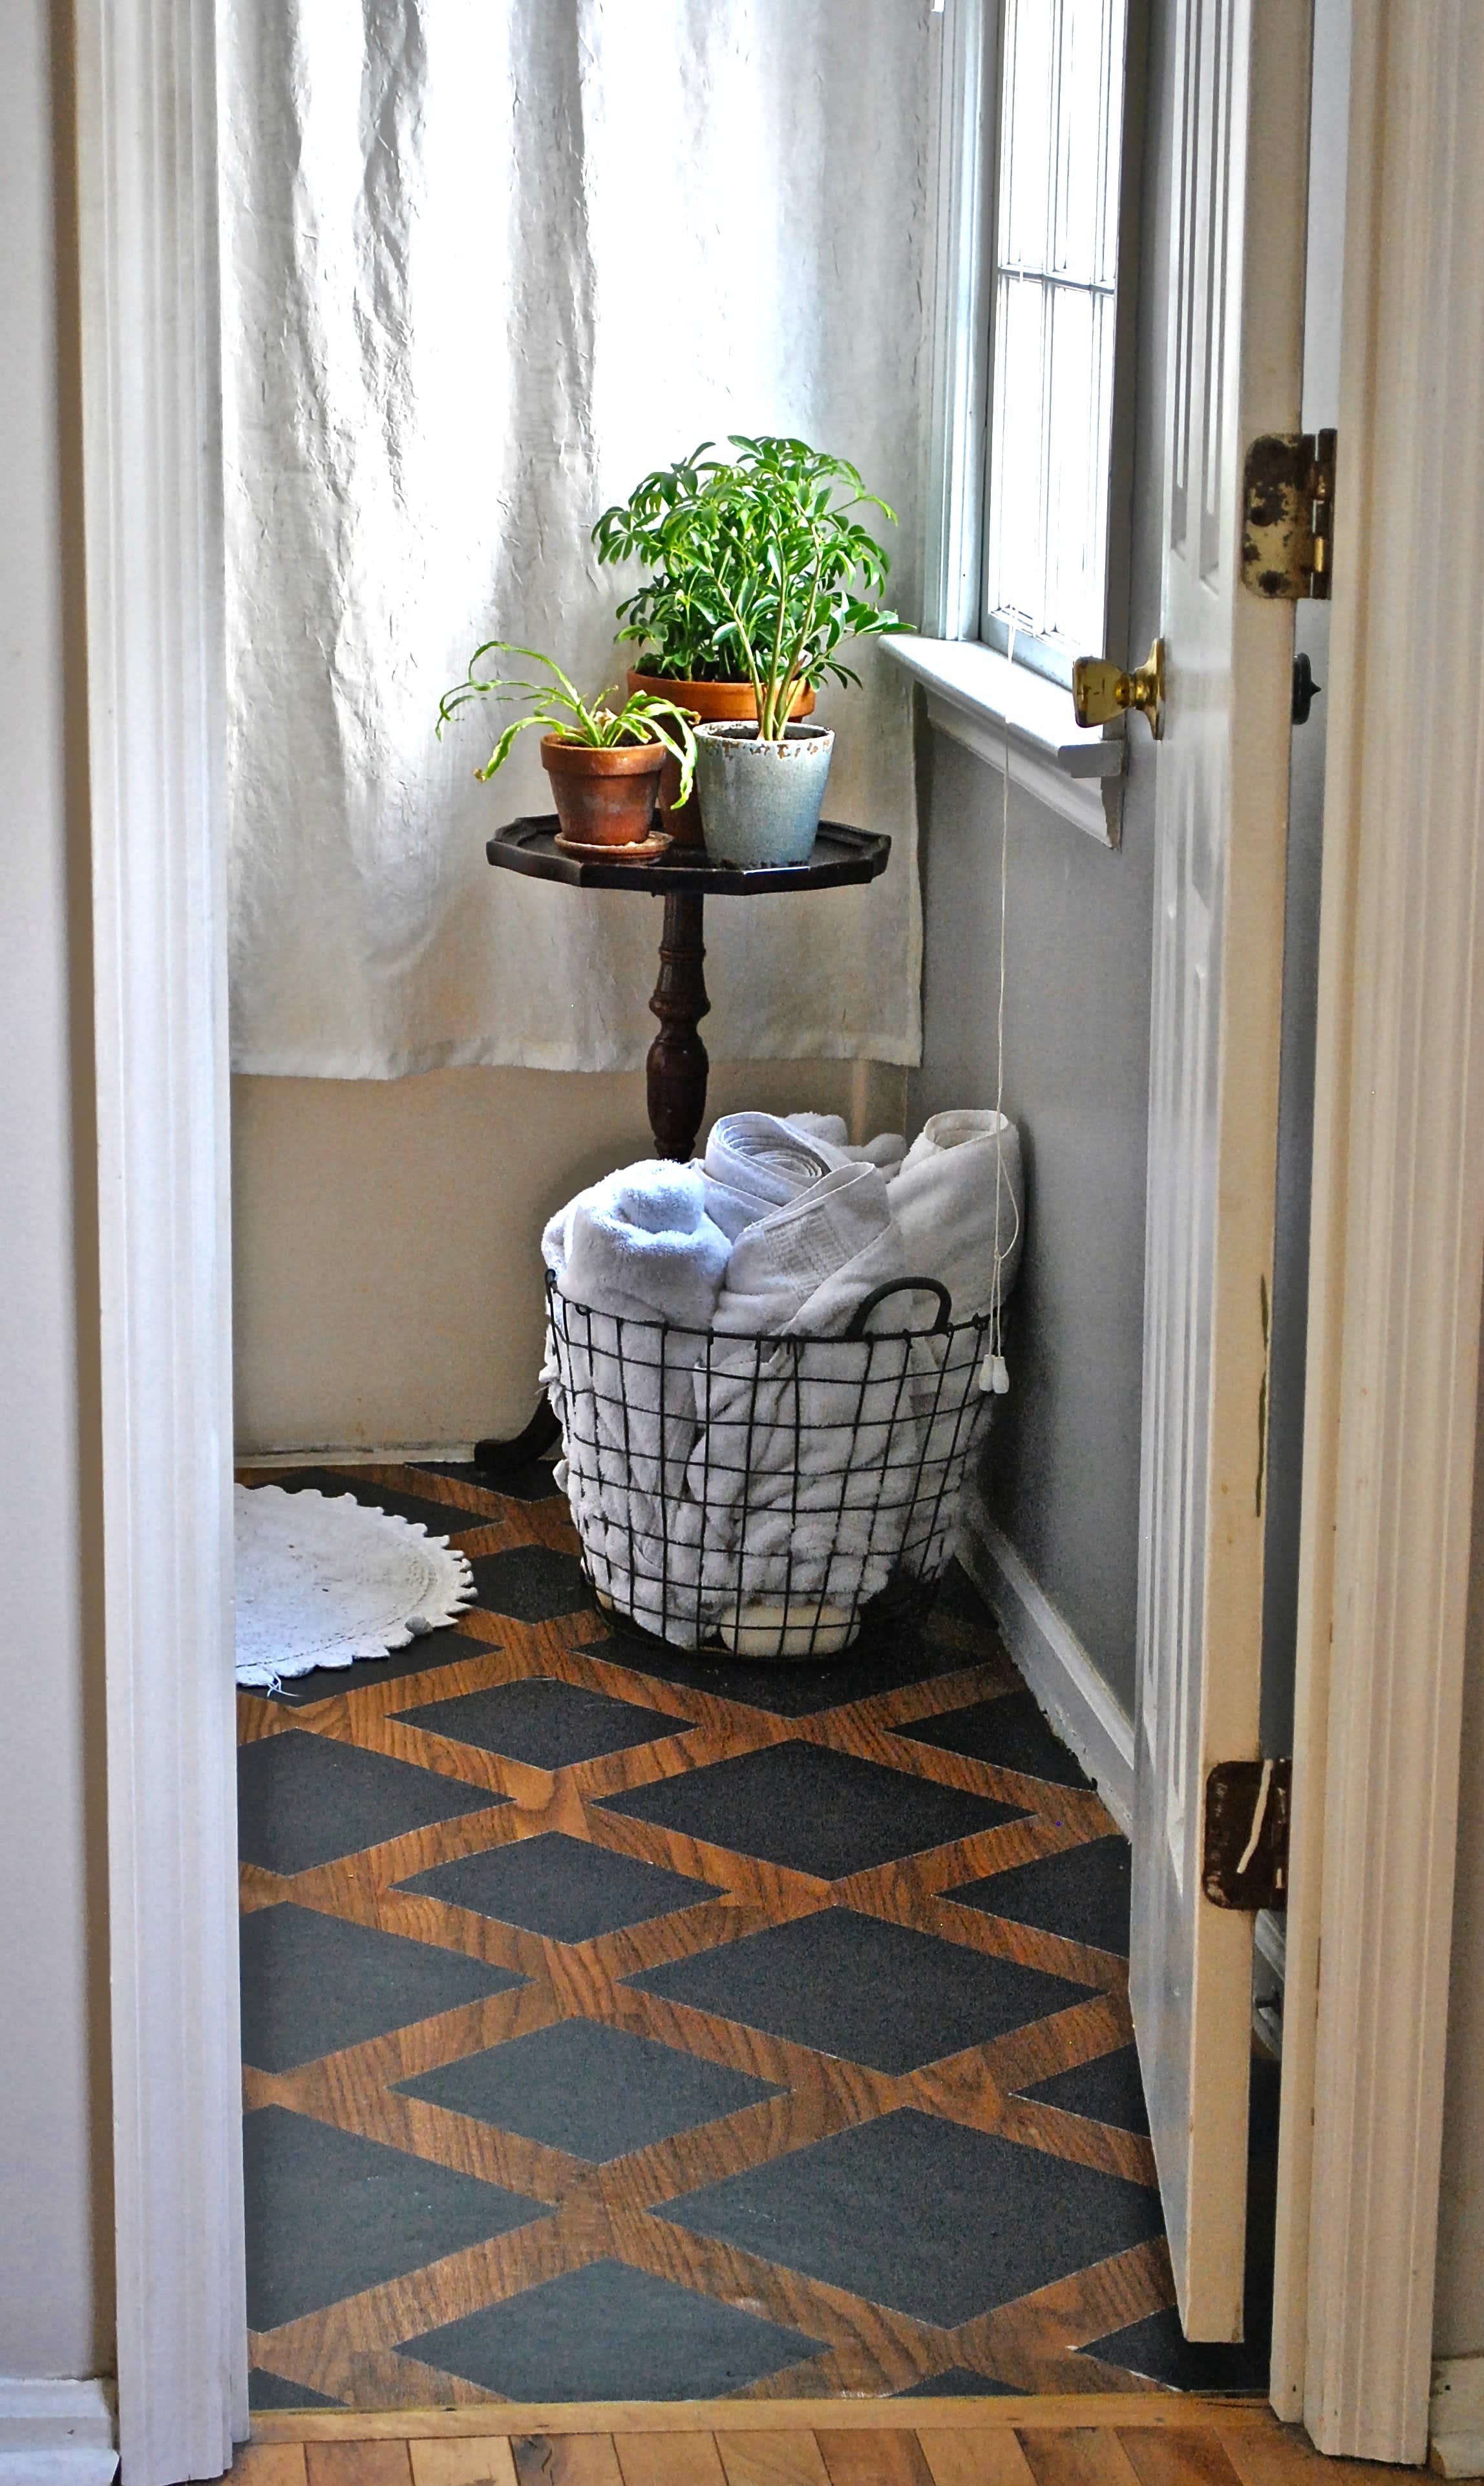
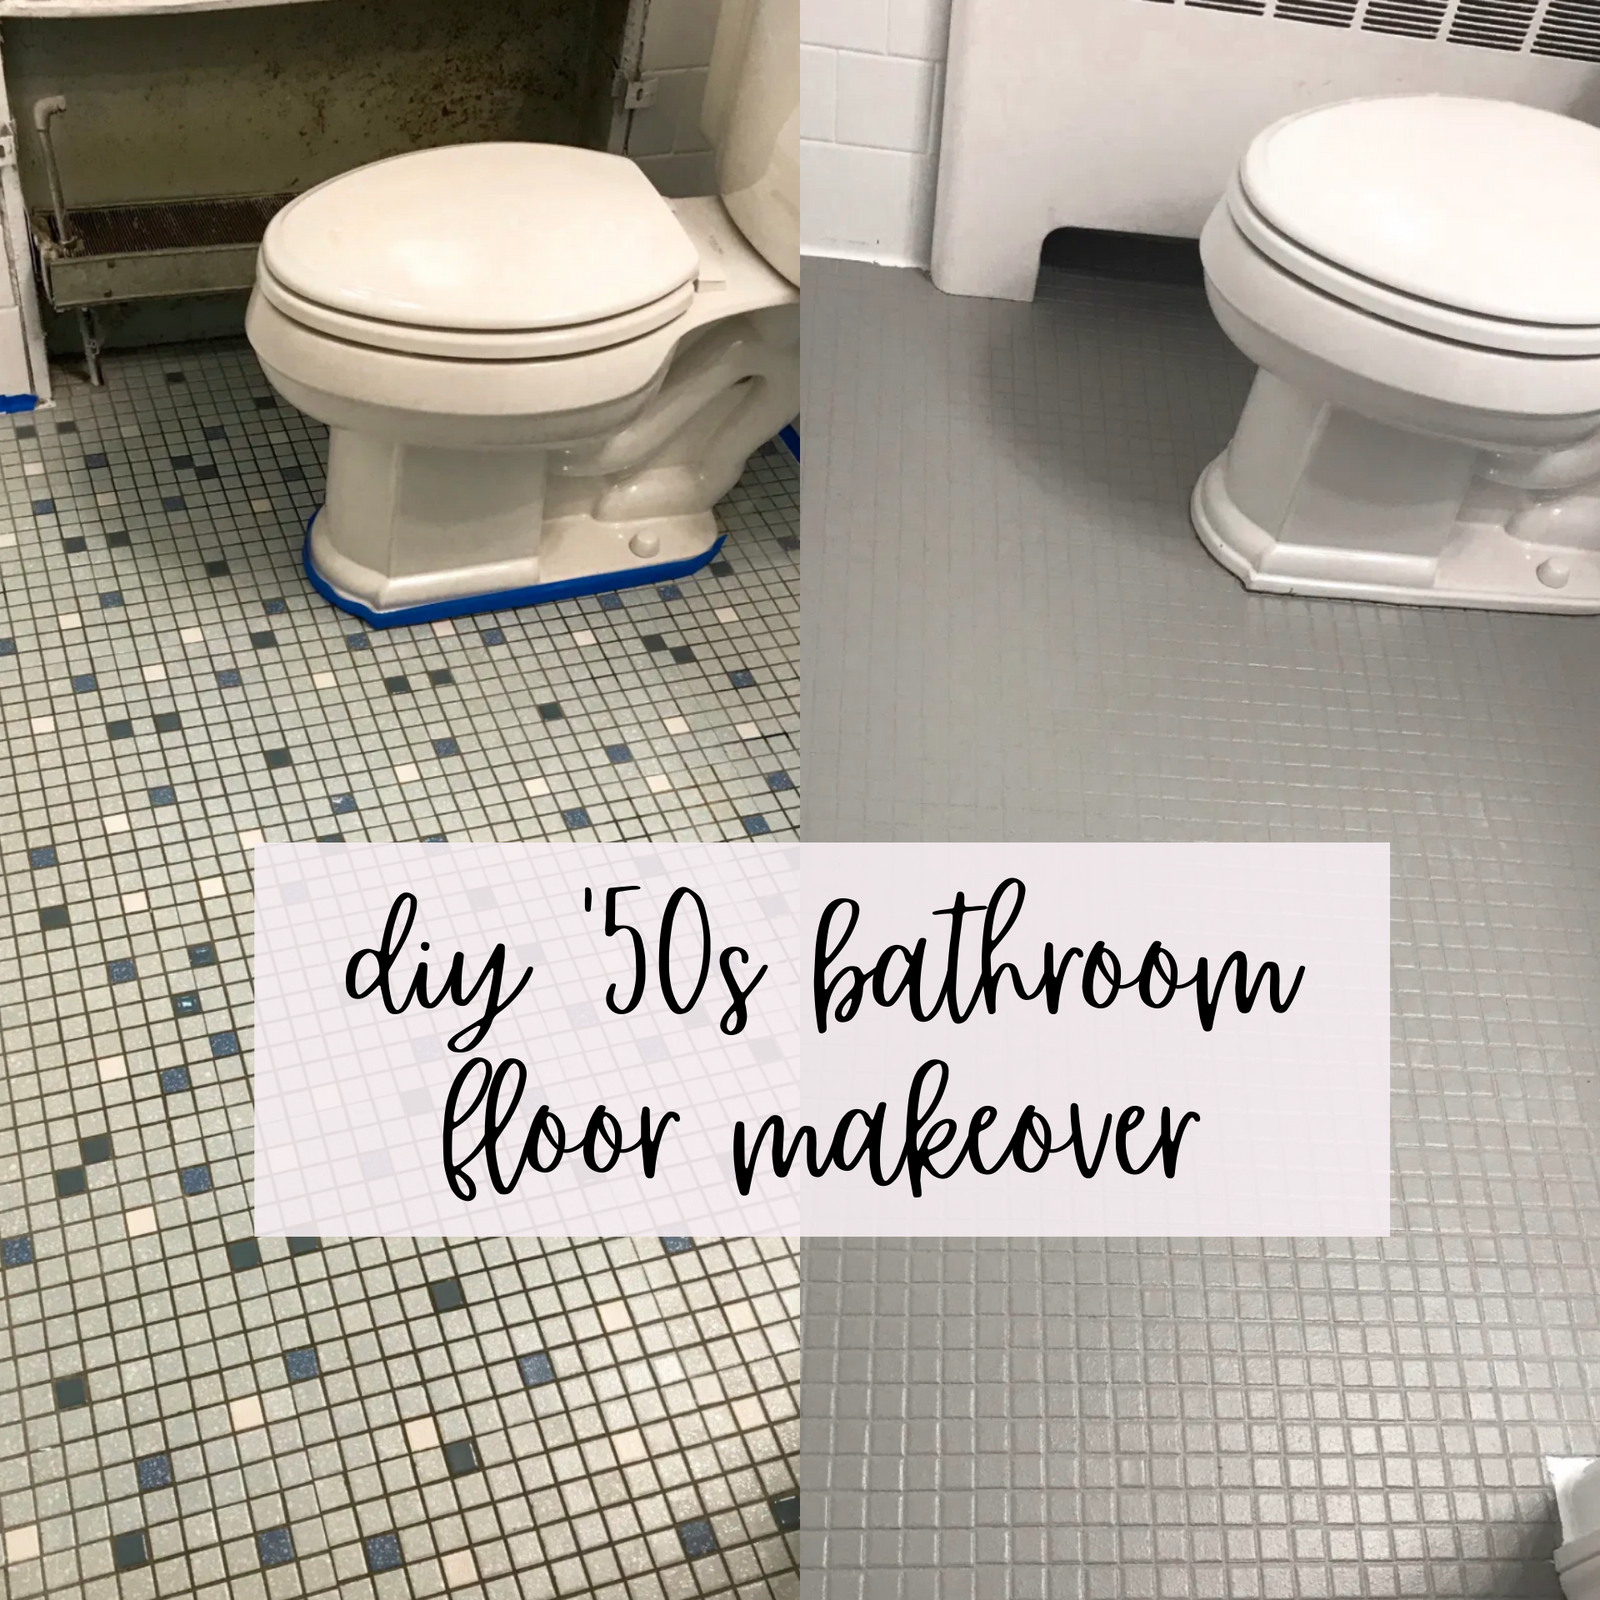
Painted Concrete for Industrial Chic
If you have a concrete bathroom floor (common in basements and some modern homes), painting offers an affordable way to create custom style. I transformed my garage bathroom with acid-stained concrete and get compliments constantly. The process creates unique, marble-like effects you can’t achieve with other materials. For a simpler approach, specialty concrete paints in bold colors make a dramatic statement. Either option provides a waterproof, durable surface that stands up to heavy use.
Proper preparation is essential for painted concrete success. I start by thoroughly cleaning and etching the surface so paint adheres properly. Any cracks must be filled and smoothed – concrete patch works well for this. For acid staining, the chemical reaction creates variegated colors that look like natural stone. Paint requires multiple thin coats with drying time between. I always finish with a clear sealer to protect the surface, adding anti-slip additives for safety in wet areas. The result is a one-of-a-kind floor that develops character over time.
Maintenance involves occasional resealing (every 2-3 years) and gentle cleaning with neutral pH cleaners. While hard underfoot, the surface stays cool in summer – a bonus in hot climates. Area rugs add warmth where needed. The main advantage is the ability to completely change the look later by repainting – a flexibility permanent options don’t offer. For industrial lofts or modern homes wanting an edgy, customizable floor, painted concrete delivers unique style at reasonable cost.
Natural Stone for Luxurious Appeal
For homeowners wanting to create a spa-like retreat, natural stone flooring elevates any bathroom. I’ve installed marble, slate, and travertine in high-end bathrooms and the effect is always stunning. Each stone type offers distinct characteristics – marble’s elegant veining, slate’s textured surface, travertine’s porous warmth. The natural variations in color and pattern ensure no two floors look exactly alike. Stone feels substantial underfoot and stays cool, perfect for creating a refreshing atmosphere.
Installation requires professional skills in most cases. Stone tiles need careful cutting and specialized setting materials. I always recommend hiring experienced installers for this material – the investment is too significant to risk DIY mistakes. Proper sealing is crucial, especially for porous stones like limestone that can stain easily. The upfront cost is considerable, but stone floors can last centuries with proper care. In historic homes, they provide authentic period charm that synthetic materials can’t replicate.
Maintenance involves more effort than other options but rewards with unmatched beauty. Regular sealing (frequency depends on stone type) prevents water absorption and staining. pH-neutral cleaners preserve the surface without etching. While stone shows wear over time, many homeowners appreciate the lived-in patina it develops. For those wanting to create a truly special bathroom that feels like a luxury retreat, natural stone delivers timeless elegance that only improves with age.
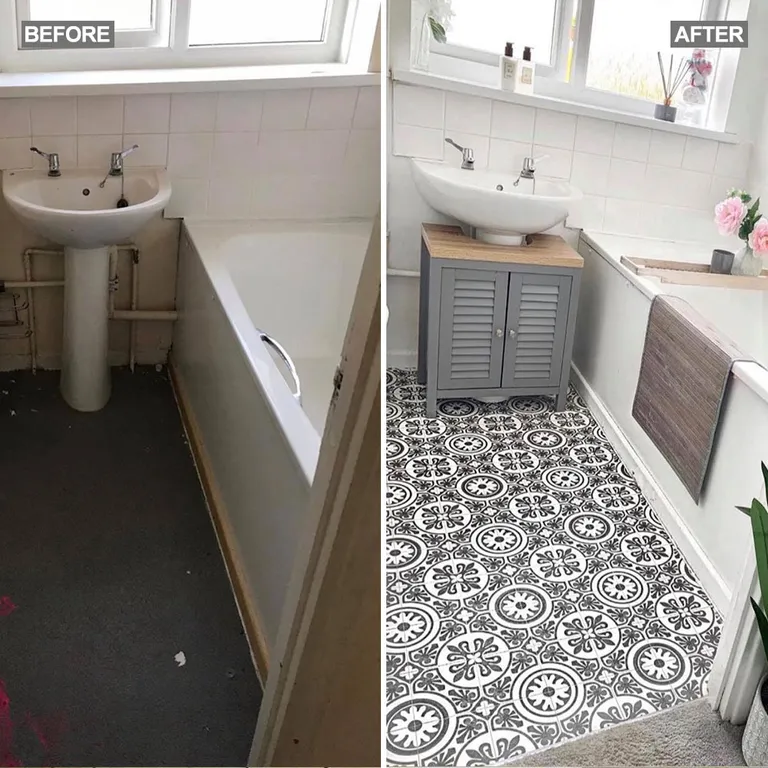
Sheet Vinyl for Budget-Friendly Durability
Modern sheet vinyl offers surprising style at a fraction of tile or stone costs. I recently installed a wood-look sheet vinyl in a rental property bathroom and was impressed by how realistic it appears. The seamless installation means no cracks for water to penetrate – a major advantage in wet areas. Thicker, cushioned options provide a comfortable underfoot feel that’s gentler on joints than hard surfaces. For families with young children or elderly members, this added cushioning improves safety.
Installation is straightforward but requires precision. I carefully measure the room and create a paper template before cutting the vinyl. Proper floor preparation is key – any imperfections will show through over time. Using the recommended adhesive and taking time to smooth out air bubbles ensures a professional finish. The best quality sheet vinyl features reinforced backing that resists tears and indentations. While not as glamorous as stone or tile, high-end vinyl can fool the eye from a distance while offering practical benefits.
Maintenance couldn’t be simpler – just regular damp mopping keeps vinyl looking fresh. The material naturally resists mold and mildew growth, important in humid bathrooms. While not as long-lasting as tile, quality vinyl can serve well for 10-15 years with proper care. For budget-conscious homeowners or rental properties needing durable, waterproof floors that install quickly, sheet vinyl remains a practical choice that’s come a long way in style options.
What’s the most waterproof bathroom flooring option?
All the options I’ve discussed are waterproof to varying degrees, but sheet vinyl and porcelain tile offer the most complete water protection. Sheet vinyl’s seamless installation leaves no cracks for water to penetrate, while porcelain tile is naturally impervious to moisture. Luxury vinyl plank ranks close behind with its waterproof core and tight locking systems. Even painted concrete performs well when properly sealed. The key with any material is proper installation – waterproof floors can still leak if not installed correctly around edges and fixtures.
How can I make my bathroom floor warmer?
For existing tile or concrete floors, I recommend adding radiant heating mats beneath new flooring during a makeover. These electric systems provide comfortable warmth and can be controlled with thermostats. Thick bath mats in key areas help too. Luxury vinyl plank feels warmer underfoot than tile naturally. For future projects, consider insulating the subfloor before installing new flooring – this makes a noticeable difference in basement bathrooms especially. Small space heaters can take the chill off when needed.

What’s the easiest DIY bathroom floor makeover?
Peel-and-stick vinyl tiles win for easiest DIY makeover in my experience. They require no special tools or skills – just clean the existing floor thoroughly and apply the tiles following manufacturer instructions. Painting concrete is another straightforward option if you have a concrete slab to work with. For slightly more involved projects, click-together luxury vinyl plank offers manageable difficulty for patient DIYers. I recommend avoiding tile unless you have prior experience or are willing to invest significant time learning proper techniques.
How do I choose between matte and glossy finishes?
Glossy finishes reflect more light, making small bathrooms appear larger, but show water spots and scratches more easily. Matte finishes hide imperfections better and provide more traction, making them safer in wet conditions. I typically recommend matte or lightly textured surfaces for family bathrooms where safety is a concern. Gloss works well in powder rooms or adult-only spaces where maintenance is easier. Consider your household’s needs and how much time you want to spend cleaning when choosing sheen levels.
Can I install new flooring over my existing bathroom floor?
Often yes, but it depends on the existing and new materials. I’ve successfully installed vinyl plank over vinyl sheet, and tile over existing tile (if properly prepared). However, adding height can create issues with toilet flanges and door clearances. Always check manufacturer guidelines – some warranties require removal of old flooring. I recommend removing old flooring whenever possible to inspect and repair the subfloor. At minimum, ensure the existing floor is clean, level, and firmly adhered before covering it.
How long does a typical bathroom floor makeover take?
Timing varies dramatically by project type. Peel-and-stick tiles can be done in a day, while tile installations may take a weekend for DIYers or 1-2 days for professionals. Luxury vinyl plank typically requires 1-2 days depending on room size and layout complexity. Concrete staining/painting needs multiple days accounting for drying time between steps. Always factor in prep work (cleaning, leveling) and finishing touches (baseboards, caulking). Rushing leads to mistakes – I recommend blocking out more time than you think you’ll need, especially for first-time projects.

The Renovation Hack That Will Save You $1000s: Bathroom Tile Floor

How To Stencil A Tile Pattern On A Bathroom Floor Floor makeover

DIY Bathroom Floor Make Over Colorado Kelly

How to Paint Linoleum or Tile Floors – Bathroom Makeover

How To Update Your Bathroom Floor Tiles

Related Posts: