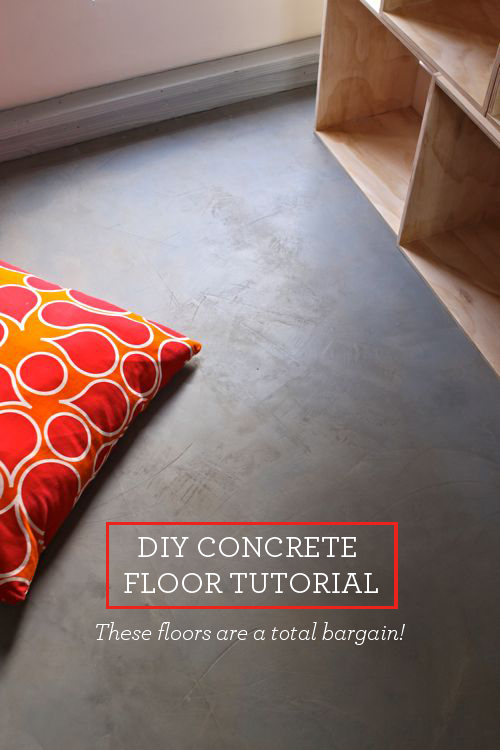
Finishing a basement floor can feel overwhelming, but with the right approach, it becomes one of the most rewarding DIY projects. I’ve helped numerous homeowners tackle their basement floors, and the key is choosing a solution that fits your space, budget, and skill level. Whether you’re creating a cozy family room, home gym, or extra living space, the floor sets the tone for the entire area. From simple painted concrete to luxurious-looking vinyl planks, there are options for every style and need. Here are my favorite proven basement floor solutions that deliver great results without professional installation.
Epoxy Coated Concrete Floors
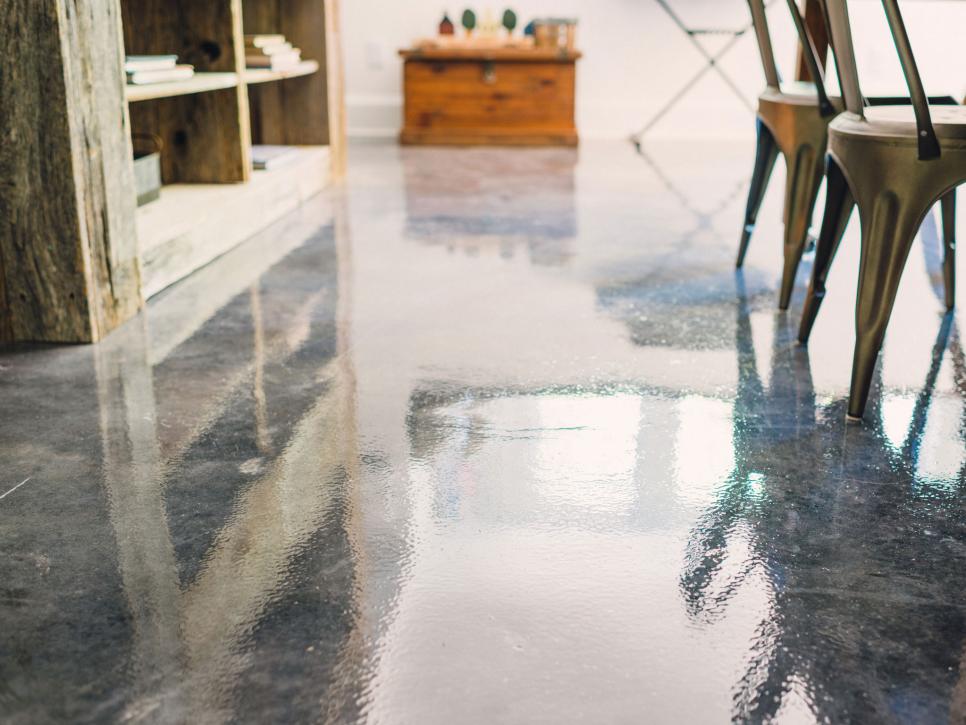
When I want a durable, low-maintenance basement floor, epoxy coating is my top recommendation. This thick, plastic-like coating bonds permanently with concrete to create a seamless surface that resists moisture, stains, and heavy wear. The transformation is remarkable – dull gray concrete becomes a glossy, attractive floor that’s easy to clean. I’ve used epoxy in workshop basements and family rooms alike, and it holds up beautifully even in high-traffic areas. The reflective quality also helps brighten typically dark basement spaces.
Application requires careful preparation but isn’t overly complicated for DIYers. I start by thoroughly cleaning and etching the concrete to ensure proper adhesion. Any cracks should be filled, and the surface must be completely dry before applying the epoxy mixture. The two-part coating comes in various colors, and I often add decorative flakes for texture and visual interest. Working in small sections, I pour and spread the epoxy using a notched squeegee, then use a roller to eliminate bubbles. The finished result looks professional but costs a fraction of what contractors charge.
Maintenance couldn’t be simpler – just occasional damp mopping keeps epoxy floors looking new. They resist moisture better than any other basement floor option I’ve tried, making them ideal for flood-prone areas. The only downside is the permanent nature of the installation. If you later want to change flooring types, removal can be labor-intensive. However, for homeowners who value durability over flexibility, epoxy delivers outstanding performance that lasts decades with minimal care.
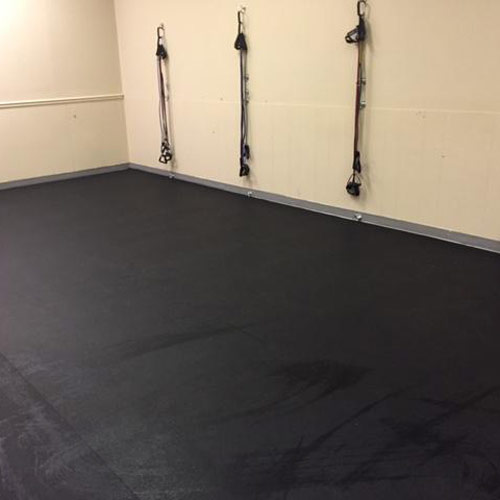
Interlocking Floor Tiles
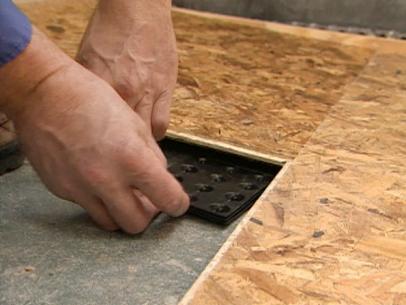
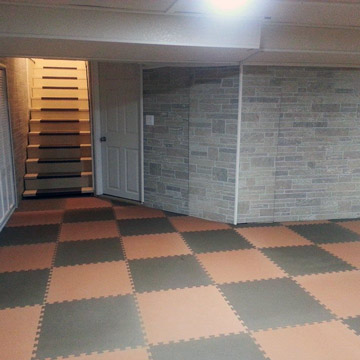
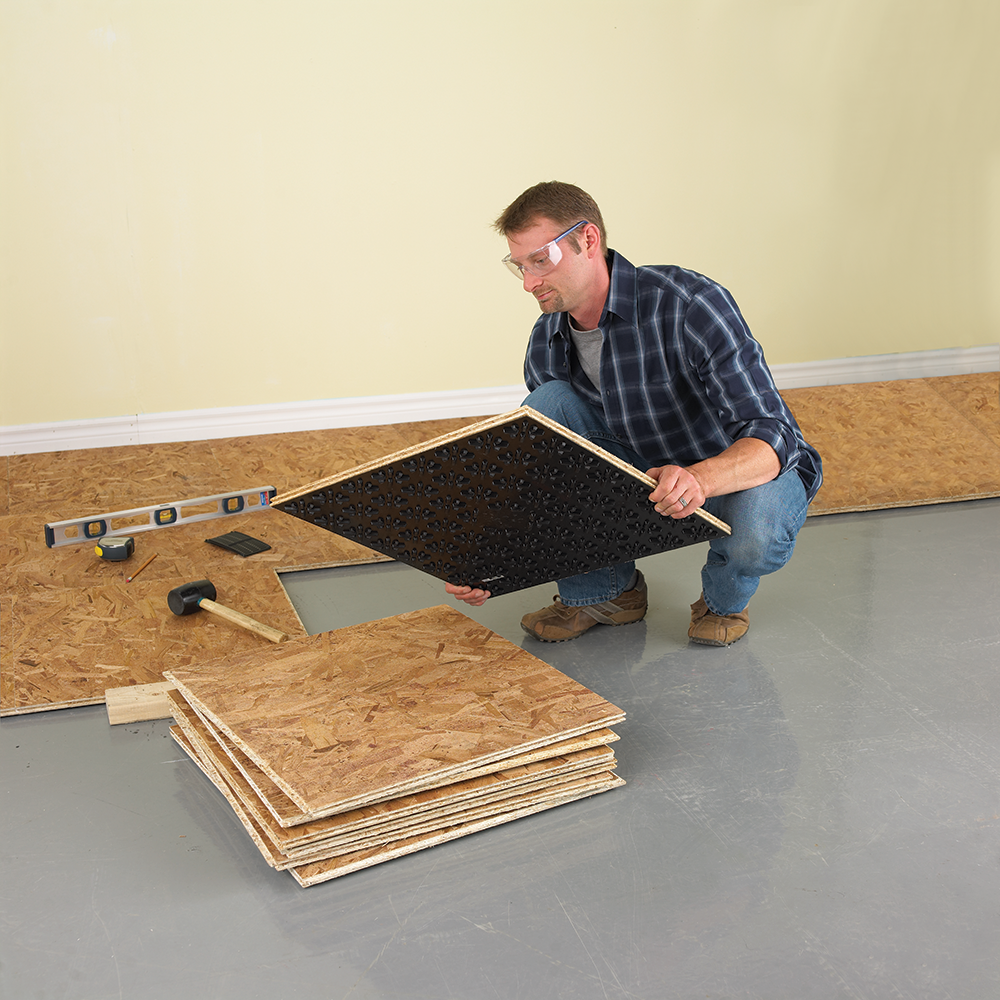
For basements needing quick, temporary, or adjustable flooring solutions, interlocking tiles solve numerous challenges. I’ve installed these in rental properties, home gyms, and playrooms where flexibility matters. The tiles snap together without adhesive, creating a floating floor that can be removed or reconfigured as needs change. Many varieties exist, from basic garage-style tiles to premium options resembling hardwood or stone. The cushioning effect makes them comfortable underfoot – a big advantage over concrete.
Installation is so simple I’ve done entire basements in an afternoon. After ensuring the concrete is clean and dry, I start in one corner and work outward, connecting the puzzle-piece edges. No special tools are needed beyond a utility knife for cutting border pieces. The tiles accommodate minor floor imperfections and can even be installed over slightly damp concrete since they allow airflow underneath. When my clients need access to utilities under the floor, we simply lift the affected tiles rather than destroying permanent flooring.
While not as upscale as some options, quality interlocking tiles offer surprising durability. The best ones resist fading, crushing, and moisture damage. I recommend spending slightly more for commercial-grade tiles in high-traffic areas. For gyms, specialized rubber tiles provide shock absorption, while PVC options work well for general living spaces. The tiles do show seams, but choosing patterns with grout lines or wood-grain textures helps disguise the connections. For budget-conscious DIYers who may need to change flooring later, these tiles deliver excellent functionality.

Luxury Vinyl Plank Flooring
When homeowners ask me for basement flooring that combines beauty, durability, and DIY-friendliness, luxury vinyl plank (LVP) tops my list. Modern LVP convincingly mimics hardwood or stone while handling moisture far better than the materials it imitates. I’ve installed it in dozens of basements where real wood would warp, and the results consistently impress. The planks float over the concrete, requiring no nails or glue in most cases. Thicker wear layers resist scratches from furniture and pets beautifully.
Installation requires more precision than tiles but remains manageable for patient DIYers. After ensuring the concrete is level (I use self-leveling compound for any significant dips), I lay down a moisture barrier underlayment. The planks click together edge-to-edge, with most systems allowing for simple “drop-and-lock” assembly. Cutting planks to fit around obstacles takes careful measurement, but a jigsaw makes quick work of complex shapes. Unlike traditional hardwood, LVP can be installed right up to walls without expansion gaps in moderate climates. The finished floor looks seamless and expensive despite the reasonable cost.
What really sells me on LVP for basements is its real-world performance. I’ve seen it withstand minor flooding without damage, unlike laminate or engineered wood. The textured surfaces provide traction even when damp, reducing slip hazards. Cleaning requires just occasional sweeping and damp mopping – no special treatments. While not as warm underfoot as carpet, LVP works well with area rugs. For homeowners wanting an upscale look without upscale maintenance or moisture concerns, it’s become my go-to recommendation time after time.

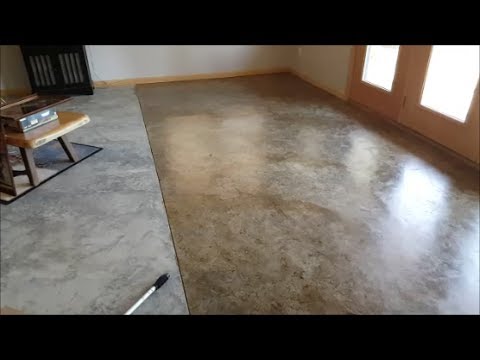
Stained Concrete Floors
For industrial-chic style on a budget, stained concrete offers unique character you can’t replicate with other materials. I love how acid stains react chemically with concrete to create rich, variegated colors that look like natural stone. Unlike paint or coatings, the color penetrates the surface so wear and scratches don’t show as obviously. In my own basement, I used a walnut acid stain that transformed boring concrete into a warm, sophisticated floor that guests constantly compliment. The process requires patience but yields stunning results.
Preparation is more involved than with other DIY options. I start by thoroughly cleaning the concrete, then use a chemical etcher to open the pores. Any cracks or spalling should be repaired first since stains highlight imperfections. Applying the acid stain produces dramatic color changes within hours – it’s fascinating to watch the chemical reaction create marbled effects. After neutralizing and rinsing, I seal with a penetrating guard that protects while allowing the concrete to breathe. The final step is applying a wax or polish for sheen. While labor-intensive, the technique creates truly one-of-a-kind floors.
Maintenance is straightforward – occasional dust mopping and reapplying sealant every few years. The floors develop a lovely patina over time, unlike coatings that show wear. Stained concrete works particularly well in basements with radiant heat systems since it conducts warmth efficiently. The main drawback is hardness – standing for long periods can tire feet, so I recommend area rugs in seating areas. For homeowners wanting durable, unique floors that improve with age, stained concrete delivers unmatched character at reasonable cost.
Carpet Tiles
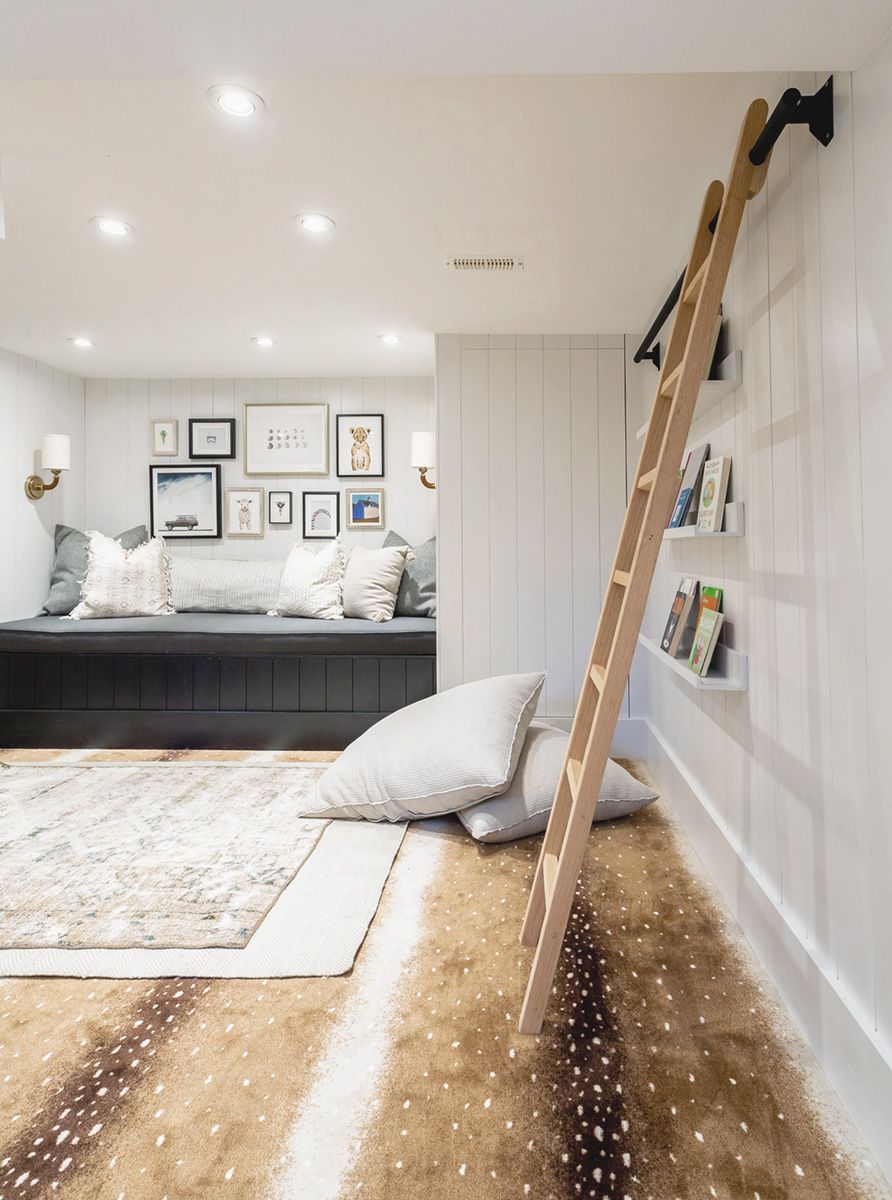
When warmth and comfort take priority, carpet tiles solve many basement flooring challenges. I’ve used them in bedrooms, home theaters, and play areas where cold, hard floors just won’t do. Modern carpet tiles have come a long way from the drab office varieties – today’s options include plush textures and attractive patterns. The modular design means replacing damaged sections is simple, a huge advantage over wall-to-wall carpet in damp environments. Installation requires no special tools or skills, making it perfect for DIYers.
I appreciate how carpet tiles accommodate imperfect basement conditions. Unlike broadloom carpet, they allow moisture to evaporate from the concrete beneath. If flooding occurs, individual tiles can be lifted to dry or replaced without redoing the entire floor. Many varieties now include antimicrobial treatments to prevent mold and mildew growth. Installation is as simple as peeling and sticking, though I recommend starting from the center and working outward for best alignment. Cutting tiles to fit borders takes just a utility knife and straightedge.
For high-traffic areas, I select commercial-grade tiles with dense fibers that resist matting. In bedrooms or lounges, plusher residential styles add comfort. Some manufacturers offer mix-and-match colors for creative patterns. While not as moisture-proof as hard surfaces, quality carpet tiles handle typical basement humidity well when properly maintained. Regular vacuuming and occasional deep cleaning keep them fresh. For DIYers wanting softness underfoot without permanent commitment, carpet tiles offer flexibility you can’t get with traditional carpet.
Painted Concrete Floors
When budget constraints demand an ultra-affordable solution, painted concrete delivers surprising results. I’ve transformed countless drab basement floors with specialty concrete paints that cost far less than other options. Properly applied, the finish lasts years and completely changes the room’s feel. Epoxy-based concrete paints provide the most durability, resisting chips and wear better than standard latex. I often use light colors to maximize brightness in typically dark basements, creating the illusion of more space.
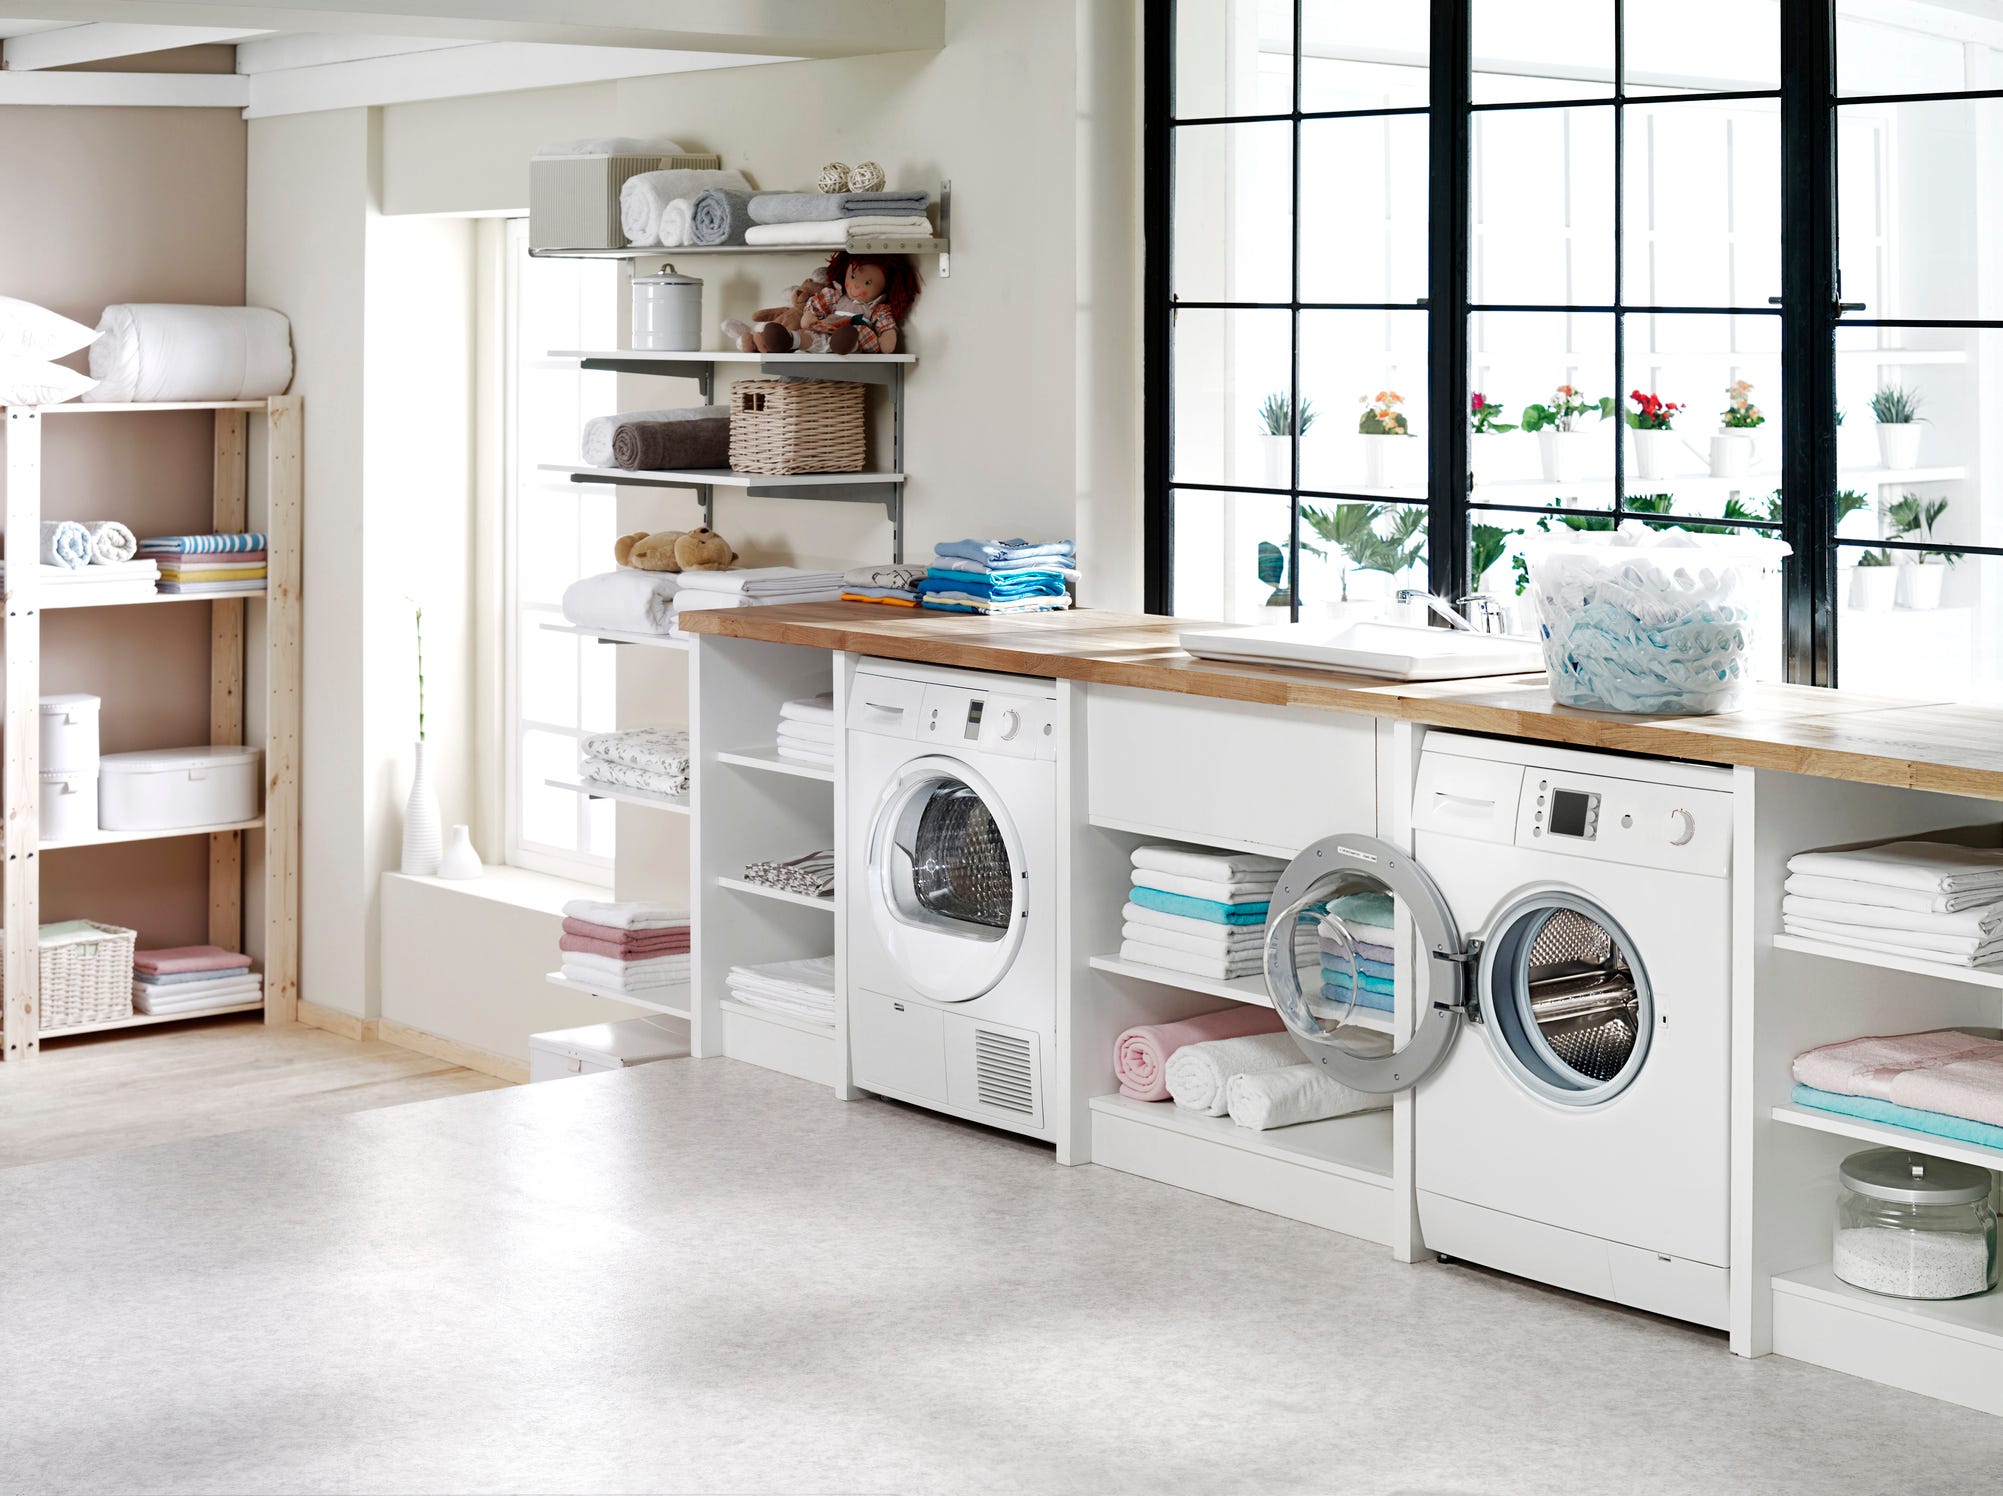
Preparation makes or breaks a painted concrete floor. I start by thoroughly cleaning, then etching the surface with acid or abrasive tools to ensure paint adhesion. Any cracks or holes must be filled with concrete patching compound and sanded smooth. After priming, I apply two coats of paint using a roller with an extension pole – working in small sections ensures even coverage. Adding anti-slip additives to the final coat improves safety, especially important in laundry or utility areas. The whole process can be completed over a weekend for minimal cost.
While not as durable as epoxy coatings, painted floors hold up well with proper care. I recommend placing felt pads under furniture legs and using area rugs in high-traffic zones to minimize wear. Touch-up painting is easy when needed. The biggest advantage is the ability to completely change the look later by repainting – a flexibility more permanent options lack. For renters or homeowners needing temporary solutions, painted concrete provides an affordable way to dramatically improve basement aesthetics overnight.
What’s the best basement flooring for areas prone to moisture?
After testing numerous options in damp basements, I recommend epoxy coatings or luxury vinyl plank as the most moisture-resistant choices. Epoxy creates a seamless barrier that prevents water penetration completely, while LVP’s waterproof core and tight locking systems handle minor flooding without damage. Interlocking tiles also work well since they allow airflow underneath and can be removed to dry if needed. Avoid traditional hardwood, laminate, or carpet in problem areas – even “water-resistant” versions can warp or develop mold when exposed to consistent moisture. Proper vapor barrier installation beneath any flooring helps too.
Can I install flooring directly on my basement concrete?
Most flooring can go directly over concrete if the slab is clean, dry, and level. I always test for moisture first by taping a plastic square to the floor – condensation underneath indicates needed remediation. Epoxy and paint adhere directly to prepared concrete, while LVP and carpet tiles typically require just a moisture barrier underlayment. For wood-look floating floors, I sometimes add foam underlayment for comfort and sound dampening. The exception is solid hardwood, which should never be installed directly on concrete due to moisture concerns. Proper preparation prevents most installation issues.

How do I prepare my basement floor before installing new flooring?
Preparation varies by flooring type but always starts with thorough cleaning. I sweep, vacuum, and then scrub the concrete to remove all dirt, grease, and flaking material. Next, check for cracks or uneven areas – fill cracks with concrete patcher and use self-leveling compound for low spots over 1/8 inch deep. For coatings like epoxy or paint, I etch the surface to improve adhesion. Moisture testing is crucial – if the plastic sheet test shows condensation, consider sealing the concrete first. Taking time with prep prevents problems later and ensures your new floor performs as expected.
Is radiant floor heating compatible with basement flooring?
Many basement flooring options work well with radiant heat systems. I’ve successfully installed luxury vinyl plank, epoxy, and stained concrete over radiant heat with excellent results. The key is choosing materials that conduct heat efficiently – thin, dense options perform best. Avoid thick carpet or rubber tiles that insulate too well. Always follow the heating system manufacturer’s guidelines for floor covering R-values. I recommend installing a thermal break under the heating elements to direct warmth upward. Programmable thermostats help manage the slow response time of heated concrete slabs.
What’s the most cost-effective DIY basement flooring?
Painted concrete provides the most dramatic improvement for the least money in my experience. A gallon of quality epoxy concrete paint covers about 300 square feet and costs under $100, requiring only basic tools. Interlocking tiles offer the next most affordable option at $2-$5 per square foot installed yourself. Carpet tiles can be economical too, especially when purchased as remnants or during sales. While initial costs for LVP or epoxy coatings are higher, their durability often makes them more cost-effective long-term by avoiding frequent replacements. Consider both upfront and lifetime costs when choosing.
How can I make my basement floor warmer without radiant heat?
Several effective solutions exist for cold basement floors. I start with insulated subfloor panels beneath floating floors – they add R-value while smoothing minor imperfections. Area rugs with thick pads make a noticeable difference in living spaces, as do carpet tiles throughout. For hard surfaces, I recommend thermal underlayments designed for basement use. Simple lifestyle adjustments help too – wearing slippers and using space heaters in occupied areas. In extreme cases, spray foam insulation applied to basement walls reduces overall heat loss, indirectly warming floors. Layering solutions works best for significant improvement.
DIY Concrete Floor Cheap Home DIYs Design Mom
DIY Basement Flooring Ideas – Affordable DIY Flooring Options
DIY Basement Floor Stain and finish, 2 colors, Without Etching!
DIY Projects for the Home Painted concrete floors, Patio

Easy DIY Tips to Transform Your Basement into a Livable Space
Related Posts: