Three years ago, I stood in my outdated bathroom staring at cracked linoleum that had seen better days. The avocado green fixtures were bad enough, but that peeling floor made the entire space feel grimy, no matter how much I cleaned it. What began as a simple floor replacement turned into a complete design education. I discovered that choosing the right tiles involves far more than picking pretty patterns. Size, texture, color, and layout all work together to transform not just appearance but functionality too.
Classic Ceramic and Porcelain Options
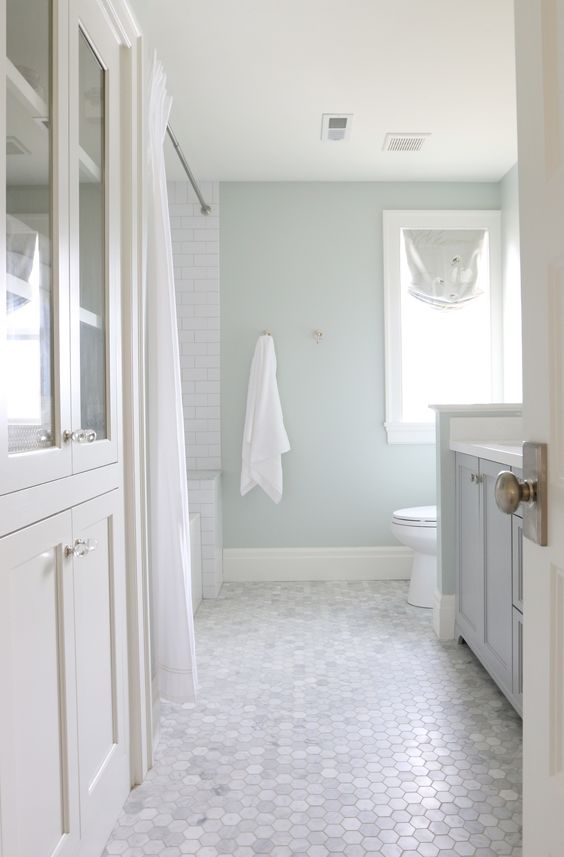
My first stop was ceramic tiles because they seemed like the safe, traditional choice. I was amazed by the variety available, from basic white subway tiles to intricate mosaic patterns. The salesperson explained that ceramic works well in bathrooms because it resists moisture and stains naturally. I found myself drawn to neutral colors that would work with different decor changes over time.
Porcelain tiles caught my attention when I learned about their superior durability compared to standard ceramic options. These tiles can handle heavy foot traffic and resist chipping better than their ceramic cousins. I discovered that porcelain comes in styles that perfectly mimic natural materials like wood and stone, giving mean expensive look without the maintenance headaches.
The price difference between ceramic and porcelain made me carefully consider my budget and long-term plans. Ceramic tiles offered great value for a bathroom that wouldn’t see heavy use, while porcelain justified its higher cost in my main bathroom. I ended up choosing different materials for different bathrooms based on their specific usage patterns and my renovation timeline.
Natural Stone Elegance
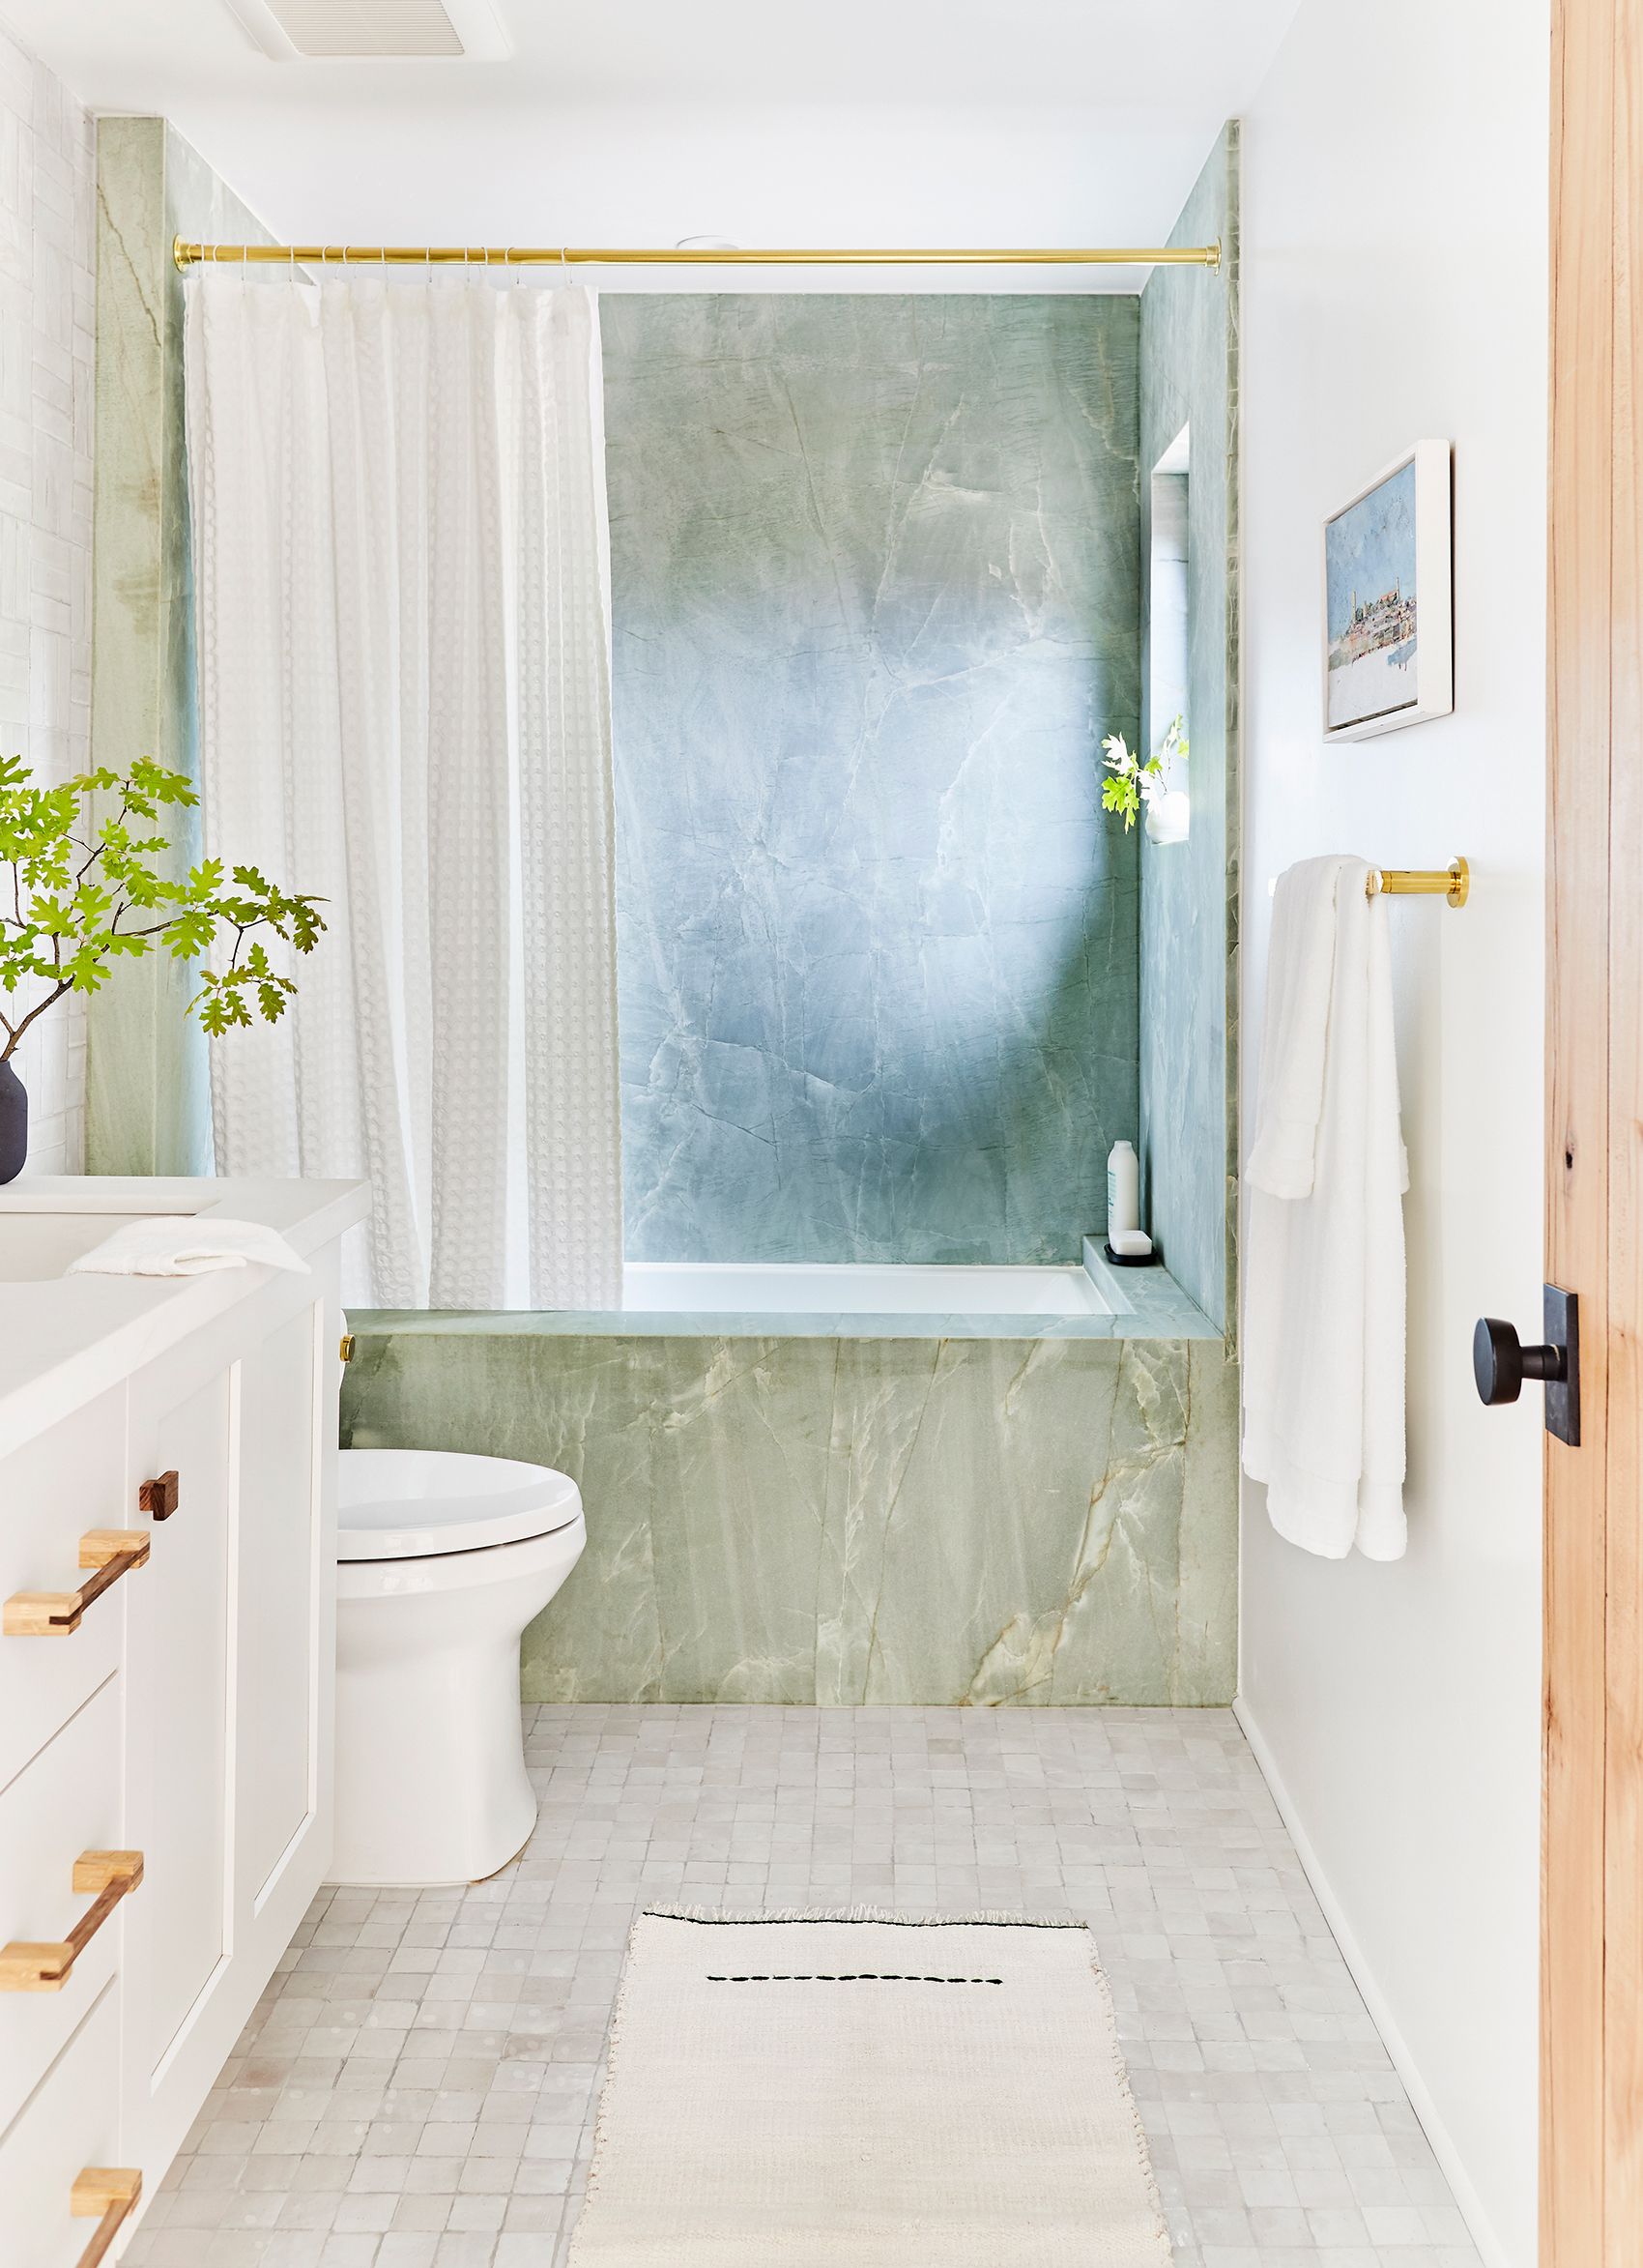
Walking into the natural stone section felt like entering a completely different category of luxury. Marble tiles spoke to me immediately with their veining and sophisticated appearance, but I quickly learned about the maintenance requirements. These beautiful surfaces need regular sealing and careful cleaning to prevent staining and etching from acidic products commonly found in bathrooms.
Travertine offered a more forgiving natural stone option that still provided elegance without marble’s high maintenance demands. The natural texture felt wonderful under bare feet, and the neutral tones worked beautifully with both modern and traditional design schemes. I appreciated how each tile had unique characteristics that created visual interest without overwhelming patterns.
Slate tiles presented another natural option with completely different aesthetics and practical benefits. The naturally slip-resistant surface made them perfect for wet bathroom environments, while the dark colors helped hide soap scum and water spots between cleanings. However, the rough texture required more careful consideration of furniture placement and foot comfort for extended standing periods.
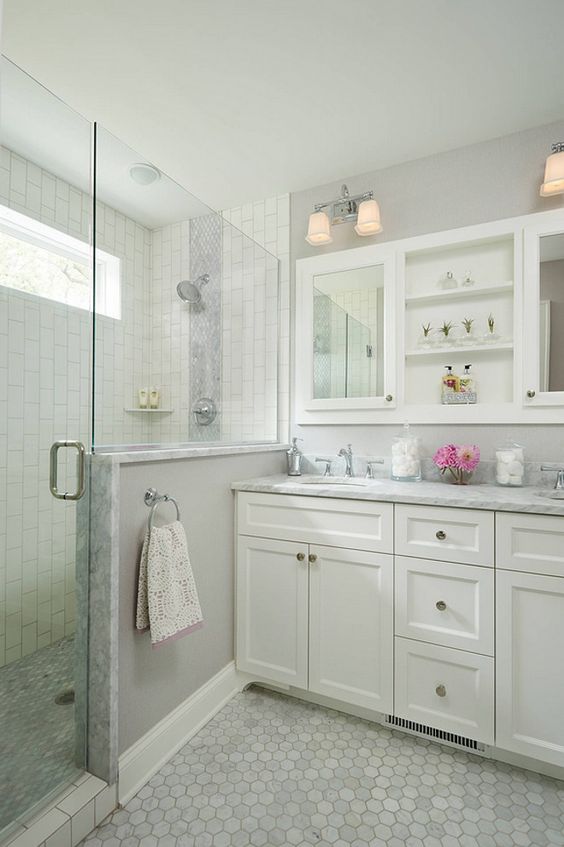
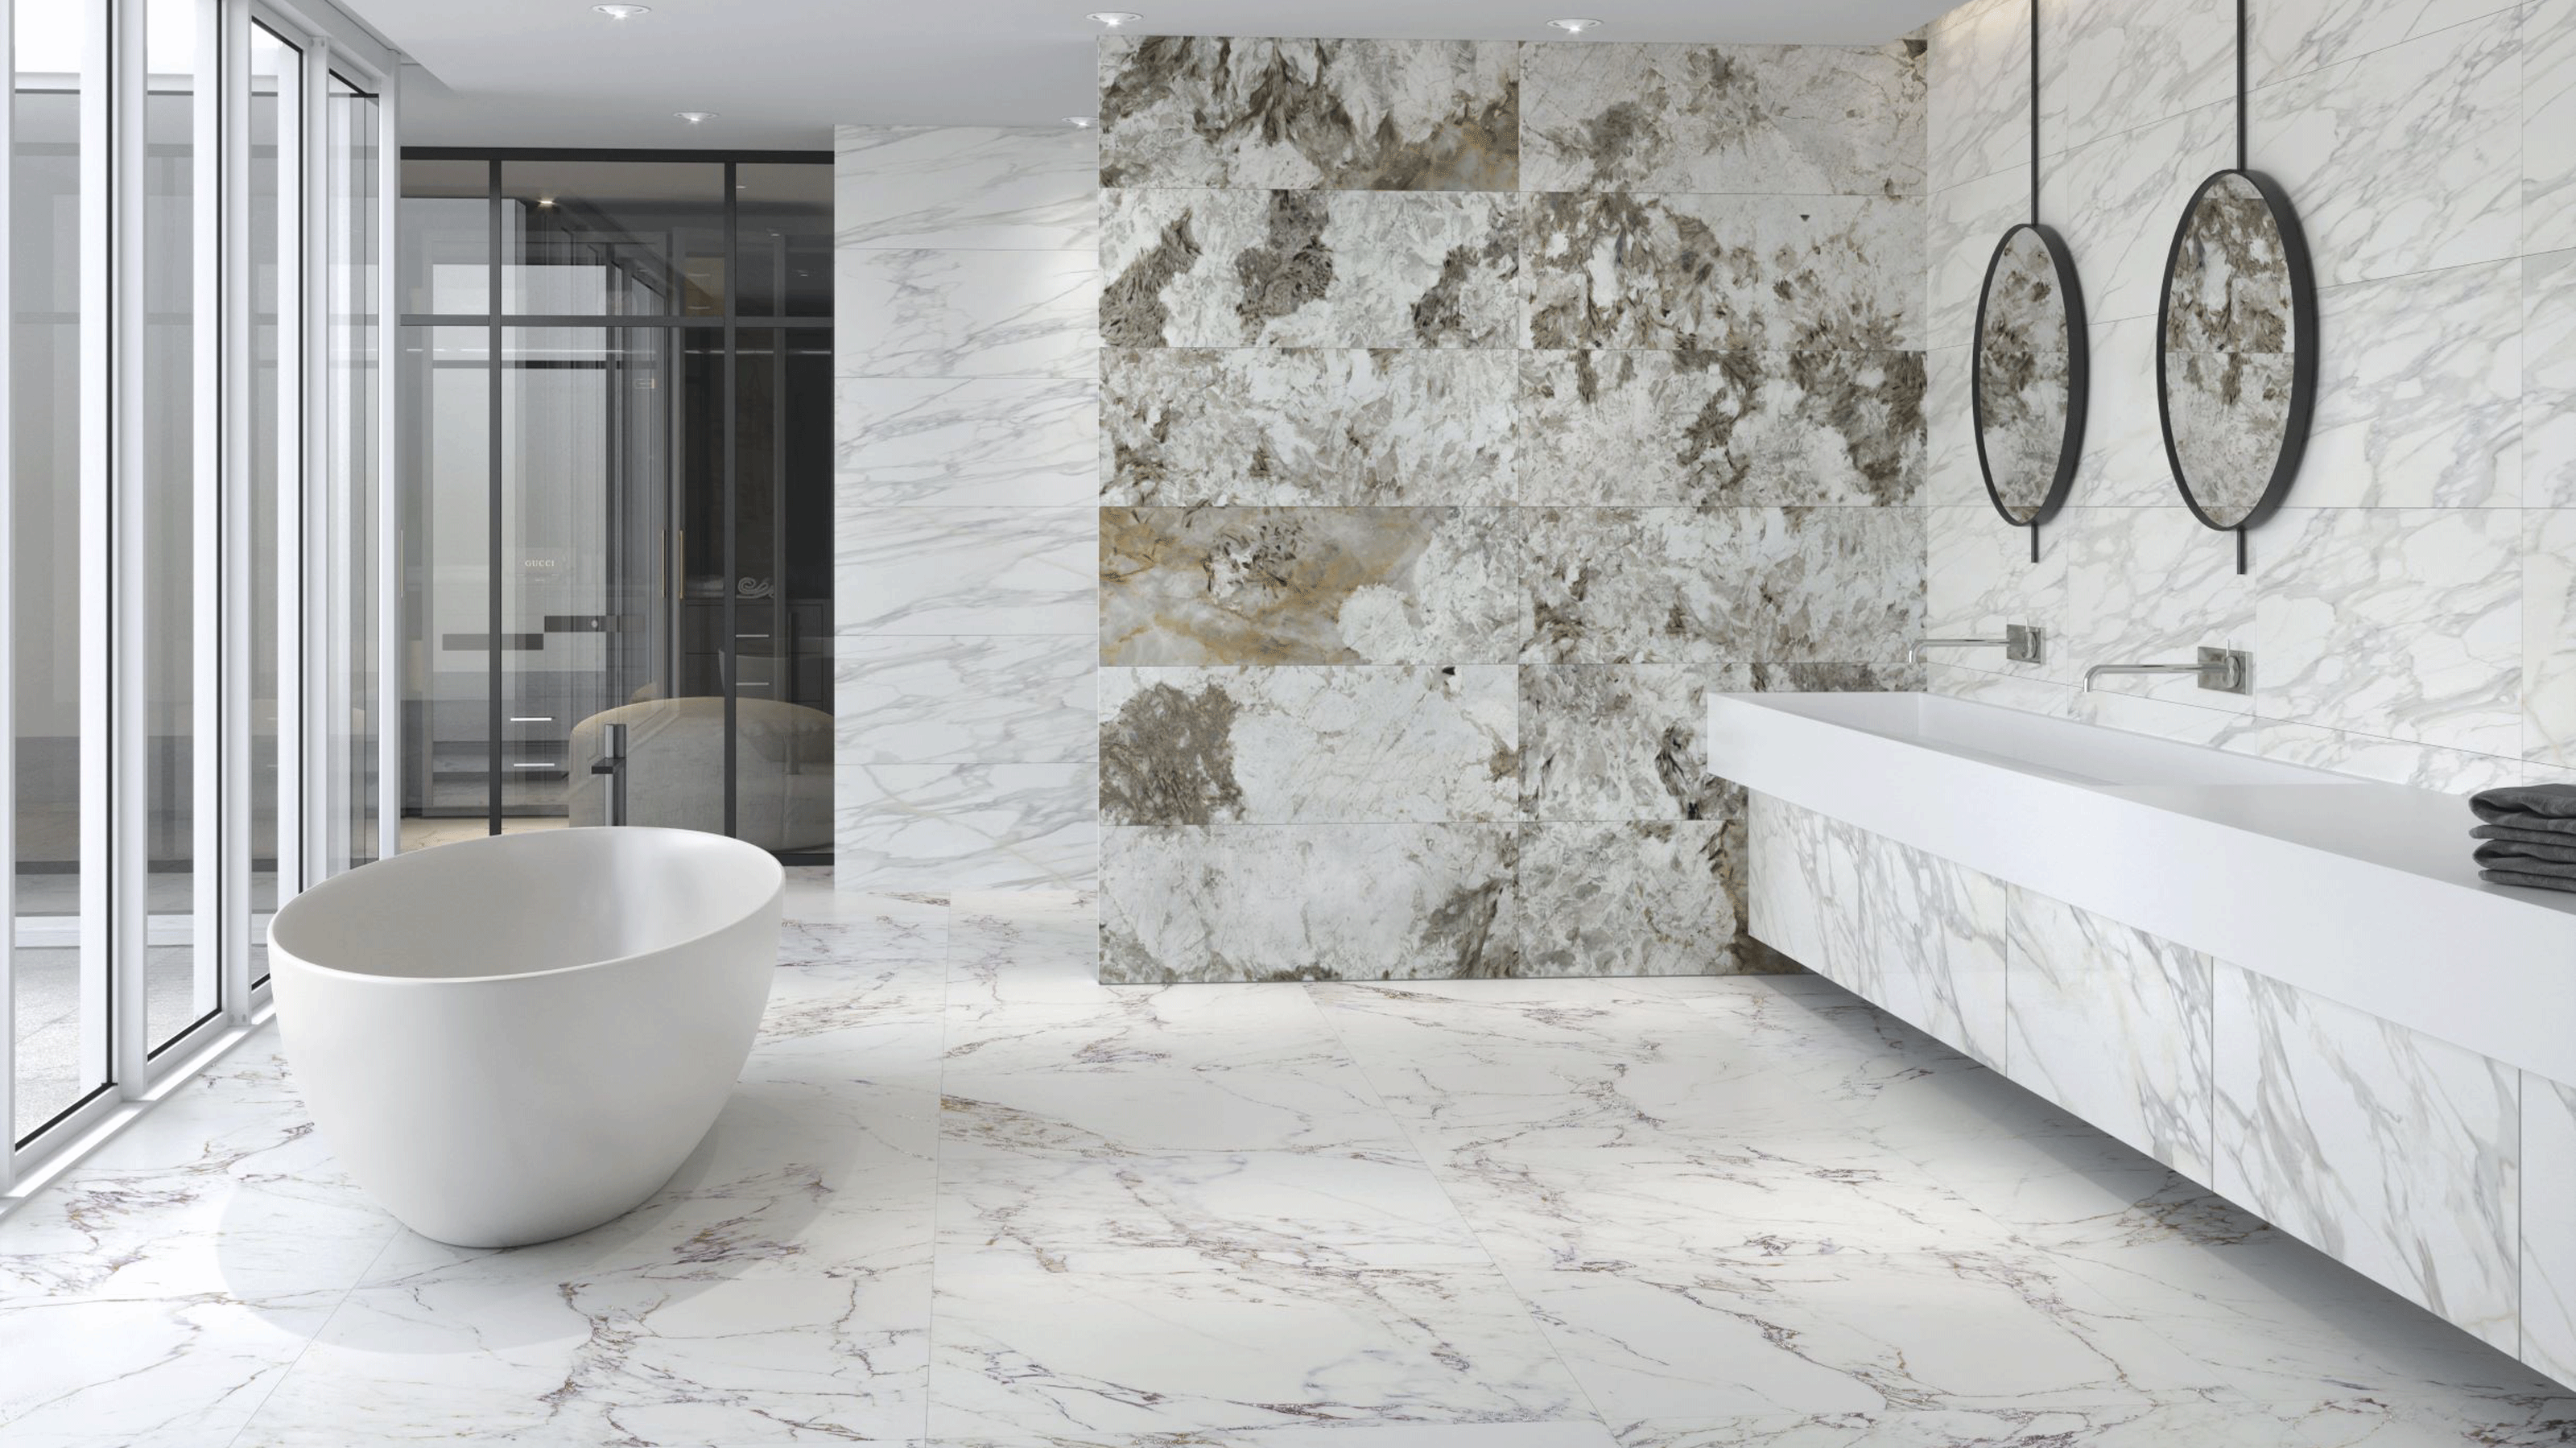
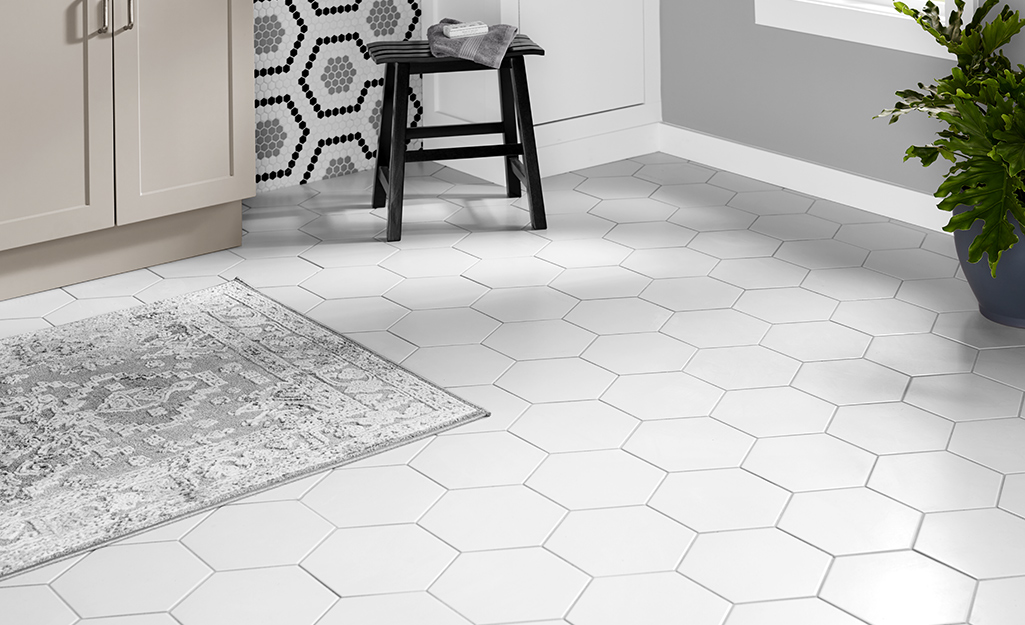
Modern Large Format Designs
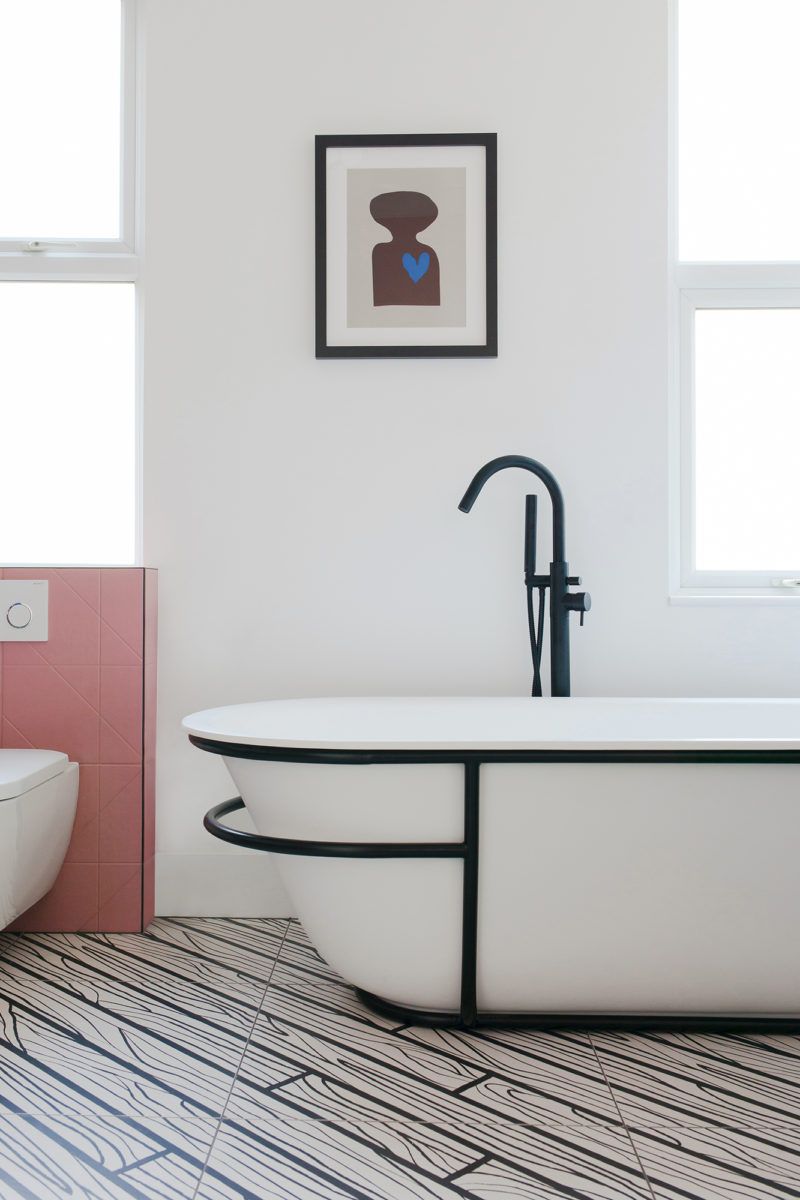
Large format tiles revolutionized my thinking about bathroom design possibilities. These oversized pieces, often 12×24 inches or larger, create seamless looks with fewer grout lines to clean and maintain. I was surprised how dramatically they made my small bathroom appear larger and more open than traditional smaller tiles ever could.
The installation challenges of large format tiles taught me important lessons about substrate preparation and professional installation requirements. These heavy tiles need perfectly level surfaces and experienced installers to prevent lippage and ensure proper support. My first DIY attempt was a disaster that required professional correction, adding unexpected costs to my budget.
Color and pattern choices in large format tiles carry more visual weight than smaller alternatives, making selection crucial for long-term satisfaction. I learned to view large samples in my actual bathroom lighting before making final decisions. What looked perfect in the showroom sometimes appeared completely different under my bathroom’s specific lighting conditions and surrounding colors.
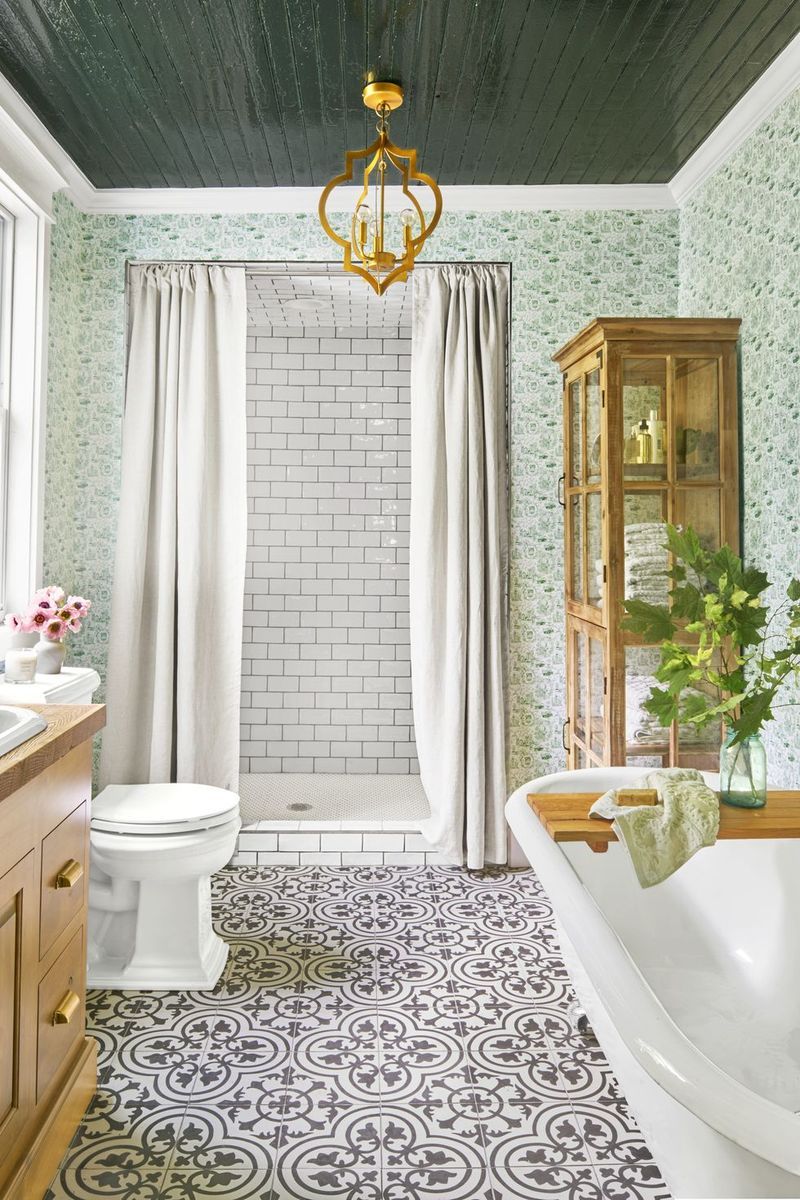
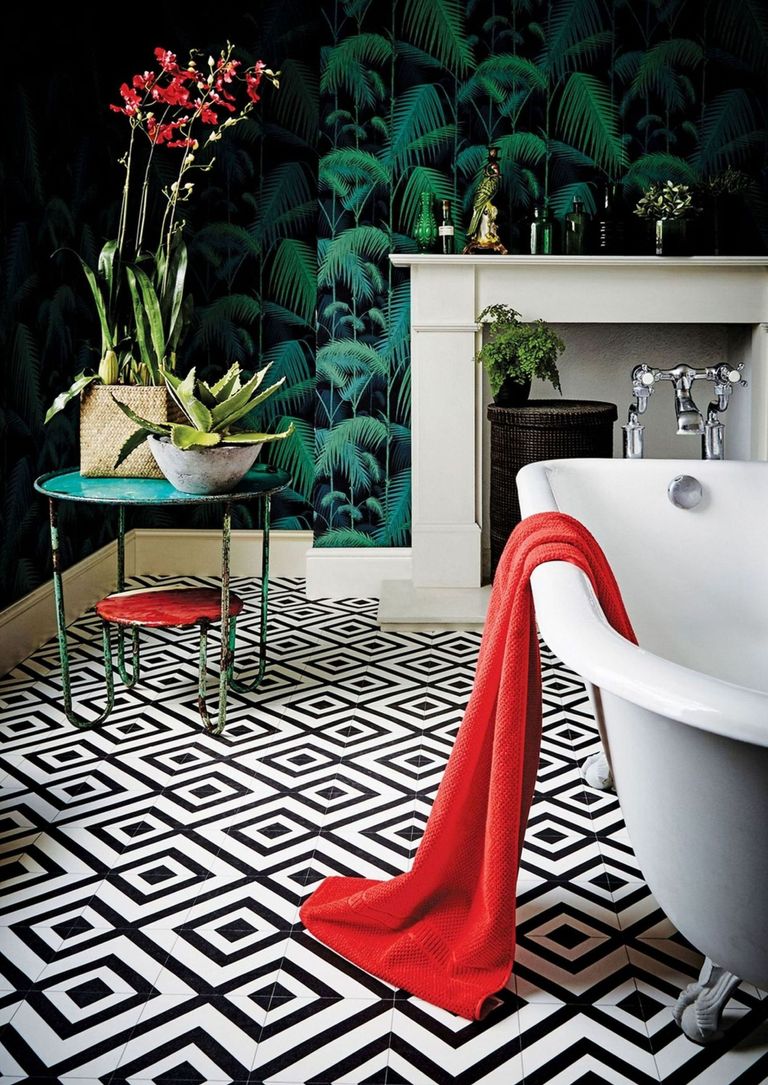
Creative Pattern and Layout Techniques
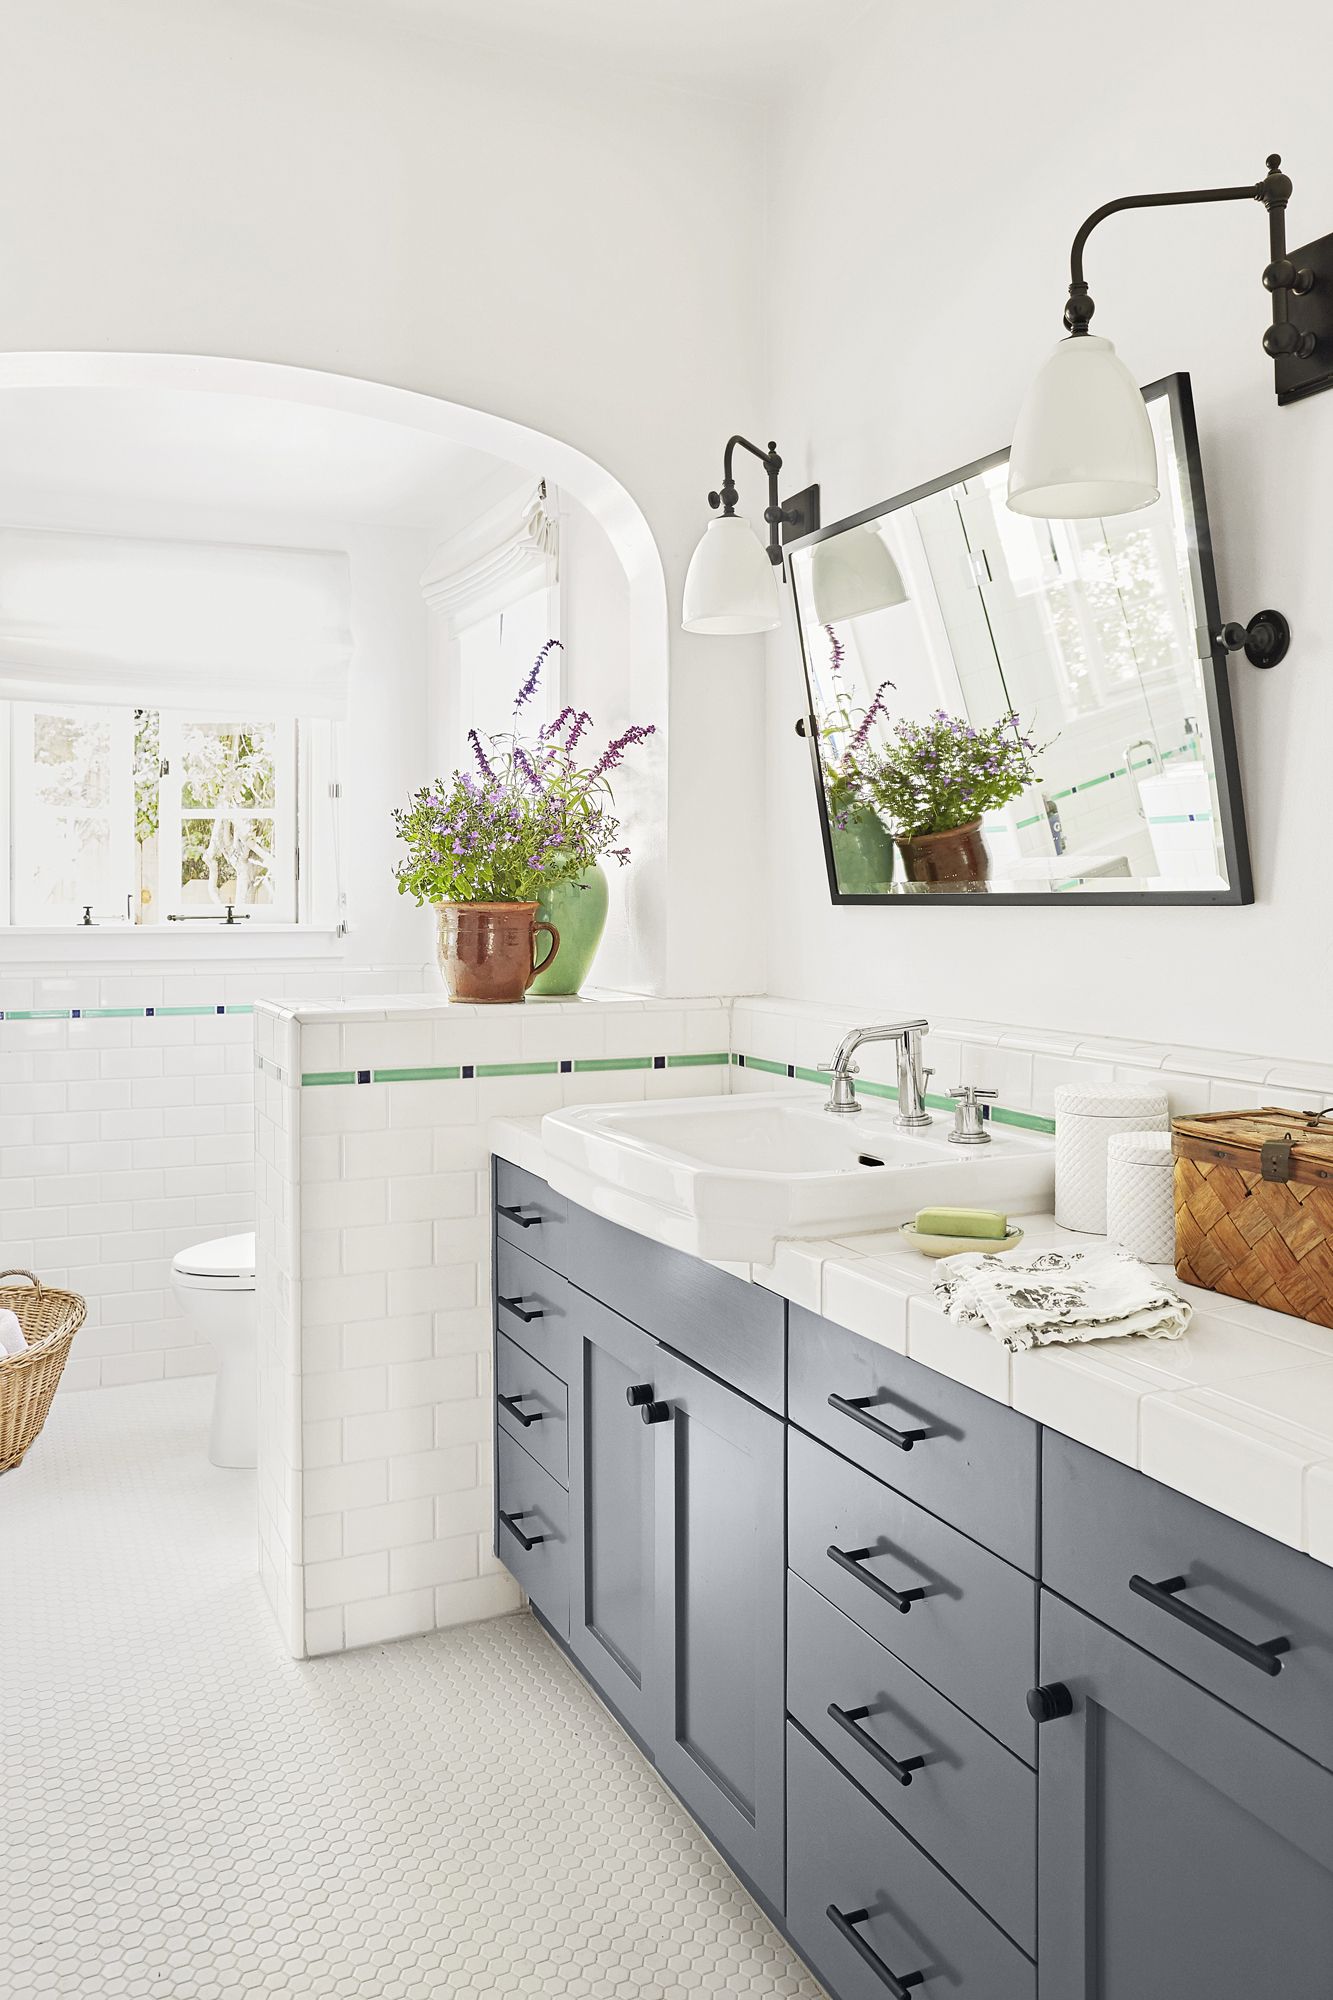
Herringbone patterns transformed ordinary subway tiles into something special and sophisticated in my guest bathroom. This classic layout technique adds visual interest and movement without requiring expensive specialty tiles. I discovered that diagonal installations create similar effects while being slightly easier for novice installers to execute successfully.
Mixing different tile sizes in thoughtful combinations opened up endless design possibilities I hadn’t considered initially. Combining large format tiles with smaller accent pieces or borders allowed me to create custom looks within reasonable budgets. These mixed installations require careful planning but deliver unique results that reflect personal style preferences perfectly.
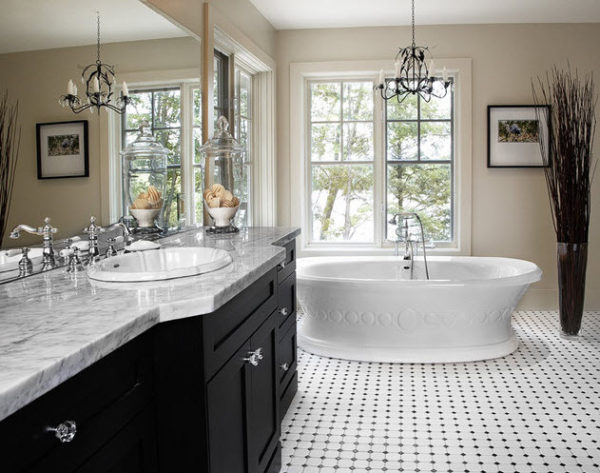
Color blocking techniques using the same tile in different shades created dramatic effects in my powder room renovation. I used three shades of gray tiles arranged in geometric patterns that made the small space feel modern and intentional. This approach works especially well when you want visual impact without busy patterns or expensive specialty materials.
Budget-Friendly Alternatives
Luxury vinyl tiles surprised me with their realistic appearance and practical benefits for bathroom applications. Modern LVT options convincingly mimic natural materials while offering superior water resistance and comfort underfoot. The installation process was much simpler than ceramic tiles, making this an excellent DIY-friendly option for budget-conscious renovations.
Ceramic tiles that look like expensive natural materials provided another cost-effective strategy for achieving high-end appearances. I found wood-look ceramics that were nearly indistinguishable from real hardwood but completely suitable for wet bathroom environments. These alternatives allowed me to achieve the desired aesthetics while staying within my renovation budget constraints.
Shopping end-of-line and discontinued tile collections yielded significant savings on premium products. I discovered that many retailers deeply discount the previous year’s collections to make room for new inventory. With careful planning and flexibility in color choices, I found beautiful tiles at fractions of their original retail prices.
Installation Tips and Considerations
Proper subfloor preparation proved more critical than I initially understood for successful tile installation. My bathroom’s old subfloor needed reinforcement and leveling before tile installation could begin. Skipping these preparation steps leads to cracked tiles, loose installations, and expensive repairs that cost far more than doing the job correctly initially.
Waterproofing membranes became my obsession after learning about moisture damage in bathroom environments. I installed waterproof barriers behind my shower area and around the toilet to protect the subfloor from inevitable water exposure. These protective measures add upfront costs but prevent catastrophic damage that could destroy entire bathroom renovations.
Grout selection and sealing techniques significantly impact both appearance and maintenance requirements of finished tile installations. I learned that grout color dramatically affects the overall look, with matching colors creating seamless appearances while contrasting colors emphasize individual tiles. Proper sealing protects grout from staining and moisture damage over time.
What tile size works best for small bathroom spaces?
Large format tiles work better in small bathrooms than you might expect. I initially thought smaller tiles would be more proportionate, but large tiles with minimal grout lines create cleaner, more spacious appearances. 12×24-inch or larger tiles make my small powder room look significantly bigger than it is. However, ensure your subfloor can handle the weight and that your installer has experience with large format installations to avoid costly mistakes during the process.
How do I choose between matte and glossy tile finishes?
Matte finishes hide water spots and soap scum better than glossy surfaces, making maintenance easier in busy family bathrooms. However, glossy tiles reflect light and can make spaces appear brighter and larger. I chose matte finishes for my main bathroom floor to reduce slip hazards when wet, but used glossy tiles on walls for easy cleaning. Consider your household’s usage patterns, lighting conditions, and maintenance preferences when making this decision.
What’s the most important factor when selecting bathroom floor tiles?
Water resistance should be your top priority when choosing bathroom floor tiles. I learned this lesson when my first tile choice absorbed moisture and developed staining within months. Look for tiles with low water absorption rates, typically porcelain or glazed ceramic options. Natural stones require sealing and ongoing maintenance to prevent moisture damage. Consider slip resistance too, especially for households with elderly members or children who might be at higher risk for falls.
How much should I budget for professional tile installation?
Professional installation typically costs between $5 to $15 per square foot, depending on tile complexity and local labor rates. My bathroom renovation taught me that proper installation is worth the investment, especially for expensive tiles or complex patterns. DIY installation can save money but requires tools, time, and skills that many homeowners underestimate. Factor in substrate preparation, waterproofing, and potential mistakes when comparing DIY versus professional installation costs.
What grout color should I choose for my bathroom tiles?
Grout color dramatically impacts your bathroom’s final appearance and maintenance requirements. I chose grout slightly darker than my tiles to hide dirt and stains while still maintaining a cohesive look. Pure white grout looks beautiful initially but requires frequent cleaning and sealing to prevent discoloration. Dark grout hides stains, but can make installations look busy if your tiles are light colored. Test samples in your actual lighting before making final decisions.
How long does bathroom tile installation typically take?
My bathroom tile installation took five days from start to finish, including substrate preparation and grout curing time. Simple installations in small spaces might be completed in two to three days, while complex patterns or large bathrooms can take a week or longer. Factor in drying time between steps, especially for waterproofing membranes and grout curing. Professional installers can provide more accurate timelines based on your specific project scope and complexity requirements.
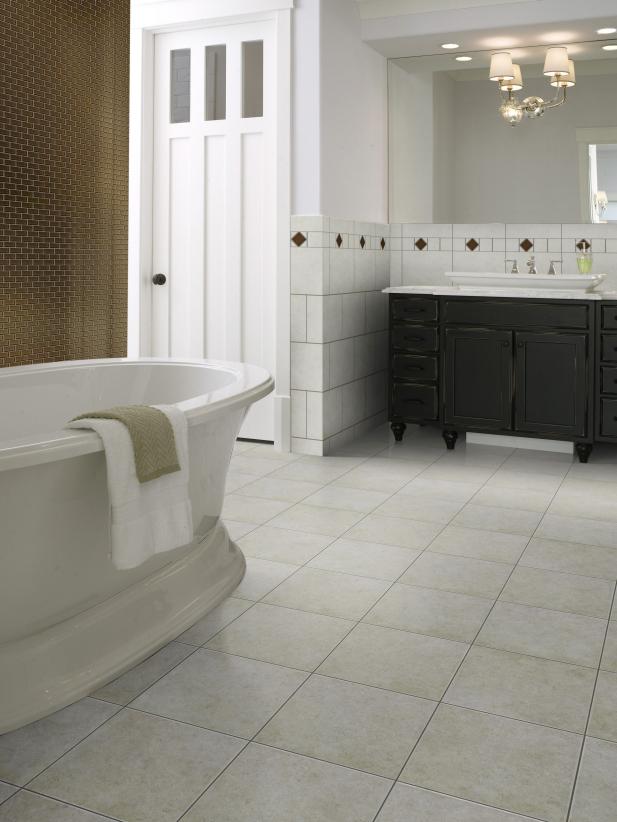
Ceramic Tile Bathroom Floors
Bathroom floor tile ideas: beautiful tile designs to inspire
Cool Bathroom Floor Tiles Ideas You Should Try
Popular Bathroom Tile Ideas – Bathroom Wall and Floor Tiles

Related Posts: