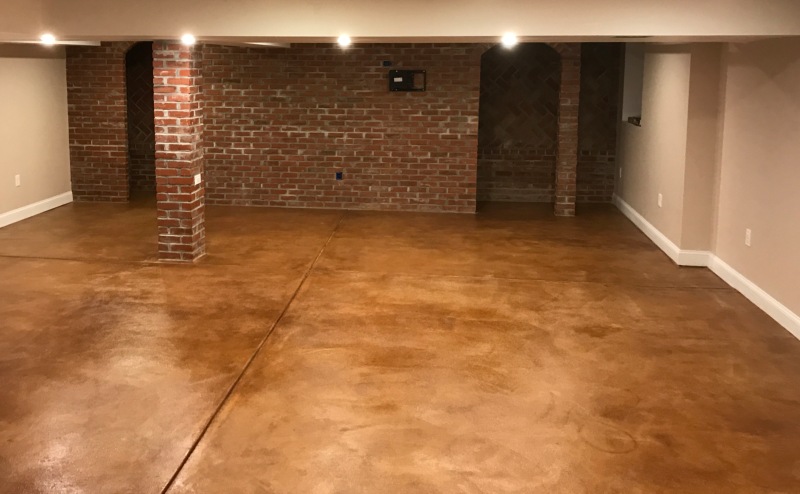
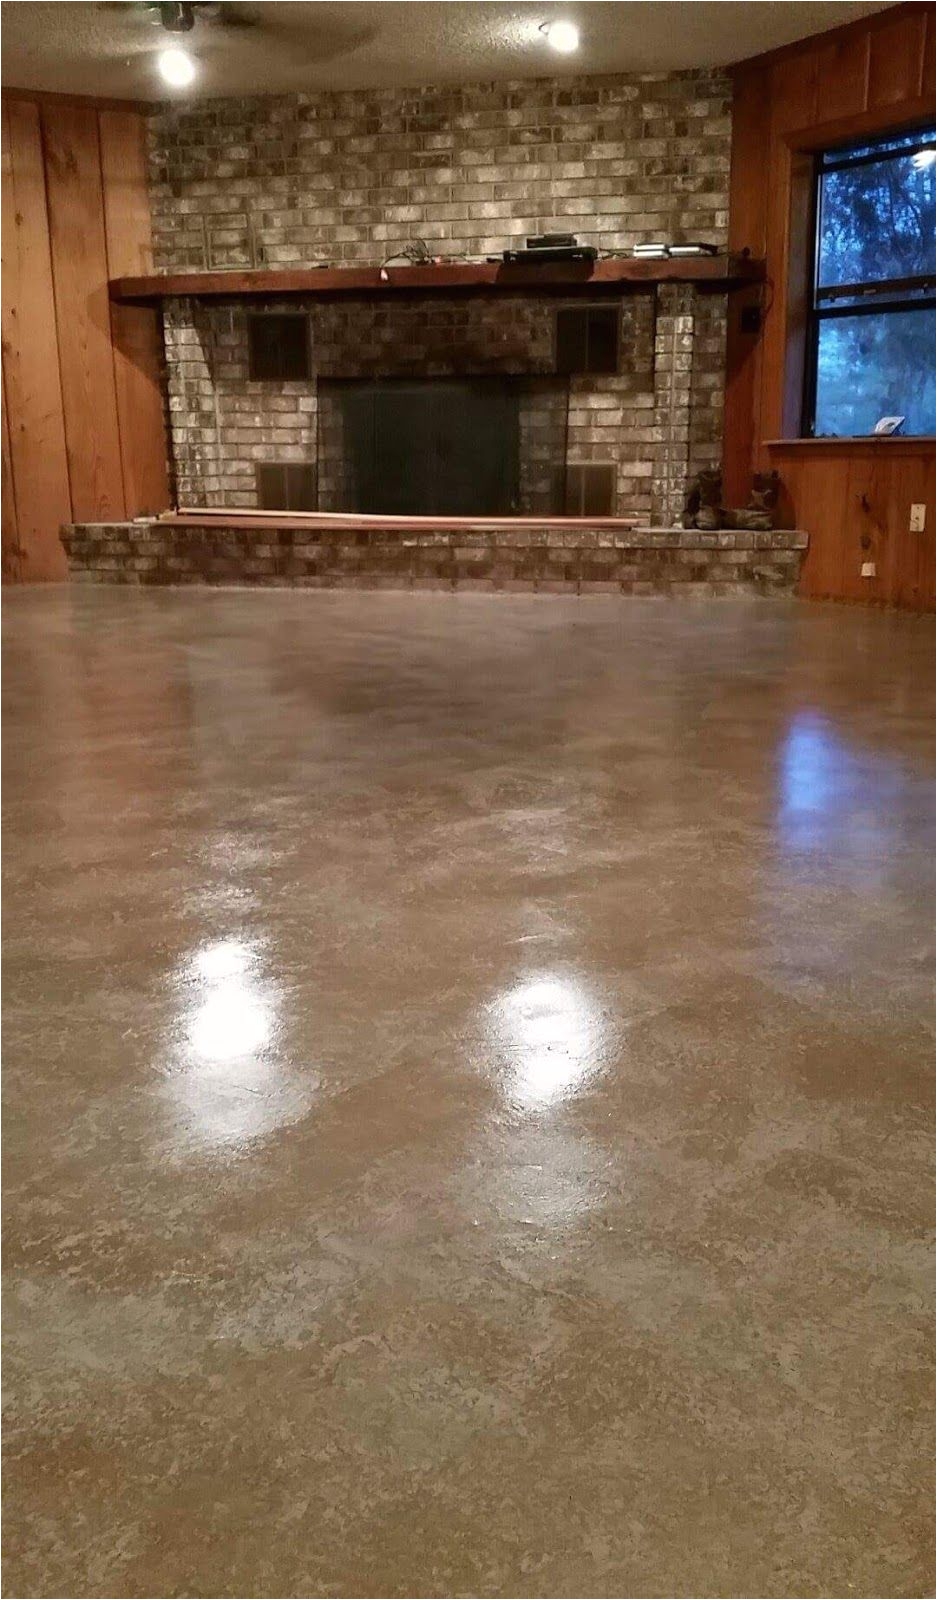
When I first moved into my house five years ago, the basement was nothing more than a concrete slab with exposed walls. The cold, gray surface made the space feel unwelcoming and unusable. After months of staring at that bare floor, I knew something had to change. What started as a simple weekend project evolved into a complete transformation, teaching me valuable lessons about flooring options, preparation techniques, and the importance of moisture control in below-grade spaces.
Understanding Your Foundation Surface
The first thing I learned was that not all concrete floors are created equal. My basement had minor cracks and some slight unevenness that I initially overlooked. These imperfections became major headaches later when I attempted to install my first flooring. The surface had different levels in various areas, creating gaps under my chosen materials.
Moisture was another surprise factor I hadn’t considered seriously enough. During my first spring in the house, I noticed dampness seeping through certain sections of the concrete. This taught me that proper assessment involves more than just visual inspection. I had to test for moisture levels using specialized tools and techniques.
The age and condition of the concrete significantly impact your flooring choices. Newer concrete often has better vapor barriers underneath, while older foundations like mine require additional moisture mitigation steps. Understanding these factors early saves time, money, and frustration during the installation process.
Moisture Management Strategies
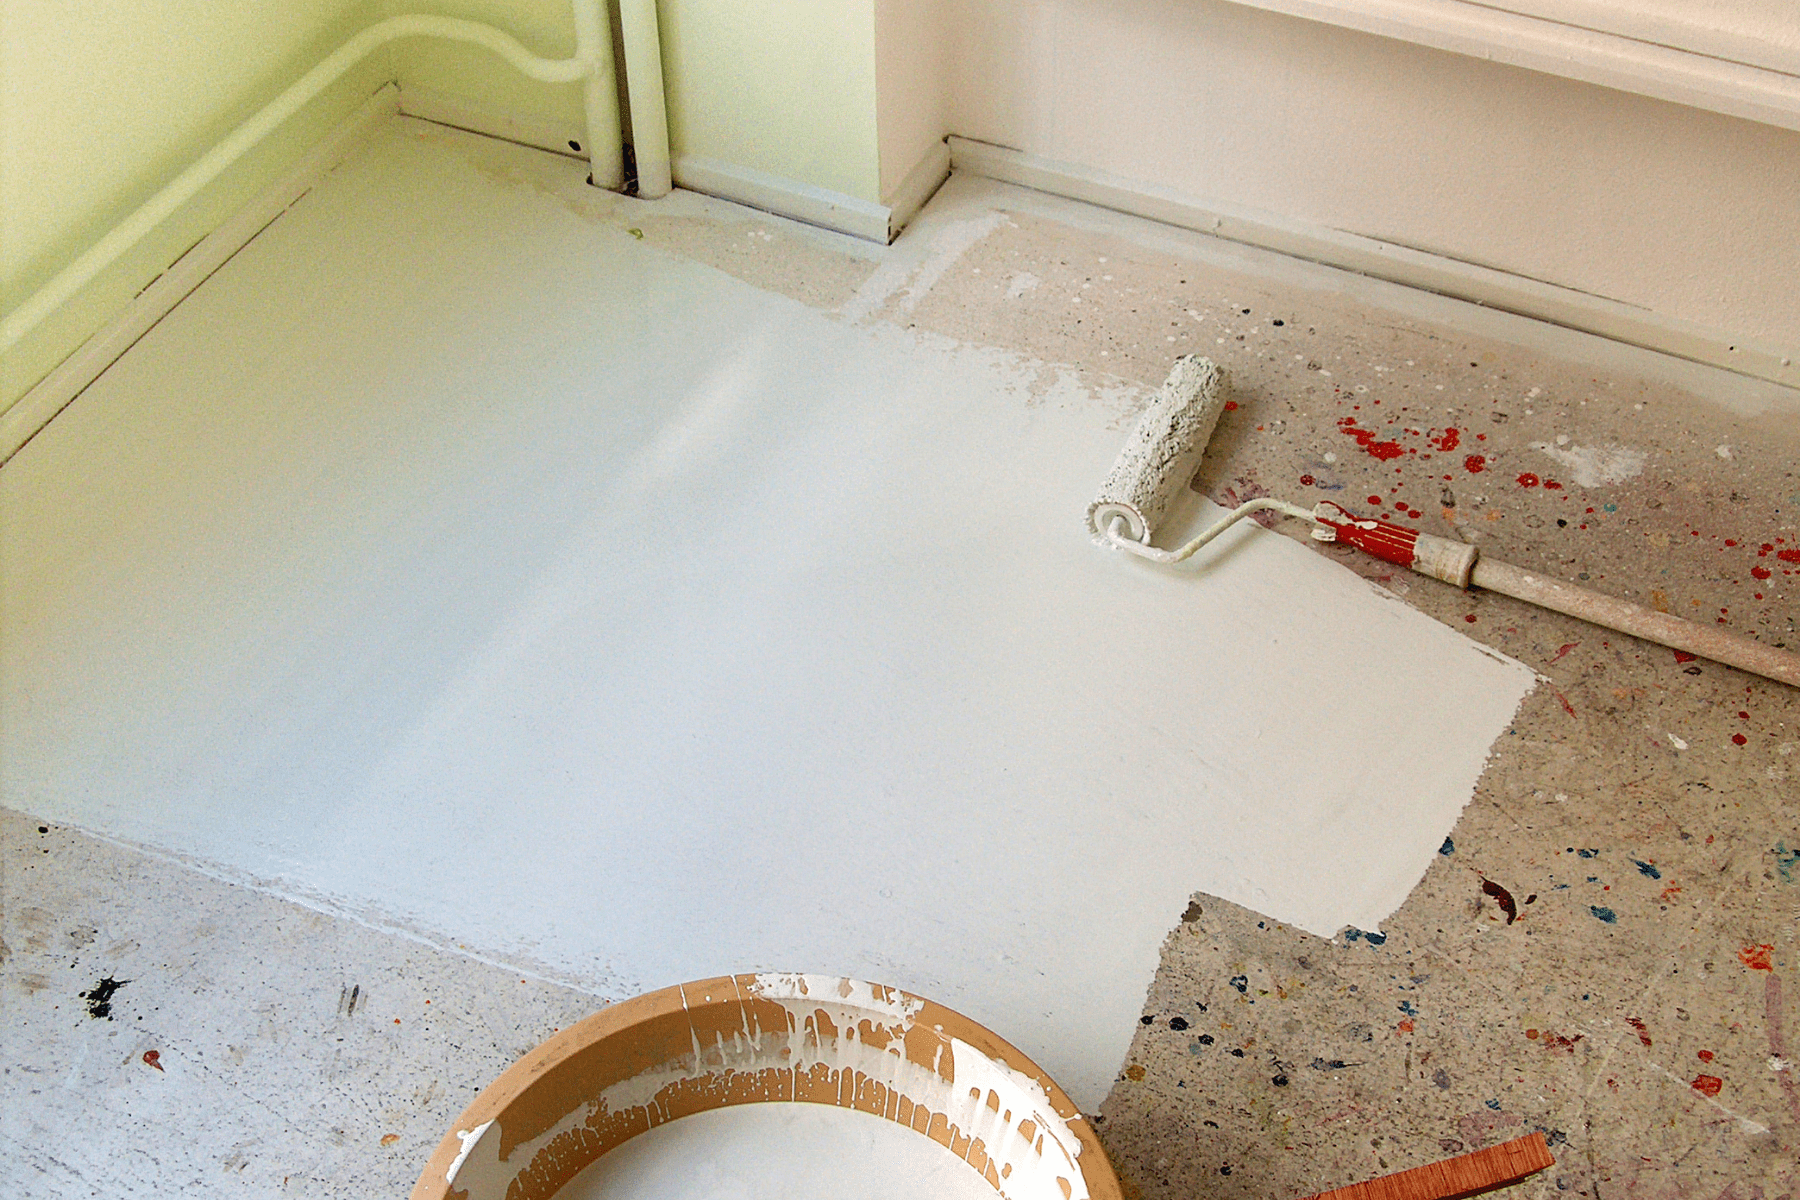
After my first flooring failure due to moisture issues, I became obsessed with controlling humidity and water infiltration. I installed a dehumidifier and improved ventilation, but these surface-level solutions weren’t enough. The real breakthrough came when I applied a concrete sealer specifically designed for basement applications.
Vapor barriers became my best friend during this phase of the project. I learned that different barrier types work better for different situations. Some basements need simple plastic sheeting, while others require more sophisticated membrane systems. The key is matching the solution to your specific moisture conditions and local climate patterns.
Testing moisture levels regularly helped me understand seasonal patterns in my basement. Summer months brought higher humidity, while winter created different challenges with condensation. This ongoing monitoring allowed me to adjust my approach and make informed decisions about timing for different phases of the flooring installation.
Exploring Flooring Material Options
Carpet was my first instinct because it seemed warm and comfortable, but I quickly learned that organic materials and basements don’t mix well. Mold and mildew became problems within months, forcing me to remove everything and start over. This expensive lesson taught me to prioritize moisture-resistant materials over immediate comfort preferences.
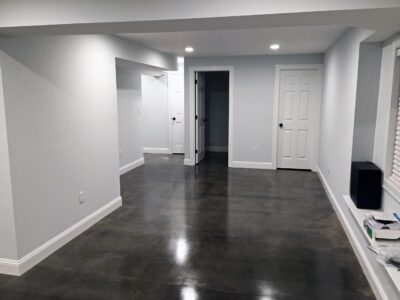
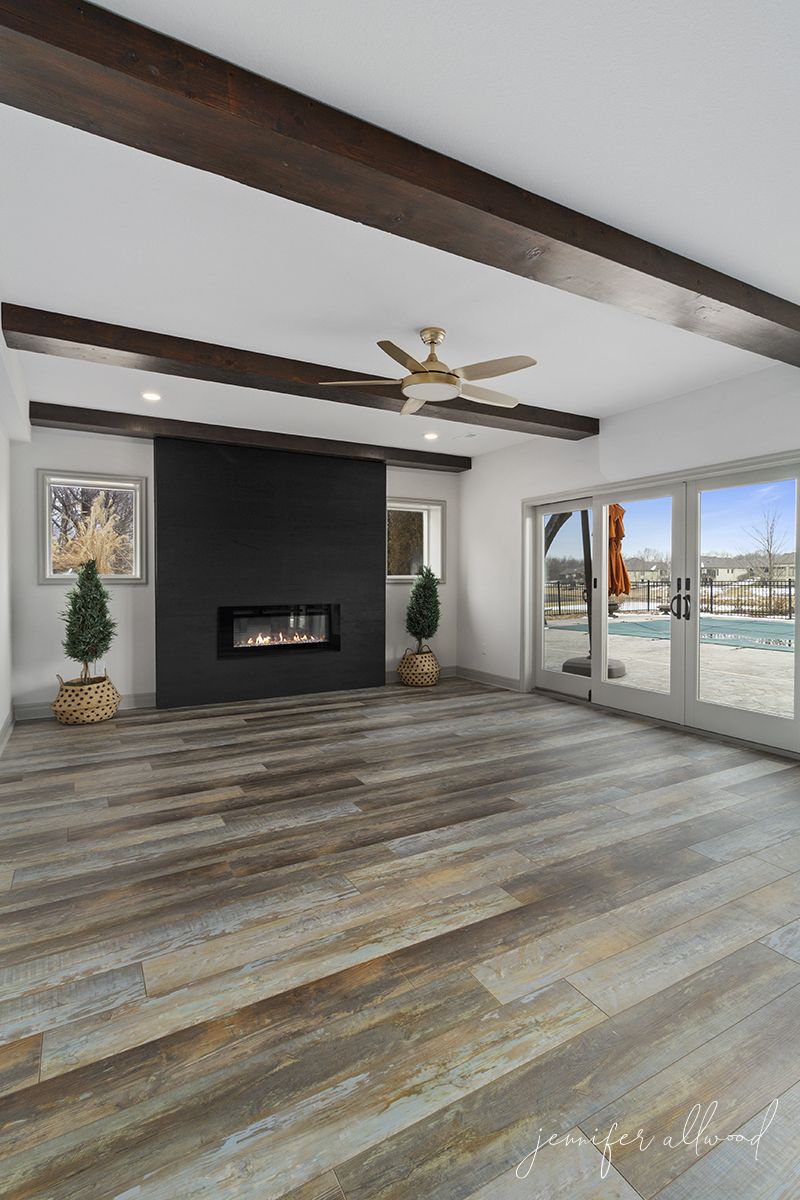
Luxury vinyl planks emerged as my top choice after extensive research and testing. They provided the wood appearance I wanted while offering complete moisture resistance. The installation process was straightforward, and the material handled temperature fluctuations without warping or separating. These planks also provided some insulation value against the cold concrete underneath.
Ceramic tiles offered another excellent option, especially in areas prone to occasional water exposure near utility equipment. I used tiles around my water heater and washing machine areas, creating zones that could handle spills and leaks without damage. The combination of different materials in different zones maximized both function and aesthetics.
Installation Techniques and Tools
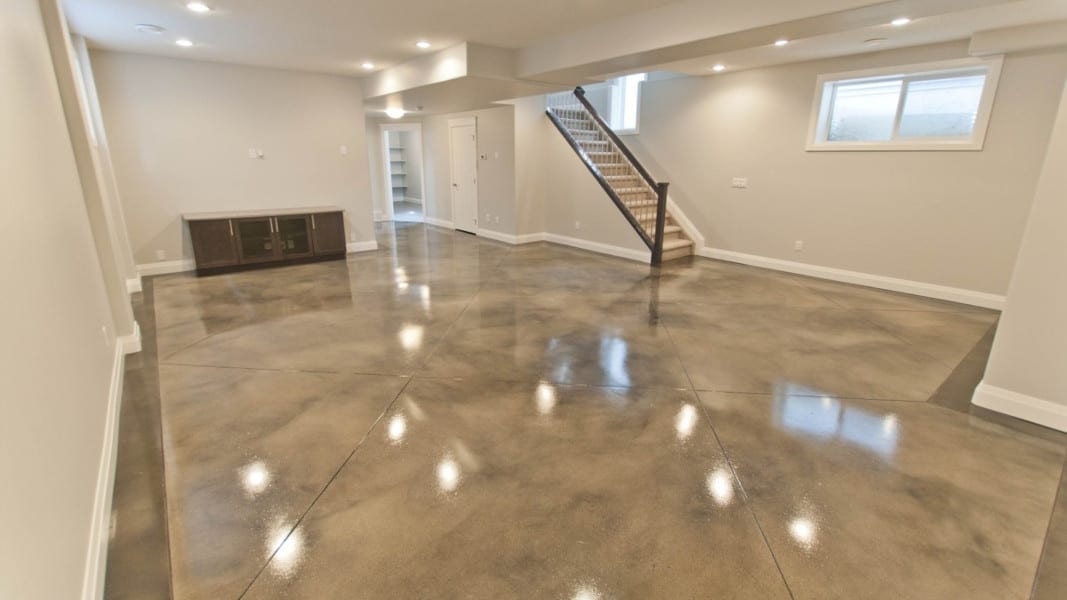
Proper preparation proved more important than the actual installation process. I spent weeks cleaning, filling cracks, and leveling the concrete before installing any flooring materials. This preparation phase required specific tools like concrete grinders, crack fillers, and leveling compounds that I hadn’t budgeted for initially.
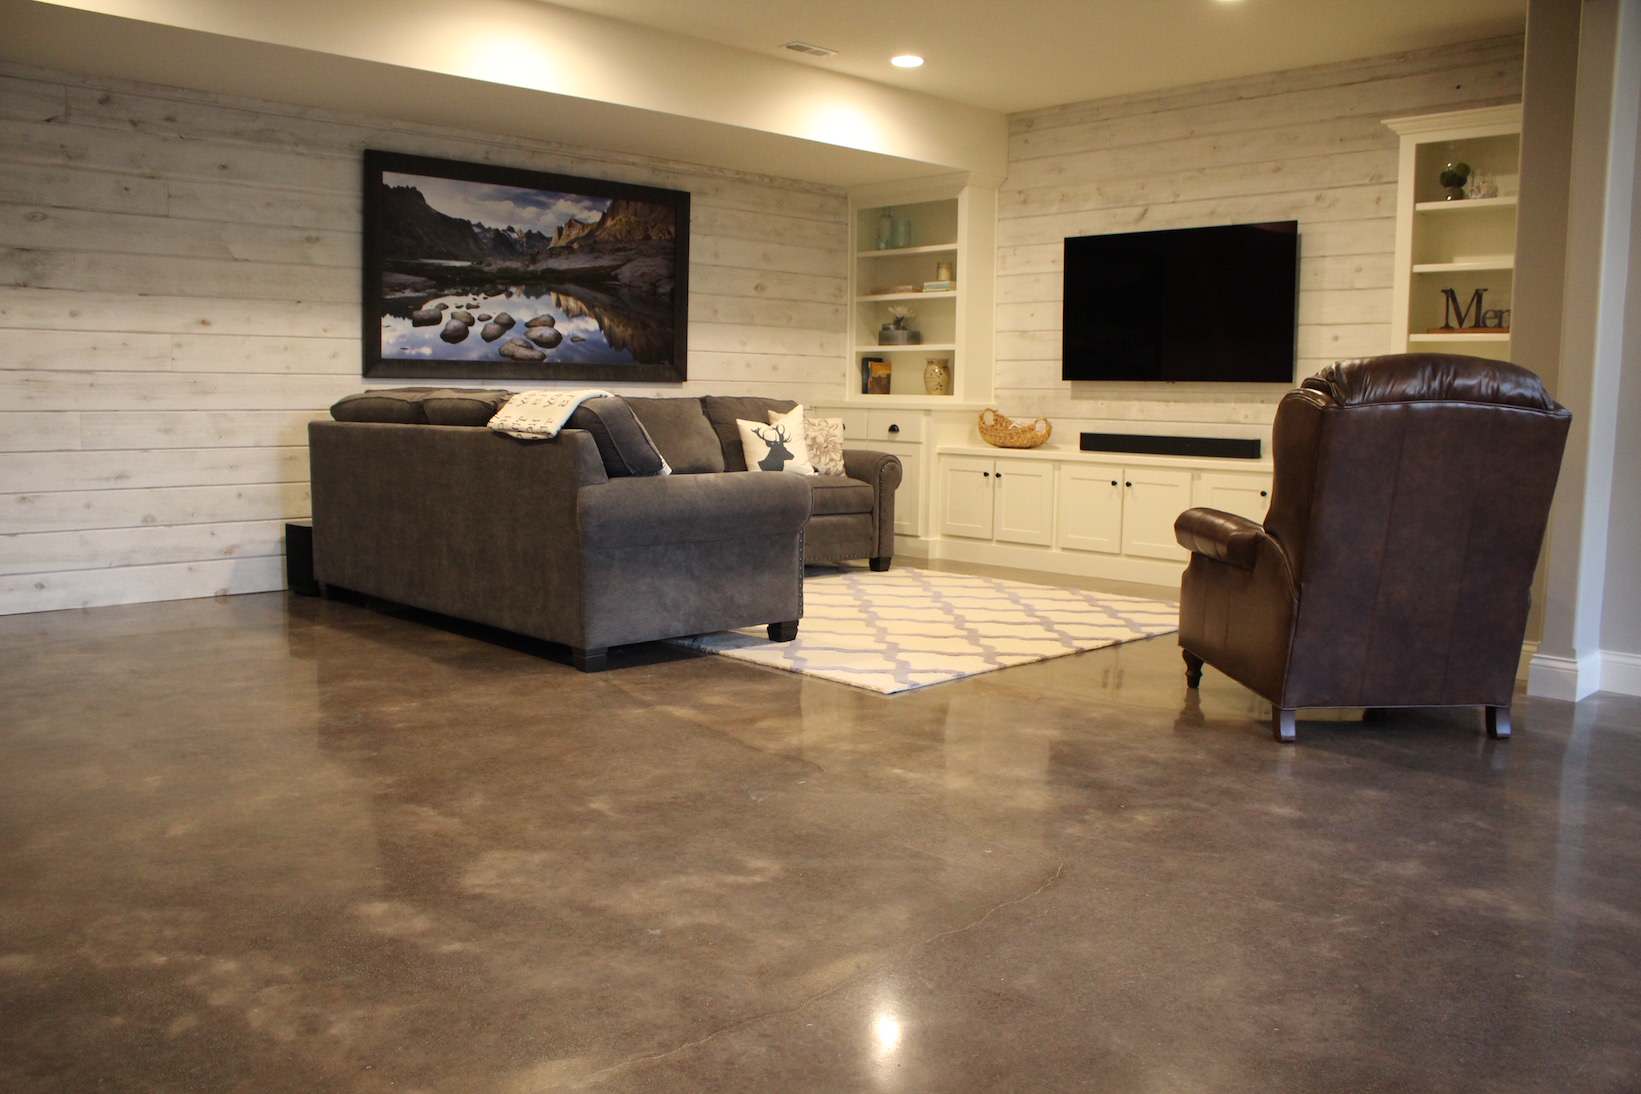
Subfloor systems changed everything about the comfort and performance of my basement floor. I installed a breathable subfloor system that created an air gap between the concrete and my finish flooring. This system dramatically improved insulation and moisture management while providing a more comfortable walking surface throughout the year.
Tool selection made the difference between professional-looking results and obvious DIY mistakes. I invested in quality spacers, levels, and cutting tools specific to my chosen materials. Renting specialized equipment for certain tasks, like concrete grinding, proved more cost-effective than purchasing tools I’d rarely use again.

Common Mistakes and Solutions
My biggest mistake was rushing the moisture testing phase during my first attempt. I assumed my basement was dry enough based on visual inspection alone. This led to flooring failure within six months and taught me the importance of thorough testing using proper moisture meters and extended observation periods.
Inadequate edge treatment created problems I didn’t anticipate until the project was nearly complete. The transition areas between different flooring materials and at walls required special attention and specific trim pieces. Poor planning in these areas made an otherwise successful project look unfinished and unprofessional.
Temperature considerations caught me off guard during installation. Working in cold conditions affected adhesive performance and material flexibility. I learned to schedule installation during moderate weather periods and use space heaters when necessary to maintain optimal working conditions for both materials and adhesives.
Long-Term Maintenance and Care
Regular maintenance routines keep my basement floor looking great years after installation. I vacuum weekly and damp mop monthly using pH-neutral cleaners that won’t damage the materials or protective coatings. Seasonal deep cleaning helps maintain the appearance and extends the life of the flooring investment.
Monitoring moisture levels remains an ongoing responsibility even after successful installation. I check humidity levels monthly and adjust dehumidifier settings seasonally. This proactive approach prevents problems before they start and protects the substantial investment I made in transforming the space.
Annual inspections help catch small issues before they become major problems. I examine seams, check for loose tiles or planks, and assess the condition of transition strips and trim pieces. Early detection and prompt repairs maintain both appearance and performance over the long term.
What’s the most important factor when choosing basement flooring materials?
Moisture resistance should be your top priority when selecting basement flooring materials. Even basements that appear dry can experience seasonal moisture fluctuations that damage organic materials like traditional hardwood or carpet. I learned this lesson the hard way when my first carpet installation developed mold within months. Choose materials specifically rated for below-grade applications, such as luxury vinyl, ceramic tile, or specially treated engineered products designed for basement environments.
How long should I wait after applying concrete sealer before installing flooring?
Most concrete sealers require at least 24 to 48 hours of curing time before you can install flooring materials on top. However, I recommend waiting longer, especially in humid conditions or when using water-based sealers. I typically wait a full week after sealing before beginning flooring installation. This extended waiting period ensures complete curing and prevents adhesive failures or material damage. Check your specific sealer’s manufacturer recommendations and test a small area first to confirm proper curing.
Is professional installation worth the extra cost for basement flooring projects?
Professional installation can be worthwhile, especially for complex projects involving multiple materials or extensive concrete preparation. I handled my installation to save money, but I spent considerable time learning proper techniques and purchasing specialized tools. If your basement has significant moisture issues, uneven surfaces, or if you’re uncomfortable with concrete preparation, professional installation often proves more cost-effective than fixing DIY mistakes later. Consider getting quotes for comparison.
What’s the best way to handle transitions between different flooring materials?
Transition strips are essential for creating clean, professional-looking boundaries between different flooring materials. I use flexible transition strips in areas where materials might expand and contract at different rates. T-moldings work well between materials of similar thickness, while reducer strips handle height differences. Plan transitions carefully during the design phase, and purchase transition materials from the same manufacturer as your flooring when possible to ensure proper fit and color matching.

How can I improve insulation and warmth in my basement floor without major reconstruction?
Subfloor systems provide excellent insulation improvement without requiring major structural changes. I installed a breathable subfloor system that creates an air gap between the concrete and finish flooring, dramatically improving both insulation and comfort. These systems also help with moisture management. Area rugs add additional warmth and comfort in specific zones. For more significant improvements, consider radiant heating systems designed for retrofit installation over existing concrete floors.
What maintenance schedule should I follow to keep my basement floor in good condition?
I follow a simple but consistent maintenance routine that keeps my basement floor looking great. Weekly vacuuming removes dirt and debris that can scratch surfaces. Monthly damp mopping with pH-neutral cleaners maintains appearance without damaging materials or protective coatings. Seasonally, I perform deep cleaning and inspect for any damage or wear. Annual professional cleaning or refinishing may be necessary depending on your specific flooring materials and usage patterns.
Basement Floor Coating – Extreme Concrete Coating

Concrete Floor Basement Ideas
Polished Concrete Basement
Budget Basement Flooring Ideas: Foam, Rubber & Carpet Tiles
Related Posts: