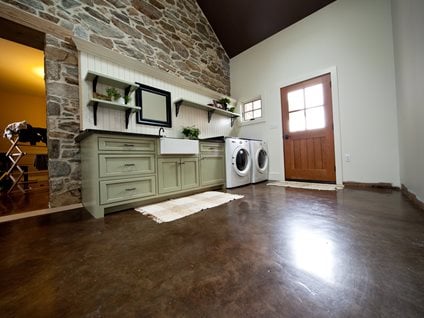
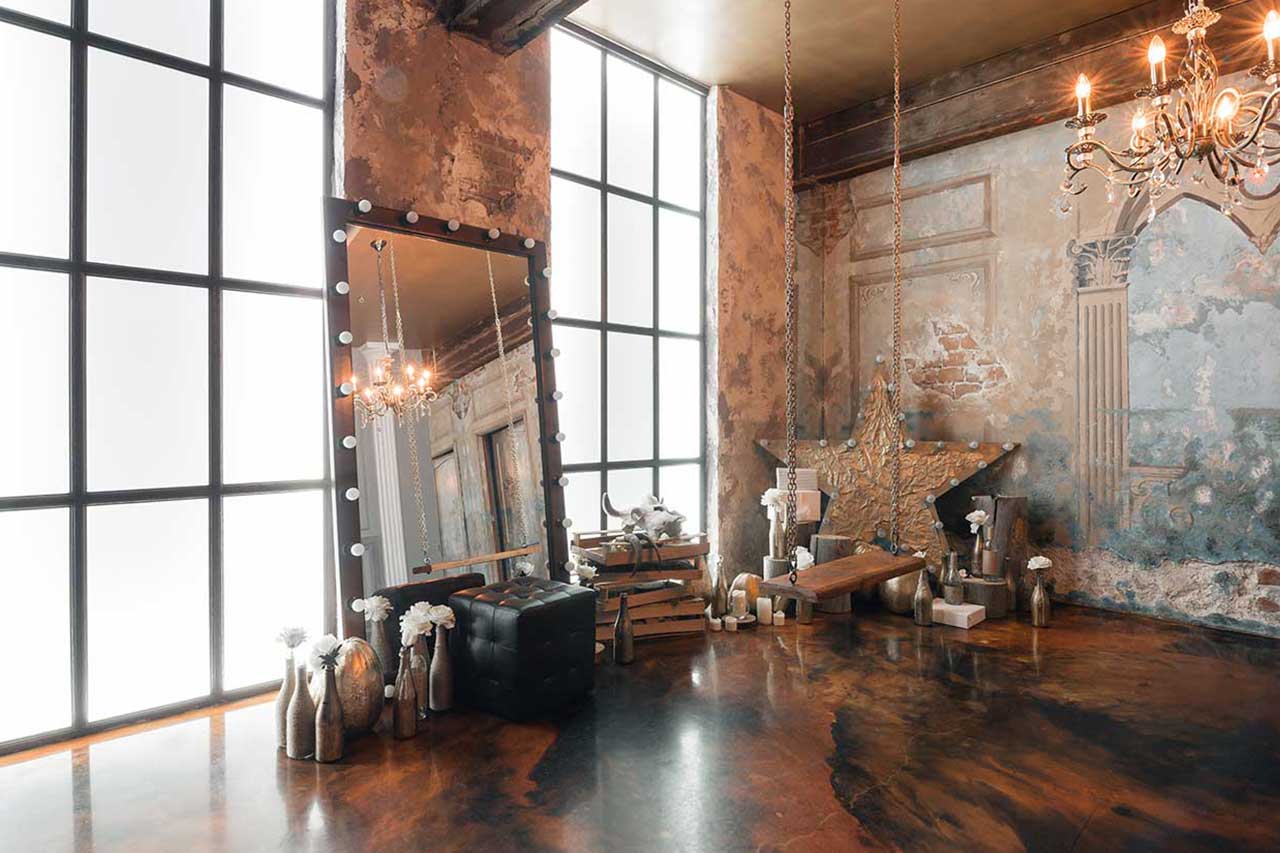
When I bought my loft apartment two years ago, the polished concrete floors looked cold and unfinished to most visitors. Everyone suggested covering them with carpet or hardwood, but something about the raw industrial aesthetic spoke to me. After researching stained concrete options, I realized these floors could become the centerpiece of my interior design rather than something to hide. The transformation process taught me that concrete isn’t just a utilitarian surface; it’s a canvas for creating unique, durable, and surprisingly beautiful flooring that perfectly matches modern living spaces.
Understanding Concrete Staining Basics
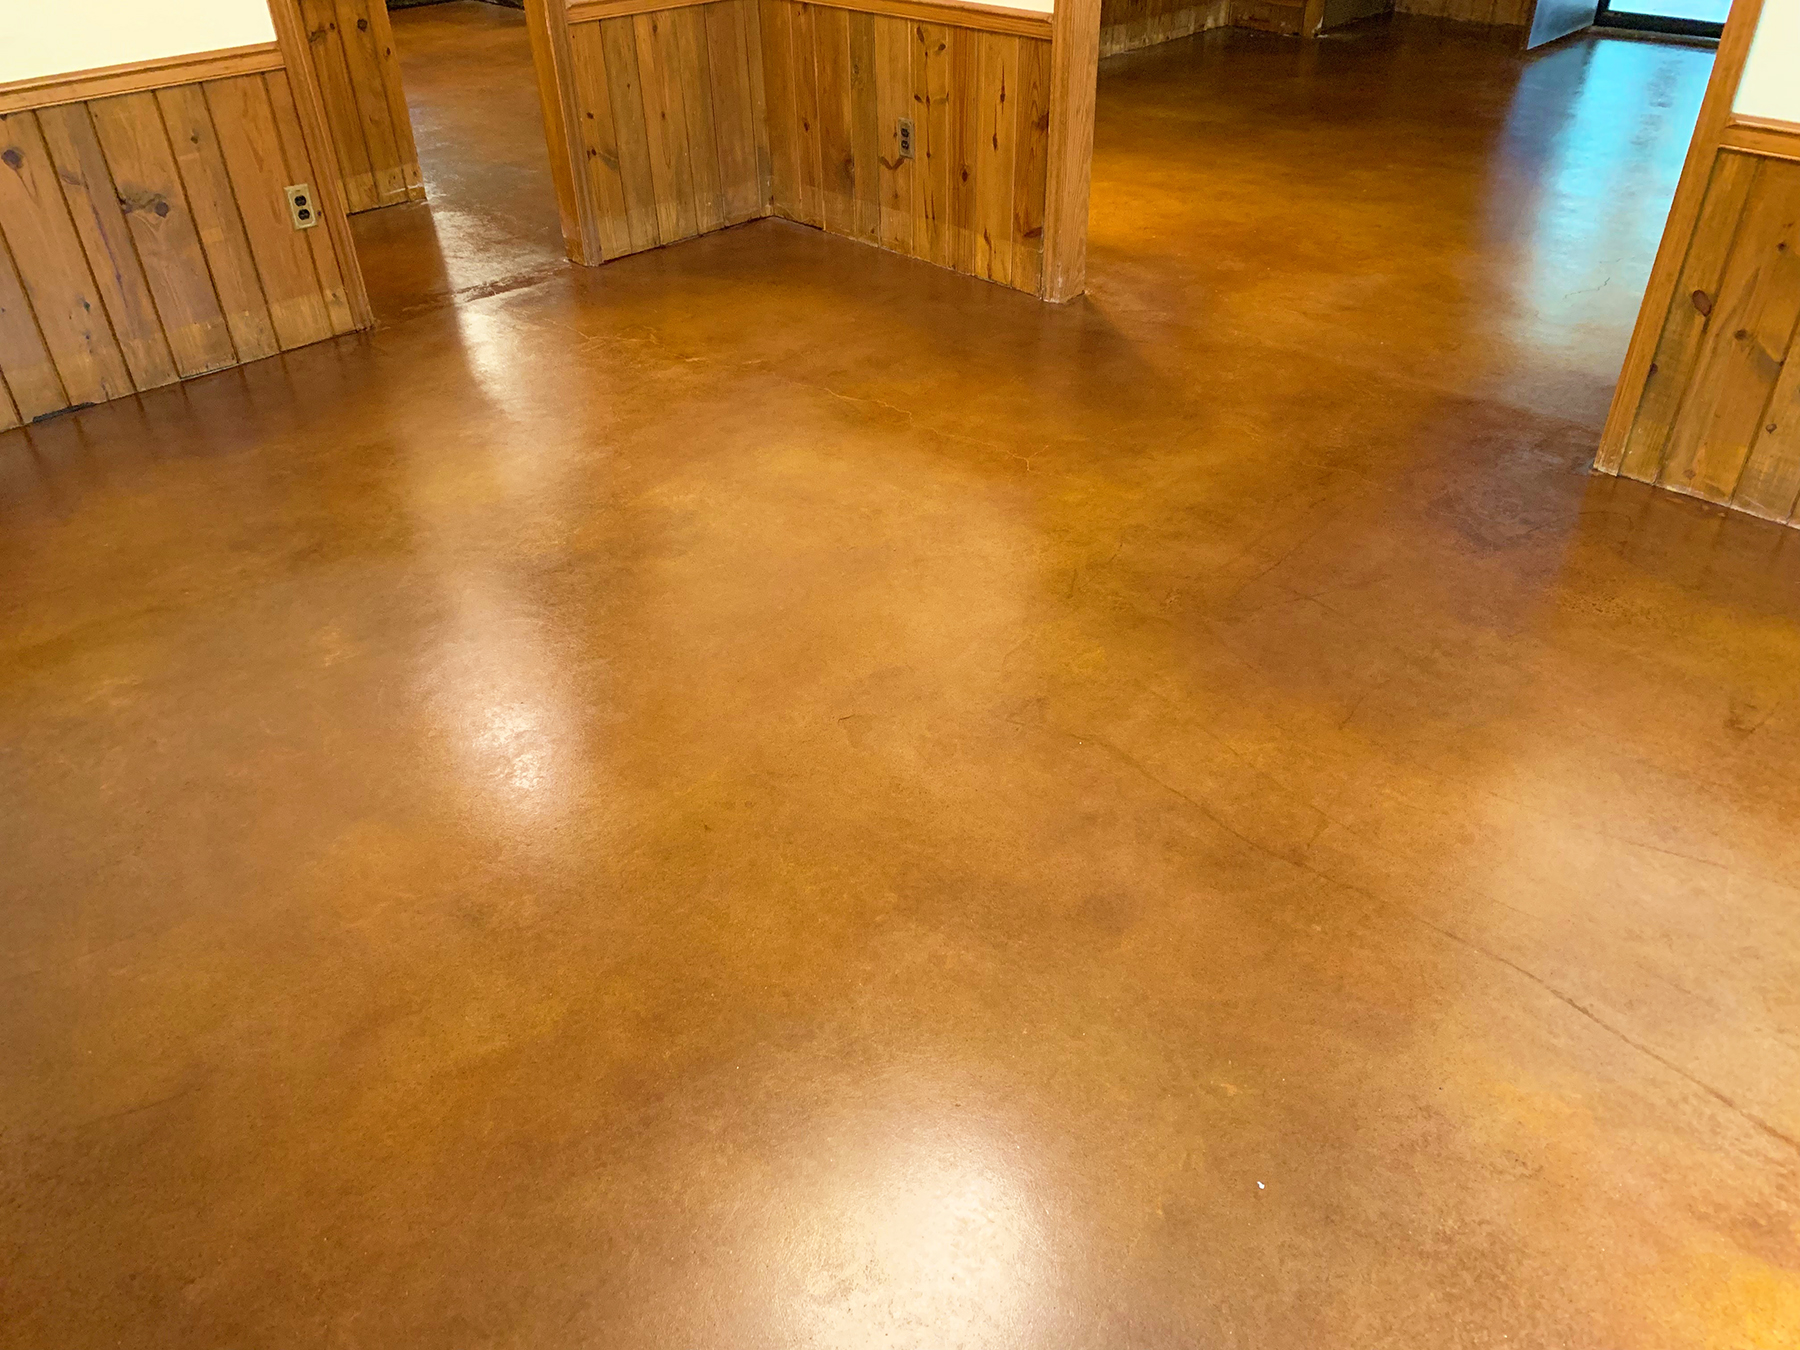
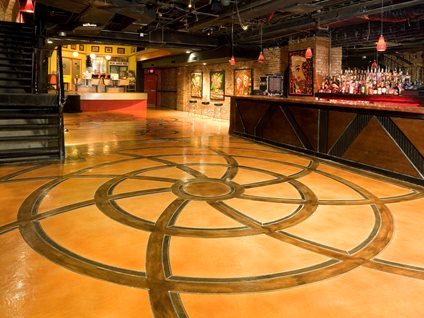
My first education came from learning the difference between acid-based and water-based stains, which produce completely different visual effects. Acid stains create variegated, mottled appearances that look organic and unpredictable, while water-based stains offer more uniform color coverage with greater control over the final result. I chose acid stains for my living areas because I wanted that natural, aged look.
The chemical reaction process fascinated me as I watched acid stains interact with minerals in my concrete floor. Each section responded differently based on the concrete’s age, composition, and previous treatments, creating unique patterns I couldn’t have planned or replicated. This unpredictability initially worried me, but I learned to embrace the organic variation as part of the aesthetic appeal.
Testing different stain colors on hidden areas became my obsession before committing to the main floor areas. I discovered that concrete color significantly affects final results, with gray concrete producing different tones than white concrete when treated with identical stains. My apartment’s existing concrete had slight color variations that created beautiful depth once stained properly.
Surface Preparation and Cleaning
Preparing my concrete floors properly required far more effort than I initially anticipated, but this step determined the quality of my final results. I spent days grinding down old adhesive residue, filling small cracks, and creating the slightly porous surface that stains need to penetrate effectively. Skipping preparation steps would have resulted in blotchy, uneven color coverage.
Degreasing became a critical step when I discovered oil stains from previous tenants that weren’t visible to the naked eye. These invisible barriers prevented stain penetration and created light spots in my finished floor. I used specialized concrete degreasers and scrubbed extensively to ensure complete contamination removal before applying any staining products.
The final cleaning phase involved neutralizing any acidic residues from the preparation process and ensuring the concrete was completely dry. I learned that moisture trapped in concrete can prevent proper stain absorption and create permanent light patches. Waiting for proper drying conditions delayed my project but ensured professional-quality results throughout the space.
Color Selection and Design Planning
Choosing stain colors proved more complex than selecting paint because concrete stains are translucent and interact with existing concrete tones. I created sample boards using concrete pieces from my building’s construction to test how different stains would look on my specific floor composition. These samples revealed surprising color variations that photos couldn’t capture accurately.
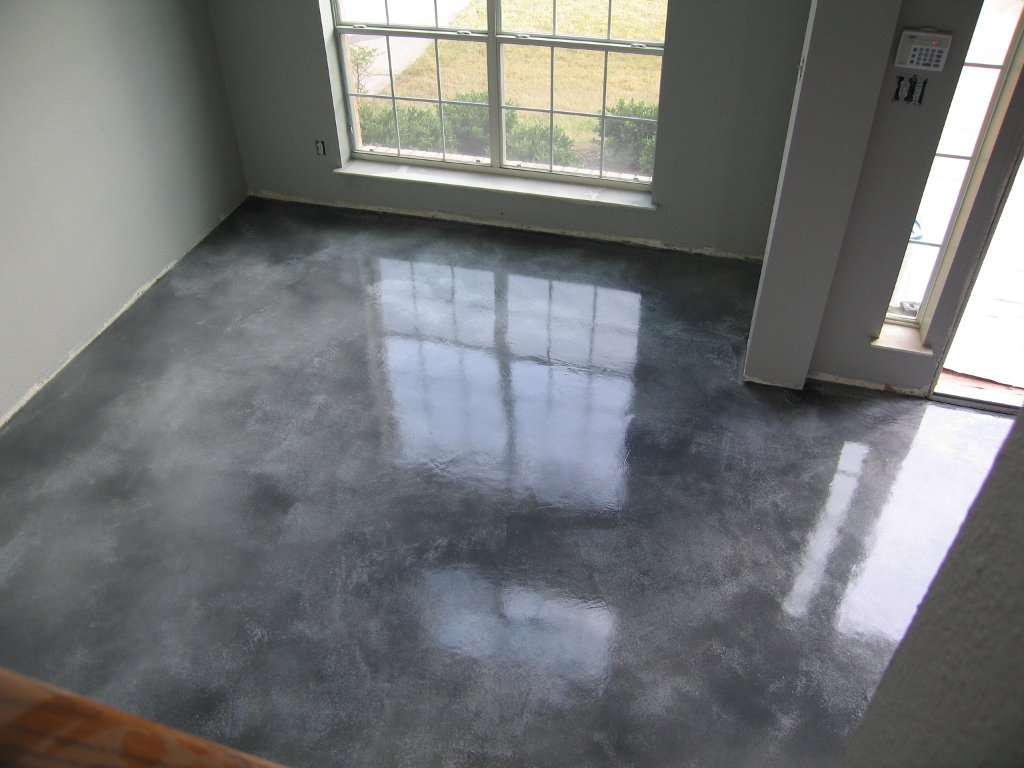
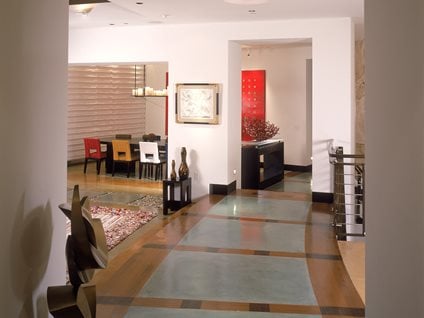
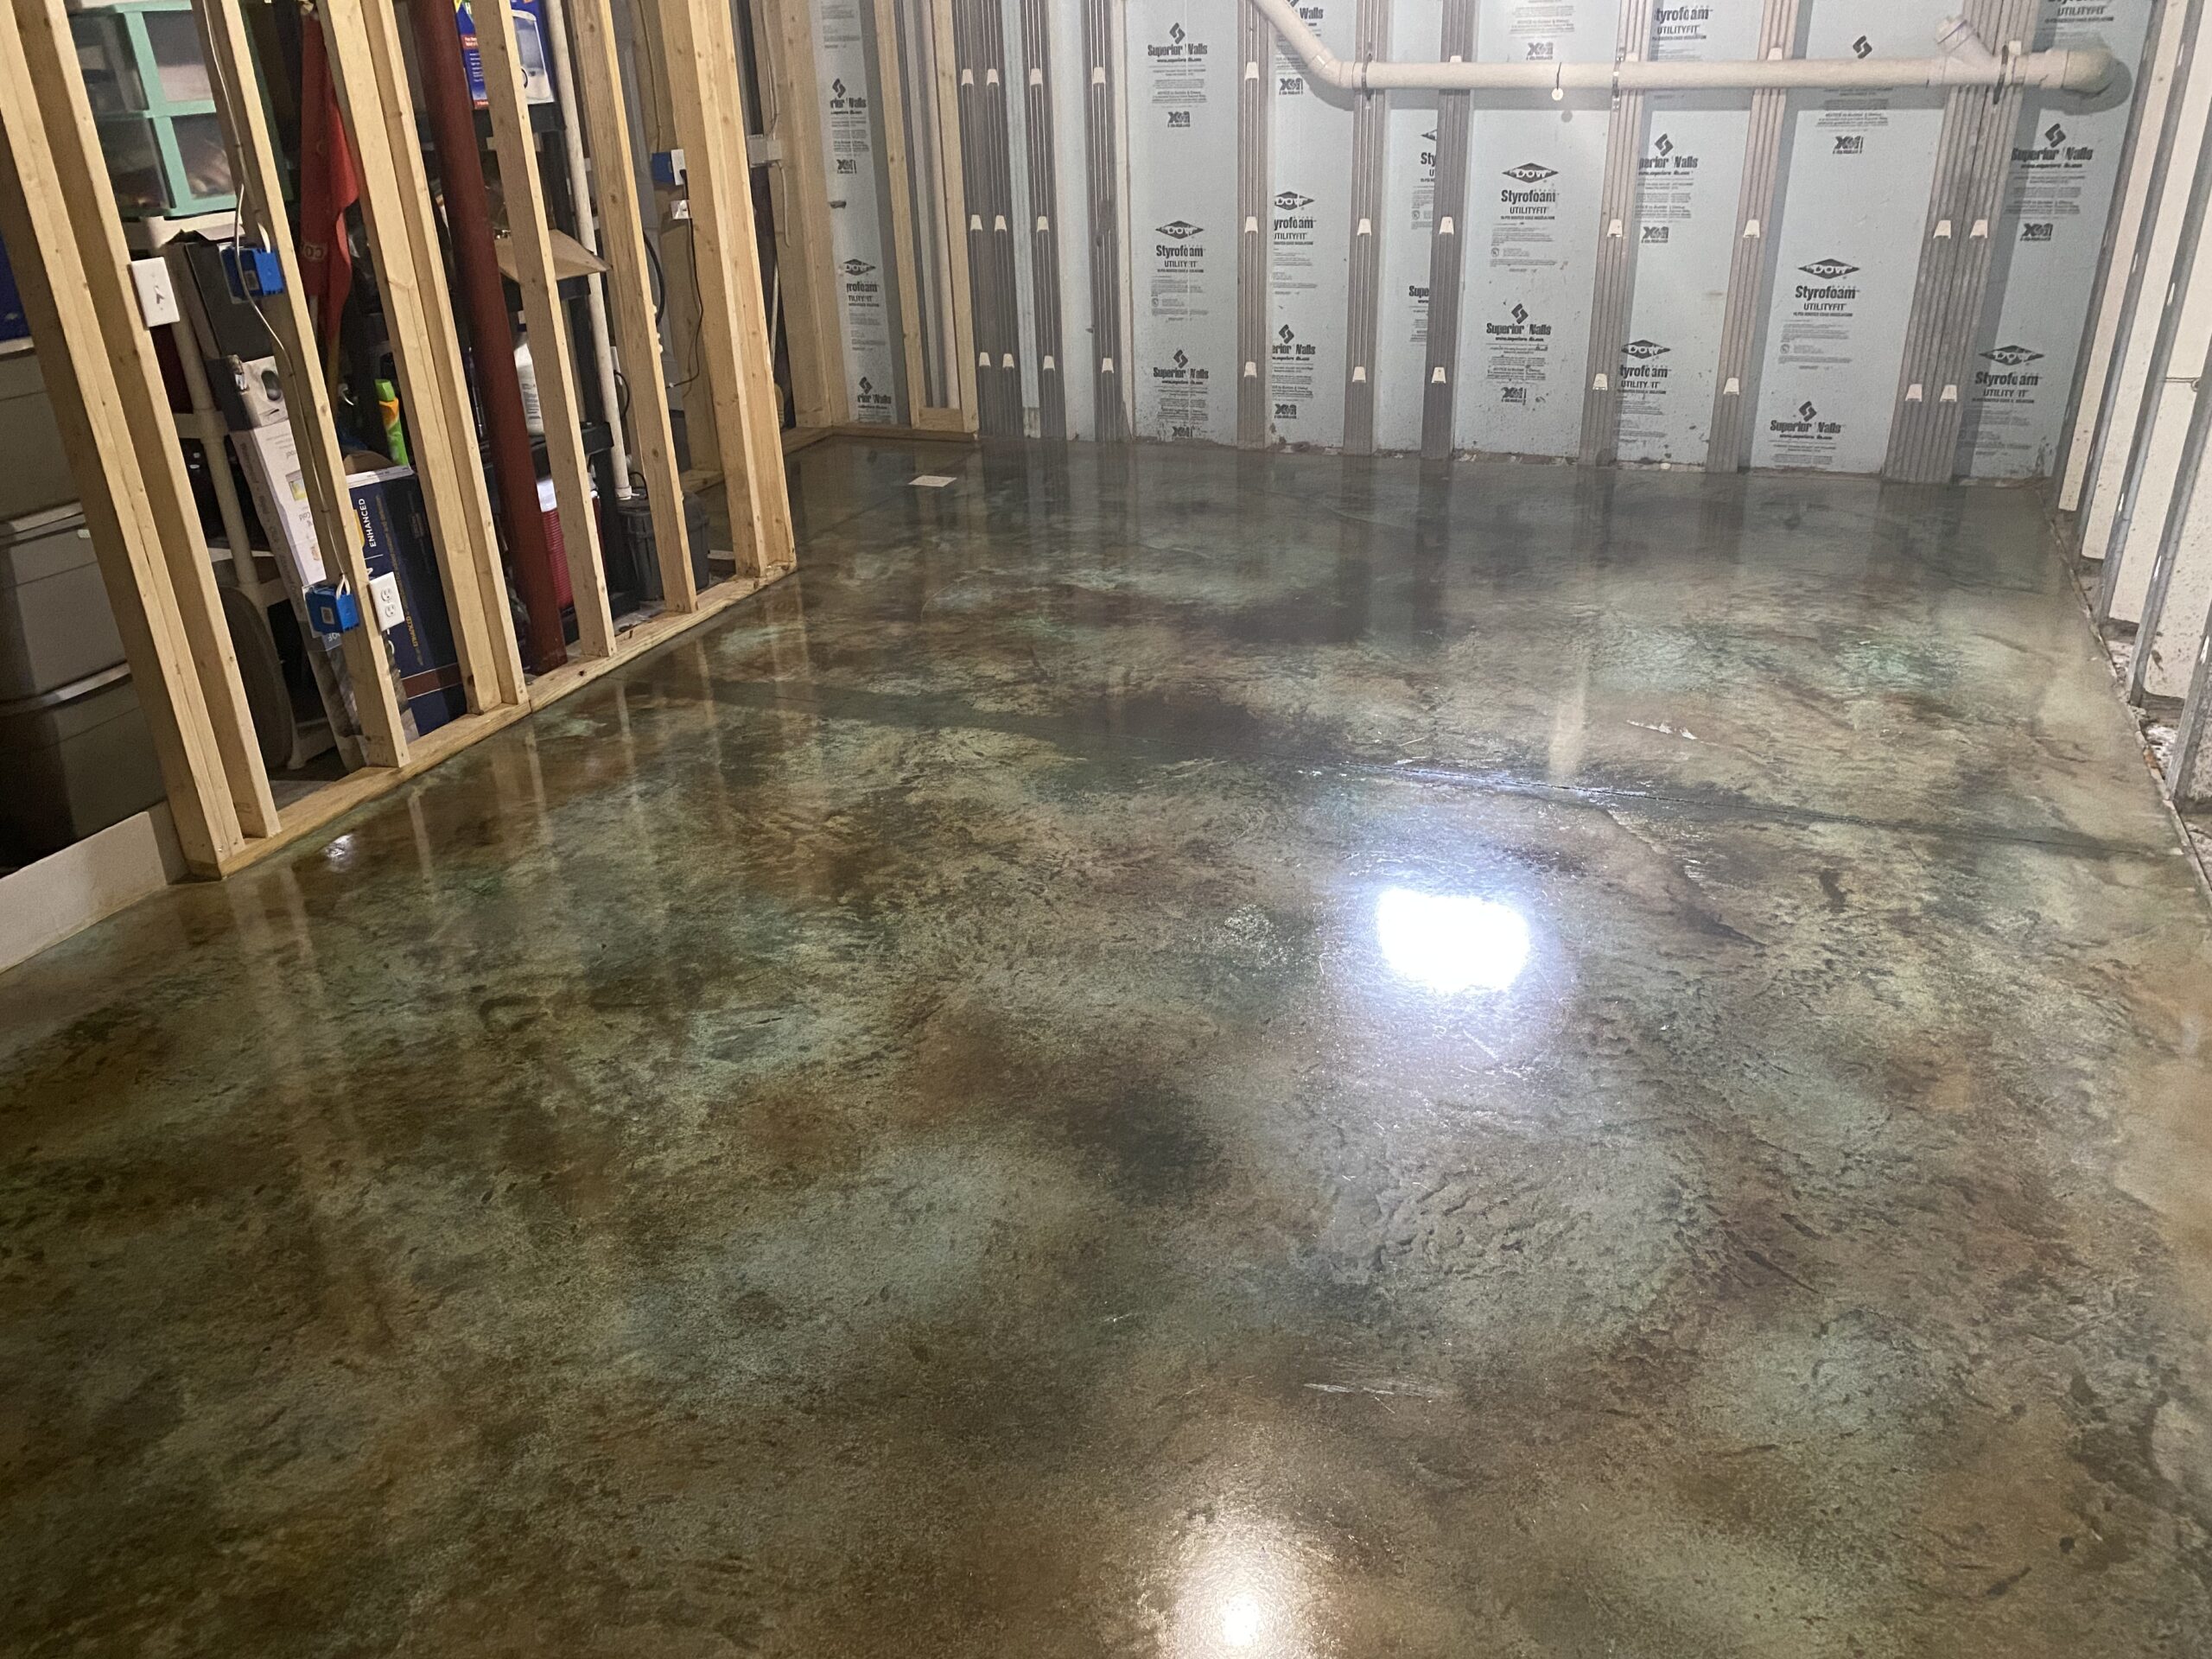
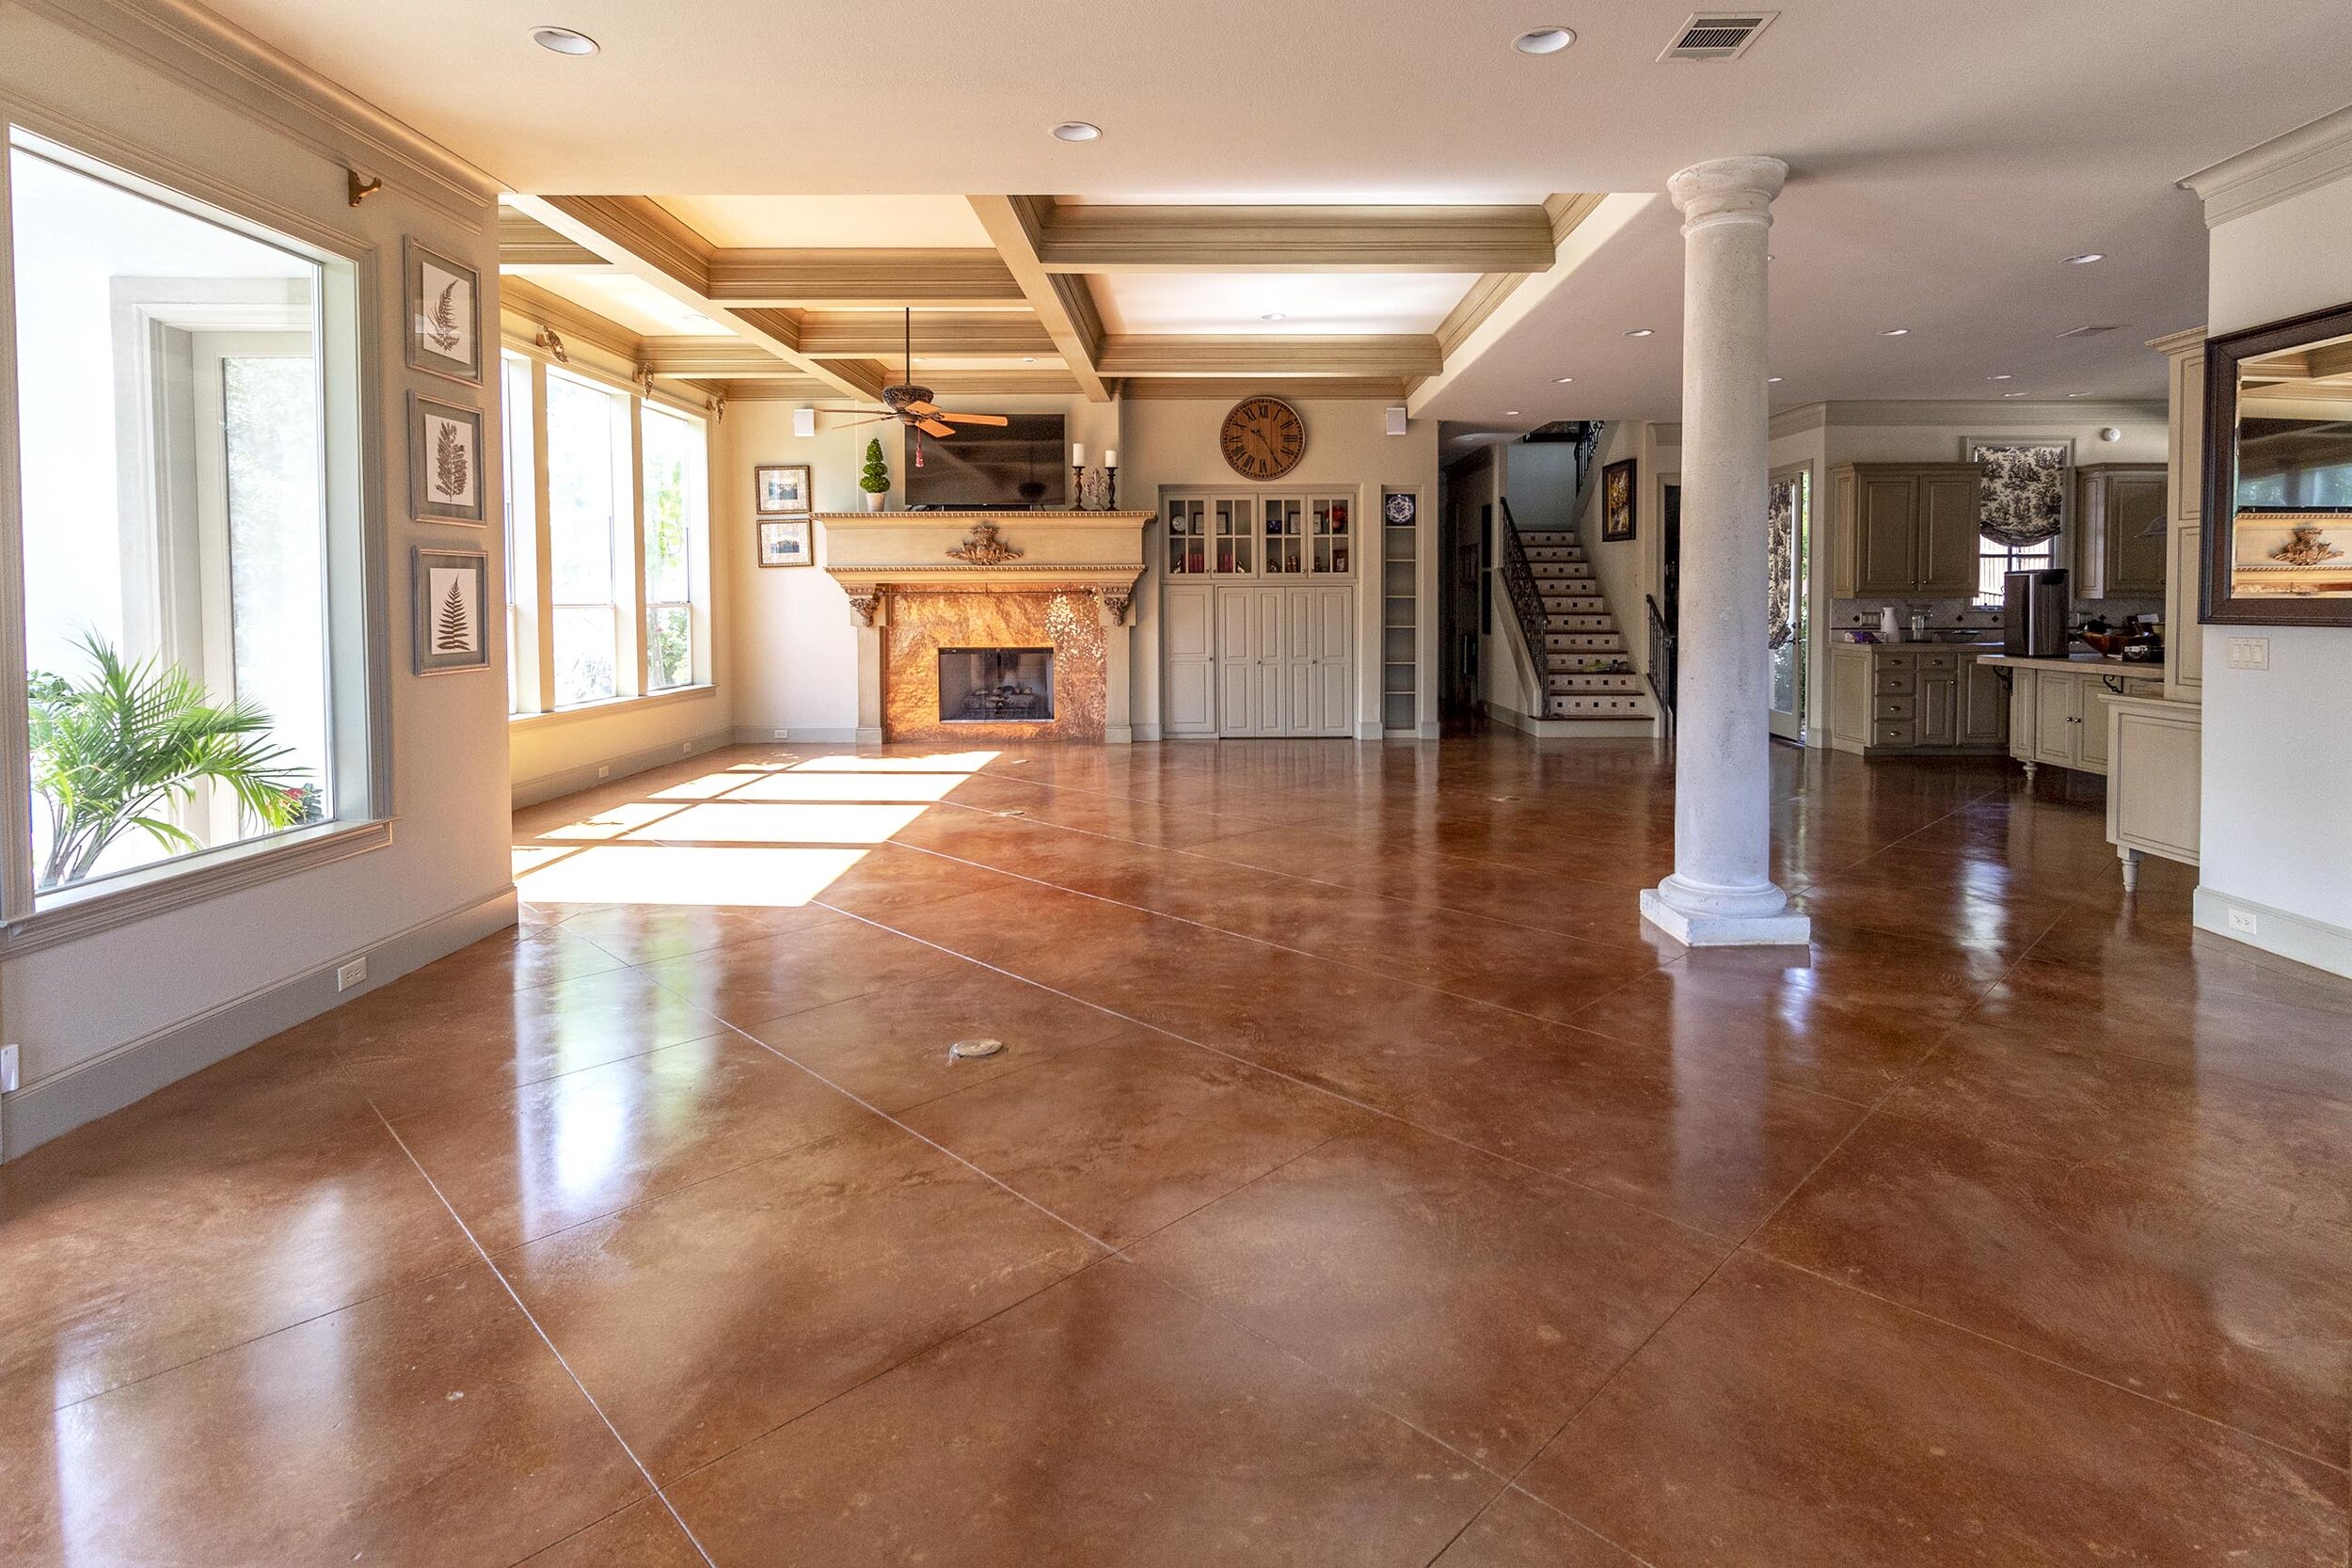
My design plan incorporated multiple stain colors to create subtle zoning between living areas without using physical barriers or different flooring materials. I used warmer earth tones in gathering spaces and cooler grays in transitional areas, creating flow while maintaining visual interest. This approach required careful planning and precise application techniques.
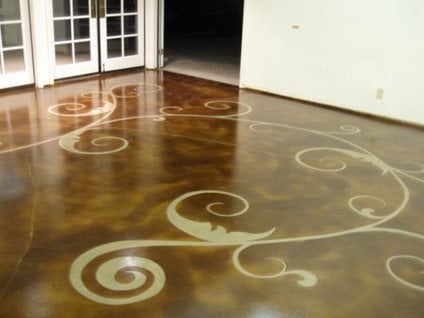
The aging and patina effects I wanted influenced both color selection and application methods throughout my space. I learned that layering different stain concentrations creates depth and character that single applications can’t achieve. Some areas received multiple light coats while others got single heavy applications, resulting in beautiful variation that mimics naturally aged concrete surfaces.
Application Techniques and Tools
Spray application gave me the most even coverage for large areas, but I quickly learned that controlling overspray requires proper equipment and technique. I invested in a quality sprayer designed for concrete stains and spent considerable time practicing on test surfaces before tackling my main living areas. Proper spray patterns prevent streaking and ensure uniform coverage.
Sponge and rag techniques became my preferred methods for creating artistic effects and blending color transitions between different zones. These hand application methods allowed precise control over stain placement and intensity, perfect for creating the subtle variations I wanted. Working in small sections prevented stains from drying before I could achieve the desired effects.
The timing of stain application significantly impacts final results, as I learned through trial and error on less visible areas. Concrete temperature, humidity levels, and surface moisture all affect how stains penetrate and react. I scheduled major application sessions during optimal weather conditions and learned to adjust techniques based on environmental factors.
Sealing and Protection Methods
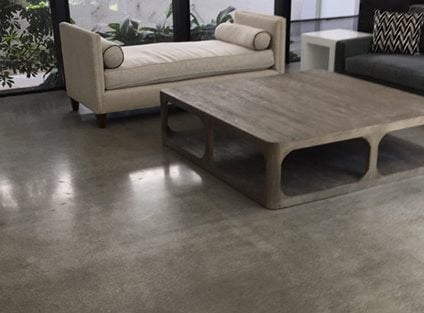
Choosing the right sealer proved as important as selecting stain colors for achieving my desired final appearance and performance. I compared penetrating sealers that maintain natural concrete texture with film-forming sealers that add gloss and enhanced protection. Each option created different aesthetics and required different long-term maintenance approaches.
My decision to use a penetrating sealer maintained the natural concrete feel underfoot while providing adequate stain and moisture protection for residential use. This sealer absorbed into the concrete rather than sitting on the surface, preserving the industrial aesthetic I wanted while making the floors practical for daily living. The application required multiple thin coats for proper coverage.
The curing process for sealed stained concrete taught me patience as I waited for full hardness and chemical resistance to develop. I avoided heavy furniture placement and intensive cleaning for the recommended curing period, even though the floors appeared ready sooner. This patience paid off with durable, long-lasting results that still look great years later.
Maintenance and Long-Term Care
Daily maintenance of my stained concrete floors requires only basic cleaning with pH-neutral products and regular dust mopping. I avoided acidic or alkaline cleaners that could damage the stain or sealer over time. Simple maintenance routines keep the floors looking pristine while preserving the investment I made in professional-quality staining and sealing.
Periodic resealing became part of my home maintenance schedule, typically needed every few years depending on traffic patterns and wear. I learned to recognize signs that resealing was needed, such as increased stain absorption or loss of water resistance. Timely resealing prevents stain damage and maintains the floors’ appearance and protection.
Addressing scratches and minor damage requires touch-up techniques I learned through experience with normal wear and tear. Small scratches from furniture often blend naturally with the stained concrete’s varied appearance, while deeper damage might need professional attention. Understanding these repair methods helps maintain the floors’ beauty over many years of use.

How long does the entire stained concrete process take from start to finish?
My stained concrete project took two weeks from initial preparation to final sealer curing, though active work time was only about five days. Surface preparation consumed the most time, requiring three days of grinding, cleaning, and drying between steps. Stain application took one day, followed by neutralization and cleaning. Sealer application and curing were required another week before normal use was possible. Weather conditions and concrete conditions can extend these timelines significantly.
What’s the cost difference between stained concrete and other flooring options?
Stained concrete cost me approximately $3 to $8 per square foot, including materials and equipment rental, making it very competitive with mid-range flooring options. Professional installation would have doubled these costs but ensured more consistent results. Compared to hardwood or high-end tile, stained concrete offers significant savings while delivering unique aesthetic appeal. Long-term maintenance costs are minimal compared to carpet replacement or hardwood refinishing requirements.
Can I apply stained concrete over existing floors or only bare concrete?
Stained concrete requires direct contact with bare concrete to achieve proper penetration and color development. I had to remove all existing floor coverings, adhesives, and surface treatments before staining could begin. Attempting to stain over existing materials results in poor adhesion and uneven color coverage. However, concrete overlays can be installed over other surfaces and then stained, though this adds cost and complexity to the project.
How do stained concrete floors perform in high-traffic areas?
My stained concrete floors have held up exceptionally well in high-traffic areas over two years of use. The stain penetrates the concrete rather than sitting on the surface, making it incredibly durable against normal wear. Proper sealing protects against stains and moisture while maintaining slip resistance. Heavy furniture and sharp objects can cause scratches, but these often blend with the natural concrete variation and aren’t as noticeable as damage on other flooring types.

What maintenance products should I use on stained concrete floors?
I use only pH-neutral cleaners specifically designed for concrete floors to avoid damaging the stain or sealer. Regular dust mopping and occasional damp mopping with neutral cleaners keep my floors looking great. I avoid vinegar, citrus-based cleaners, or harsh chemicals that could etch the concrete or strip the sealer. Periodic deep cleaning with concrete-specific products maintains appearance while preserving the protective sealer coating for maximum longevity.
Are there any limitations or disadvantages to stained concrete floors?
Stained concrete floors are quite hard and can be tiring for extended standing, though area rugs help with comfort. The floors feel cold in the winter months, making radiant heating systems popular additions. Sound transmission can be an issue in multi-story buildings without proper insulation. Additionally, the staining process is permanent and difficult to change, so color selection requires careful consideration. Despite these limitations, I find the benefits far outweigh any disadvantages.

Acid Stained Concrete Floors – Stained Concrete Outdoors or Indoors
Polished Concrete Floor Cost – How Much to Grind Concrete
Stained Concrete Atlanta – Concrete Staining
Cost to Stain Concrete – How Much to Stain Floors?
Styles of Stained Concrete Floors
Concrete Flooring – Staining, Pros & Cons

Related Posts: