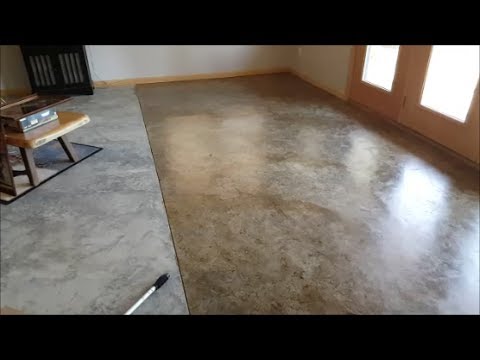
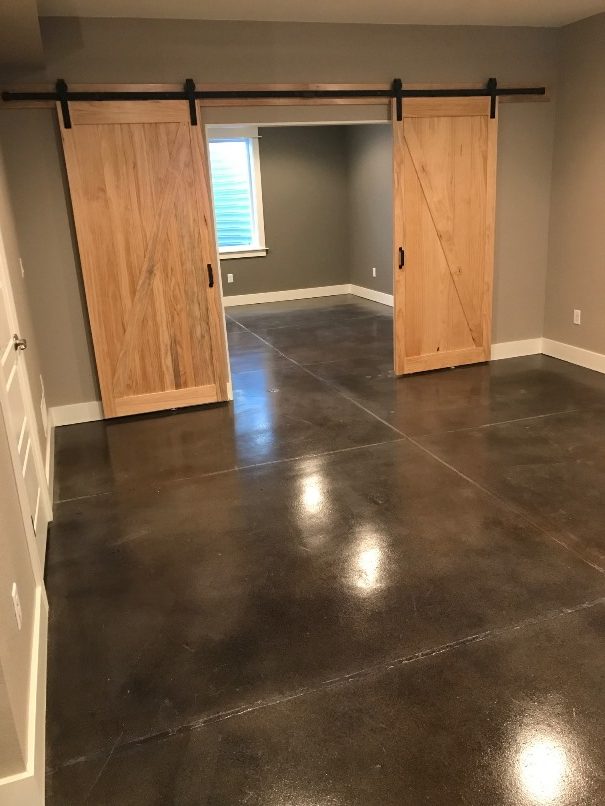
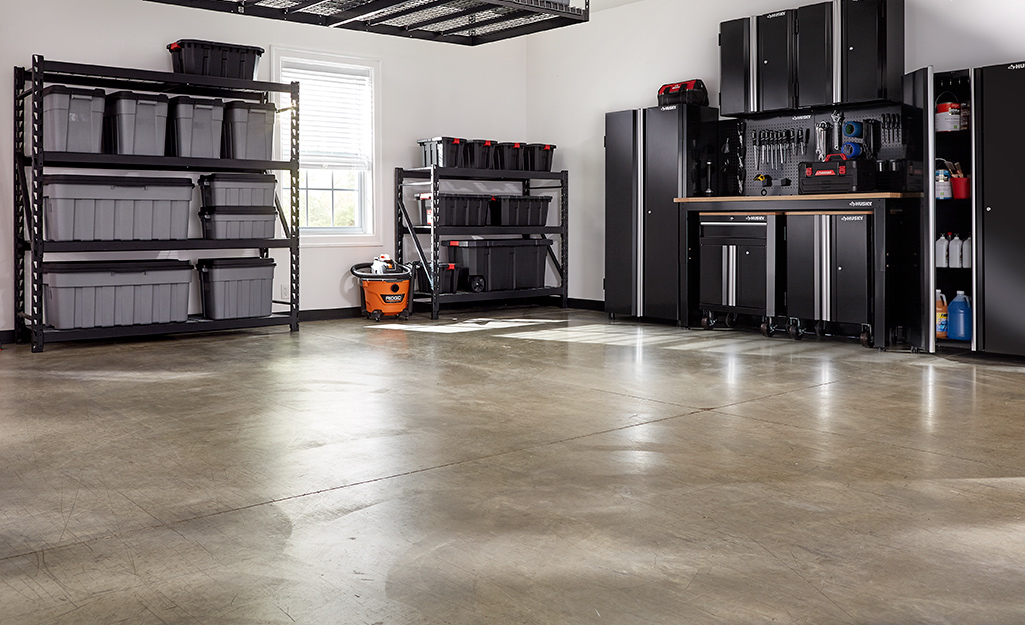
When I first moved into my house, the basement was nothing more than a concrete wasteland, cold, gray, and completely uninviting. I’d always dreamed of turning it into a cozy family room, but that dull concrete floor made the space feel more like an unfinished storage area than part of my home. After months of research and planning, I decided to tackle concrete staining myself. Three years later, my basement has become the most popular gathering spot in the house, and it all started with transforming that boring concrete into a warm, rich surface that looks like expensive stone. Let me share what I learned along the way.
Understanding the Basics of Concrete Staining
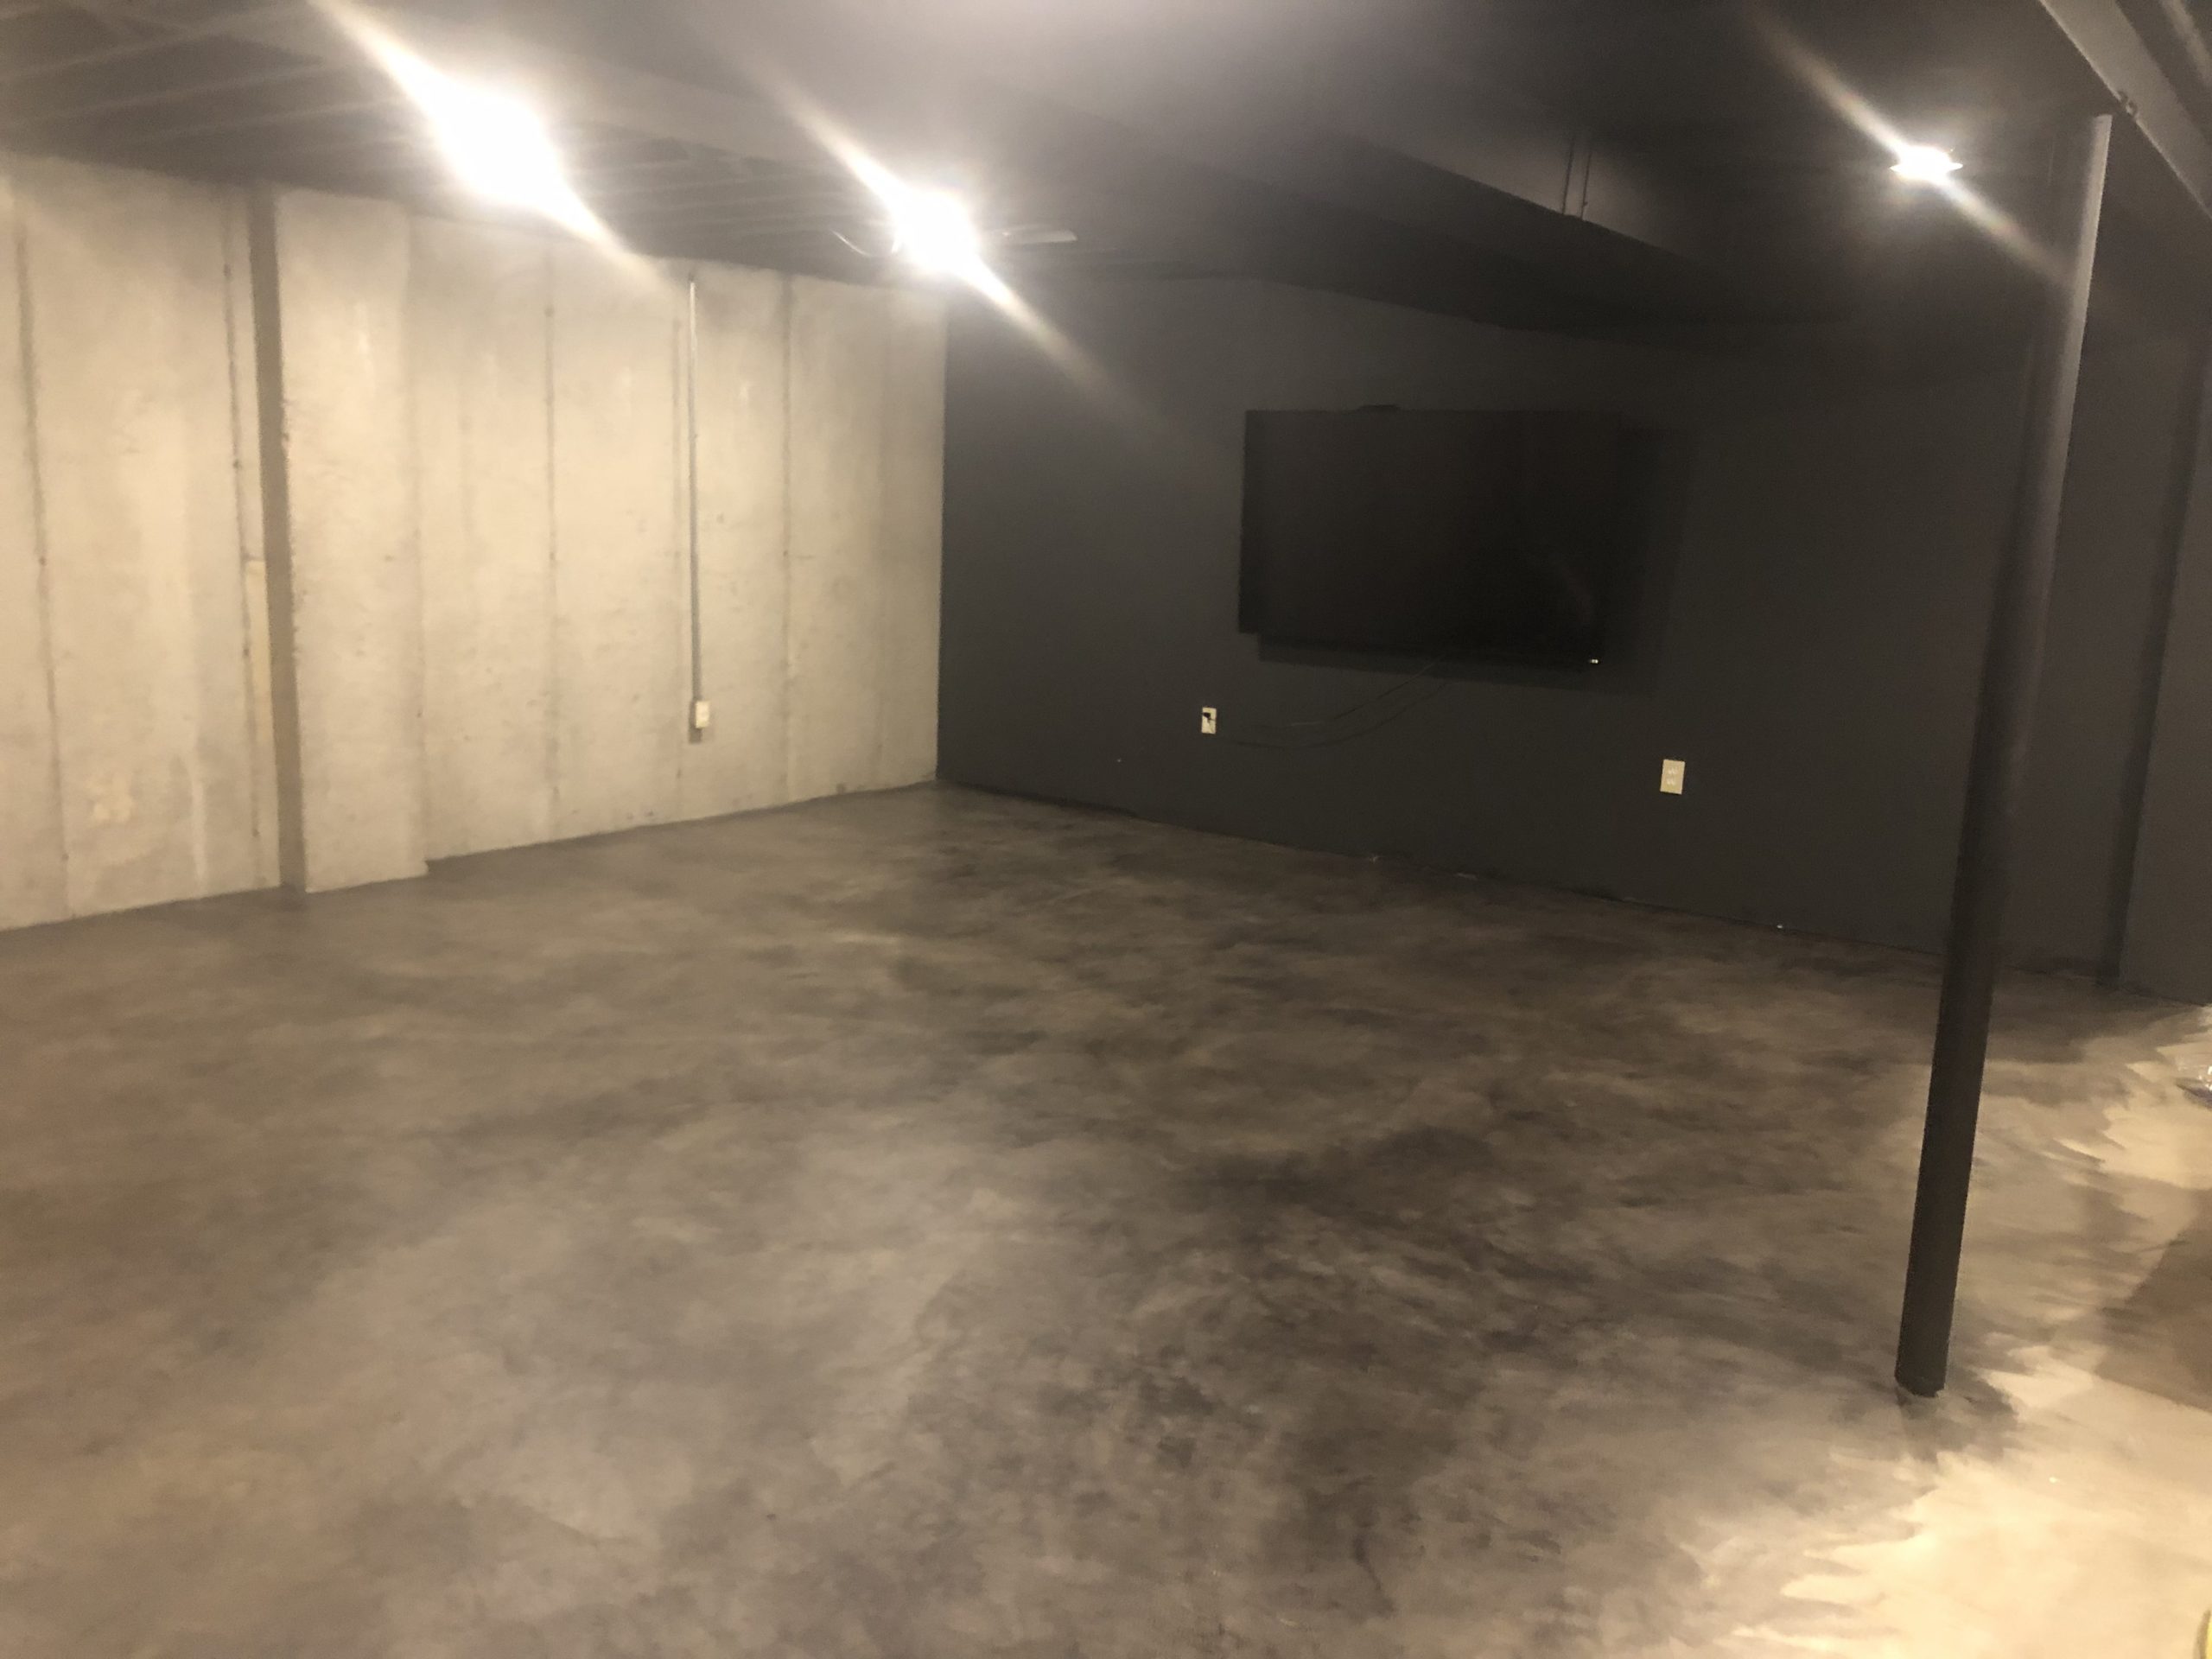
My journey into concrete staining began with understanding the fundamental difference between acid-based and water-based stains. Acid stains create chemical reactions with the minerals in concrete, producing variegated, mottled effects that look incredibly natural. I chose acid staining because I wanted that organic, stone-like appearance that would complement my rustic basement design. The unpredictability of acid stains initially worried me, but I’ve come to love how each section developed its own unique character and depth.
Water-based stains, which I considered briefly, offer more predictable color results and easier cleanup. They penetrate the concrete surface and provide more uniform coverage, which might appeal to homeowners wanting consistent coloring. However, they don’t create the same chemical bond or produce the rich, translucent effects that acid stains achieve. After seeing examples of both types, the natural variation and depth of acid-stained floors won me over completely.
The preparation phase taught me that concrete staining isn’t just about applying color to existing floors. The concrete must be properly prepared, clean, and porous enough to accept the stain. I learned that sealed concrete won’t take stain at all, which meant grinding off the existing sealer in several areas of my basement. This preparation work took longer than the actual staining process, but it was absolutely crucial for achieving the beautiful, lasting results I enjoy today.
Surface Preparation and Cleaning Techniques
Proper surface preparation turned out to be the most labor-intensive part of my staining project, but also the most critical for success. I started with a thorough degreasing using a concrete cleaner specifically designed to remove oil, grease, and other contaminants. My basement had some old paint splatters and adhesive residue from previous flooring attempts, which required mechanical removal with scrapers and grinders. Every square inch had to be completely clean for the stain to penetrate evenly.
The concrete profiling process was more involved than I expected. I rented a concrete grinder to remove the surface layer and create the slightly rough texture that the stain needs to penetrate properly. Areas that couldn’t be ground were treated with muriatic acid to etch the surface, followed by thorough neutralization and cleaning. I learned to test the porosity by sprinkling water drops across the floor; the water should soak in quickly rather than beading on the surface.
Dealing with existing cracks and minor damage required careful attention before staining. I filled hairline cracks with concrete crack filler and allowed them to cure completely. Larger imperfections were repaired with concrete patching compound, then ground smooth to match the surrounding surface texture. I discovered that these repaired areas often stain slightly differently than the original concrete, creating interesting natural variation that actually enhanced the final appearance rather than detracting from it.
Choosing Colors and Design Patterns
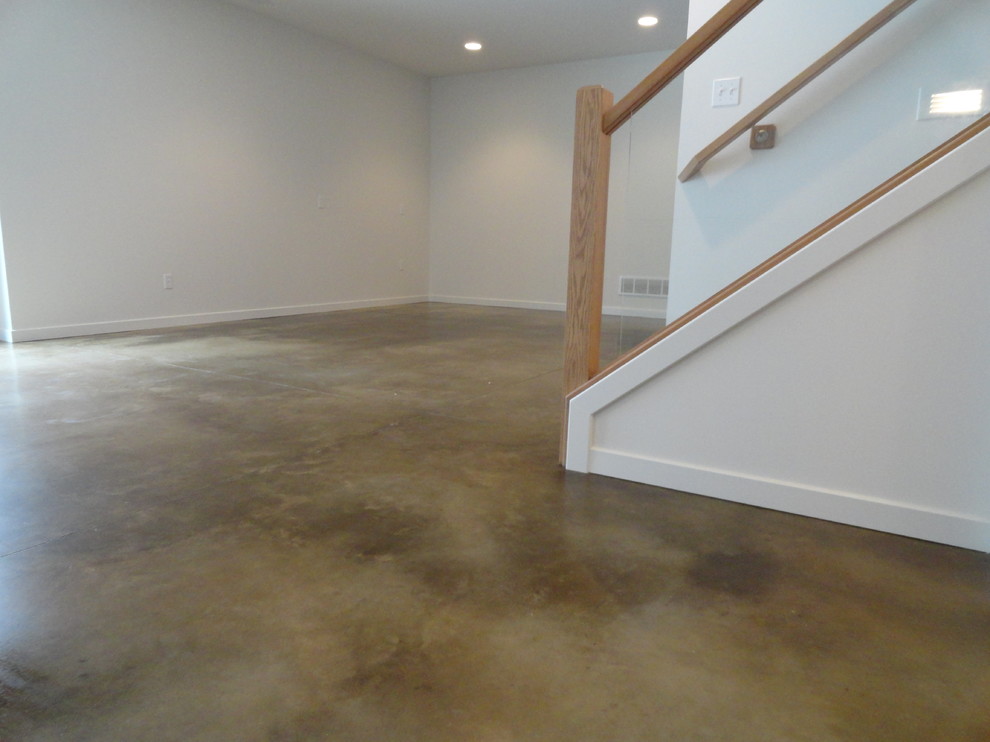
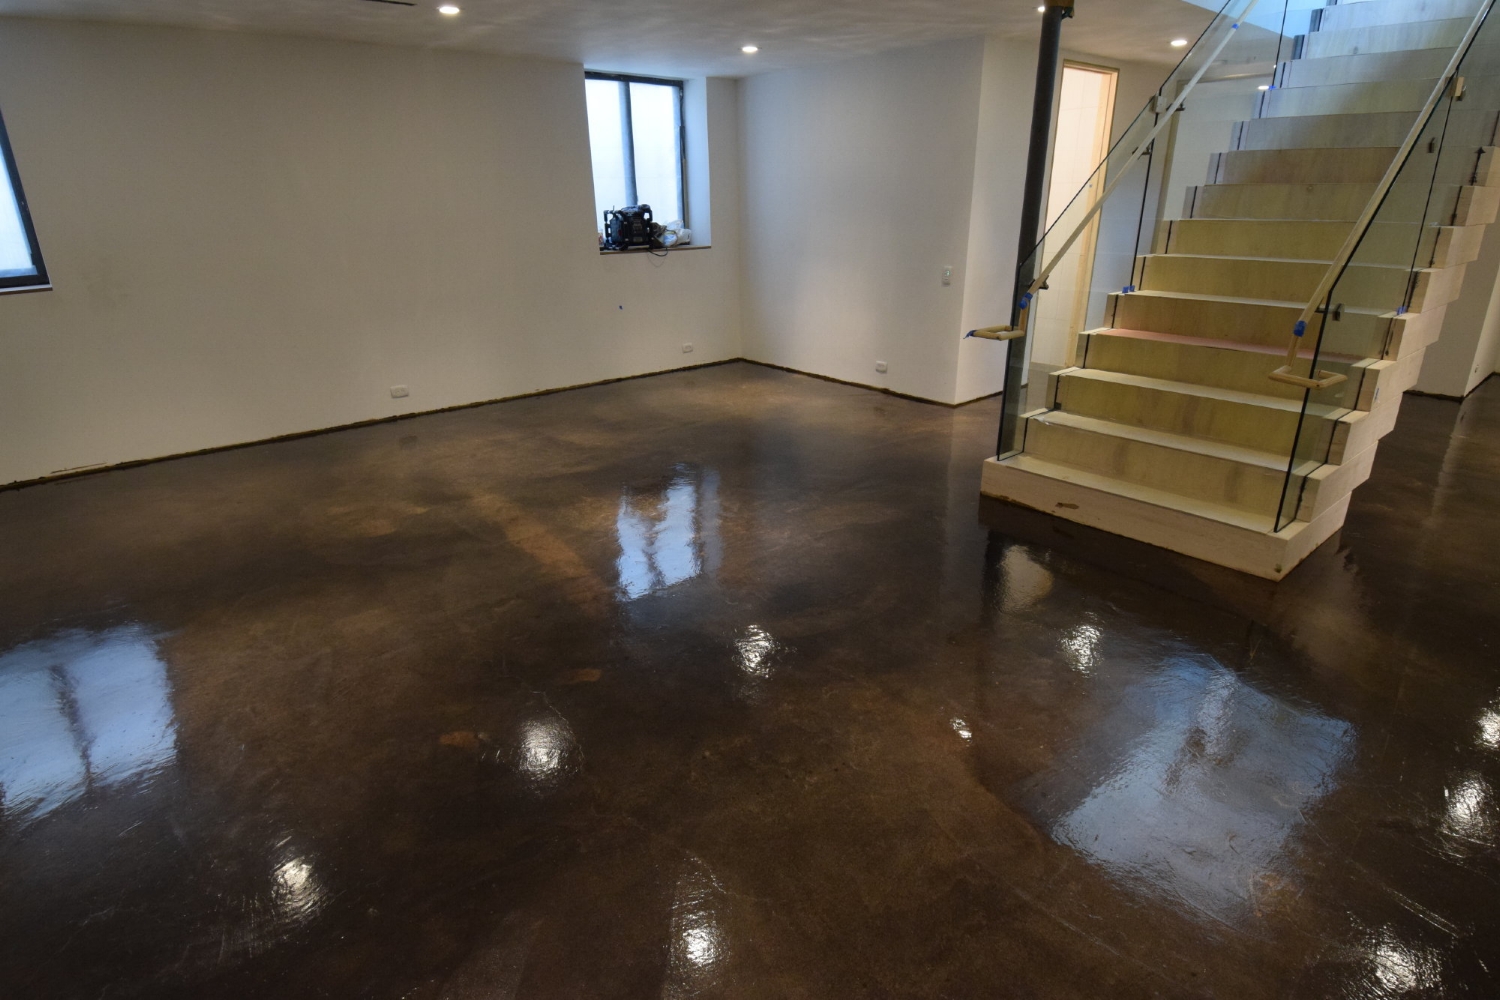
Selecting the right stain colors for my basement proved more challenging than I initially anticipated. I wanted earth tones that would create a warm, inviting atmosphere while complementing the exposed brick walls and wooden ceiling beams. After testing several options on inconspicuous areas, I settled on a rich brown acid stain that would develop warm amber and bronze tones. The color samples looked completely different on actual concrete than they did in the brochure, so testing was essential.
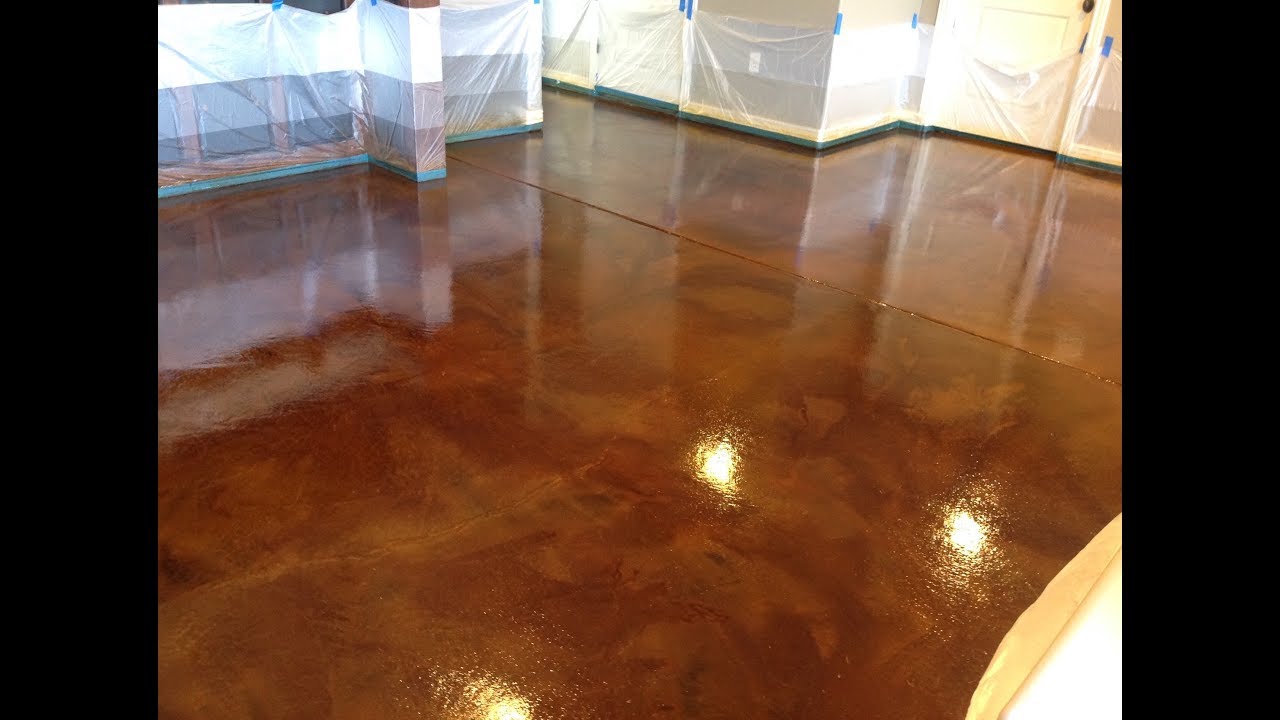
I decided to create visual interest by using multiple stain colors in a subtle pattern. The main floor area received the brown base stain, while I used a lighter tan stain to create borders and highlight specific areas like the bar space and seating areas. Applying painter’s tape to create clean lines between colors required patience and precision, but the defined spaces make the basement feel more intentional and professionally designed.
The antiquing process was where the magic really happened. After the base stain dried completely, I applied a second, darker stain in random patterns using sea sponges and rags. This layering technique created the depth and character that makes people think my floor is expensive natural stone. I practiced the technique extensively on sample boards before committing to the actual floor, because once the acid stain is applied, there’s no going back or making corrections.

Application Techniques and Safety Considerations
Working with acid-based concrete stains required serious safety precautions that I initially underestimated. The muriatic acid in the stain can cause severe chemical burns and produce dangerous fumes, so I invested in proper protective equipment, including acid-resistant gloves, eye protection, and a respirator. I also ensured excellent ventilation by setting up fans and opening all possible windows. Working alone wasn’t safe, so I recruited my brother to help and spot any safety issues.
The actual stain application technique took practice to master. I used a plastic pump sprayer to apply the stain in thin, even coats, working in small sections to maintain control over the coverage and effects. The key was keeping a wet edge and avoiding overlaps that would create darker lines or streaks. I learned to spray at a consistent distance and speed, and to backroll lightly with a foam roller to ensure even distribution without disturbing the developing chemical reaction.
Managing the chemical reaction process required patience and understanding. The stain doesn’t simply color the concrete; it actually reacts with minerals to create permanent color changes. This reaction continues for several hours after application, and the final color doesn’t fully develop until the surface is completely dry. I had to resist the urge to add more stain too quickly, as the colors continued to deepen and develop long after I thought the process was complete.
Sealing and Protective Coating Options
Choosing the right sealer was crucial for protecting my investment and ensuring the stained floor would withstand daily family use. I researched penetrating sealers that soak into the concrete versus topical sealers that form a protective film on the surface. After consulting with several professionals, I chose a penetrating acrylic sealer that would protect the concrete while maintaining the natural, matte appearance I wanted. Topical sealers create a glossy finish that looks too commercial for my basement environment.
The sealer application process was much more straightforward than the staining, but timing was critical. The concrete had to be completely clean and dry, with all neutralization residue removed from the acid staining process. I applied the sealer with a pump sprayer in thin, even coats, maintaining a wet edge just like with paint. The key was avoiding puddles or thick areas that would cure unevenly and potentially create cloudy or streaky appearances.
I learned that sealer maintenance would be an ongoing responsibility for protecting the floor’s appearance and durability. Depending on traffic levels, most sealers need reapplication every 2-3 years to maintain optimal protection. I keep detailed records of the products used and application dates to ensure consistent maintenance. The sealer also provides easier cleaning, as spills and dirt stay on the surface rather than penetrating the concrete pores.

Long-Term Maintenance and Touch-up Strategies
Three years into living with my stained concrete basement floor, I’ve developed a maintenance routine that keeps it looking beautiful with minimal effort. Daily maintenance involves simple sweeping or dust mopping to remove debris that might scratch the sealed surface. Weekly cleaning uses a pH-neutral cleaner specifically designed for stained concrete, avoiding harsh chemicals that could damage the sealer or affect the stain colors over time.
The durability has exceeded my expectations, even with heavy family use, including kids’ play areas, exercise equipment, and frequent entertaining. I do see some minor wear patterns in the highest-traffic areas near the stairs and main seating areas, but these actually add to the natural, aged appearance that I love about stained concrete. Any major spills get cleaned up immediately to prevent staining of the sealer, though the concrete stain underneath remains permanent and unaffected.
Touch-up work has been minimal but occasionally necessary for maintaining the floor’s appearance. Small scratches in the sealer can often be buffed out with fine steel wool, while larger damaged areas might need spot resealing. I keep detailed notes and photos of the original staining process and maintain a small supply of the same stain and sealer for any major repairs. The beauty of stained concrete is that minor imperfections often enhance rather than detract from the overall character and charm.

How long does the concrete staining process take from start to finish?
My basement project took about a week total. Surface preparation consumed 2-3 days, staining and reaction time needed 2 days, and sealing required another 1-2 days, including curing time. Weather and humidity affect drying times significantly. I learned to plan for longer than expected, as rushing any step compromises the final results and long-term durability.
Can I stain concrete that already has a sealer or coating?
No, existing sealers must be completely removed first. I had to grind off old sealer in several areas, which was time-consuming but essential. Stain cannot penetrate sealed concrete, resulting in blotchy, uneven coverage. Testing with water drops helps identify sealed areas; the water should absorb quickly into properly prepared concrete before staining.

How much does DIY concrete staining cost compared to professional installation?
My 800-square-foot basement cost about $800 in materials, including stain, sealer, and equipment rental. Professional installation would have cost $3,000-5,000. The trade-off is time investment and learning curve; preparation took much longer than expected. For those comfortable with detailed prep work, DIY offers significant savings with professional-quality results.
Will stained concrete floors be cold in the basement?
Concrete is naturally cool, but I added area rugs in seating areas for comfort. The stained surface actually feels warmer than bare concrete, and radiant heating can be installed underneath if desired. The thermal mass helps moderate temperature swings, and proper insulation around the basement perimeter makes a bigger difference than flooring choice for overall comfort.

How do I handle repairs if the stained concrete gets damaged?
Minor sealer damage can be spot-repaired easily. I keep leftover sealer for touch-ups. Deeper damage to the stain itself is more challenging and may require blending a new stain with existing colors. Major repairs might need grinding and re-staining of entire sections. Proper preparation and quality sealer minimize damage risk significantly compared to unsealed concrete.
Can stained concrete handle moisture in basement environments?
Properly sealed stained concrete handles normal basement moisture well, but severe moisture issues need addressing first. I solved minor seepage problems before staining and maintained good ventilation. The sealer prevents surface moisture absorption, but rising damp or flooding can cause problems. Moisture testing and proper drainage are essential for long-term success in basement applications.

How To Stain Concrete Floors: Comprehensive Step-By-Step DIY Guide
Stained Concrete Basement Floor
Paints and Stains for Concrete Floors
How To Dye Interior Concrete Floors Direct Colors

Birmingham Residence Basement Stained Concrete Flooring
Acid Stained Basement Floor
Related Posts: