My kitchen renovation began with outdated linoleum that had seen better days and desperately needed replacement. After exploring various flooring options, ceramic tiles emerged as the perfect solution, offering durability, water resistance, and endless design possibilities within my budget constraints. This guide chronicles my transformation from a bland, boring kitchen floor to a stunning ceramic masterpiece that serves as the foundation for my entire kitchen design aesthetic.
Classic Subway Tile Patterns and Layouts
I initially considered traditional subway tiles for their timeless appeal and versatility in various kitchen styles. The standard 3×6 inch format works beautifully in both contemporary and traditional settings, offering clean lines that complement any cabinetry choice. I experimented with different grout colors, discovering that darker grout creates definition while lighter grout provides seamless continuity across the floor surface.
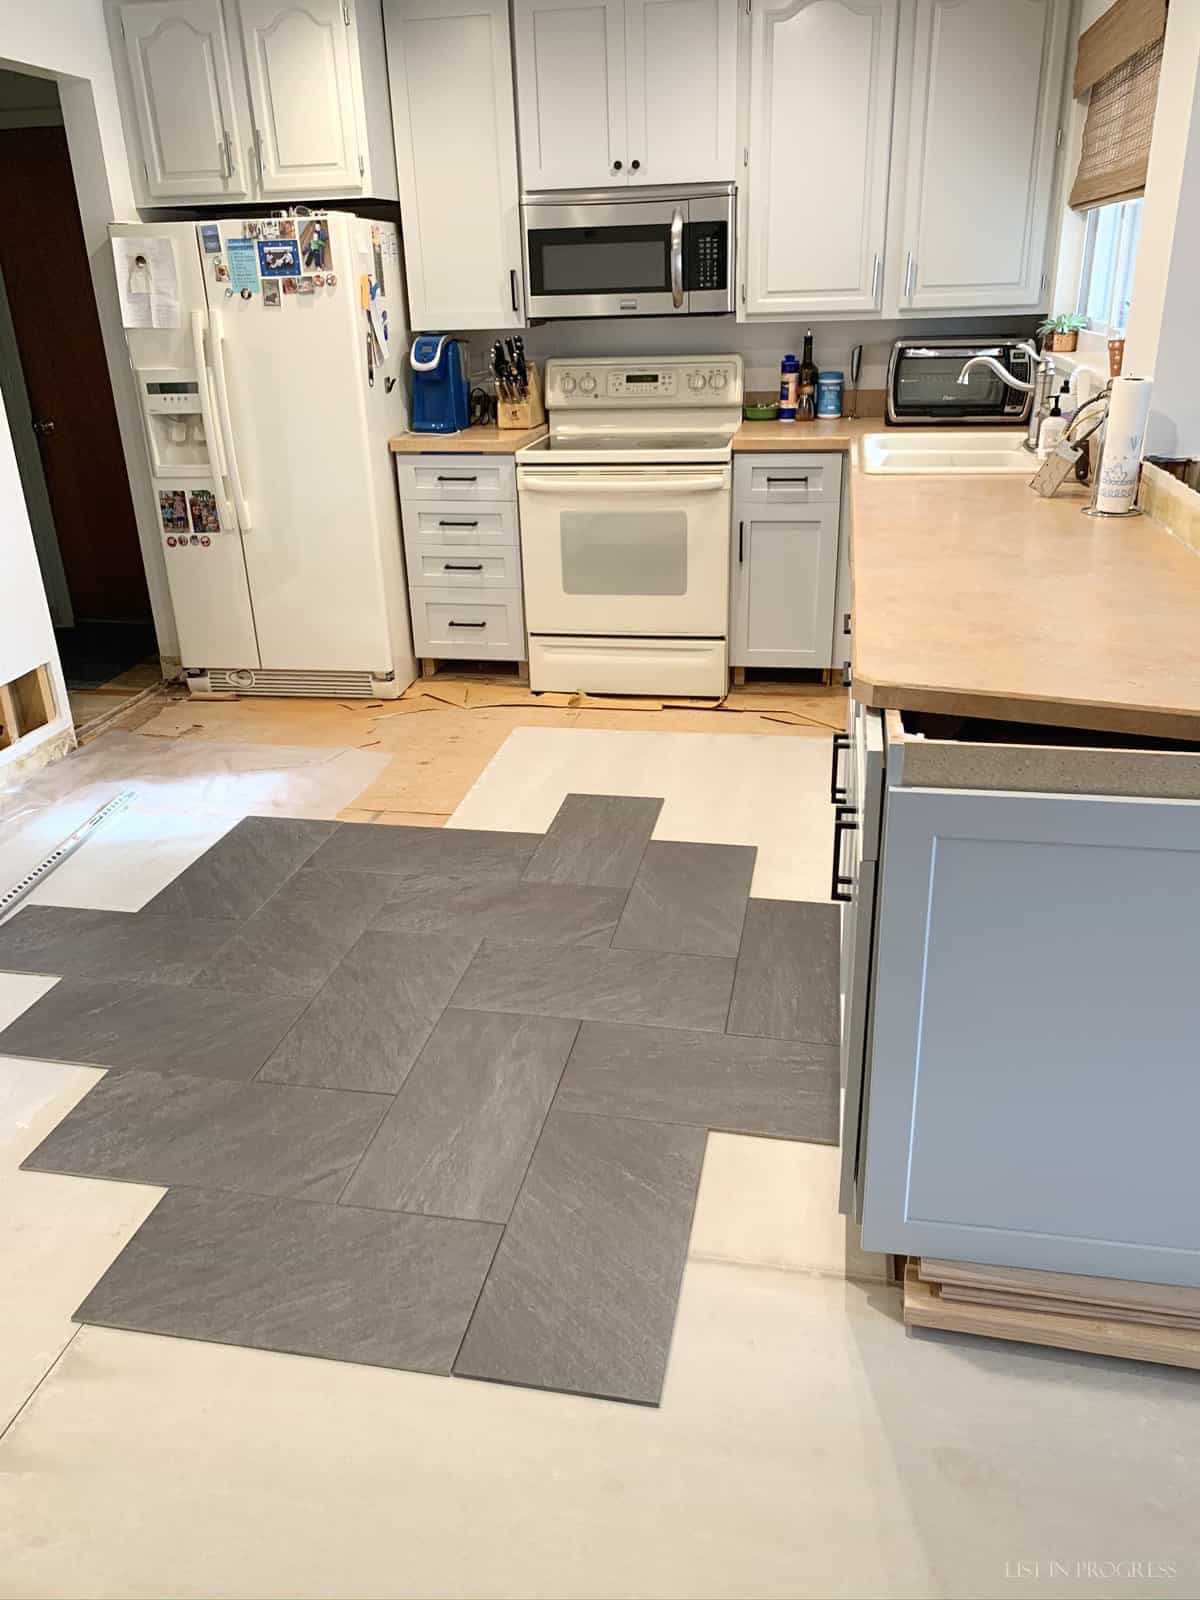
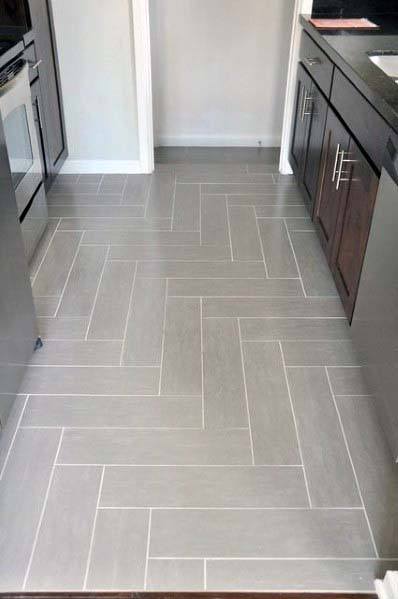
Herringbone patterns using subway tiles added sophisticated visual interest without overwhelming my small kitchen space. This diagonal arrangement creates movement and draws the eye across the room, making the space appear larger than its actual dimensions. The installation required more precise cutting and planning, but the dramatic impact justified the additional effort and slight increase in material costs.
Running bond patterns offered another classic approach using standard rectangular tiles in staggered rows. I found this layout particularly effective for creating flow between the kitchen and adjacent living areas. The pattern works especially well with wood-look ceramic planks, providing the warmth of hardwood with the practical benefits of ceramic for kitchen environments where spills and moisture occur regularly.
Bold Geometric Designs and Modern Patterns
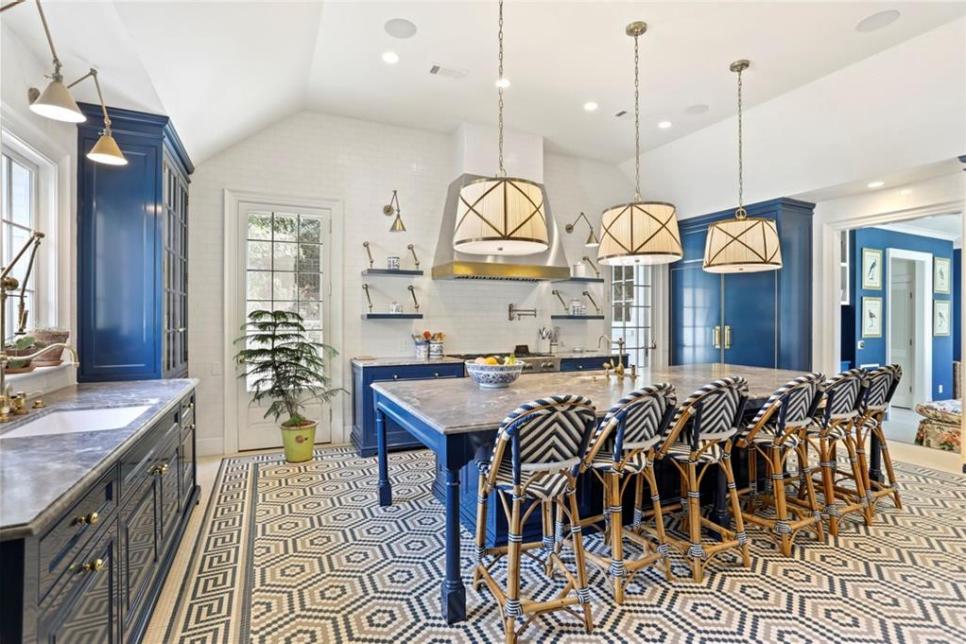
Hexagon tiles became my favorite choice for creating contemporary geometric interest on the kitchen floor. I selected large-format hexagons in neutral colors that provide visual texture without overwhelming the space. The six-sided shape creates natural flow patterns that work beautifully around kitchen islands and in galley layouts, offering more dynamic visual appeal than traditional square tiles.
Chevron patterns, created using rectangular tiles, produce striking zigzag designs that serve as focal points in my kitchen design. I chose contrasting colors to emphasize the pattern’s dramatic angles, making the floor a true design statement. This bold approach required careful planning to ensure pattern alignment around obstacles like cabinets and appliances, but the results exceeded my expectations.
Diamond patterns transformed standard square tiles into elegant diagonal designs that add sophistication to any kitchen style. I used contrasting border tiles to frame the diamond field, creating definition and visual boundaries within the space. This classic pattern works particularly well in traditional kitchens while offering enough geometric interest for contemporary designs seeking timeless elegance.

Color Combinations and Visual Impact
Monochromatic color schemes using various shades of the same hue created sophisticated depth and interest in my kitchen floor design. I combined light and dark gray ceramics in checkerboard patterns that provide contrast without overwhelming the space. This approach allows other kitchen elements like cabinetry and countertops to take center stage while maintaining visual interest underfoot.
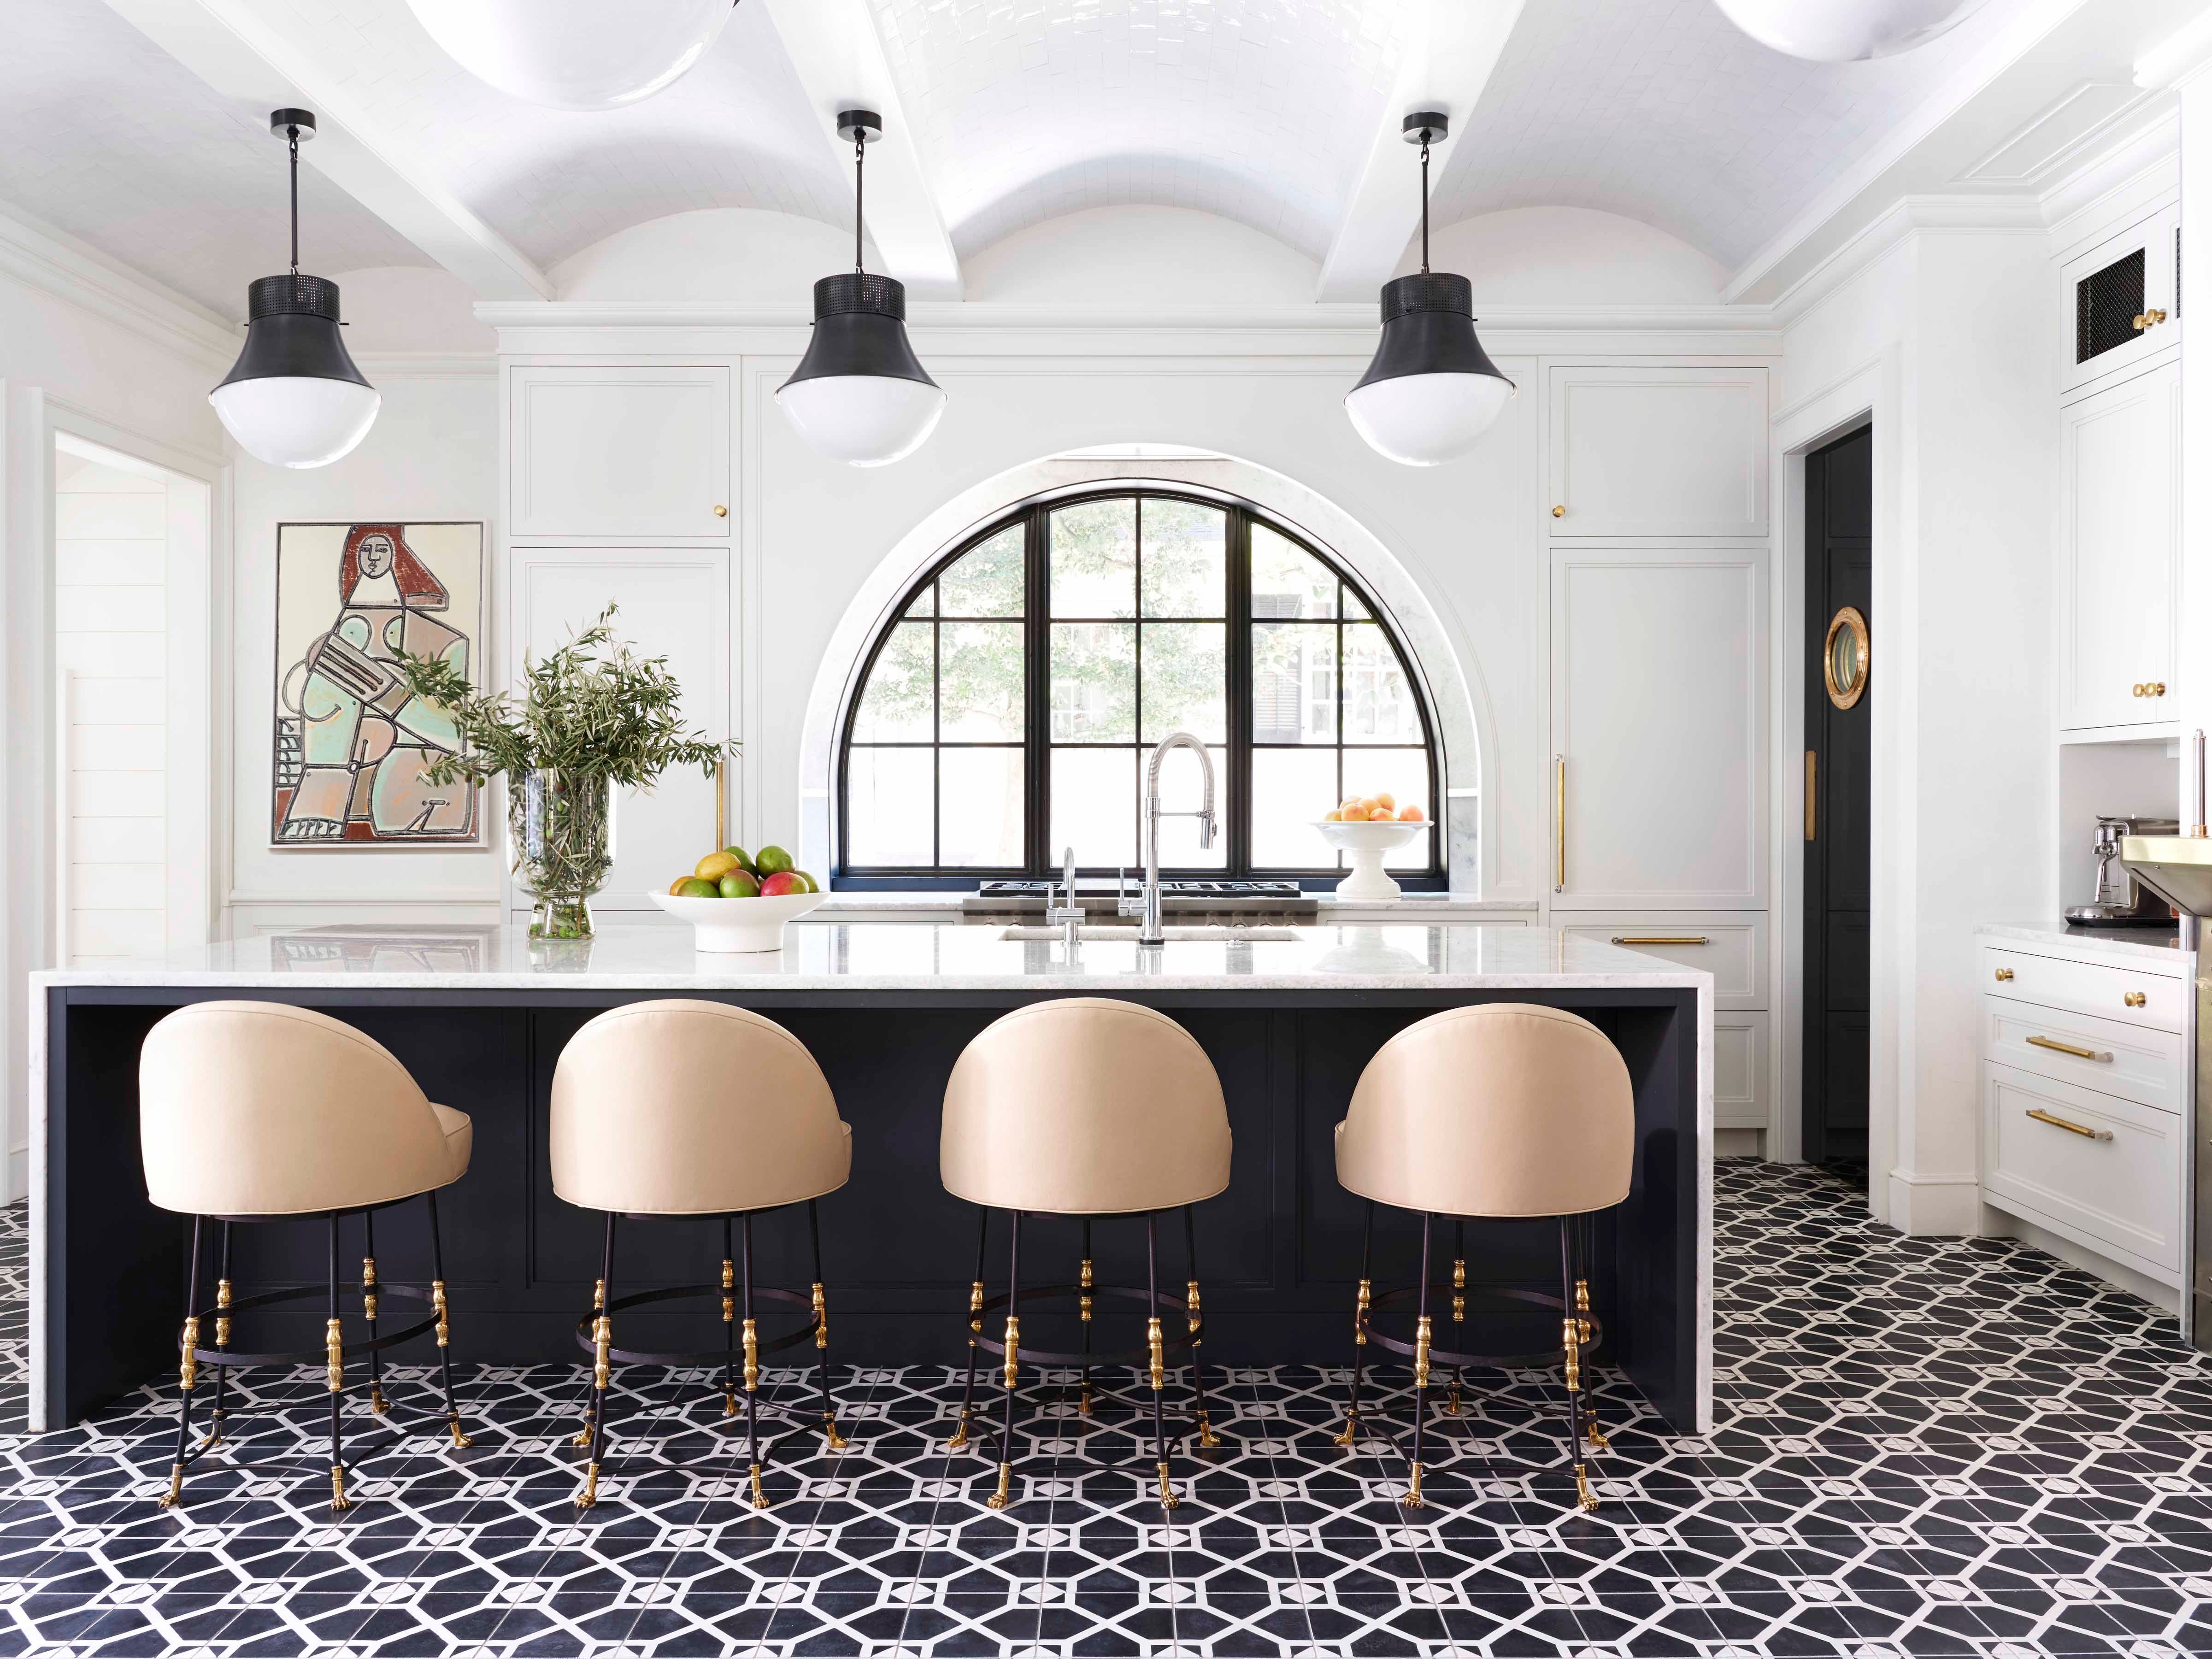
Bold color contrasts using complementary ceramic tiles created dramatic focal points that energize the entire kitchen space. I paired deep navy tiles with crisp white ceramics in geometric patterns that reflect my personal style preferences. These high-contrast combinations work best in kitchens with neutral cabinetry and simple hardware that won’t compete with the floor’s visual impact.
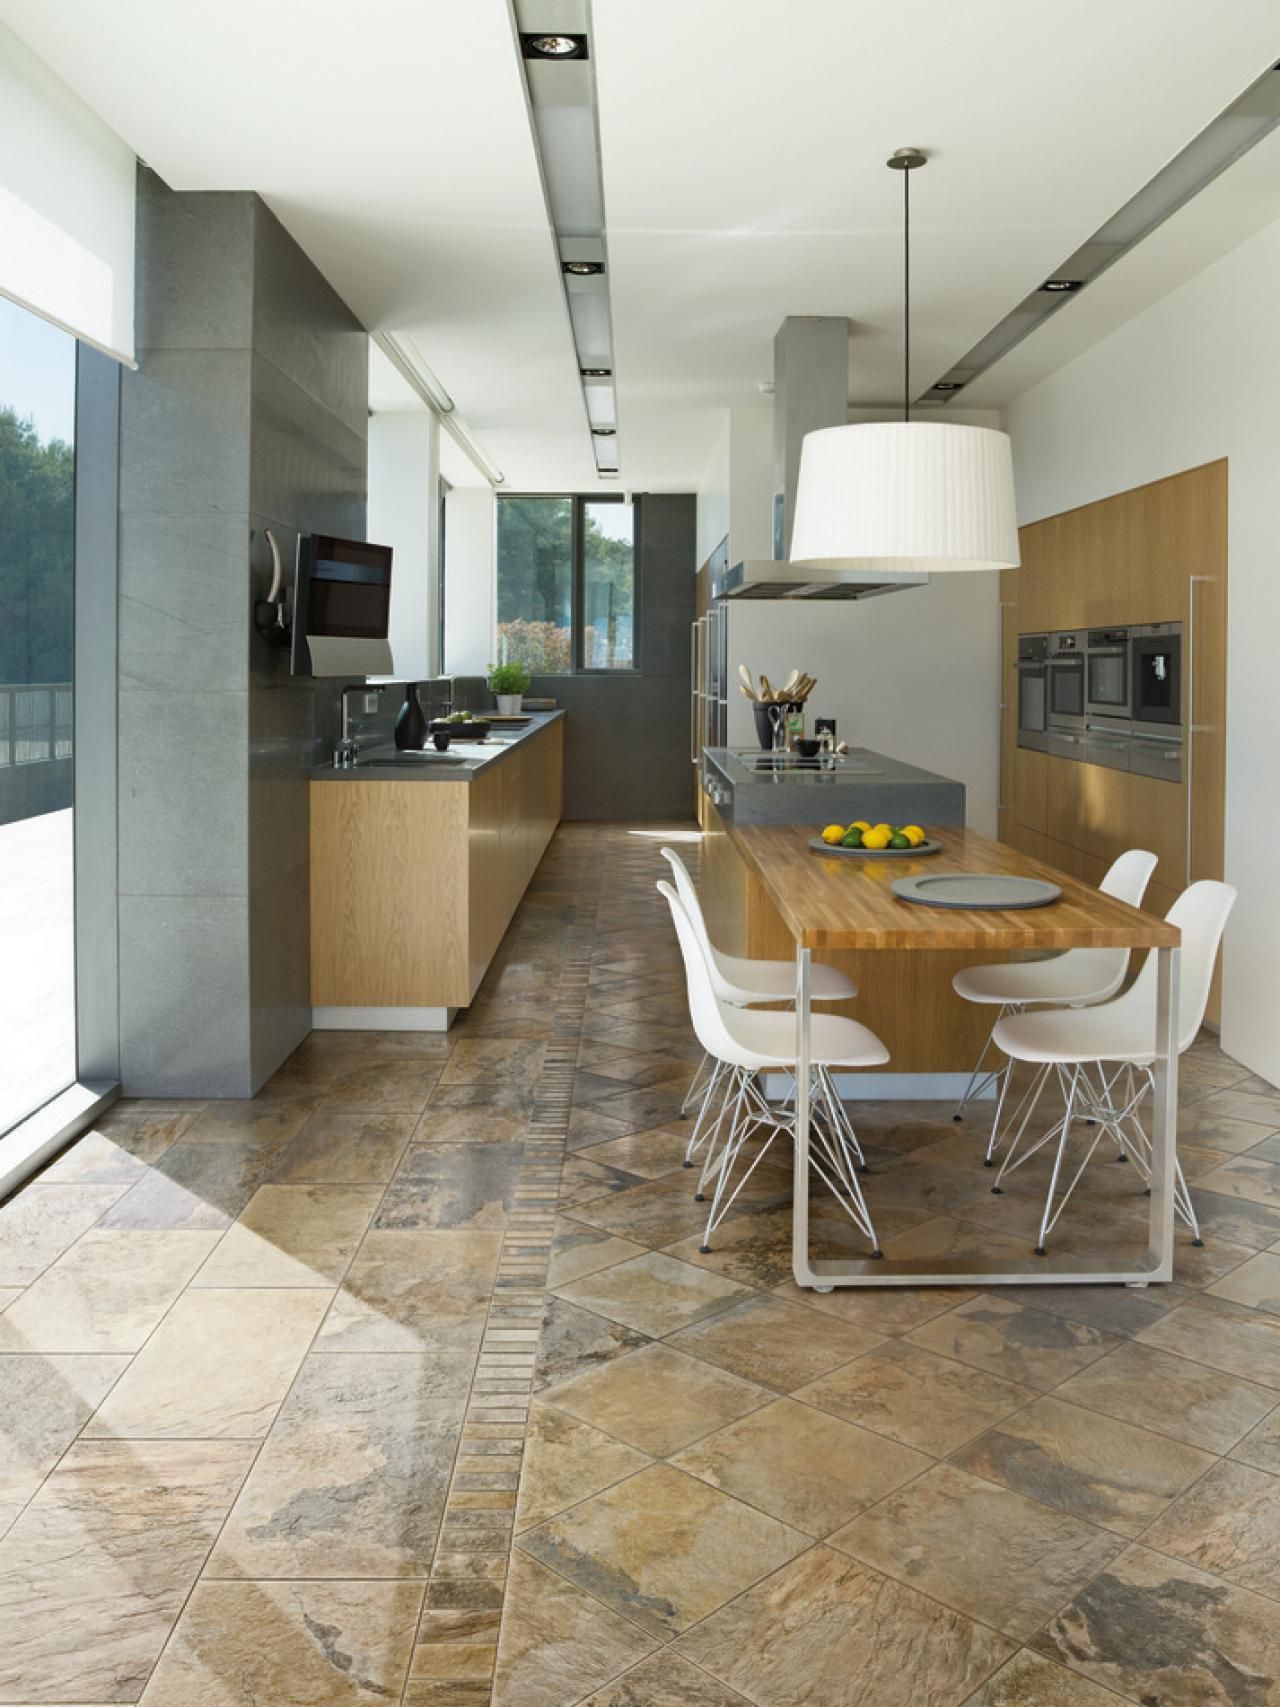
Earth tone combinations brought warmth and natural beauty to my kitchen through carefully selected ceramic tiles in browns, tans, and warm grays. I mixed different sizes and textures within the same color family to create organic patterns reminiscent of natural stone. This approach works particularly well in rustic and transitional kitchen designs seeking comfortable, lived-in aesthetics.
Texture Variations and Surface Treatments
Textured ceramic tiles provided slip resistance and visual interest that enhanced both safety and aesthetics in my kitchen environment. I selected tiles with subtle surface patterns that catch light beautifully while maintaining easy cleaning characteristics essential for kitchen applications. The texture adds depth and dimension without compromising the practical benefits that make ceramic ideal for kitchen flooring.
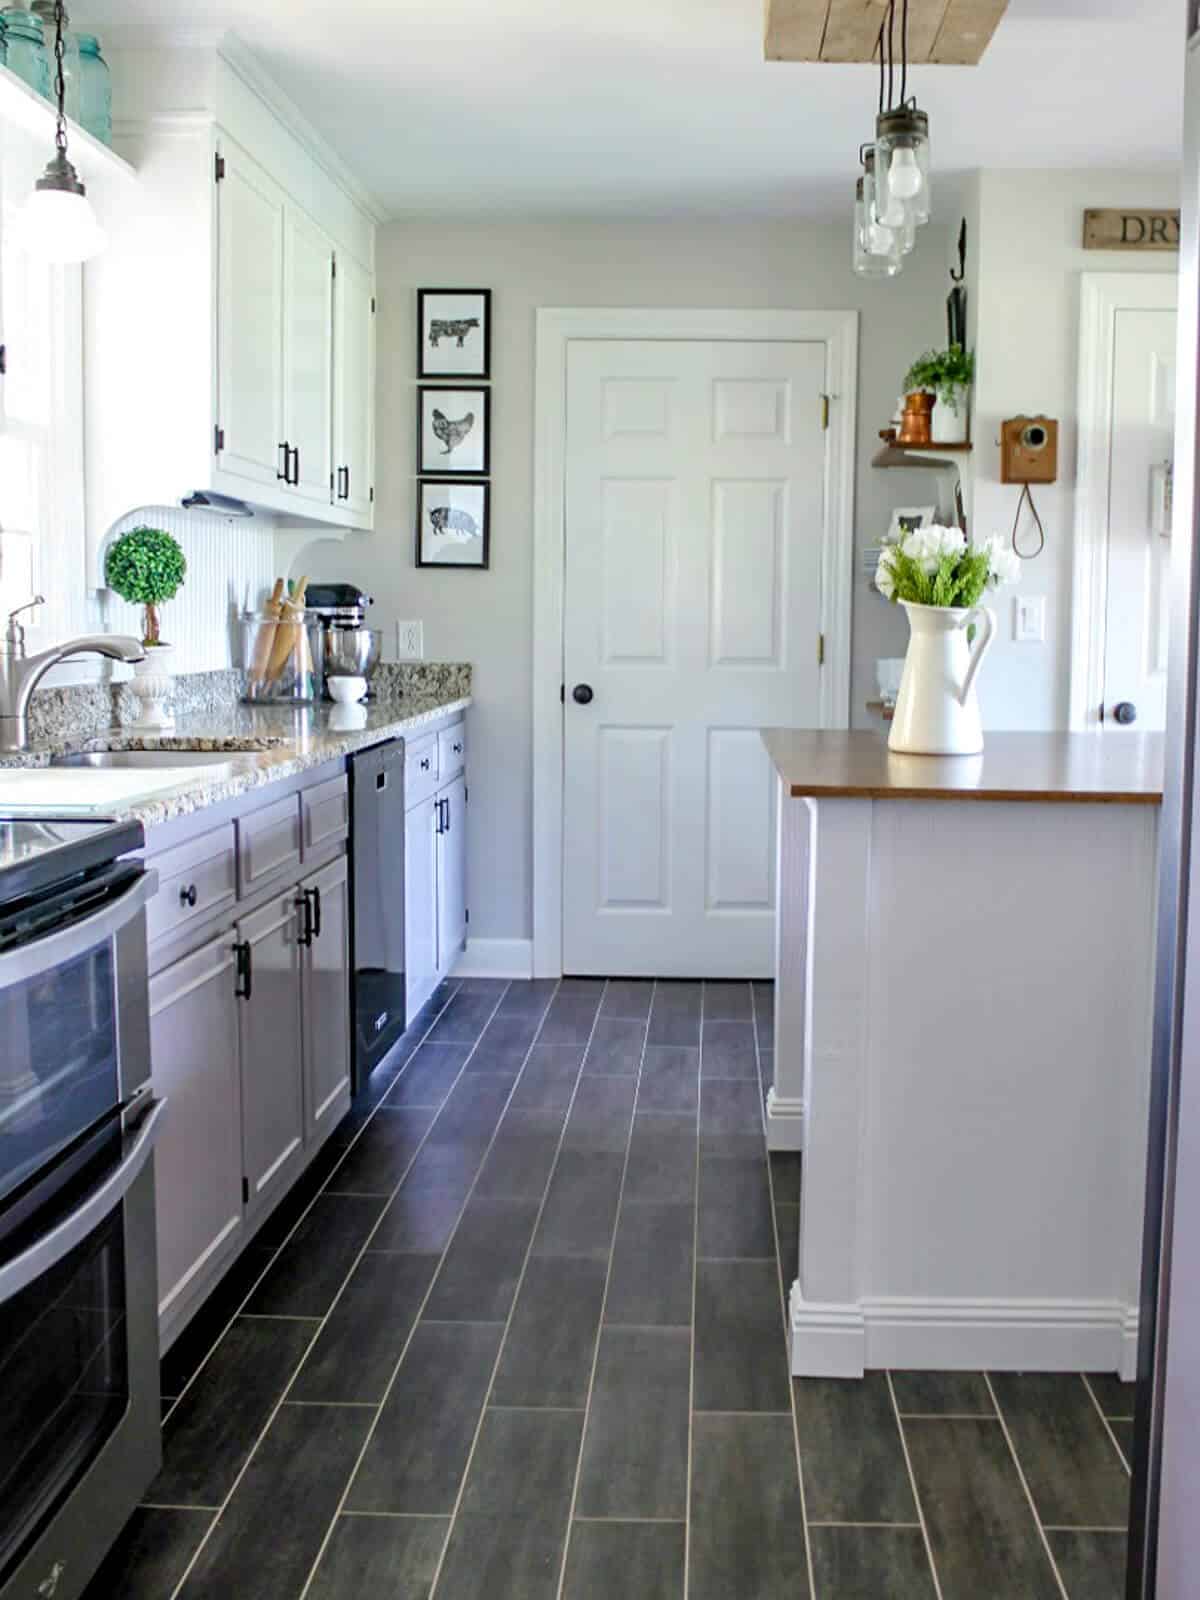
Wood-grain ceramic planks offered the warmth and beauty of hardwood with ceramic’s superior moisture resistance and durability. I chose wide-plank formats that closely mimic natural wood grain patterns and coloring. These tiles install using traditional ceramic methods while providing the visual appeal of hardwood flooring that complements various kitchen cabinet styles and finishes.
Stone-look ceramics replicate natural materials like travertine and slate at a fraction of the cost and maintenance requirements. I selected large-format tiles with realistic surface textures that provide an authentic stone appearance without the porosity issues of natural materials. This approach delivers high-end aesthetics while maintaining the practical benefits essential for busy kitchen environments.
Size and Scale Considerations
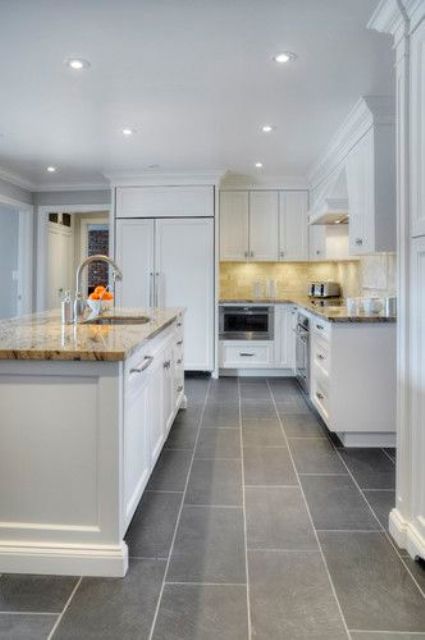
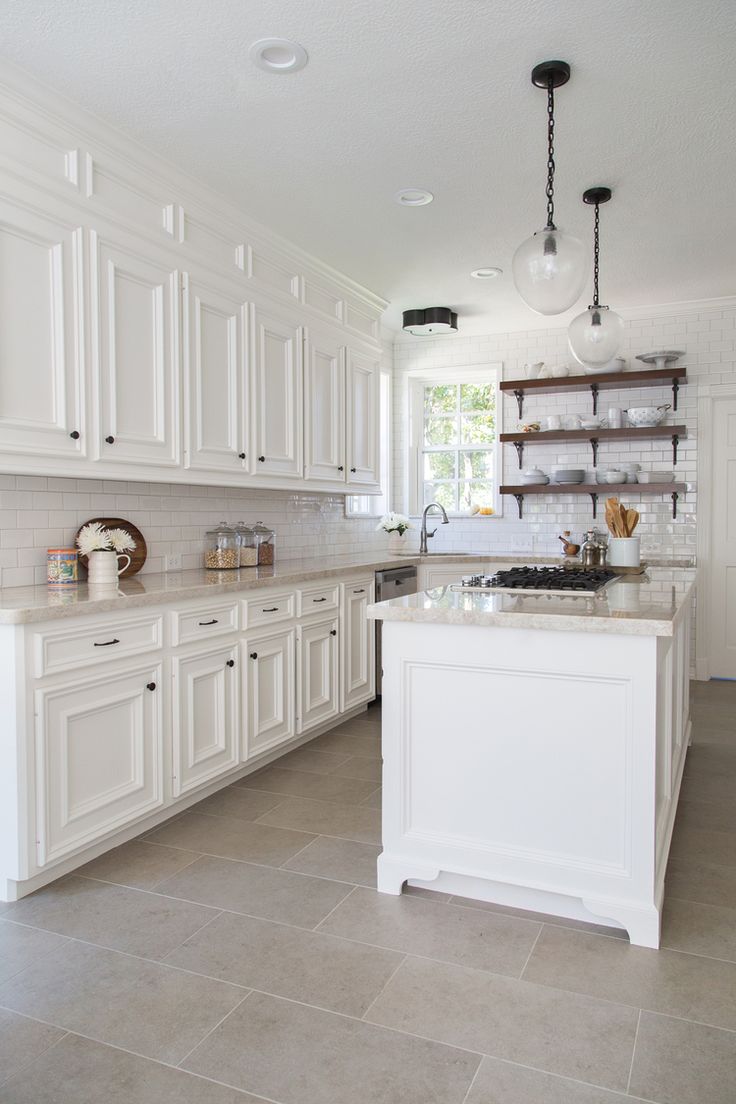
Large format tiles measuring 12×24 inches or larger create seamless expanses that make my kitchen appear more spacious and contemporary. Fewer grout lines mean easier maintenance and cleaner aesthetics, particularly important in kitchen environments where cleanliness is paramount. I chose rectified edges for precise installations with minimal grout lines that emphasize the tiles’ clean, modern appearance.
Small mosaic tiles allowed for intricate patterns and detailed designs that serve as artistic focal points within the kitchen space. I used mosaic borders and accents to define cooking and preparation areas while maintaining larger tiles in traffic zones. This mixed approach provides visual interest while optimizing maintenance and durability in appropriate locations throughout the kitchen.
Mixed sizing created dynamic patterns using multiple tile dimensions within single installations. I combined large field tiles with smaller accent pieces to create custom patterns that reflect my personal design preferences. This approach requires careful planning and layout but results in unique floors that cannot be replicated through standard installation methods.
Installation Tips and Professional Results
Proper substrate preparation proved essential for achieving professional ceramic installation results in my kitchen renovation. I ensured the subfloor was level, clean, and properly sealed before beginning tile installation. Uneven surfaces create lippage and installation problems that compromise both the appearance and long-term performance of ceramic floor installations.
Layout planning prevented awkward cuts and maintained pattern integrity throughout the kitchen space. I created detailed floor plans showing tile placement, cut locations, and pattern alignment before purchasing materials. This preparation minimized waste and ensured professional results that justified the time invested in thorough planning and measurement verification.
Grout selection and installation technique significantly impact the final appearance and maintenance requirements of ceramic kitchen floors. I chose stain-resistant grout in colors that complement rather than contrast with my tile selections. Proper mixing, application, and curing techniques ensure long-term performance and appearance that maintain the floor’s beauty for years of kitchen use.
What size ceramic tiles work best for small kitchen spaces?
Large format tiles measuring 12×12 inches or bigger create the illusion of more space by reducing grout lines and visual interruptions across the floor surface. I chose 12×24 inch rectangular tiles for my compact kitchen, and the fewer seams made the space feel significantly larger. However, very large tiles can be challenging to cut around obstacles like cabinets and appliances. Medium sizes like 8×8 or 10×10 inches offer a good compromise between spacious appearance and installation flexibility in tight spaces.
How do I choose grout colors that complement my ceramic kitchen floor design?
Grout color dramatically affects the overall appearance of ceramic tile installations. I learned that matching grout to tile color creates seamless, continuous surfaces that emphasize the tiles themselves, while contrasting grout highlights individual tiles and patterns. For kitchen applications, I recommend slightly darker grout than the tiles to hide inevitable staining from spills and foot traffic. Light grout shows dirt quickly, requiring more frequent cleaning in busy kitchen environments.
Can ceramic tiles handle heavy kitchen appliances and foot traffic?
Quality ceramic tiles rated for floor use easily handle residential kitchen traffic and appliance loads when properly installed over suitable substrates. I’ve had no problems with cracking or damage from heavy refrigerators, dishwashers, or daily family use over three years. The key is choosing tiles rated for floor applications rather than wall-only products, ensuring proper substrate preparation, and using appropriate installation adhesives. Ceramic offers superior durability compared to vinyl or laminate alternatives.
What’s the best way to maintain ceramic kitchen floors long-term?
Daily sweeping removes grit that can scratch ceramic surfaces, while weekly mopping with pH-neutral cleaners maintains appearance without damaging tiles or grout. I avoid harsh chemicals that can discolor grout and use manufacturer-recommended sealers on grout lines annually. Prompt cleanup of spills prevents staining, particularly important with light-colored grout. Professional deep cleaning every few years refreshes the appearance and extends floor life significantly compared to basic maintenance alone.

How much should I budget for ceramic kitchen floor installation?
Material costs range from $2-15 per square foot, depending on tile quality, size, and design complexity, while professional installation adds $5-10 per square foot for standard layouts. I spent approximately $8 per square foot total for mid-range tiles with professional installation in my 150-square-foot kitchen. Complex patterns, specialty tiles, or extensive substrate preparation increase costs. DIY installation can reduce labor costs but requires time, tools, and skills to achieve professional results.
What are the main advantages of ceramic over other kitchen flooring options?
Ceramic offers unmatched water resistance, durability, and design flexibility for kitchen environments. Unlike hardwood, ceramic won’t warp or stain from spills, and it’s more comfortable underfoot than natural stone while offering similar aesthetics. Maintenance requirements are minimal compared to natural materials, and the variety of colors, patterns, and textures available exceeds most other flooring types. Cost effectiveness, especially for quality installations, makes ceramic an excellent long-term investment for kitchen renovations.
Best Kitchen Floor Tile Ideas – Flooring Designs
Best Kitchen Floor Tile Ideas

Kitchen Flooring That Will Endure the Test of Time
Aesthetic Kitchen tile flooring ideas kitchen flooring

Best Kitchen Flooring – Kitchen Floor Ideas For Your Home
Best Kitchen Floor Tile Ideas – Flooring Designs

Related Posts: