Two years ago, I faced the daunting challenge of replacing my living room’s worn-out carpet with something durable, stylish, and family-friendly. After researching various flooring options, ceramic tile emerged as the perfect solution that balanced aesthetics, practicality, and budget considerations. The transformation process taught me valuable lessons about tile selection, installation challenges, and the daily reality of living with ceramic floors in a high-traffic space. My journey from carpet to ceramic has been incredibly rewarding, creating a beautiful foundation that has enhanced both the function and appearance of my most-used room. I’m excited to share my experiences, mistakes, and discoveries to help others considering this significant home improvement project.
Selecting the Perfect Ceramic Tiles for My Living Space
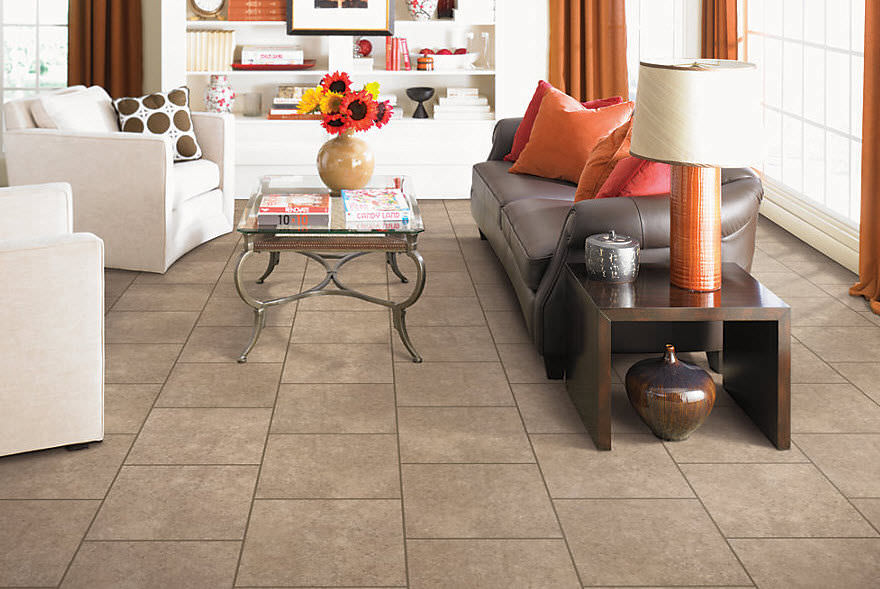
My tile selection process began with extensive research into the countless ceramic options available at local home improvement stores and specialty tile shops. I spent hours examining different sizes, colors, textures, and finishes, ultimately gravitating toward large-format tiles that would make my medium-sized living room appear more spacious and modern. The variety was overwhelming, but I focused on durability ratings and aesthetic appeal.
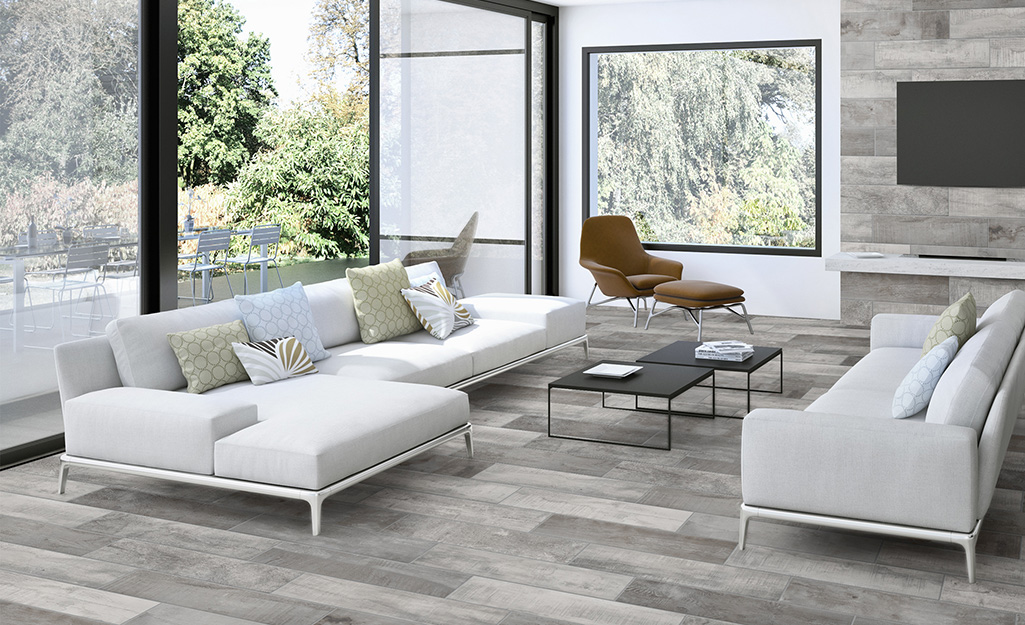
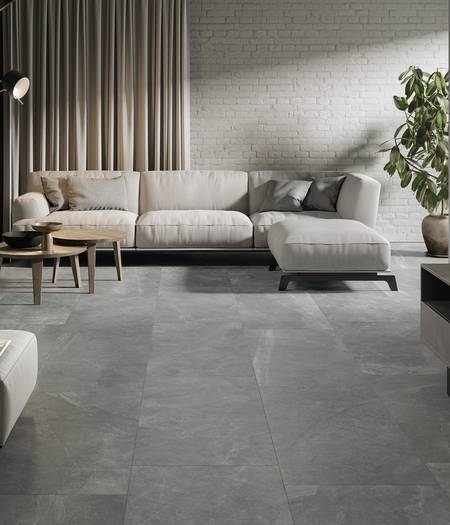
Color selection proved more challenging than anticipated as I considered how different hues would interact with my existing furniture, lighting, and decor. I brought home dozens of samples, testing them against my brown leather sofa, cream walls, and various lighting conditions throughout different times of day. Neutral gray tiles with subtle texture won my heart, providing versatility for future decorating changes.
Size considerations played a crucial role in my final decision, as larger tiles create fewer grout lines and a cleaner, more seamless appearance. I chose 24×24 inch tiles that struck the perfect balance between modern appeal and practical installation requirements. The larger format also meant fewer individual pieces to install, potentially reducing labor costs and installation time for my project.
Installation Challenges and Solutions I Discovered
Preparing my living room for tile installation required removing the old carpet, padding, and tack strips, revealing a plywood subfloor that needed evaluation for levelness and structural integrity. I discovered several low spots that required leveling compound to create the perfectly flat surface essential for proper ceramic tile installation. This preparation phase took longer than expected but proved crucial for long-term success.
The installation process itself presented unique challenges, particularly around my fireplace hearth and built-in entertainment center, where precise cuts were necessary. I invested in a quality wet tile saw and learned to make accurate measurements and cuts, though I did break several tiles during my learning curve. Patience and practice improved my technique significantly throughout the installation process.
Grouting proved to be the most labor-intensive aspect of the entire project, requiring careful attention to detail and proper timing to achieve professional-looking results. I learned to work in small sections, cleaning excess grout from tile surfaces before it could harden and create permanent haze. The final sealing step protected my investment and provided the finished appearance I had envisioned.

Daily Living Experience with Ceramic Tile Floors
The comfort level of ceramic tiles surprised me initially, as they felt cold underfoot during winter months but proved refreshingly cool during hot summer weather. I addressed the temperature issue by strategically placing area rugs in seating areas and pathways, creating warmth and visual interest while maintaining the tiles’ practical benefits. The thermal properties actually became an advantage for year-round comfort.
Cleaning and maintenance have become incredibly simple compared to my previous carpet, requiring only regular sweeping and occasional mopping with standard floor cleaners. Pet hair and spills that once required professional carpet cleaning now disappear with basic household cleaning supplies. The time savings and convenience of ceramic tile maintenance have exceeded my expectations significantly.
Noise levels changed dramatically after installation, as ceramic tiles create more sound reflection than carpet’s sound-absorbing properties. I noticed increased echo and footstep sounds initially, but strategically placed rugs and furniture arrangements helped absorb sound and create a more comfortable acoustic environment. The trade-off for easy maintenance seemed worthwhile for my active household.

Design Integration and Aesthetic Impact
The neutral gray tiles I selected have proven to be an excellent foundation for various decorating styles and seasonal changes throughout the past two years. They complement both my existing traditional furniture and newer contemporary pieces I’ve added, creating a cohesive look that ties the entire room together. The consistent color and texture provide visual calm in an otherwise busy family space.
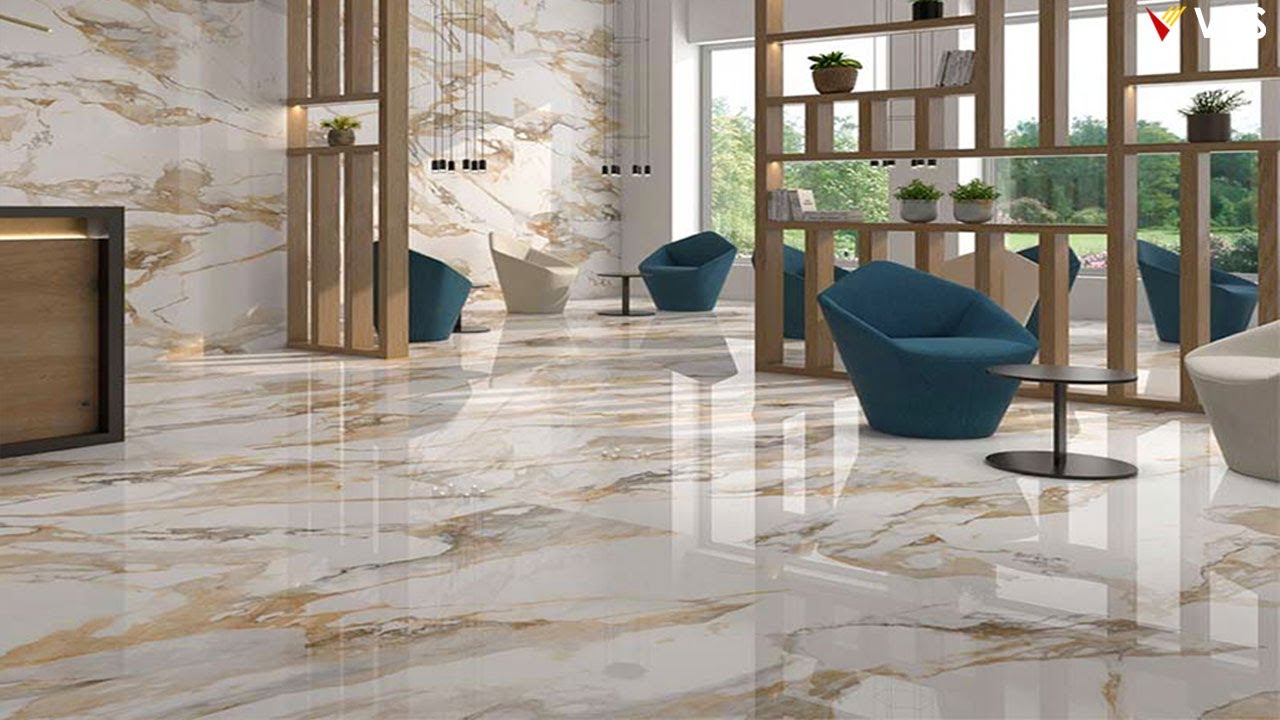
Lighting interactions with the ceramic surface have created beautiful effects throughout different times of day, with morning sunlight highlighting the subtle texture variations and evening lamps creating warm reflections. The tiles’ slight sheen adds depth and interest without being overwhelming or competing with other design elements. Natural and artificial lighting both enhance the overall aesthetic appeal.
Furniture placement became more flexible with ceramic tiles, as I no longer worry about carpet indentations or stains from furniture legs. Heavy pieces can be moved for cleaning or rearranging without leaving permanent marks, and the durable surface handles furniture weight without damage. This flexibility has allowed me to refresh my living room layout multiple times without flooring concerns.
Cost Analysis and Budget Considerations
My total ceramic tile project cost approximately $2,500 including materials, tools, and supplies for my 300 square foot living room. The tiles themselves cost $2 per square foot, while additional expenses included underlayment, adhesive, grout, sealers, and tool rentals. DIY installation saved significant labor costs, though it required substantial time investment and learning curve patience.
Comparing ceramic tile costs to other flooring options revealed excellent value for durability and longevity. Hardwood floors would have cost three times more, while quality carpet replacement every 7-10 years makes ceramic tile more economical long-term. The initial investment has proven worthwhile considering the durability and timeless appeal of ceramic tile flooring.
Hidden costs included subfloor preparation, additional tools, and replacement tiles for inevitable breakage during installation. I budgeted an extra 10% for materials and overages, which proved adequate for my project scope. Professional installation quotes ranged from $4-8 per square foot, making DIY installation an attractive option for budget-conscious homeowners with time and patience.
Long-Term Performance and Maintenance Insights
After two years of daily use, my ceramic tiles have maintained their original appearance with minimal wear signs, even in high-traffic areas near doorways and seating zones. The durability has exceeded expectations, withstanding dropped objects, pet activities, and furniture moving without visible damage. Proper installation and quality materials have proven their worth over time.
Maintenance routines have become second nature, requiring only weekly sweeping and monthly mopping with pH-neutral cleaners to maintain optimal appearance. Grout lines occasionally need attention with specialized cleaners, but overall maintenance demands remain minimal compared to other flooring options. The ease of care continues to justify my initial investment decision.
Seasonal changes have revealed both advantages and considerations for ceramic tile living room floors. Summer months showcase the cooling properties and easy cleaning benefits, while winter requires area rugs and slippers for comfort. Understanding these seasonal variations helps optimize the living experience and maintain satisfaction with the flooring choice throughout the year.
Are ceramic tiles comfortable for living room use, especially in winter?
Ceramic tiles can feel cold underfoot initially, but I’ve found strategic solutions make them comfortable year-round. I use area rugs in seating areas and main walkways during colder months, which provide warmth and comfort while maintaining the tiles’ practical benefits. The thermal properties actually become advantageous during summer, keeping the room cooler naturally. Radiant heating systems can be installed beneath tiles for ultimate comfort, though this adds significant cost to the project.
How do I choose the right size ceramic tiles for my living room?
Tile size selection depends on your room dimensions and desired aesthetic, with larger tiles making spaces appear bigger and creating fewer grout lines. I chose 24×24 inch tiles for my medium living room, which provided modern appeal and easier maintenance. Smaller rooms benefit from 12×12 or 18×18 inch tiles, while large spaces can accommodate 30×30 or larger formats. Consider your installation skill level, as larger tiles require more precise leveling and handling during installation.

Can I install ceramic tile flooring myself, or should I hire professionals?
DIY ceramic tile installation is achievable for determined homeowners with proper tools, patience, and realistic expectations about the learning curve. I successfully installed my living room tiles over several weekends, though it required significant research and practice. Consider your skill level, available time, and project complexity when deciding. Professional installation ensures consistent results and warranties, but costs significantly more than DIY approaches using proper techniques and quality materials.
How do ceramic tiles handle heavy furniture and daily wear in living rooms?
Ceramic tiles excel at handling heavy furniture and daily wear when properly installed over adequate subfloor support. I’ve moved heavy sofas, entertainment centers, and coffee tables without damage to the tile surface. The key is using furniture pads and proper lifting techniques to prevent scratching during rearrangement. Quality ceramic tiles resist chips, scratches, and stains better than many other flooring options, making them ideal for high-traffic living spaces with active families.

What’s the best way to clean and maintain ceramic tile floors daily?
Daily maintenance involves sweeping or vacuuming to remove dirt and debris that could scratch the surface over time. Weekly mopping with pH-neutral cleaners maintains the tiles’ appearance without damaging the surface or grout. I avoid harsh chemicals, excessive water, and abrasive cleaners that could damage grout lines. Monthly deep cleaning with specialized tile cleaners keeps everything looking fresh, while annual grout sealing protects against stains and maintains the installation’s longevity.
Do ceramic tiles make living rooms too noisy or echo-prone?
Ceramic tiles do create more sound reflection than carpet, initially increasing echo and footstep noise in living rooms. However, strategic placement of area rugs, curtains, and upholstered furniture effectively absorbs sound and creates comfortable acoustic environments. I noticed the difference immediately after installation but found that proper room furnishing solved most noise concerns. The trade-off for easy maintenance and durability makes the minor acoustic changes worthwhile for most homeowners seeking practical flooring solutions.

Modern Living Room Floor Tiles Design Ceramic Floor Tiles Colors Bedroom Vitrified Floor Tiles
What Type of Flooring Can You Put Over Ceramic Tile? – Designing Idea

Tiles Design for Living Room: Timeless Tile Ideas

Related Posts: