Updating your kitchen flooring doesn’t have to break the bank—vinyl floor tiles offer an affordable, durable, and stylish solution. Whether you’re renovating on a budget or simply want a quick refresh, vinyl tiles provide water resistance, easy installation, and a wide variety of designs. From realistic wood and stone looks to bold patterns, these tiles can mimic high-end materials without the cost. This guide covers everything from selecting the right vinyl tiles to installation tips and long-term maintenance, helping you achieve a professional-looking kitchen floor without hiring a pro.
Why Choose Vinyl Tiles for Your Kitchen?
Vinyl tiles are an excellent choice for kitchens due to their durability and water resistance. Unlike hardwood or laminate, vinyl won’t warp or swell when exposed to spills or humidity, making it ideal for high-moisture areas. Many vinyl tiles also have a protective wear layer that resists scratches, stains, and scuffs, ensuring they stay looking new for years. This makes them perfect for busy households with kids or pets.
Another advantage is the ease of installation. Most vinyl tiles come in peel-and-stick or click-lock formats, allowing for a straightforward DIY project without specialized tools. Even if you’re not experienced in flooring, you can achieve professional results with minimal effort. Additionally, vinyl is softer underfoot compared to ceramic or stone, providing more comfort while standing for long periods.
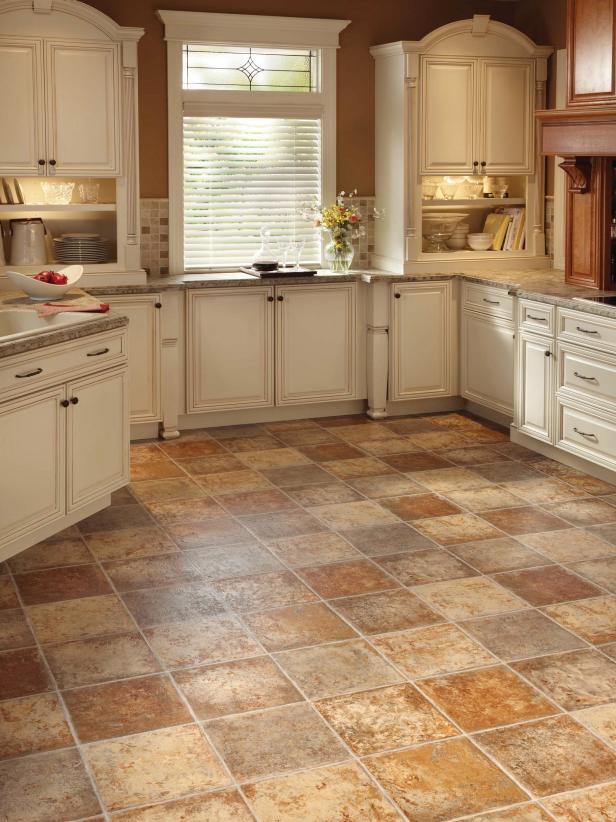
Cost is another major benefit—vinyl tiles are among the most budget-friendly flooring options. Prices typically range from 0.50to3 per square foot, far cheaper than ceramic, hardwood, or natural stone. Despite the low cost, quality vinyl can still deliver an upscale appearance, with options that convincingly mimic pricier materials. Whether you want a modern, rustic, or classic look, there’s a vinyl tile to match your style.
Types of Vinyl Floor Tiles for Kitchens
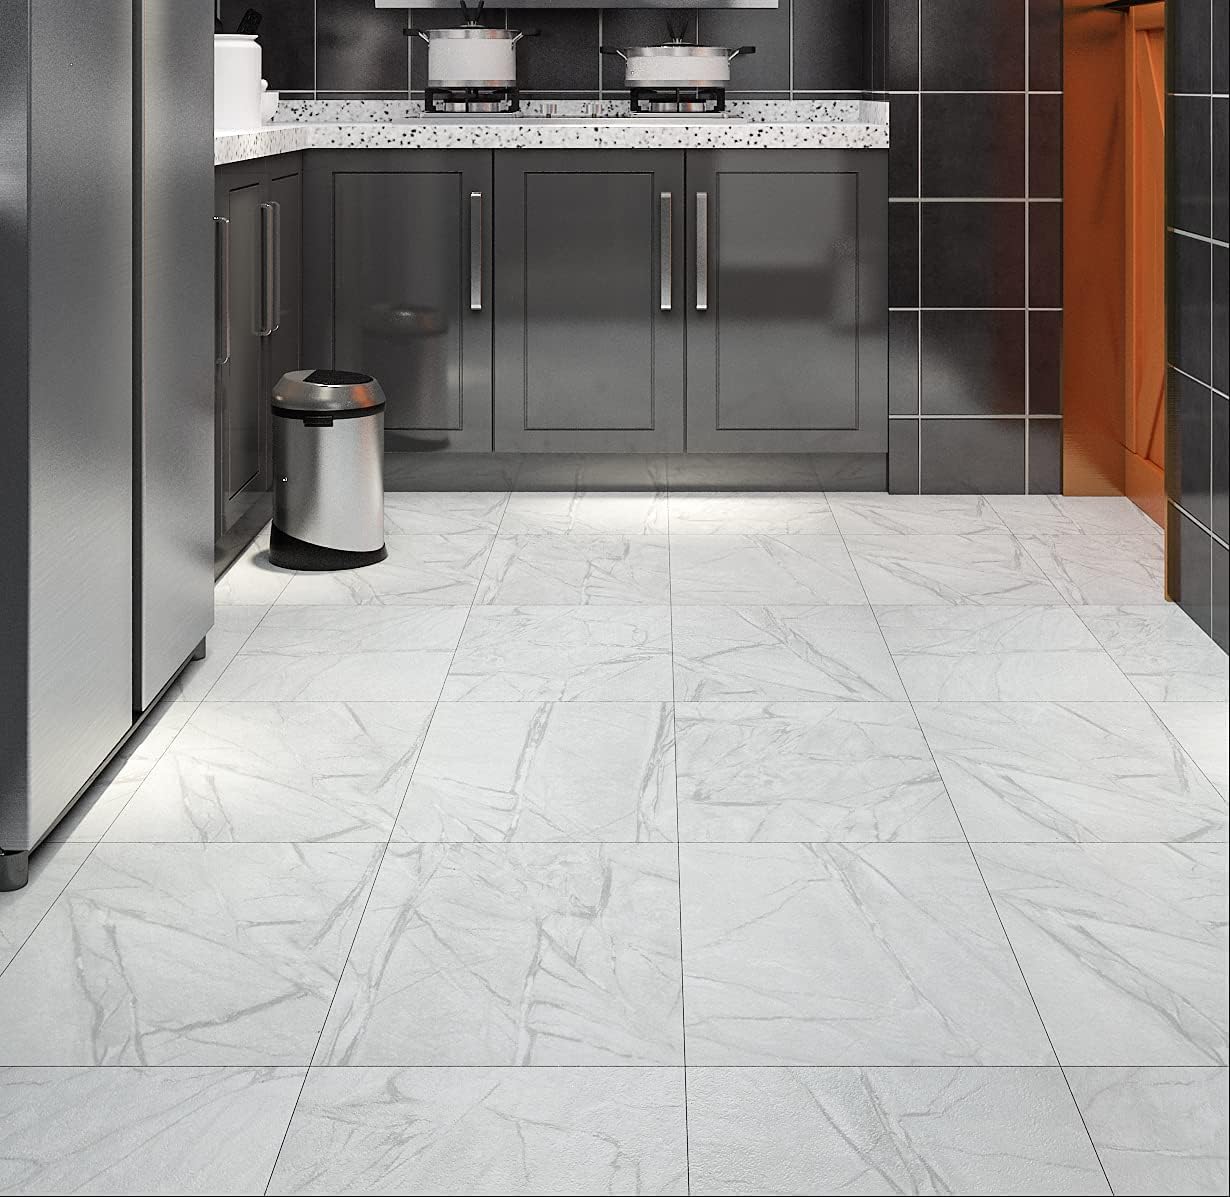
Peel-and-stick vinyl tiles are the easiest to install, featuring a self-adhesive backing that sticks directly to a clean, smooth subfloor. These are great for quick upgrades but may require occasional re-adhesion over time. Luxury vinyl tiles (LVT) offer higher-end visuals and durability, often with a thicker wear layer and realistic textures. They usually come in click-lock or glue-down formats for a more permanent installation.
Another option is vinyl composite tile (VCT), commonly used in commercial spaces but also suitable for kitchens. VCT is extremely durable and can be polished to maintain its shine, though it requires periodic waxing. For a softer feel, cushioned vinyl tiles add an extra layer of padding, making them more comfortable to walk on. These are especially useful if you spend a lot of time cooking or standing in the kitchen.
When selecting vinyl tiles, consider thickness—thicker tiles (12 mil or more) tend to last longer and resist dents better. Also, look for tiles with a textured surface to prevent slips. Some vinyl tiles even come with attached underlayment for added insulation and noise reduction. Choosing the right type ensures your kitchen floor will be both functional and stylish.
Preparing Your Kitchen Floor for Installation
Before installing vinyl tiles, the subfloor must be clean, dry, and level. Remove any old flooring, nails, or debris, and patch cracks or uneven spots with a leveling compound. If installing over concrete, check for moisture by taping a plastic sheet to the floor—if condensation forms underneath, you’ll need a moisture barrier. For plywood subfloors, sand down high spots and fill gaps to prevent unevenness.
Sweep and mop the floor thoroughly to eliminate dust and grease, which can prevent adhesive from sticking properly. If using peel-and-stick tiles, the surface must be completely dry before installation. For glue-down vinyl, follow the manufacturer’s instructions on adhesive application. Allow the subfloor to acclimate to room temperature for at least 24 hours before starting.
Plan your layout by dry-fitting tiles first, ensuring they align correctly with walls and cabinets. Start from the center of the room and work outward for a balanced look. Use spacers to maintain even gaps if needed. Proper preparation ensures a smooth installation and helps avoid mistakes that could lead to peeling or buckling later.
Installing Vinyl Floor Tiles Step-by-Step
Begin by finding the center of the room using chalk lines. This helps create a symmetrical layout, especially if your kitchen has an irregular shape. For peel-and-stick tiles, remove the backing and press firmly into place, starting from the center and moving outward. Use a roller to ensure strong adhesion and eliminate air bubbles.
For click-lock vinyl tiles, angle each plank into place and tap gently with a rubber mallet to secure the locking mechanism. Stagger the seams for a more natural look, similar to hardwood flooring. If cutting tiles is necessary, use a utility knife and straightedge for clean edges. For intricate cuts around cabinets or pipes, a jigsaw or vinyl tile cutter works well.
Once all tiles are laid, roll the entire floor with a heavy roller to ensure full adhesion. Install transition strips where the vinyl meets other flooring types. Allow the floor to set for at least 24 hours before moving furniture back in. Following these steps ensures a professional-looking finish that lasts.
![]()
Maintaining and Cleaning Vinyl Floor Tiles
Vinyl floors are low-maintenance but require regular care to stay in top condition. Sweep or vacuum frequently to remove dirt and grit that can scratch the surface. For deeper cleaning, use a damp mop with a mild vinyl floor cleaner—avoid harsh chemicals, ammonia, or abrasive scrubbers that can damage the finish.
Wipe up spills immediately to prevent staining, especially with darker-colored tiles. Place mats near sinks and high-traffic areas to reduce wear. Use furniture pads under heavy appliances to prevent dents. If a tile becomes damaged, peel-and-stick varieties can often be replaced individually without redoing the entire floor.
Over time, vinyl may lose its shine. A light polish or vinyl floor restorer can revive its appearance. Avoid steam mops, as excessive heat can warp the tiles. With proper care, vinyl kitchen floors can stay looking new for a decade or longer, making them a smart long-term investment.
Budget-Friendly Design Ideas for Vinyl Tiles
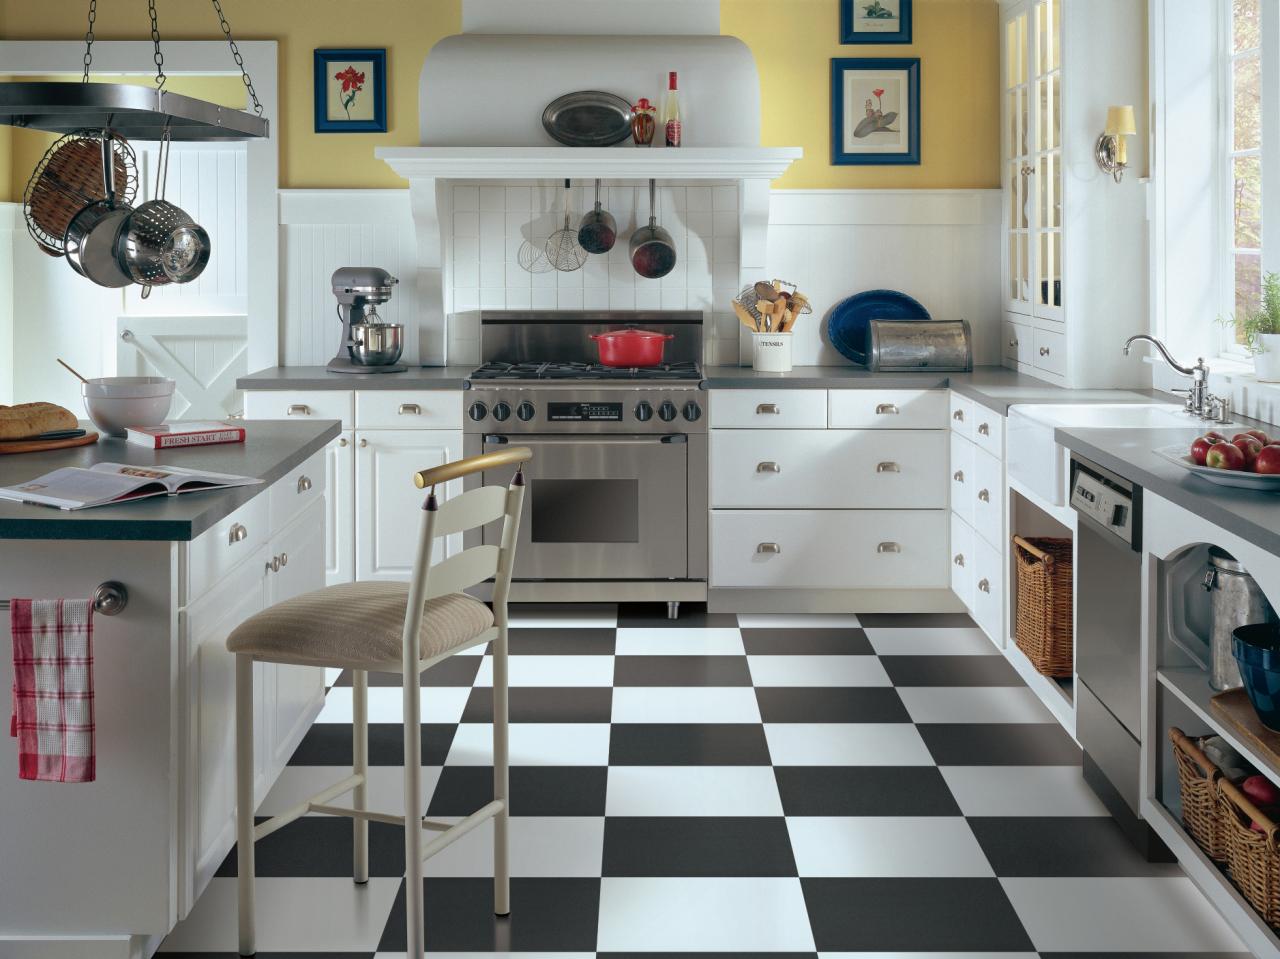
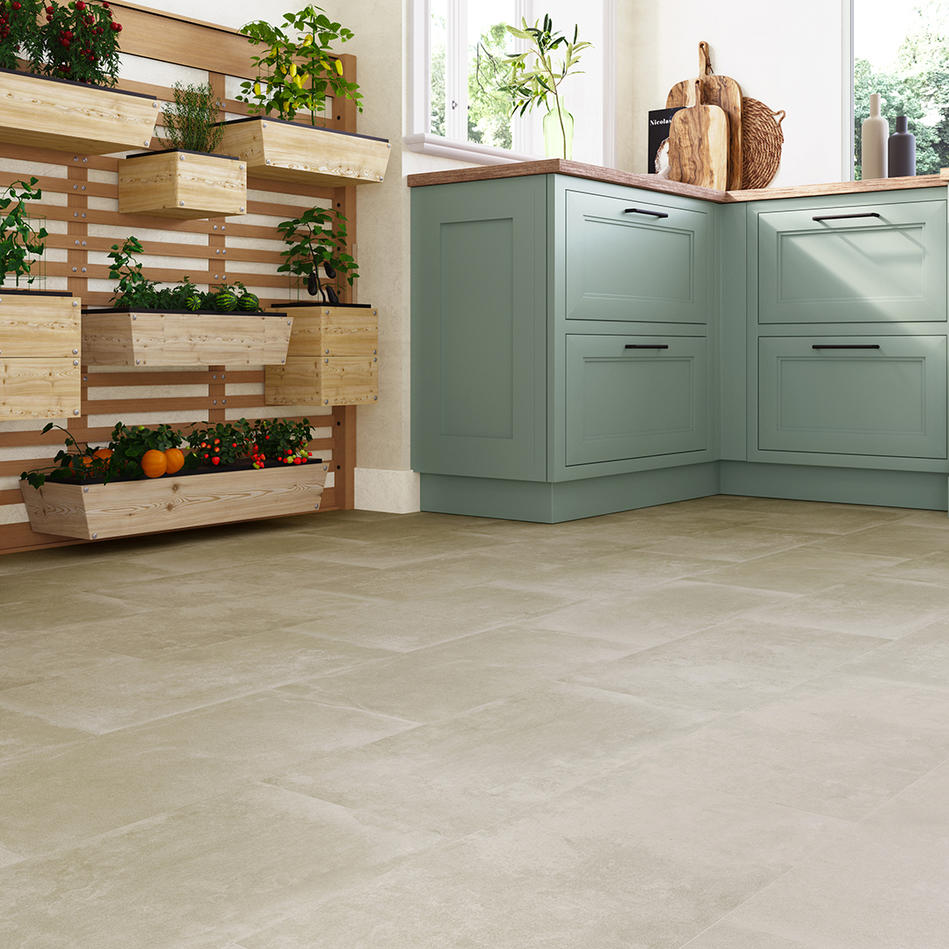
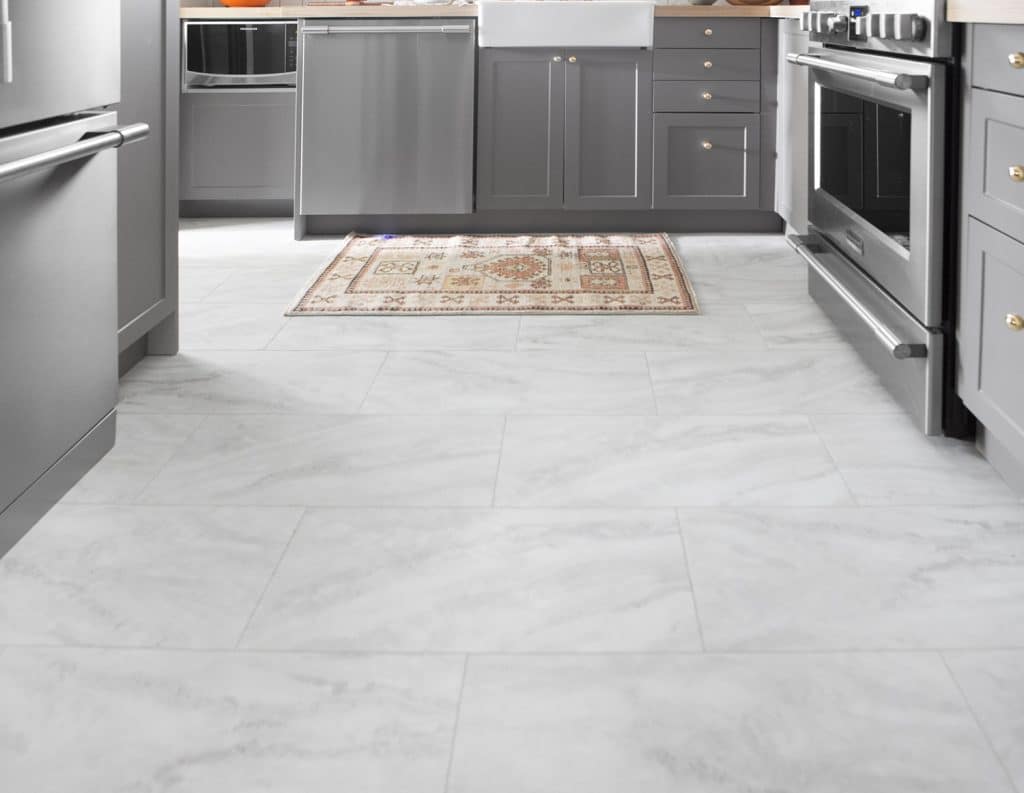
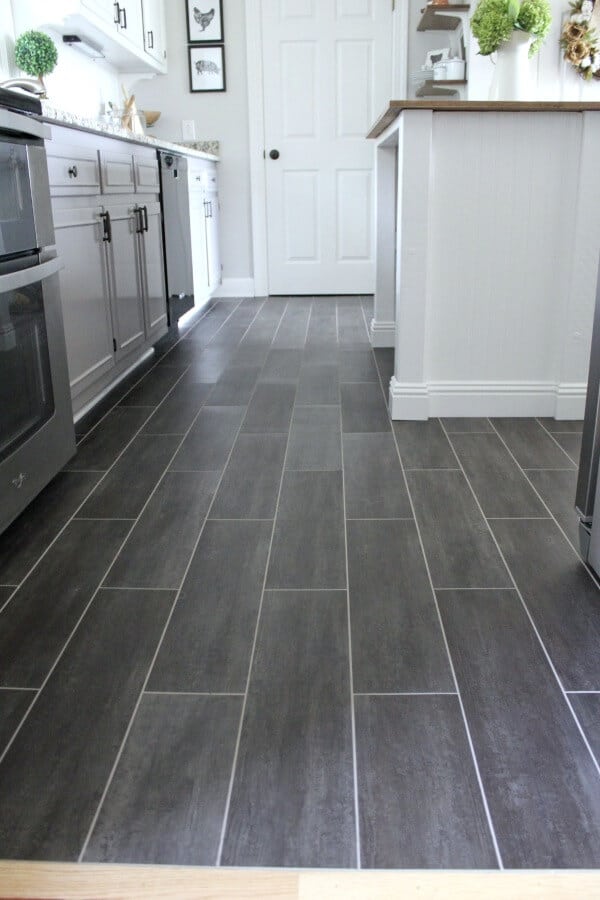
Vinyl tiles offer endless design possibilities without the high cost. For a modern look, try large-format tiles in neutral tones like gray or beige. If you love the look of hardwood, opt for wood-look vinyl planks with realistic grain patterns. Bold geometric or checkerboard designs can add a retro or contemporary vibe to your kitchen.
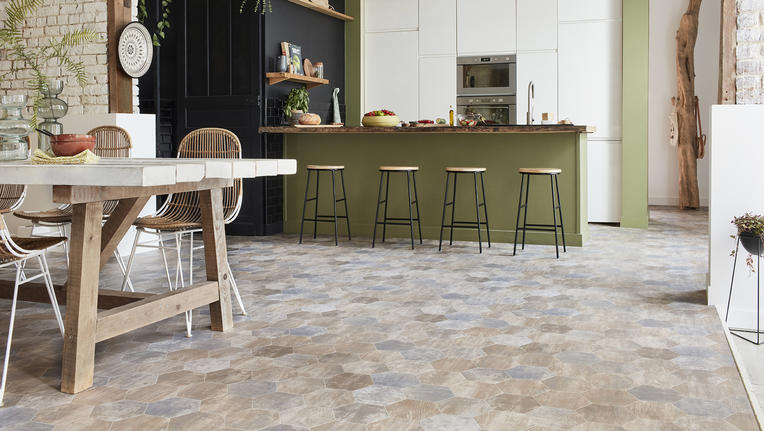
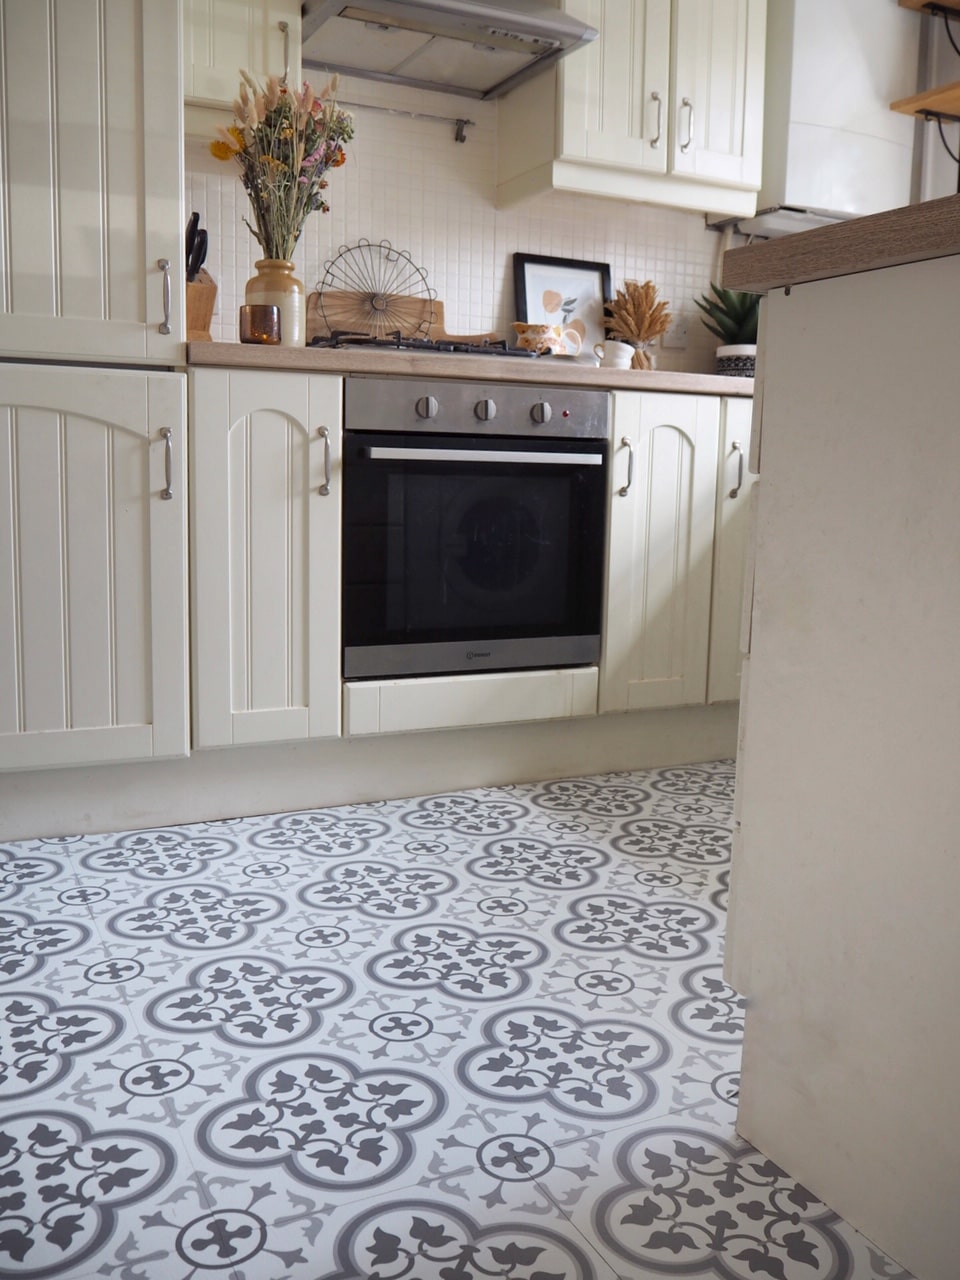
Mixing tile colors or patterns can create custom accents, such as a border or center medallion. Some homeowners even use vinyl tiles to create a faux rug effect by contrasting colors in a designated area. Another trend is using textured vinyl tiles that mimic stone or concrete for an industrial aesthetic.
Since vinyl is easy to replace, you can experiment with different styles over time. Whether you prefer a minimalist, farmhouse, or eclectic kitchen, vinyl tiles provide the flexibility to change your look affordably. With smart choices, you can achieve a high-end appearance without exceeding your budget.
By selecting the right vinyl tiles, preparing properly, and following installation best practices, you can transform your kitchen floor without spending a fortune. With their durability, easy maintenance, and design versatility, vinyl tiles are a practical and stylish choice for any home.
Vinyl Flooring in the Kitchen
Tips For Installing A Kitchen Vinyl Tile Floor

How to Lay Luxury Vinyl Tile Flooring (LVT) + a feature in TABLE
How to lay vinyl floor tiles u0026 revamp a tired kitchen Dove Cottage
Luxury Vinyl Flooring Tile LVT Flooring Harvey Maria

DIY Flooring: How We Changed our Kitchen in 3 days for Less than
Related Posts: