Installing laminate flooring yourself is a great way to save money while giving your home a fresh, updated look. Known for its durability, affordability, and easy maintenance, laminate flooring is a popular choice for DIY enthusiasts. With its click-lock installation system, you don’t need professional skills or expensive tools to achieve a high-quality finish. This guide will walk you through the entire process, from selecting the right materials to the final installation steps, ensuring your project goes smoothly and looks professionally done.
Choosing the Right Laminate Flooring
When selecting laminate flooring, consider thickness, durability, and style. Thicker planks (8mm to 12mm) provide better stability and noise reduction, making them ideal for high-traffic areas. The AC rating (Abrasion Class) indicates durability—look for AC3 or higher for residential use, especially in kitchens and hallways. Laminate comes in various designs, including realistic wood, stone, and tile patterns, so choose one that complements your home’s aesthetic.
Moisture resistance is another important factor. While standard laminate isn’t waterproof, many brands offer water-resistant options with sealed edges to prevent swelling. If installing in a basement or bathroom, consider laminate specifically designed for wet areas. Additionally, check if the flooring includes attached underlayment, which reduces noise and provides cushioning. If not, you’ll need to purchase underlayment separately.
Measure your room’s square footage and add 10% extra for cuts and waste. Buy all the flooring at once to ensure color consistency between batches. Let the planks acclimate in the room for at least 48 hours before installation to prevent warping. Proper preparation at this stage ensures a smoother installation process later.
Preparing the Subfloor
A clean, level subfloor is essential for a successful laminate installation. Start by removing old flooring, baseboards, and any debris. Check for uneven spots—if the subfloor has dips or bumps, use a leveling compound to smooth it out. For concrete floors, ensure they’re dry and free of moisture by taping a plastic sheet to the surface overnight. Condensation indicates excess moisture, requiring a vapor barrier.
If installing over wood subfloors, secure any loose boards and replace damaged sections. Sweep and vacuum thoroughly to remove dust and dirt, which can cause unevenness or noise. Lay down the underlayment, ensuring seams are taped securely to prevent shifting. Some underlayments include built-in moisture barriers, eliminating the need for a separate vapor barrier.
Plan the layout by dry-fitting a few rows of planks. Stagger the seams by at least 12 inches for stability and a natural appearance. Leave a ¼-inch expansion gap around walls and fixed objects to allow for natural movement. Use spacers to maintain this gap during installation. Proper subfloor preparation prevents future issues like buckling or gaps.
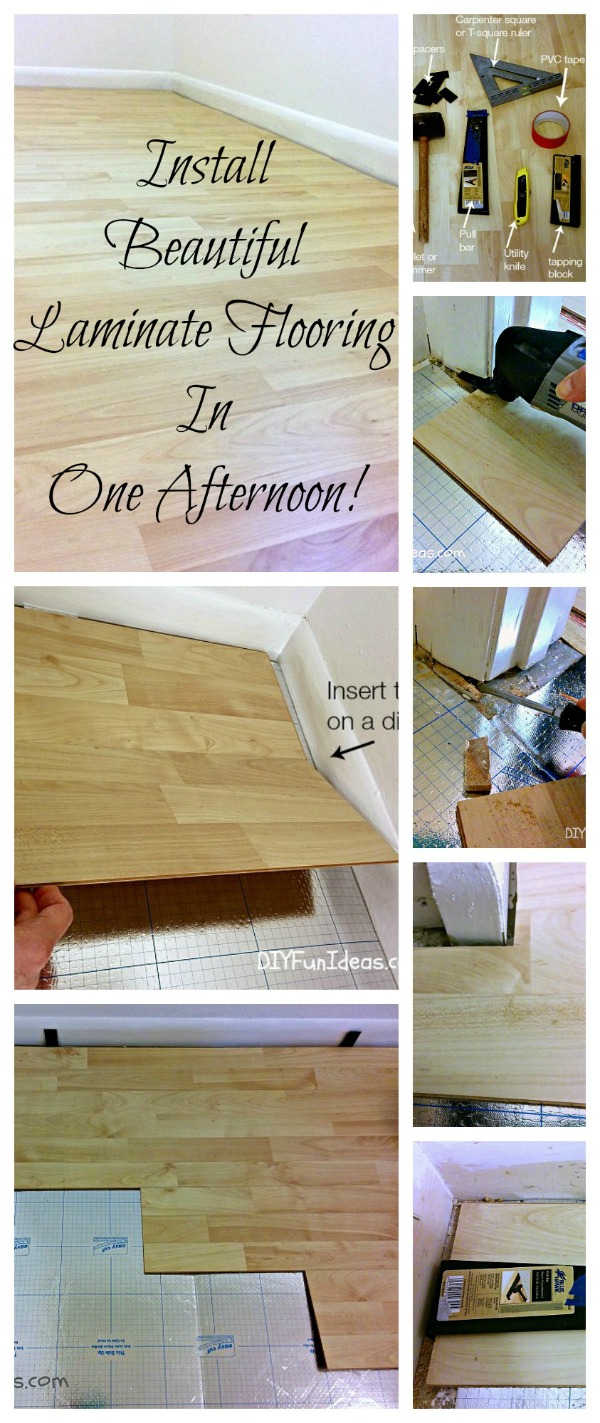
Gathering the Right Tools and Materials
Having the correct tools makes laminate installation much easier. Essential items include a tape measure, utility knife, pull bar, tapping block, spacers, and a rubber mallet. A circular saw or jigsaw is necessary for cutting planks to size. If working with concrete subfloors, a moisture meter helps ensure conditions are suitable for installation.
You’ll also need underlayment (unless pre-attached), transition strips for doorways, and quarter-round molding to cover expansion gaps. A pry bar helps remove baseboards without damage, while a chalk line ensures straight starting rows. Knee pads are a worthwhile investment for comfort during long installation sessions.
Organize your workspace before starting to avoid interruptions. Keep planks stacked neatly and label cut pieces for easy identification. Having everything ready beforehand ensures a smoother workflow and minimizes mistakes. Proper preparation saves time and frustration during the installation process.

Installing the Laminate Planks
Begin by laying the first row of planks along the longest wall, with the tongue side facing the room. Use spacers to maintain the expansion gap. Connect the planks by angling the tongue into the groove and pressing down until they click together. Use a tapping block and mallet to secure tight seams without damaging the edges.
For subsequent rows, stagger the seams by at least 12 inches for a natural look. Continue clicking planks together, ensuring each row is straight and properly aligned. If a plank doesn’t fit snugly, check for debris in the grooves or adjust the angle of insertion. For end cuts, measure carefully and mark the plank before cutting with a saw.
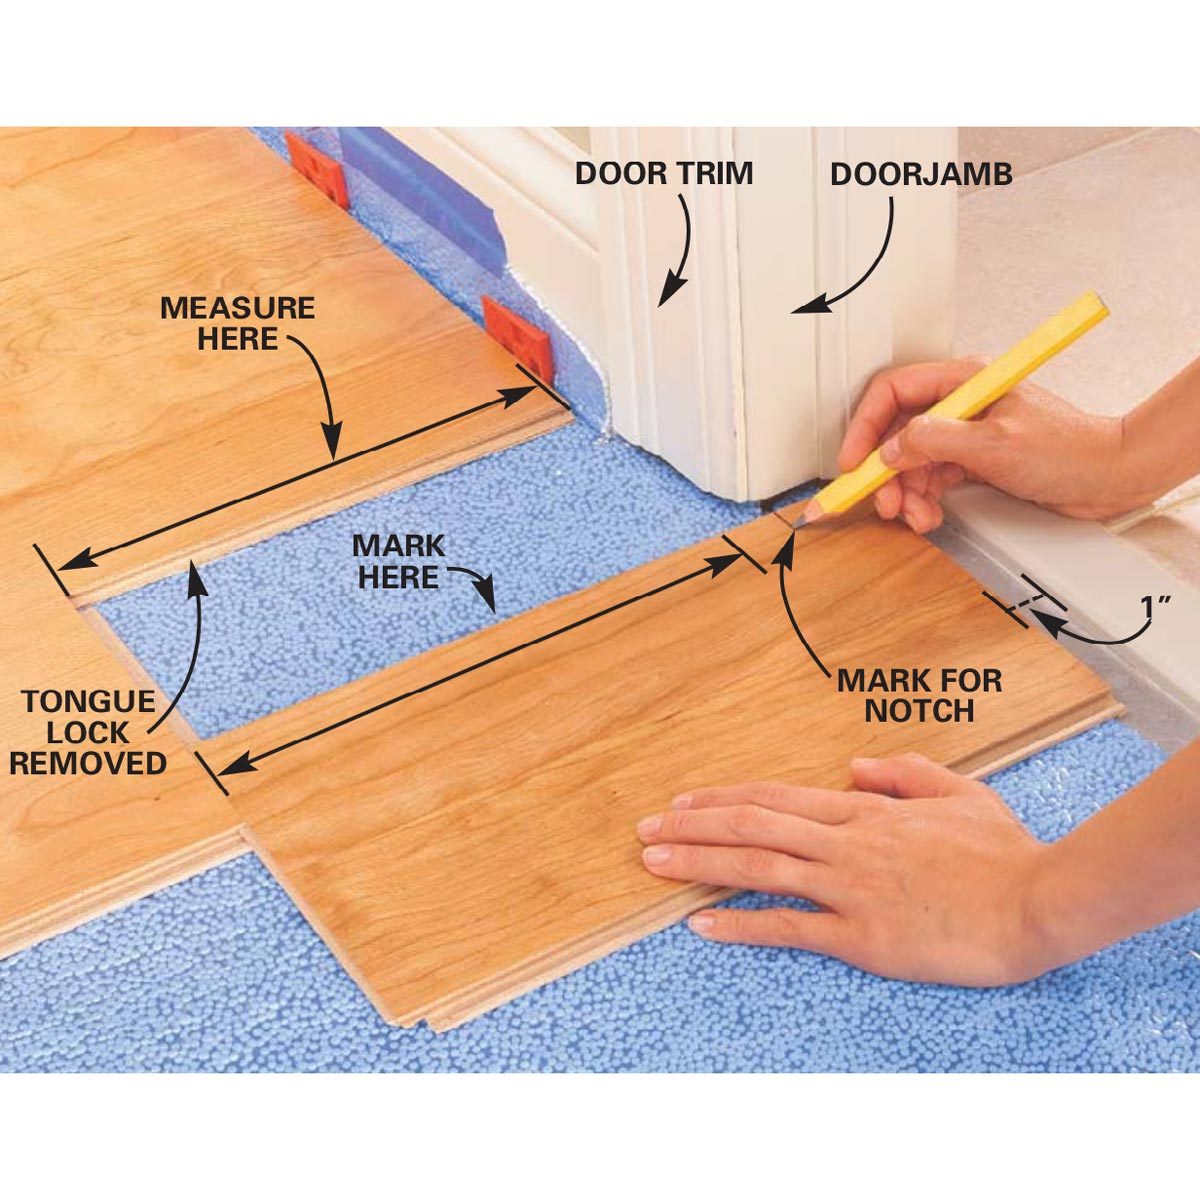
When reaching obstacles like door frames, undercut the trim with a handsaw for a clean fit. For the final row, measure and rip planks to width if needed, leaving the expansion gap. Use a pull bar to lock the last row into place. Take your time to ensure each plank fits correctly before moving forward.
Finishing Touches and Trim Installation
Once all planks are installed, remove spacers and install baseboards or quarter-round molding to cover the expansion gap. Nail the trim into the wall, not the flooring, to allow for movement. Use a finish nailer for a clean look, filling nail holes with wood putty if necessary.
Install transition strips where laminate meets other flooring types, such as tile or carpet. These strips provide a smooth transition and prevent tripping hazards. Secure them according to the manufacturer’s instructions, ensuring they don’t restrict the laminate’s expansion.
Finally, clean the floor with a microfiber mop and laminate-specific cleaner. Avoid excessive water, which can seep into seams and cause damage. Move furniture back carefully, using felt pads under heavy items to prevent scratches. These finishing touches give your installation a polished, professional appearance.

Maintaining Your Laminate Flooring
Regular maintenance keeps laminate floors looking new for years. Sweep or vacuum frequently to remove dirt and grit that can scratch the surface. For deeper cleaning, use a damp mop with a laminate-safe cleaner—never steam mop, as moisture can warp the planks. Wipe up spills immediately to prevent water damage.
Place rugs in high-traffic areas and entryways to reduce wear. Use furniture pads under chairs and tables to prevent dents and scratches. Avoid dragging heavy objects across the floor, as this can damage the locking system. If a plank becomes damaged, some click-lock systems allow for individual replacement without redoing the entire floor.
Over time, laminate may show minor wear. Avoid waxing or polishing, as this can create a slippery surface. Instead, use a laminate floor refresher to restore shine. With proper care, your DIY-installed laminate flooring can last 15-20 years, making it a durable and cost-effective choice for any home.
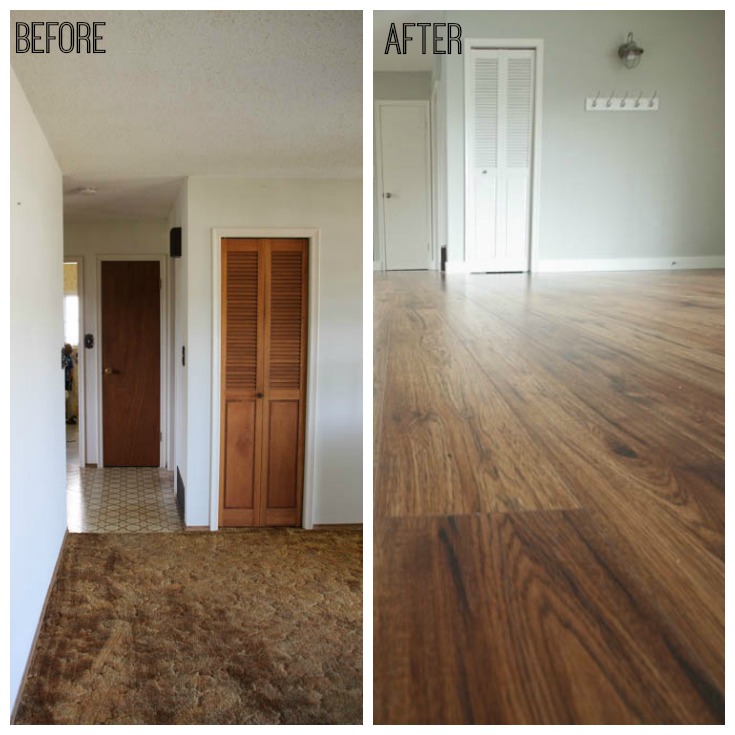
By following these steps, you can successfully install laminate flooring yourself, saving money while achieving professional-looking results. With its easy maintenance and stylish options, laminate is a smart choice for any DIY home improvement project.
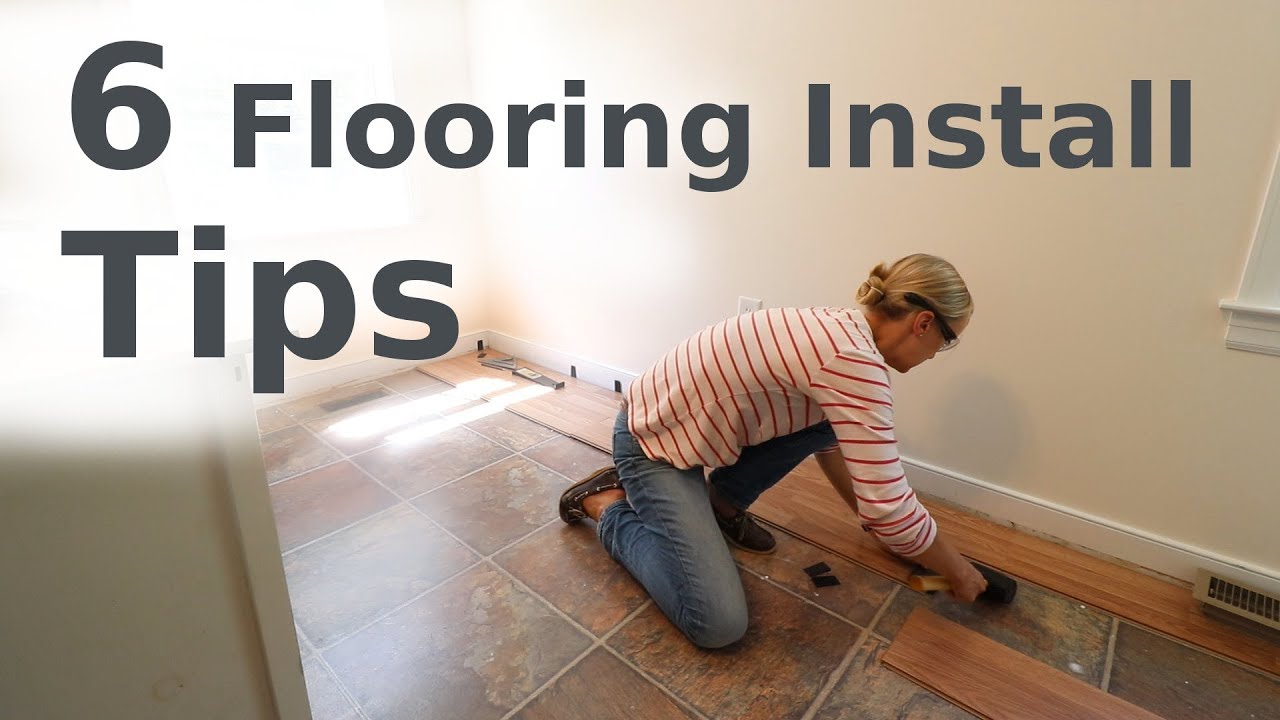
Laminate Floor Installation // Beginner How-To
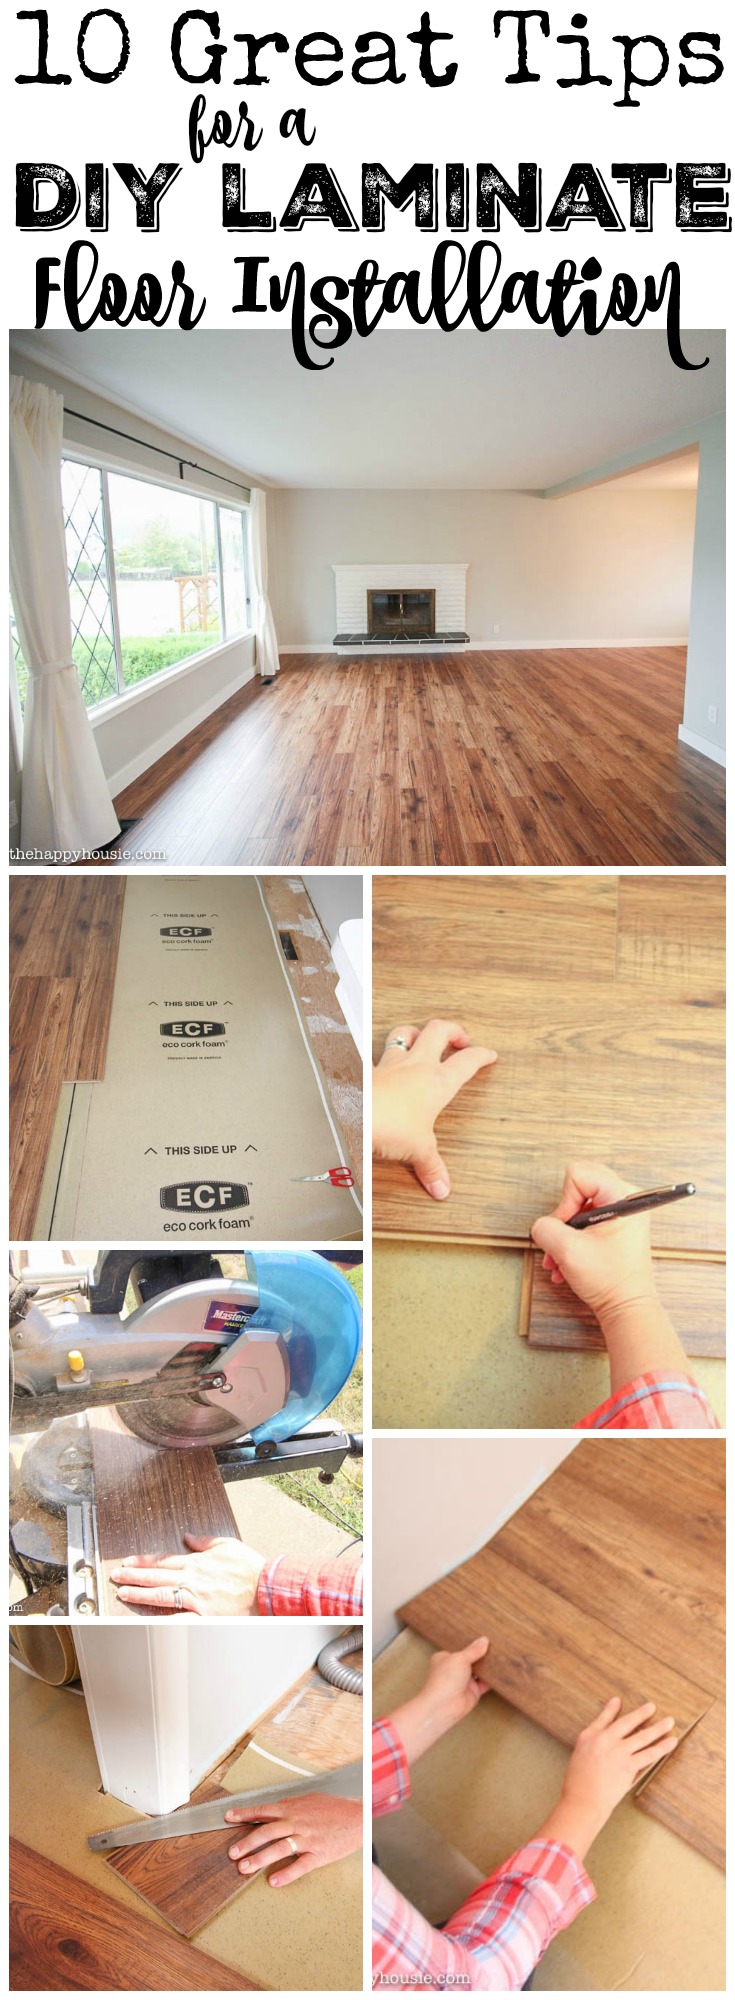
Great Tips for a DIY Laminate Flooring Installation
![]()
HOW TO INSTALL BEAUTIFUL LAMINATE FLOORS IN ONE AFTERNOON
Related Posts: