Worse, a flooded basement is able to draw a great deal of headaches. Furthermore, you need to keep in mind that the downstairs room could fairly often be prone to flooding so whatever flooring solution you use, make sure that the room is properly insulated or maybe the type of flooring you select will not perish with flooding.
Images about DIY Basement Floor Epoxy
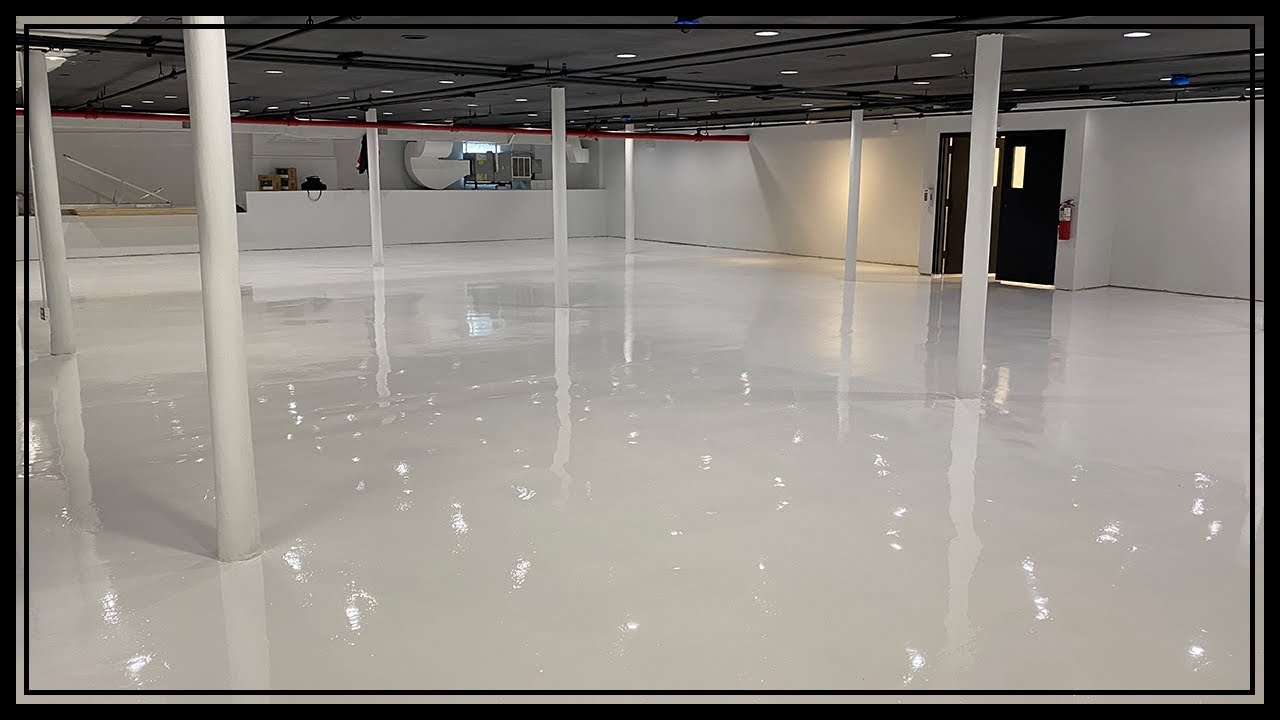
DIY Basement Floor Epoxy

Basements are usually below grade, meaning under ground level. In case you are endeavoring to make use of the basement of yours as a plain bedroom, as many houses do, you may want to try and think about who’ll be staying in that area. If you basically plan to replace damaged floors of the cellar, and not for anything apart from a storage space, then you need not invest in the quality materials.
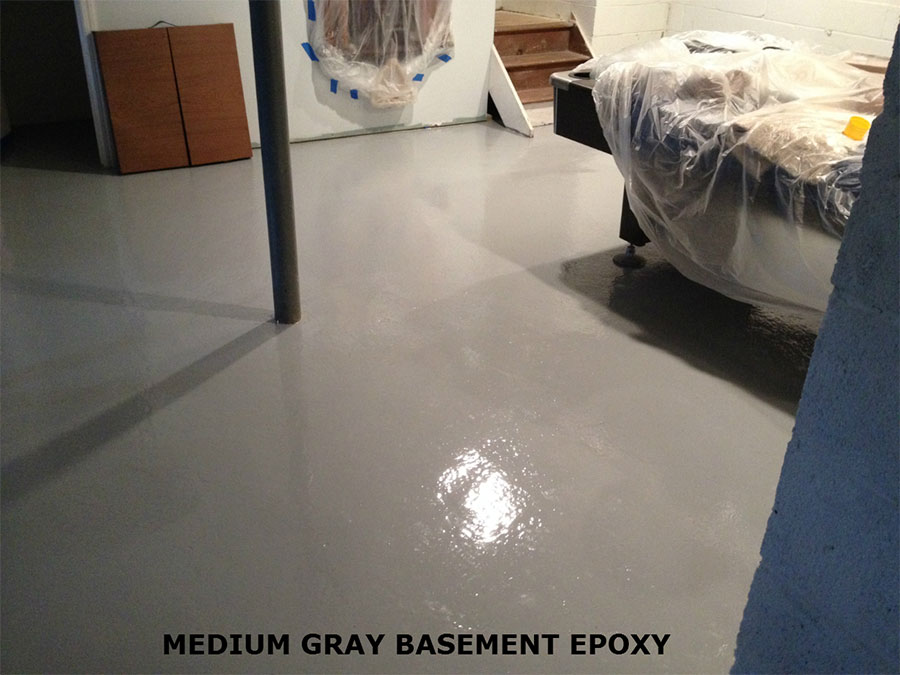
Basement Floor Epoxy Coating Ana White
When installing flooring with a concrete subfloor, be sure that the concrete is entirely level and free from cracks and holes. The most important thing to keep in mind is to take a bit of take and make your right decision for your unique requirements. If you think of waterproofing the basement of yours, most people think of externally fixing the problem or simply fixing the wall space.
Basement Floor Epoxy Coating Ana White
Do-It-Yourself Epoxy Floor Coating
Epoxy Floor Installation Over Old Concrete
Tips For An Easier Do-It-Yourself Epoxy Garage or Basement

Solid White Epoxy Basement DIY
My beautiful Epoxy floor House flooring, Concrete stained floors

Easy Do-It-Yourself Epoxy Flooring Installation Guide We Are Extreme
Epoxy basement floor: Buy, Best, Paint, Coating, 2020 – Epoxy Pro

Basement Floor Epoxy Coating Kits ArmorGarage
Epoxy Floor (Ultimate Design Guide) – Designing Idea
Designer epoxy basement floor in Manassas, VA. #reflector

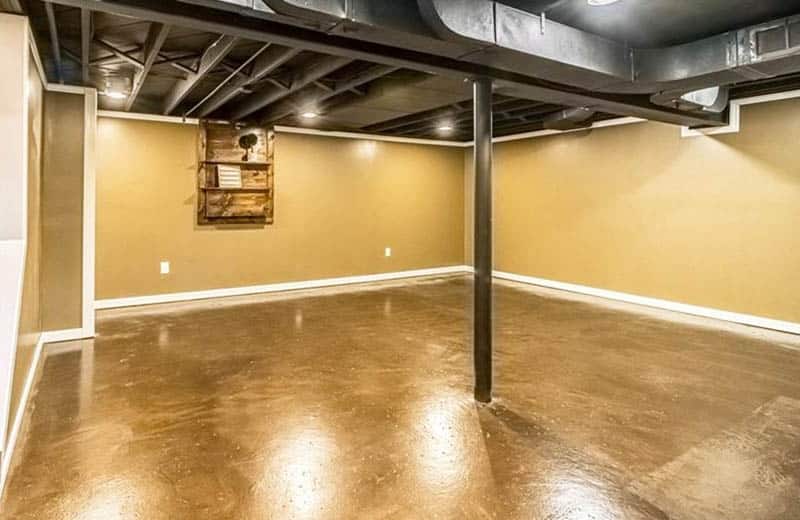
9 Basement Flooring Ideas for Your Home – Bob Vila

Related Posts:
- Vinyl Plank Flooring Basement Installation
- Basement Floor Insulation
- Tile Basement Flooring
- Concrete Basement Floor
- Cleaning Concrete Basement Floor
- Wood Basement Floor
- Basement Laminate Flooring Ideas
- Basement Floor Coating
- Luxury Basement Floor
- Epoxy Paint Basement Floor
DIY Basement Floor Epoxy: Getting Started with a Home Project
It’s no secret that the basement is often the most neglected part of the home. However, with a little bit of time and effort, it can be transformed into a beautiful and functional space. One of the best ways to do this is by applying epoxy to the basement floor. This is a relatively simple DIY project that can make a big impact on the look and feel of your basement. In this article, we’ll take a look at what you need to know about DIY basement floor epoxy and how to get started.
What Is Epoxy?
Epoxy is a type of plastic-like material that can be used to create a durable and attractive finish on many flooring surfaces. It is made from two components: a resin and a hardener. When these two components are mixed together, they form a strong adhesive bond that can be used to coat virtually any type of surface. Epoxy is ideal for use in basements because it is water-resistant and resilient against mold and mildew.
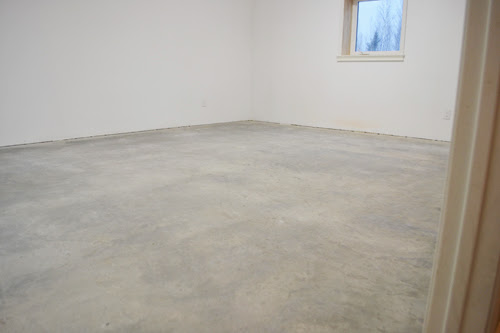
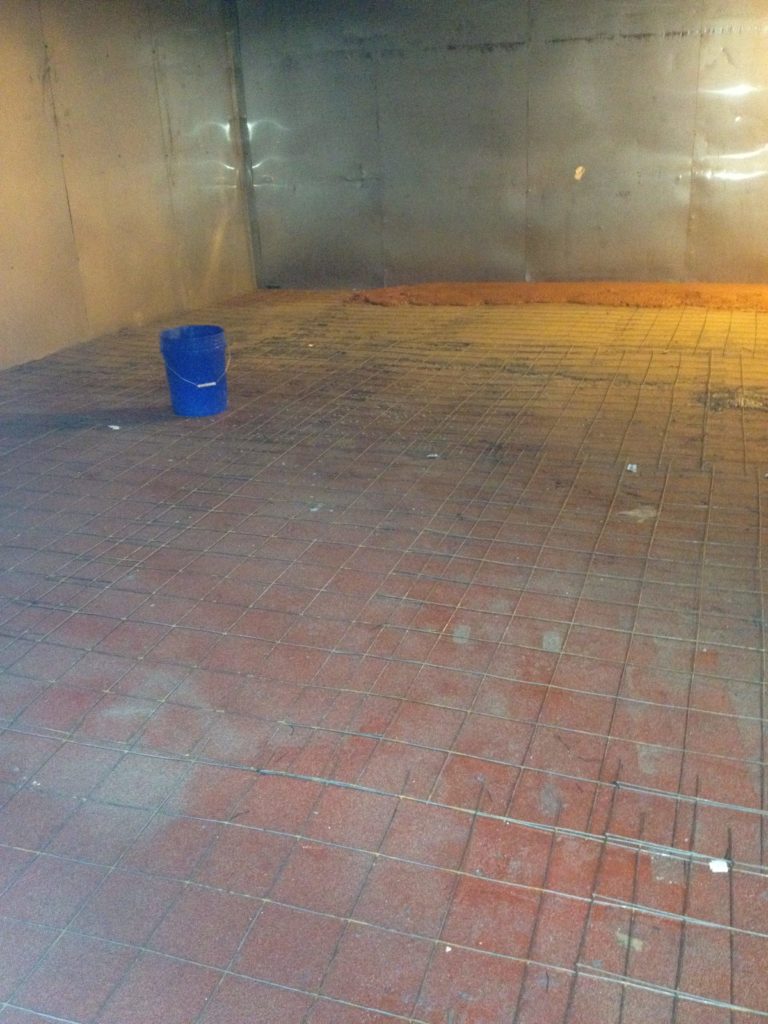
Preparing the Surface
Before you can apply epoxy to your basement floor, you’ll need to prepare the surface by cleaning it thoroughly. Start by sweeping or vacuuming away any dirt or debris that has accumulated on the floor. Then, use a broom and mop to scrub away any grease or grime that may have built up over time. After you have cleaned the surface, use a degreaser or solvent cleaner to remove any stubborn dirt or residue. Finally, rinse the surface with clean water to remove any remaining particles.
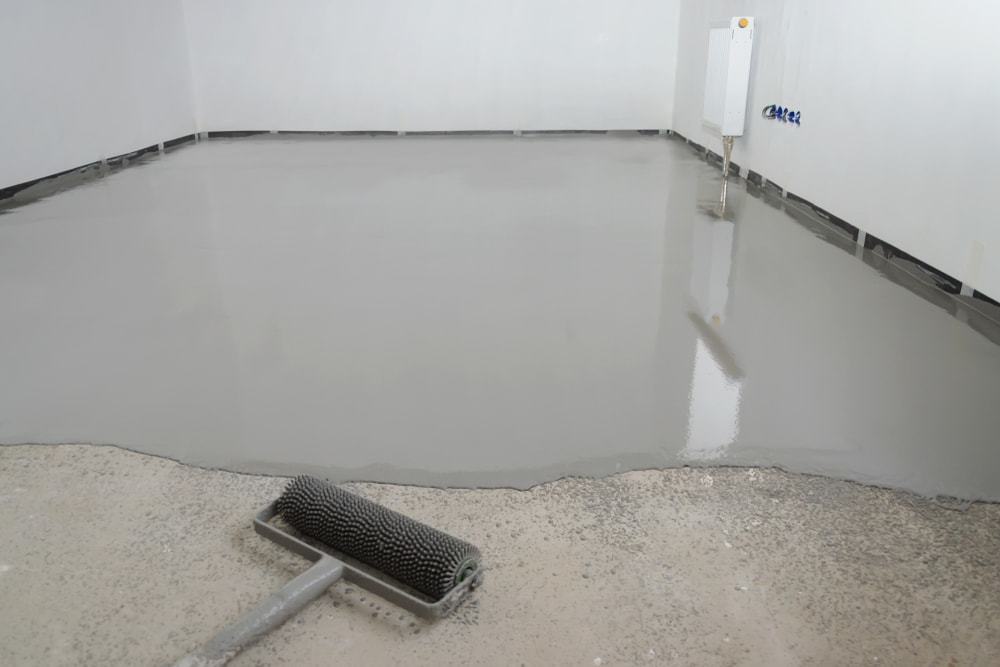
Applying the Epoxy
Once you have prepped the surface, you are ready to start applying the epoxy. Start by mixing the two components together in a bucket according to the manufacturer’s instructions. Once mixed, use a paint roller or brush to spread the epoxy onto the surface of your basement floor. Work in sections, starting at one end of the room and working your way across until you have covered the entire area. Let the epoxy dry for 24 hours before walking on it or moving furniture back into place.
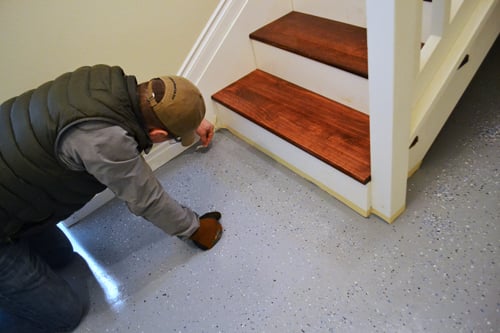
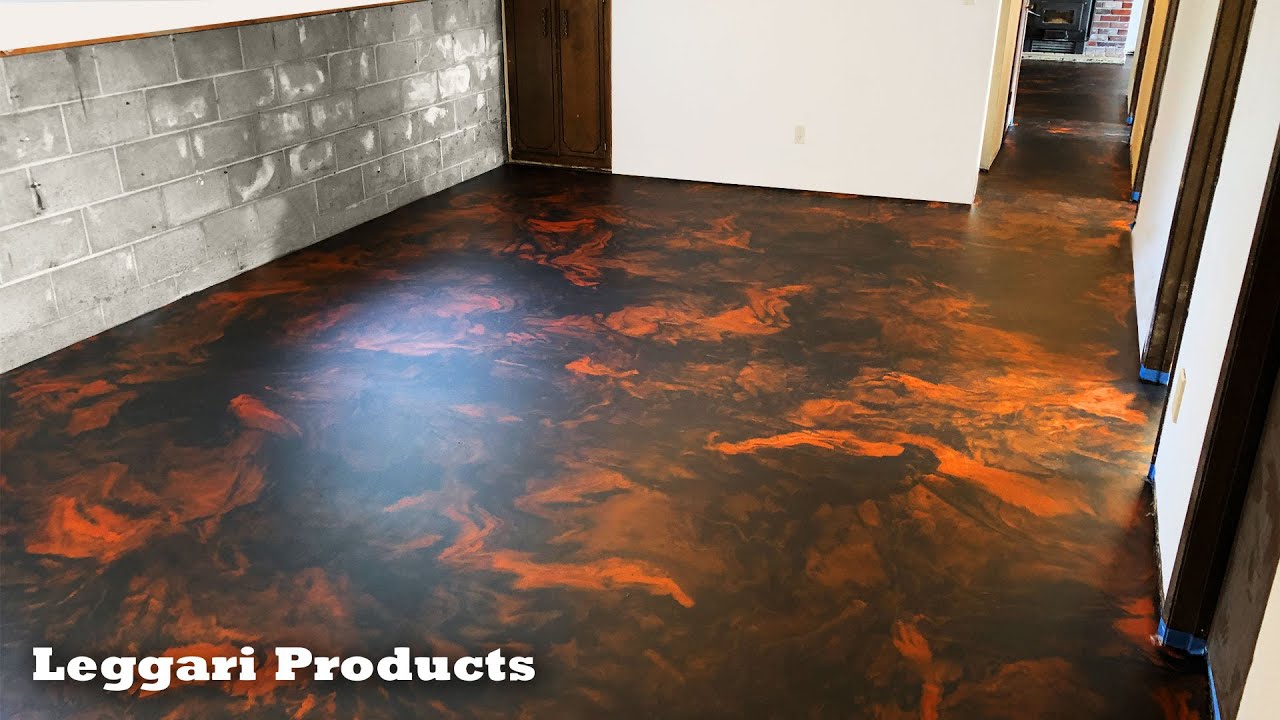
Finishing Touches
Once your epoxy has dried, you may want to add some finishing touches such as decorative flakes or colored pigments for an extra touch of style. If desired, use a roller or brush to apply these materials to the surface of your basement floor. Be sure to allow them to dry completely before walking on them or moving furniture back into place.
FAQs
Q: How long will my DIY basement floor epoxy last?
A: The lifespan of DIY basement floor epoxy will vary depending on how well it is maintained and how much traffic it receives. Generally speaking, it should last for several years before needing to be reapplied or replaced.
Q: Can I apply epoxy over existing carpeting?
A: Unfortunately, no. Epoxy must be applied directly onto concrete or other solid surfaces in order for it to adhere correctly and last for an extended period of time. If you have existing carpeting in your basement, it must be removed before applying epoxy to the floor.
Q: Can I paint over my DIY basement floor epoxy?
A: Yes! Once your epoxy has fully cured, you can paint over it with any type of paint that is suitable for concrete surfaces. However, keep in mind that painting over epoxy will reduce its water-resistance properties and may require more frequent reapplication or replacement in order to maintain its original look and feel.
Q: Is DIY basement floor epoxy difficult to install?
A: No! Applying epoxy to your basement floor is actually quite easy and can usually be completed in just one day if all necessary materials are on hand. All you need is some basic tools such as a paint roller or brush, mixing bucket, measuring cups, and protective gear (gloves, goggles). With just these items and some patience, you can create an attractive and durable surface that will last for years to come!