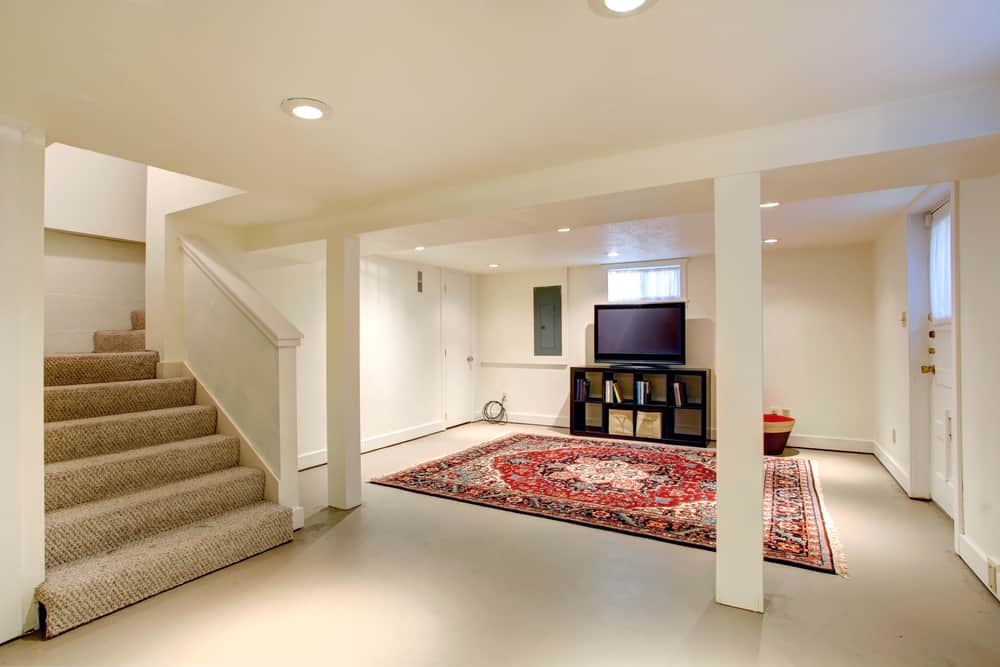
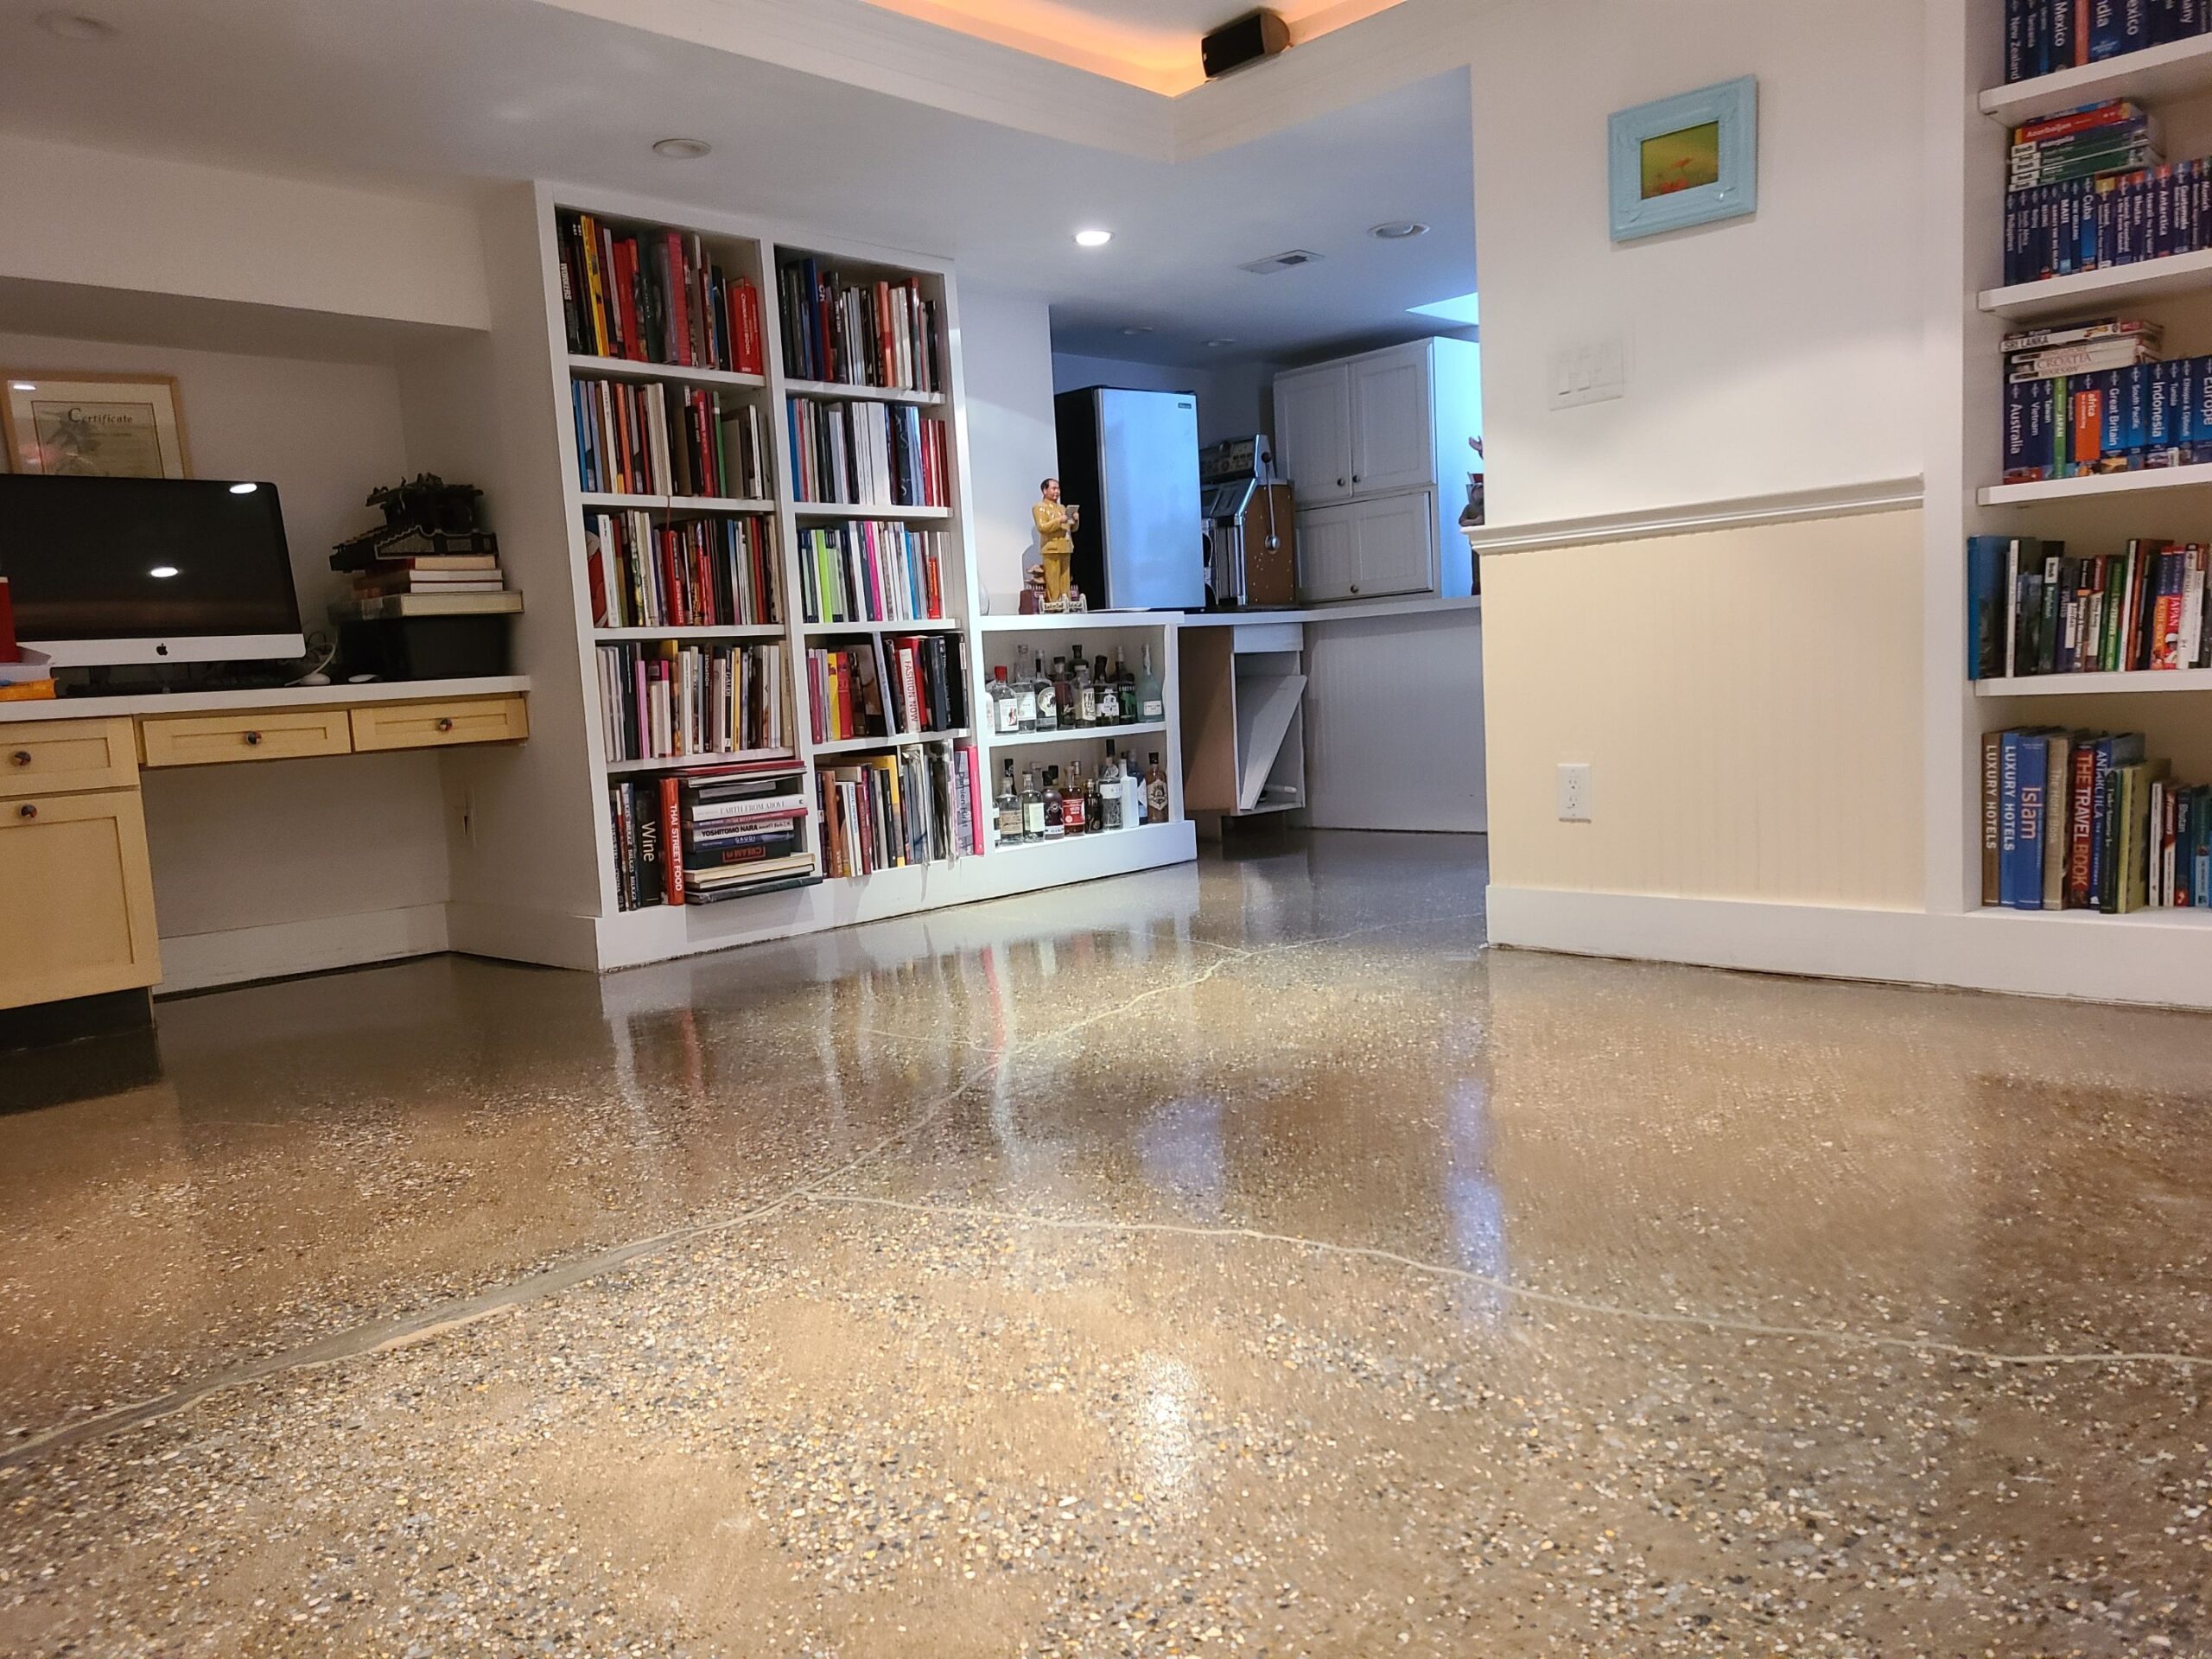
When I decided to transform my damp, dingy basement into a usable living space, the floor was the first thing I knew had to change. That cracked, stained concrete wasn’t going to cut it for a family room. After researching for weeks and then actually doing the work, I learned that basement floor coating is one of the most impactful upgrades you can make to a home, and also one of the most unforgiving if you skip steps. Here’s my honest account of what works, what doesn’t, and what I’d tell any friend starting this project today.
Understanding Your Basement Floor Before Choosing a Coating
The biggest mistake I almost made was picking a coating before understanding what my concrete floor was actually dealing with. Basement slabs are different from garage floors or interior concrete. They sit directly on the ground, which means moisture vapor constantly pushes up from below, and if your coating isn’t designed for that, it will peel within months.
I did a simple moisture test before buying anything. I taped several plastic sheets flat against my floor, sealed the edges with duct tape, and waited 24 hours. When I peeled them back, condensation had formed under most of them. That told me I had active moisture transmission and needed a coating system specifically rated for below-grade concrete applications.
I also checked for old paint or sealers already on the floor, since many coatings won’t bond to previously treated concrete without aggressive prep. I used a few drops of water to test absorption. If water beads up rather than soaking in, something is already sealing the surface and you’ll need to grind or acid etch before applying anything new.
Choosing Between Epoxy, Polyurea, and Concrete Stain
Once I understood my floor’s condition, I had to choose what type of coating to use. Epoxy was the first option I looked into since it’s the most widely recognized. It creates a hard, glossy surface and bonds well to prepared concrete, but it can yellow over time with UV exposure and takes longer to cure than newer alternatives.
Polyurea coatings were recommended to me by a contractor friend, and after researching further I understood why. Polyurea cures faster, is more flexible, and handles temperature fluctuations better than traditional epoxy. It’s also more resistant to hot tire pickup, which matters less in a basement than a garage, but the durability benefit still applies to everyday use.
Concrete stain is a third option that gives a more natural, decorative finish rather than a hard protective shell. I seriously considered it for the aesthetic, since acid stains create beautiful marbled effects. But given my moisture issues, I needed a coating that seals the surface rather than just colors it. In the end I went with a two-part polyurea system and have been very happy with how it’s held up.
Preparing the Concrete Surface the Right Way
If there’s one thing I want every person reading this to take seriously, it’s surface prep. Every professional I consulted said the same thing: the coating is only as good as the prep underneath it. I spent more time preparing my floor than actually applying the coating, and that’s exactly how it should be.
I rented a walk-behind floor grinder with a diamond grinding attachment to open up the concrete surface and remove a thin layer of the top skin. This roughens the texture so the coating can grip properly. It’s loud, dusty work and I wore a respirator the entire time. The dust alone made me glad I hadn’t skipped this step since it revealed several weak spots I needed to address.
After grinding, I vacuumed thoroughly and went over the entire floor with a stiff brush to clean out any loose material from cracks. I filled cracks and divots with a polyurea crack filler and let it cure overnight. I then did a final clean with a concrete degreaser mixed with water, let it dry completely, and did one last vacuum pass before touching the coating. All that prep made the application stage go smoothly.
Applying the Base Coat and Getting It Right
The day I applied the base coat, I made sure the basement temperature was between 55 and 85 degrees Fahrenheit, which is the sweet spot most coatings require for proper curing. Too cold and the product won’t cure properly. Too warm and it sets faster than you can spread it. I also turned off the HVAC so no dust would circulate during application.
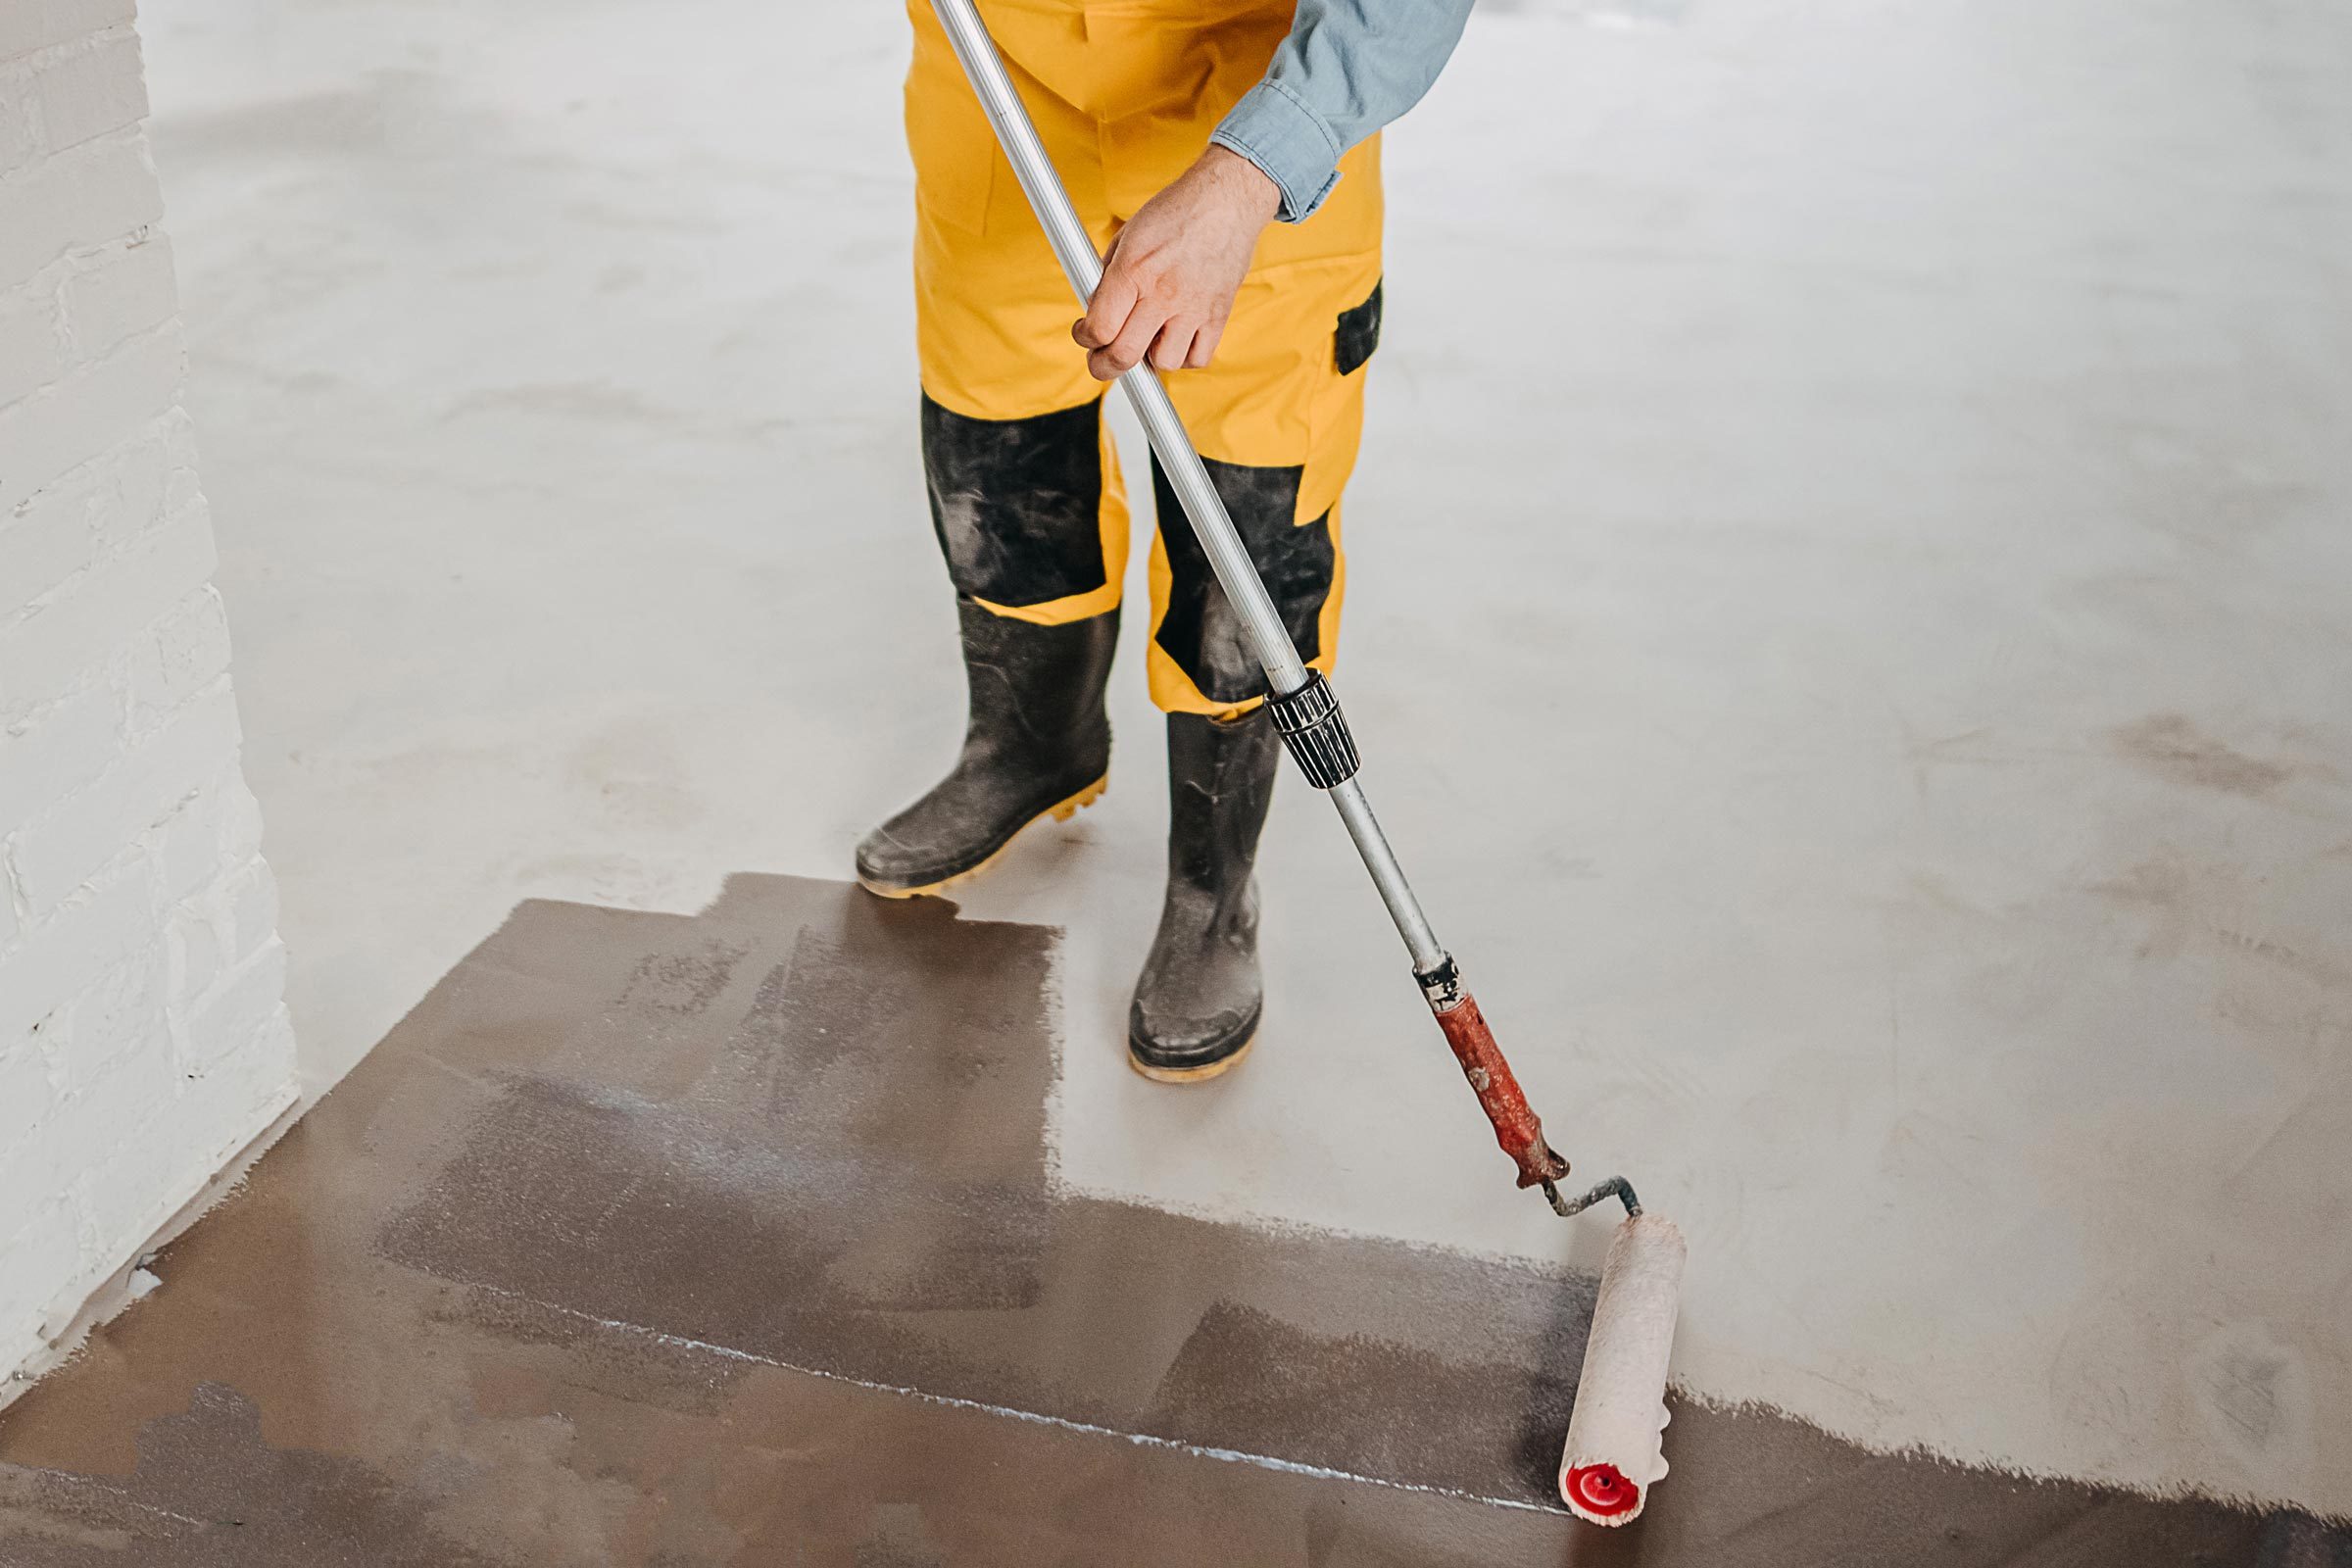
I mixed my two-part polyurea base coat according to the exact ratios on the packaging, no eyeballing it. Off-ratio mixing is one of the most common reasons DIY floor coatings fail prematurely. I poured it into a roller tray and used a 3/8 inch nap roller on an extension pole to apply it in even, overlapping passes across the floor.
I worked from the far corner of the basement toward the stairs so I wouldn’t paint myself into a corner, a rookie mistake I’d read about and was determined to avoid. The base coat went on smoothly and I could see immediately how it was transforming the dull gray slab. I let it cure for the manufacturer’s recommended window, about 3 to 4 hours, before moving to the next step.
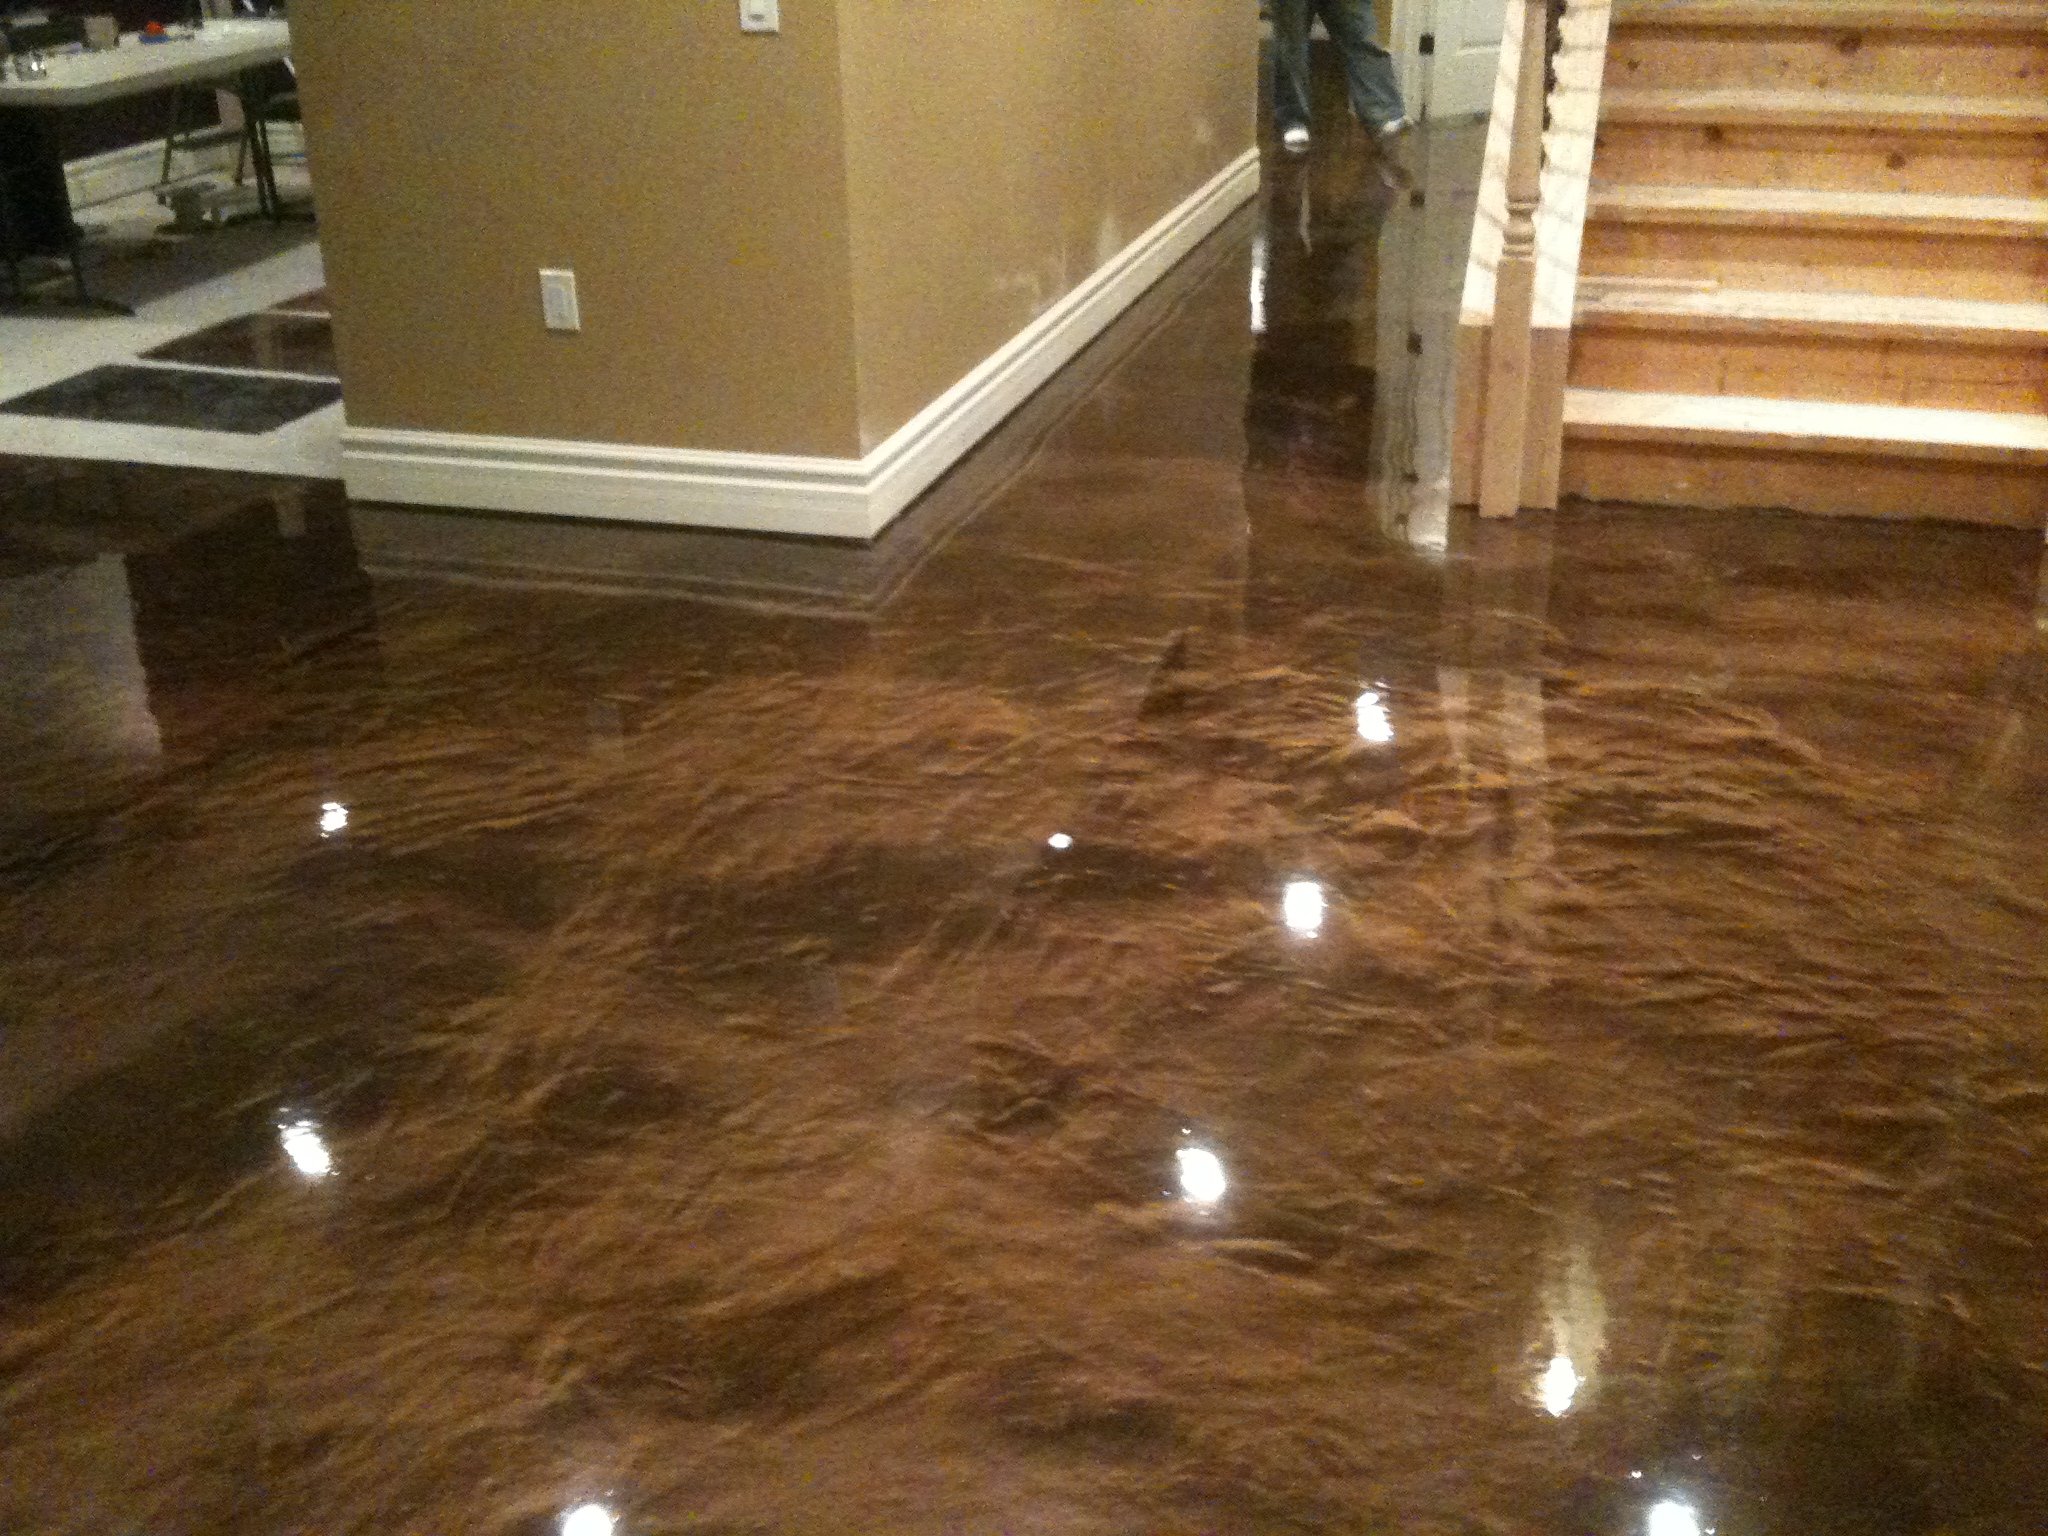
Adding Decorative Flakes and a Topcoat for Durability
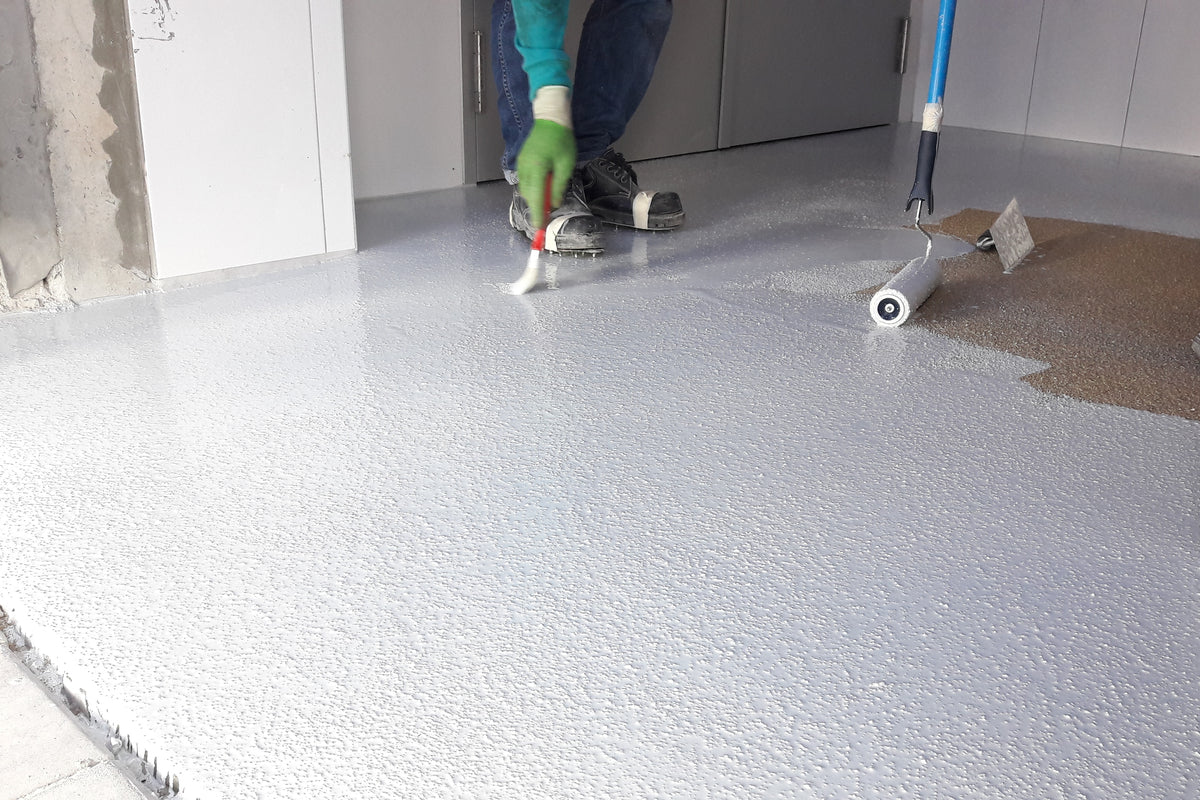
While the base coat was still tacky, I broadcast decorative vinyl flakes across the entire surface. This is the fun part, you literally throw handfuls of colored chips into the air and let them fall randomly onto the wet coating. I used a full broadcast method, meaning I covered the entire floor with flakes rather than a sparse scatter, which gave it a much more professional, finished appearance.
Once the base coat had fully cured, I scraped off any loose or standing flakes with a floor scraper, then vacuumed the entire surface again. This step surprised me since I didn’t expect to remove so many flakes after just throwing them down. But the scraping and vacuuming creates a smooth, even surface for the topcoat to go over.
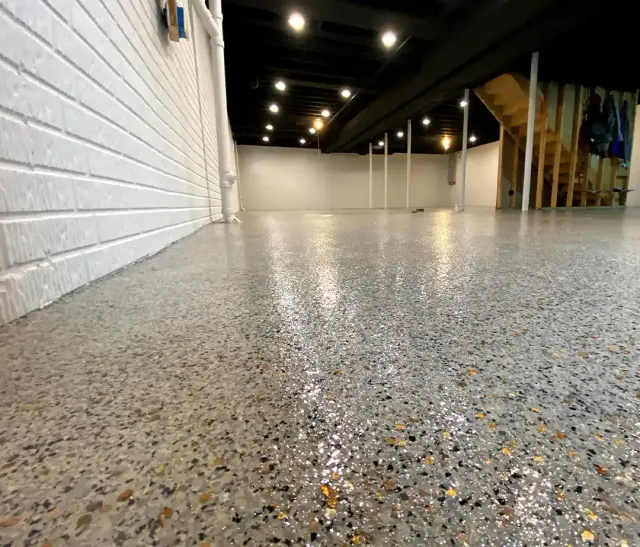
The topcoat was also a two-part polyurea, applied the same way as the base but in a thinner coat. This clear layer is what provides the actual durability and gloss. I applied two topcoats with a light sanding between them using a pole sander and 220 grit screen. The final result was a glossy, speckled floor that looked completely professional and transformed the entire feel of my basement.

How Long to Wait and How to Maintain Your Coated Floor
After the final topcoat, patience was genuinely the hardest part. I was so excited to see the finished result that I wanted to walk on it immediately. Most polyurea systems are ready for foot traffic within 24 hours, but I waited 48 hours before bringing anything in and a full 72 hours before moving heavy furniture back down.
For daily maintenance, I use a soft dust mop and a pH-neutral cleaner diluted in water. Harsh chemical cleaners, abrasive scrub pads, and anything with ammonia or bleach can degrade the topcoat over time. I also placed rubber mats near the stairs and in the laundry area where the floor takes the most abuse from foot traffic and appliance movement.
One thing I’d add is to touch up any chips or scratches sooner rather than later. A small damaged spot is easy to address with a matching topcoat while it’s fresh. Let it go too long and moisture can sneak under the coating at that vulnerable point and cause larger peeling. Annual inspections where I get down and look closely at the surface have helped me catch small issues before they became expensive problems.
Is basement floor coating worth the cost and effort?
For me, absolutely yes. My basement went from an embarrassing storage dump to a room we actually use daily. Coating protects the concrete from moisture damage, makes cleaning effortless, and dramatically improves the appearance. Whether you DIY or hire a pro, the long-term value in usability and home resale appeal makes it one of the better investments I’ve made in my home.
How do I know if my basement floor has too much moisture for coating?
The plastic sheet test I used is the easiest method. Tape a square of plastic flat to the floor, seal the edges completely, and wait 24 hours. If moisture forms underneath, you have active vapor transmission. Some coatings are formulated for moist concrete, but you need to know this upfront. Applying a standard coating over a wet slab is the fastest way to guarantee peeling and failure.
How long does a basement floor coating last?
A properly prepared and applied polyurea system can last 10 to 20 years with reasonable care. Epoxy tends to have a shorter lifespan, especially if it yellows or chips. The prep work is the biggest factor in longevity. Floors that were properly ground and primed before coating consistently outlast those where corners were cut. Annual inspections and quick touch-ups extend the life significantly.
Can I coat a basement floor myself or should I hire a pro?
DIY is very doable if you’re willing to invest in proper prep equipment and follow instructions carefully. I did mine myself and saved roughly $2,000 compared to professional quotes. The main risks are skipping prep steps and incorrect mixing ratios. If your floor has major cracks, significant moisture issues, or you’ve had previous coating failures, a professional assessment is worth the consultation cost before attempting it yourself.

How much does basement floor coating typically cost?
DIY kits for a standard two-car basement size run roughly $300 to $700 depending on the product system and quality level. Professional installation ranges from $3 to $7 per square foot including prep, which adds up to $1,500 to $4,000 for a typical basement. The price difference is significant, but professional crews bring commercial grinding equipment and experience that produces very consistent results if budget allows.
Is a coated basement floor safe and comfortable for kids and pets?
Once fully cured, polyurea and epoxy coatings are non-toxic and completely safe for children and pets. The surface is easy to clean up accidents, spills, or muddy paw prints with just a mop. The decorative flake finish also adds slight texture that improves traction compared to plain sealed concrete. I added foam play mats in the area where my kids spend time, which makes the floor softer and warmer for longer play sessions.
Related Posts: