When I decided to finish my basement, the flooring choice felt like the most stressful part of the whole project. I wanted the warmth and character of wood, but everyone kept warning me about moisture, flooding risks, and concrete subfloors.
After months of research, conversations with contractors, and a few sample disasters, I finally landed on a solution that worked beautifully for my space. If you’re standing where I was, trying to figure out whether wood flooring belongs in a basement, I want to share everything I discovered along the way.
Why People Hesitate to Put Wood Floors in Basements
The biggest concern I heard over and over was moisture. Basements sit below grade, which means they’re naturally surrounded by soil that holds water. Even in a dry basement, humidity levels can fluctuate significantly through the seasons, and wood is famously sensitive to those changes. That fear kept me second-guessing myself for months before I finally understood what my options actually were.
The second thing that gave me pause was the concrete subfloor. Most basements have a concrete slab as the base, and you can’t just nail traditional hardwood directly to concrete the way you would over a wooden subfloor.
I had to learn about different installation methods, moisture barriers, and subfloor systems before I felt confident moving forward with any kind of wood product.
What I eventually realized is that the hesitation is valid but not a dead end. With the right product selection and proper preparation, you absolutely can have a beautiful wood or wood-look floor in a basement.
The key is knowing which products are built for the challenge and which ones will buckle and warp within a season. That knowledge completely changed how I approached my own project.
Engineered Hardwood: The Closest Thing to Real Wood Downstairs
When I learned about engineered hardwood, something clicked. It’s made with a real wood veneer on top, so it looks and feels authentic, but the core is built from layered plywood that handles moisture and humidity fluctuations far better than solid wood ever could. For a basement, this distinction matters more than almost anything else you’ll read about flooring.
I visited a flooring showroom and ran my hand across an engineered oak sample, and it honestly felt indistinguishable from the solid hardwood upstairs in my living room. The grain, the texture, the warmth, it was all there. The salesperson explained that engineered hardwood can even be lightly sanded and refinished once or twice over its lifetime, which made me feel better about the long-term investment I was making.
The installation process for engineered hardwood in a basement typically involves either gluing it directly to the concrete or floating it over a foam underlayment. My contractor recommended the floating method for my space because it allowed for easier replacement if any moisture issues ever came up later. It went down quickly and the result looked like a proper finished room rather than an afterthought tucked under the house.

Luxury Vinyl Plank: The Wood Look With Serious Protection
I’ll be honest, I almost dismissed luxury vinyl plank because I thought it sounded cheap. Then I saw it installed in a friend’s basement and completely changed my tune. Modern LVP has come so far that the wood grain textures and color variation genuinely fool people who don’t know what they’re looking at. My friend’s basement looked like it had real oak floors, full stop.
What makes LVP such a strong contender for basements is its 100 percent waterproof core. Unlike engineered hardwood, which can still be damaged by standing water or very high humidity, quality LVP shrugs off moisture without any drama. For a below-grade space where surprises happen, that kind of resilience is worth a lot, especially if you have kids using the basement regularly.
LVP is also one of the more DIY-friendly options on the market. The click-lock installation system means planks snap together over a flat subfloor without glue or nails. I laid a small section myself just to see if I could manage it, and it was surprisingly straightforward. If your concrete is reasonably level and you have a weekend to spare, you could realistically handle this project yourself and save a meaningful amount on labor costs.

Preparing Your Basement Subfloor for Wood Flooring
I can’t stress this enough: the prep work is everything. Before I chose my flooring, my contractor came in and tested the concrete slab for moisture using a calcium chloride test. The results showed my basement was within an acceptable range, but if it hadn’t been, we would have needed to address that before any flooring went down at all.
Leveling the concrete was the next big task. Concrete slabs are rarely perfectly flat, and even small dips or high spots can cause floating floors to flex, squeak, or develop gaps over time. We used a self-leveling compound in a few problem areas and let it cure fully before doing anything else. That extra step added a day to the timeline but made a noticeable difference in how solid the finished floor felt underfoot.
A moisture barrier is non-negotiable in almost every basement flooring project. Whether it’s a sheet of plastic poly film, a foam underlayment with a built-in vapor barrier, or a dimple mat system that creates an air gap between the concrete and flooring, something needs to sit between your wood product and that slab. Skipping this step is one of the most common and costly mistakes I heard about from people who’d done basement projects before me.

Dealing With Basement Moisture Before and After Installation
Before my flooring went in, I spent about two months actively managing my basement’s moisture situation. I had a dehumidifier running consistently, sealed a few minor cracks in the foundation walls with hydraulic cement, and made sure my gutters and grading outside were directing water away from the house. All of that groundwork made me confident the environment was stable enough for a wood product.
After installation, I kept the dehumidifier running, especially through summer when humidity levels climb. My contractor told me to keep the basement between 30 and 50 percent relative humidity year-round, and I bought a simple hygrometer to monitor it. Staying in that range has kept my engineered hardwood looking perfect through two full years of seasonal changes without a single issue.
One thing I wish I’d done sooner was install a whole-home humidifier system to balance things out in winter, when the air gets very dry and wood can shrink slightly. I noticed tiny gaps appearing between a few planks one January, and adding a humidifier to my HVAC system closed them back up within a couple of weeks. It’s a small investment that protects a much bigger one, and I’d recommend it to anyone with wood flooring anywhere in the house.
Design Ideas for Making Your Basement Feel Like a Real Room
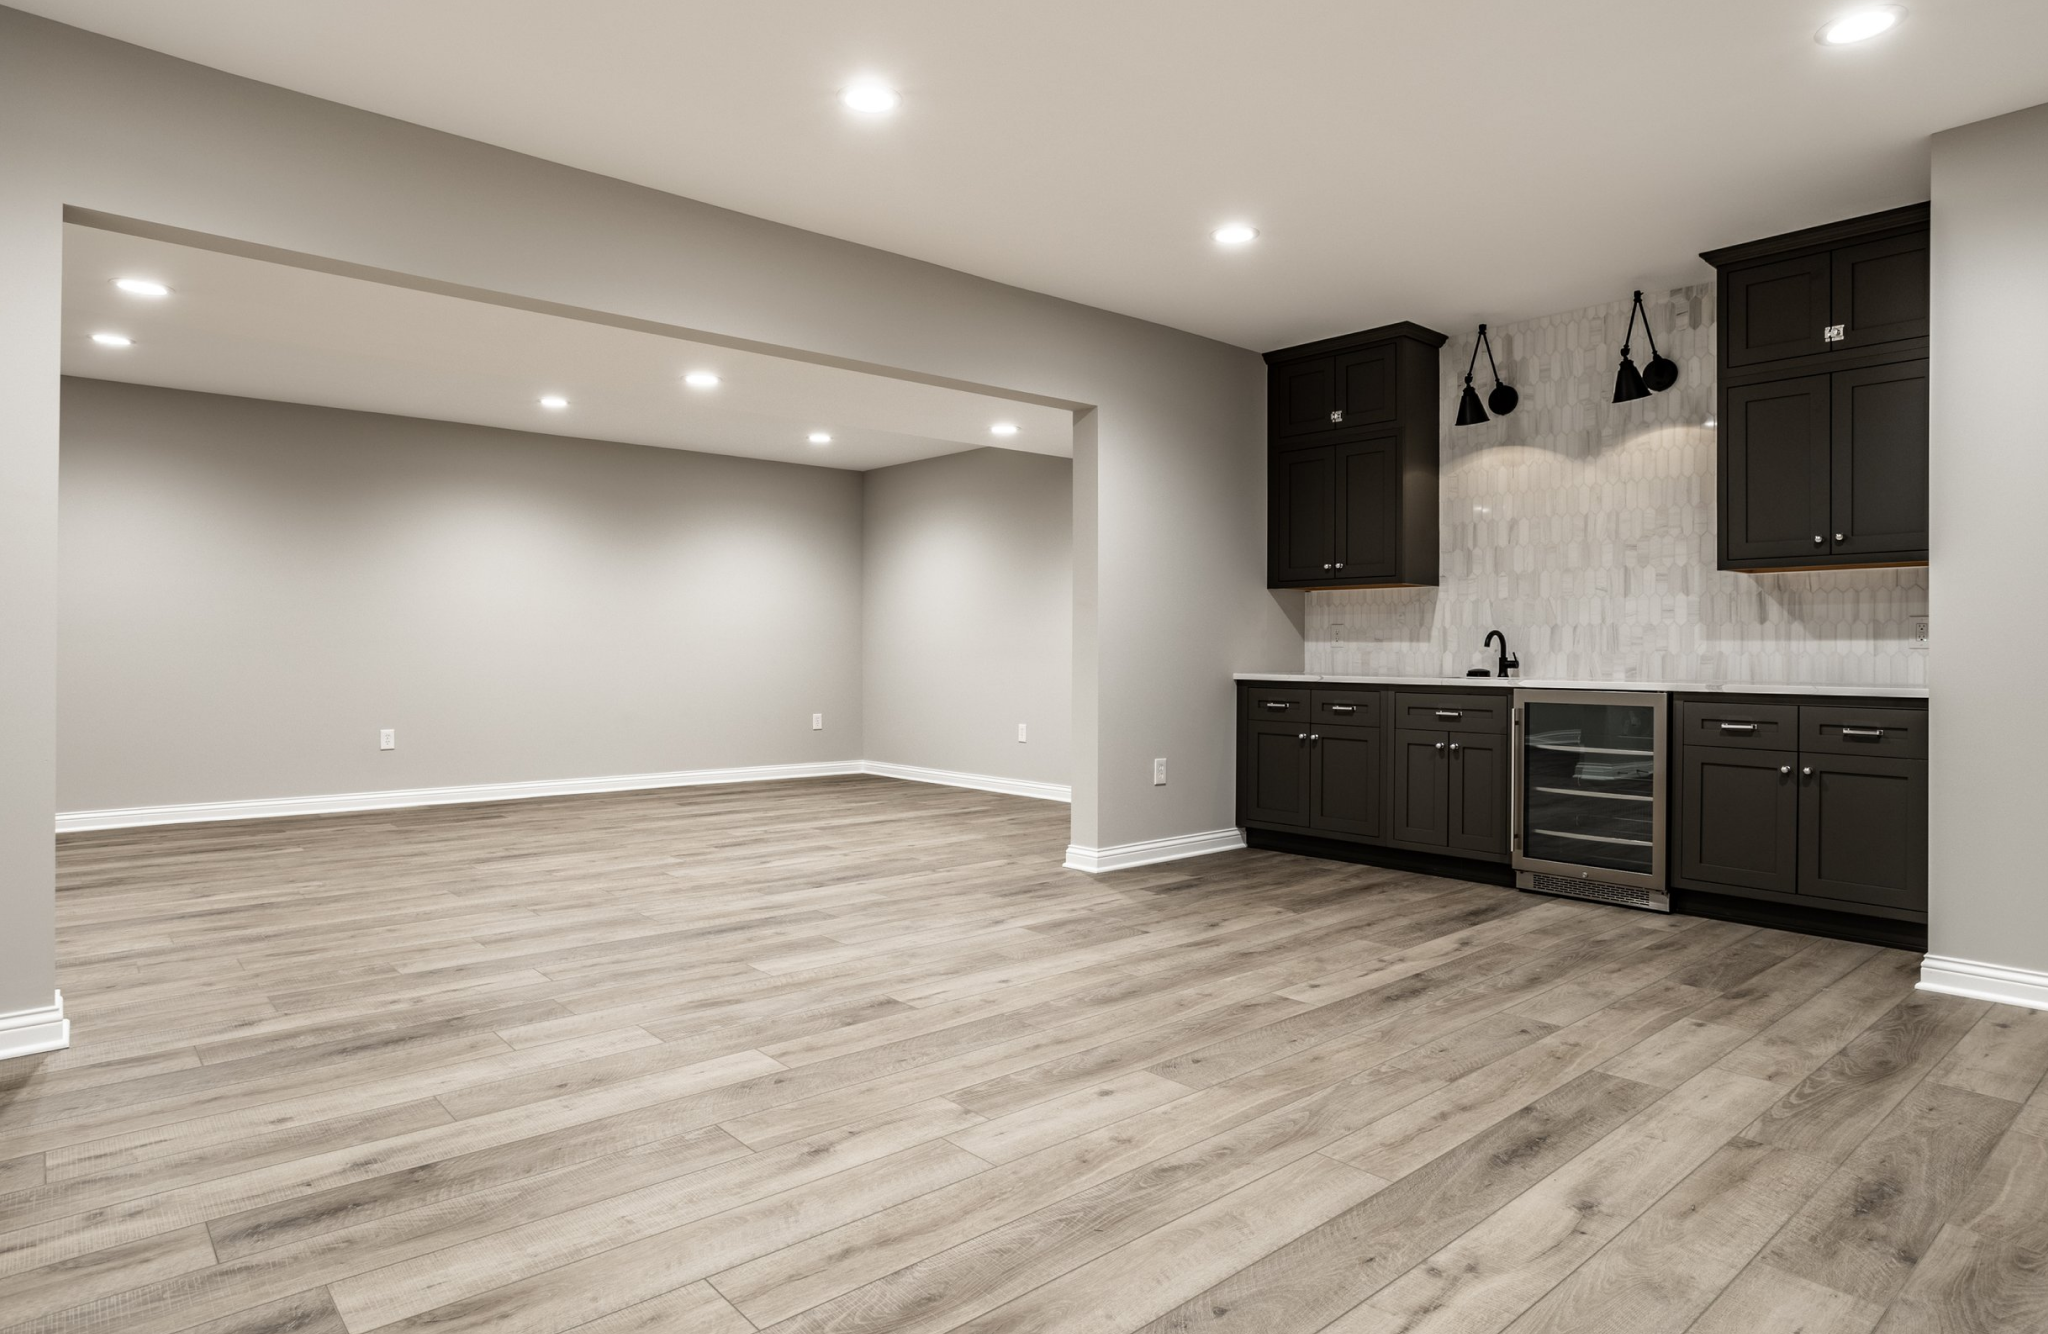
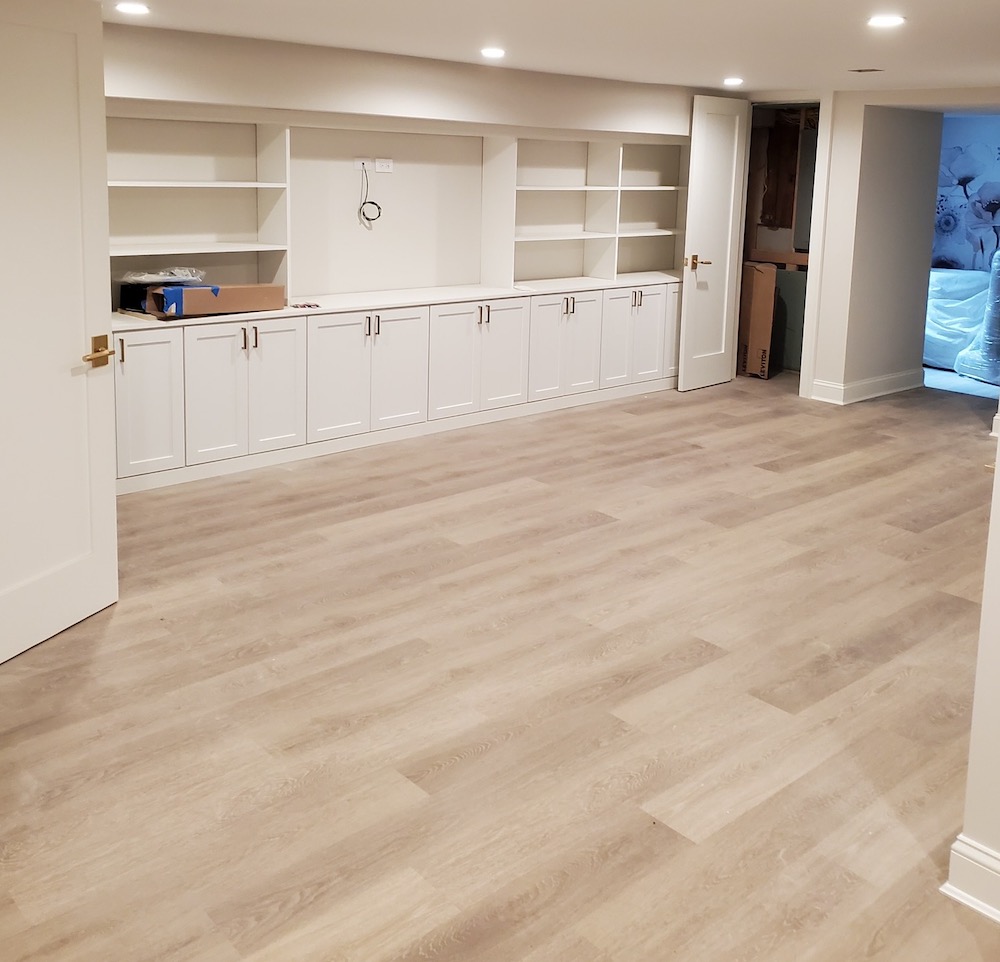
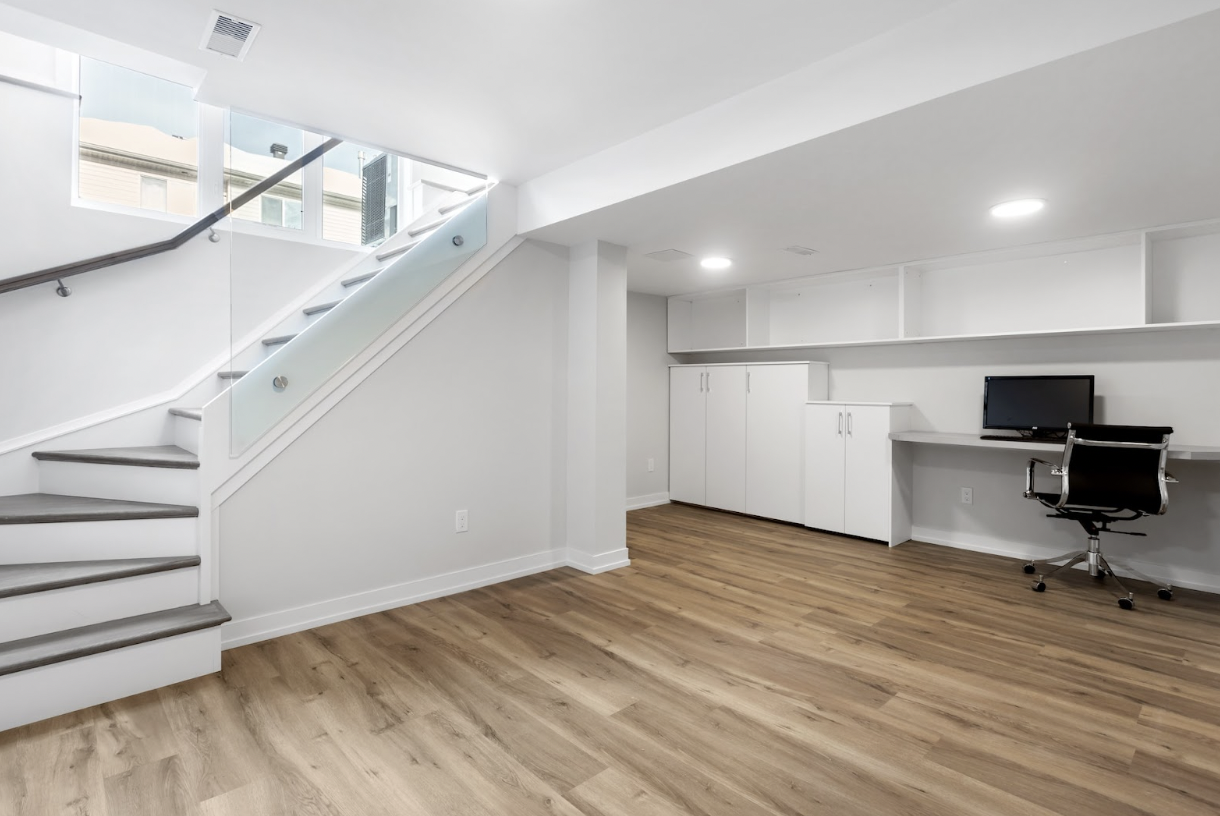
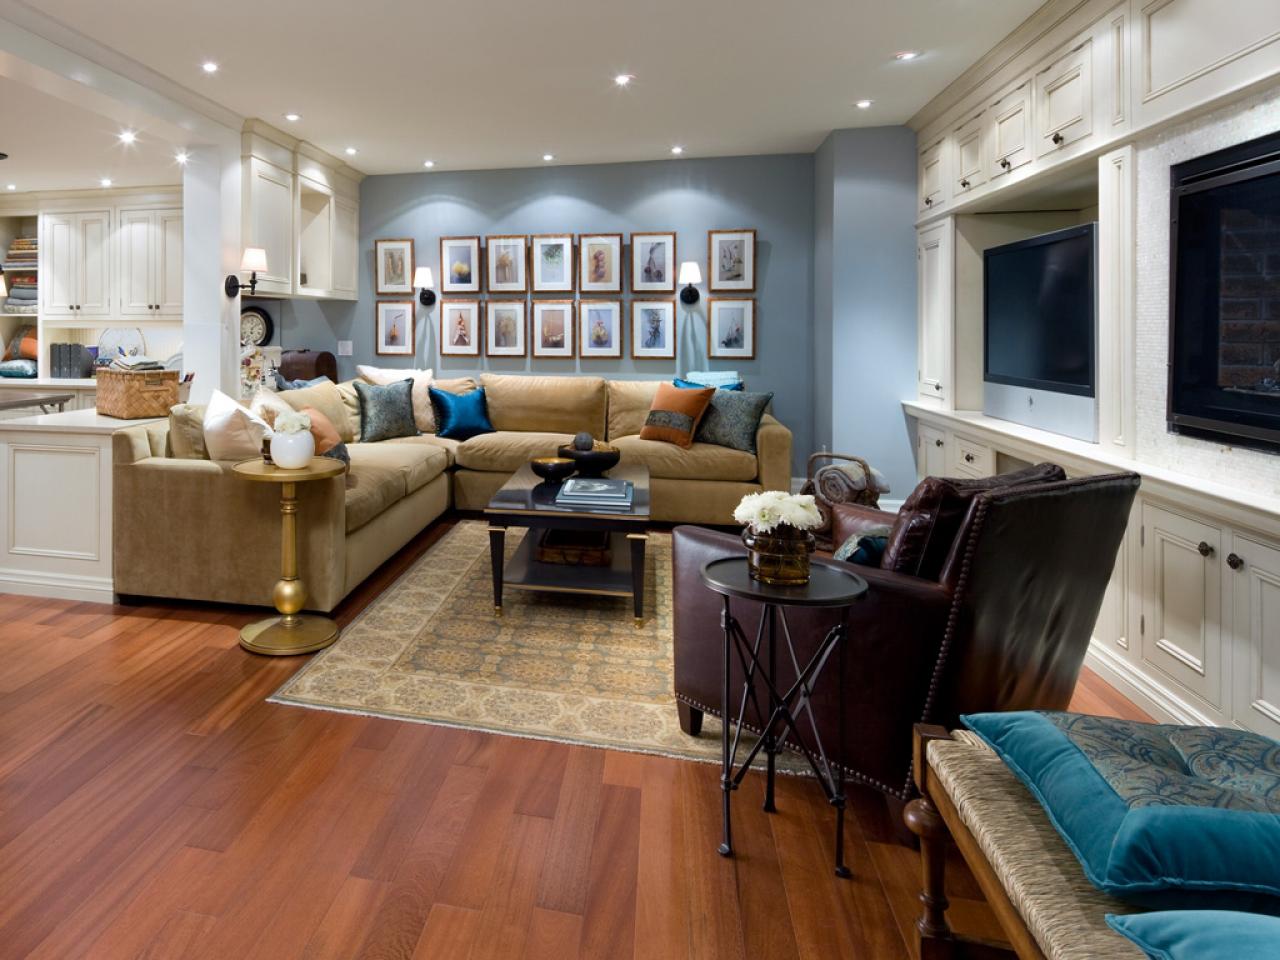
The moment my basement floor was finished, the whole space transformed. Before, it felt like a utility area you tolerated. After, it felt like a room you actually wanted to spend time in. The right flooring does that, and light-toned engineered oak was exactly what my low-ceiling space needed to feel open and inviting rather than cave-like.
I chose a wide plank format, which I think was one of the best decisions I made from a design standpoint. Wider planks mean fewer seams running across the floor, which creates a calmer, more expansive visual. In a basement that’s already fighting against small windows and limited natural light, every design trick that opens up the space is worth using.
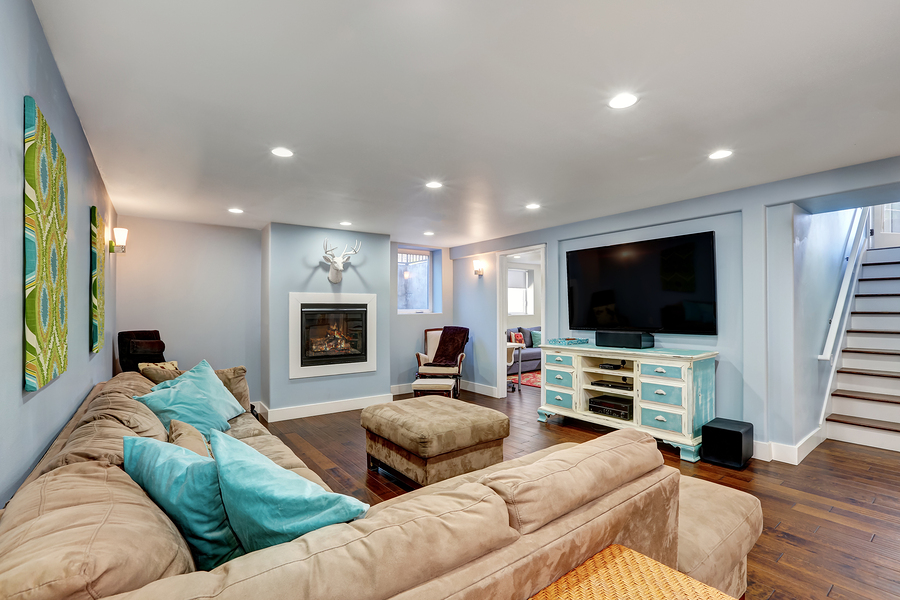
Layering rugs over the wood floor pulled everything together in a way I didn’t anticipate. I added a large area rug under the sectional sofa and a smaller one near the wet bar, and suddenly the basement had distinct zones that each felt purposeful and cozy. The combination of warm wood tones and soft textiles made the space feel finished in a way that no amount of paint or lighting alone could have achieved.
Can you really put wood flooring in a basement?
Yes, and I’m living proof. The key is choosing the right product, either engineered hardwood or luxury vinyl plank, and preparing the subfloor and moisture situation properly before anything goes down. Solid hardwood is generally too risky below grade, but modern alternatives give you the same warmth and beauty with much better resilience against humidity and temperature swings.
How do I know if my basement is too wet for wood flooring?
A calcium chloride moisture test or an in-situ relative humidity test will tell you what you need to know. My contractor ran these before we committed to any product. If moisture levels are too high, you can address drainage, add a sump pump, or use a dimple mat system to create a buffer. Don’t skip this step, it’s the single most important thing you can do before choosing your floor.

How long does engineered hardwood last in a basement?
With proper moisture management and maintenance, engineered hardwood can last 20 to 30 years in a basement. The surface veneer is real wood, so it can be lightly refinished once or twice if it gets scratched over time. Mine is two years in and still looks brand new. Keeping humidity between 30 and 50 percent year-round is the biggest factor in its long-term performance and appearance.
Is luxury vinyl plank better than engineered hardwood for basements?
It depends on your priorities. LVP is fully waterproof and more forgiving of moisture fluctuations, making it the safer choice in a basement prone to dampness or occasional water intrusion. Engineered hardwood looks and feels more authentic and can be refinished, but it costs more and requires stricter moisture control. I chose engineered hardwood because my basement stays very dry, but I’d recommend LVP for anyone less certain about their moisture situation.
Can I install wood basement flooring myself?
LVP with a click-lock system is genuinely DIY-friendly if your subfloor is level and you’re comfortable following instructions carefully. Engineered hardwood is a bit more technical, especially if you’re gluing it down to concrete. I handled some of my own LVP work in a test area but left the engineered hardwood installation to my contractor. Be honest with yourself about your skill level and the stakes involved before deciding.
How much does wood basement flooring typically cost?
LVP runs roughly $2 to $7 per square foot for materials, with installation adding another $2 to $4. Engineered hardwood typically costs $4 to $10 per square foot for materials, plus $3 to $5 for professional installation. Don’t forget to budget for subfloor prep, moisture barriers, and underlayment, which can add several hundred dollars to the total. Overall I found it a worthwhile investment given how dramatically it changed how I felt about spending time in that space.
Related Posts: