DIY Garage Floor Leveling
Why We Need Garage Floor Leveling
A level garage floor is essential for safety, functionality, and aesthetics. Uneven surfaces can cause trip hazards, affect vehicle alignment, or prevent proper door operation. Leveling the floor ensures a smooth, stable surface for parking, storage, or workspace activities. Identifying the cause of unevenness, such as settling or poor initial construction, is the first step in addressing the issue.
Tools and Materials Needed for DIY Leveling
To level a garage floor, you’ll need basic tools like a level, trowel, and concrete mixer. Materials include self-leveling concrete compound, bonding adhesive, and a primer. Protective gear like gloves and goggles is essential for safety. Having the right tools and materials on hand ensures a smooth and efficient leveling process.
Preparing the Garage Floor for Leveling
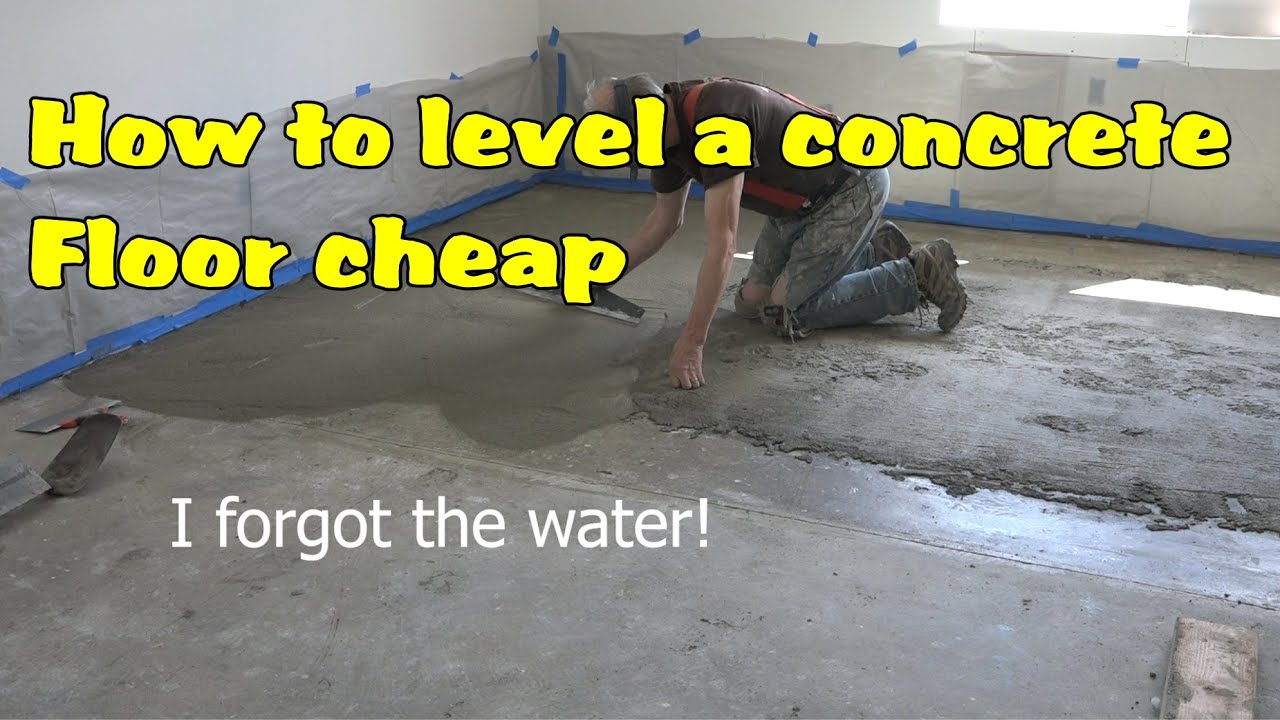
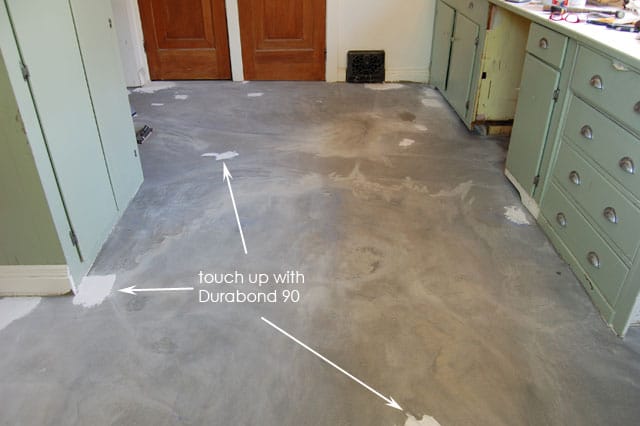
Proper preparation is crucial for successful floor leveling. Start by cleaning the floor thoroughly to remove dirt, grease, and debris. Repair any cracks or holes with a concrete patching compound. Apply a bonding adhesive to ensure the self-leveling compound adheres properly. Taking these steps creates a solid foundation for the leveling process.
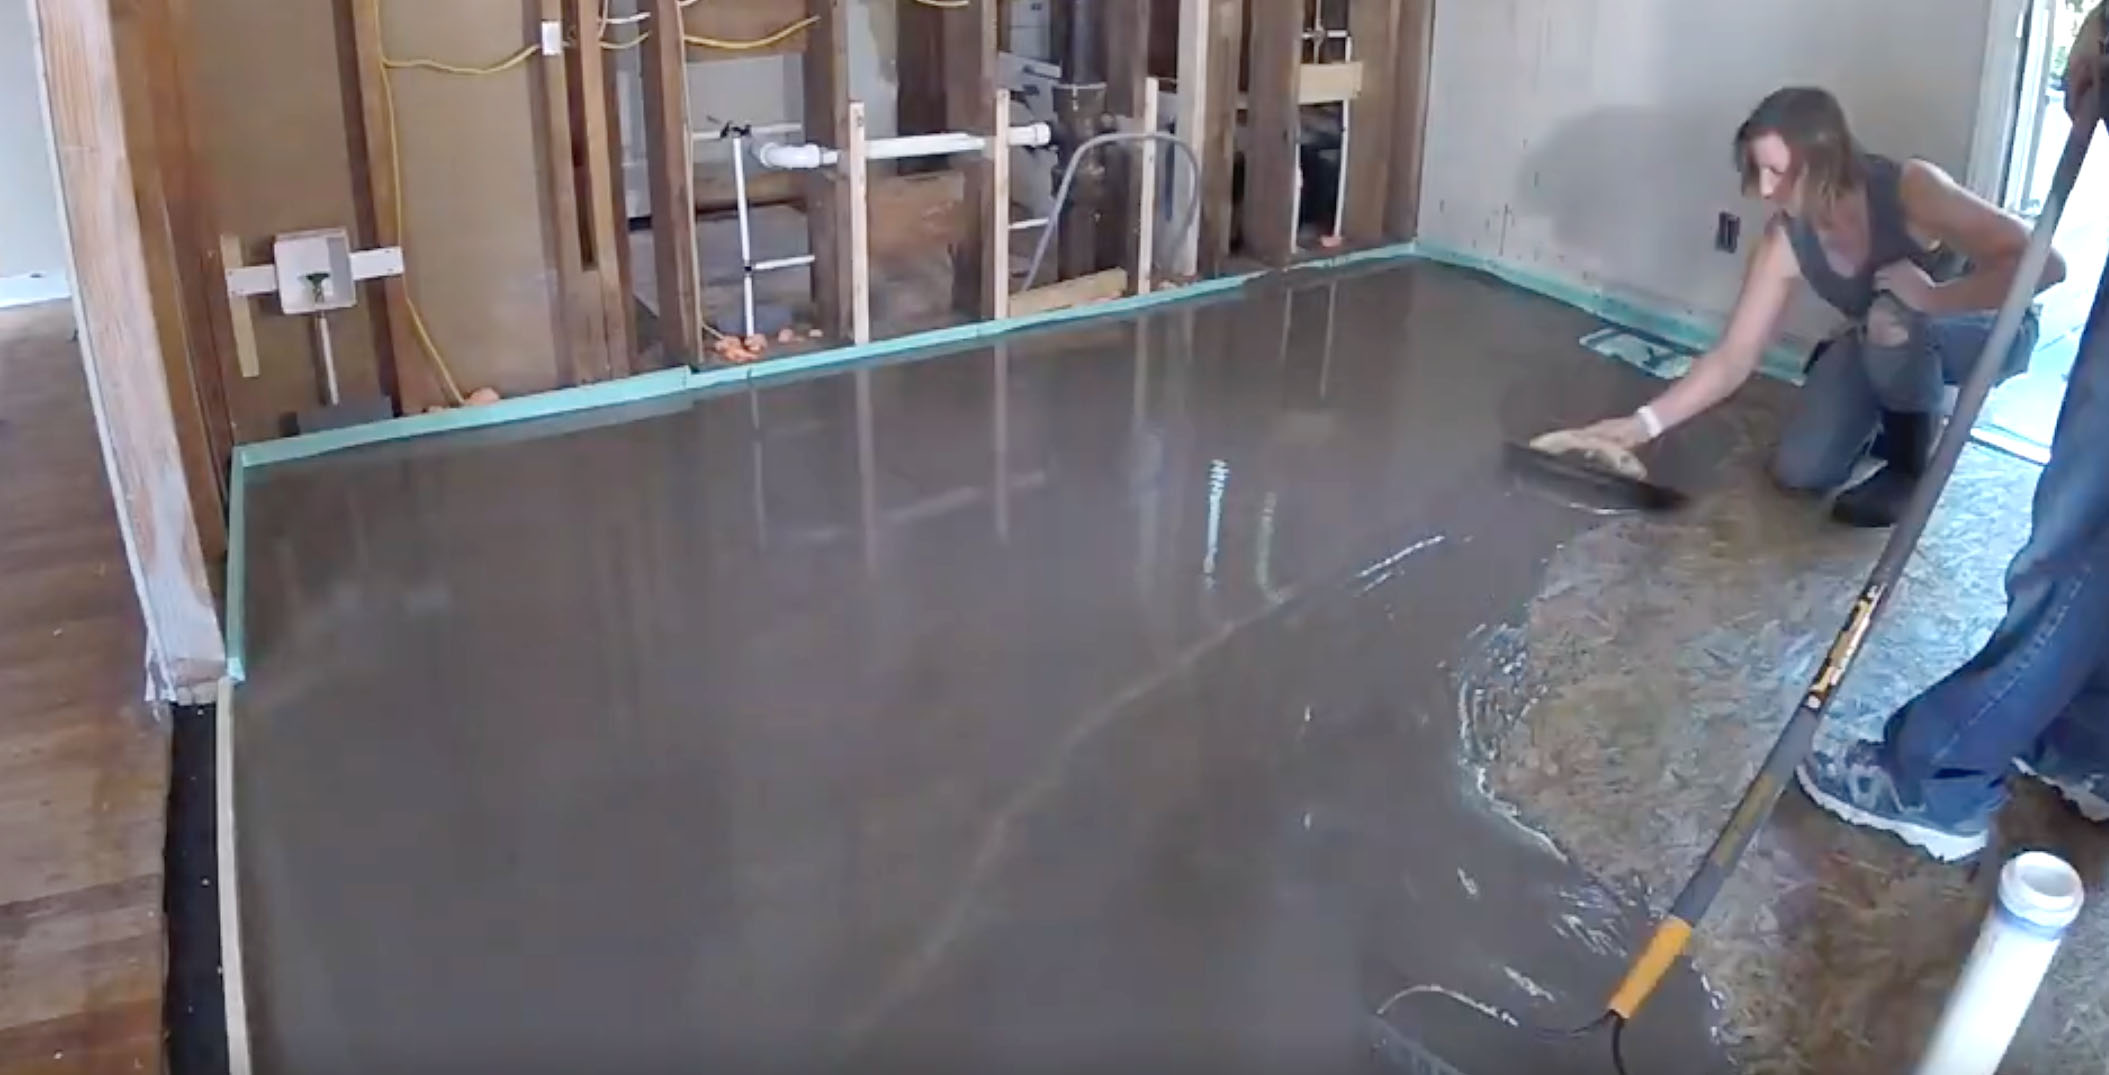
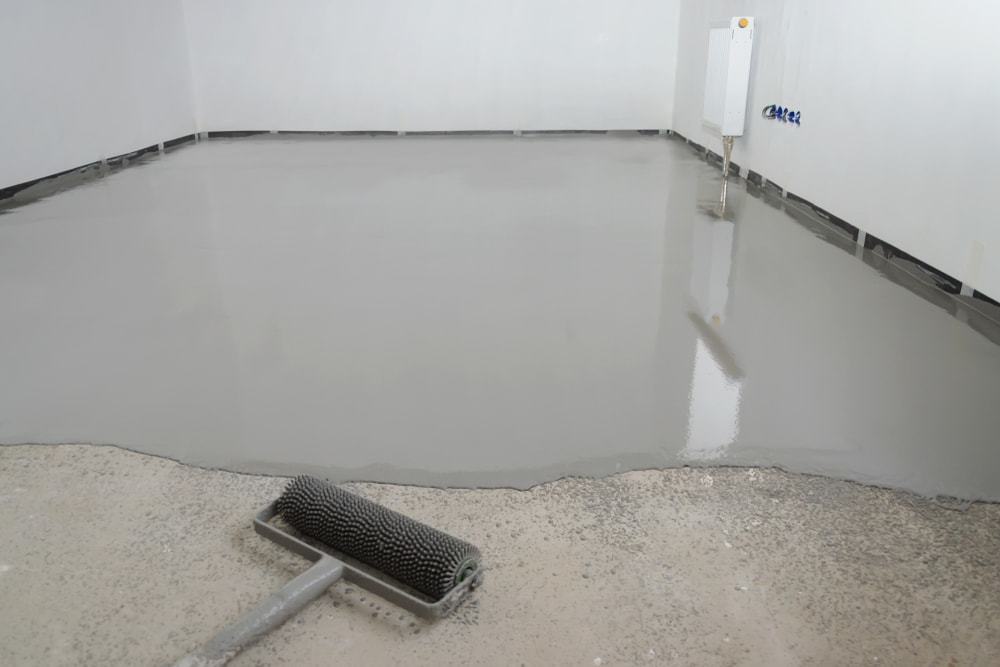
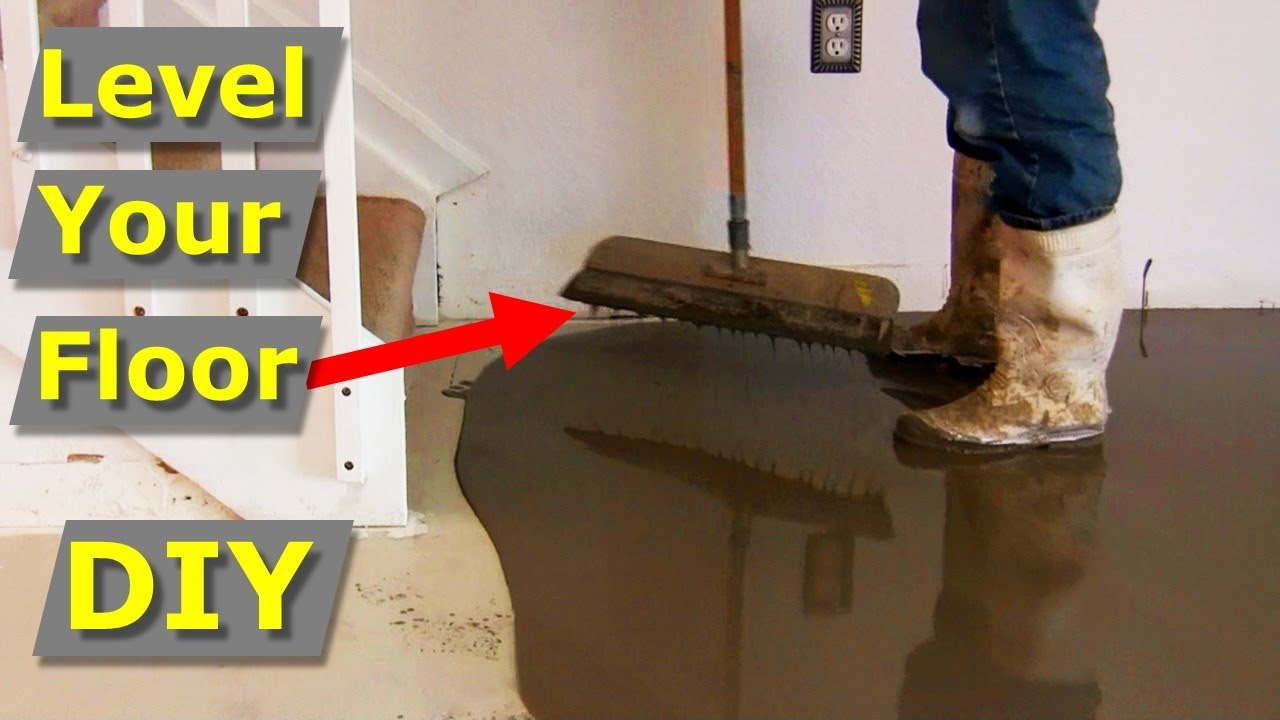
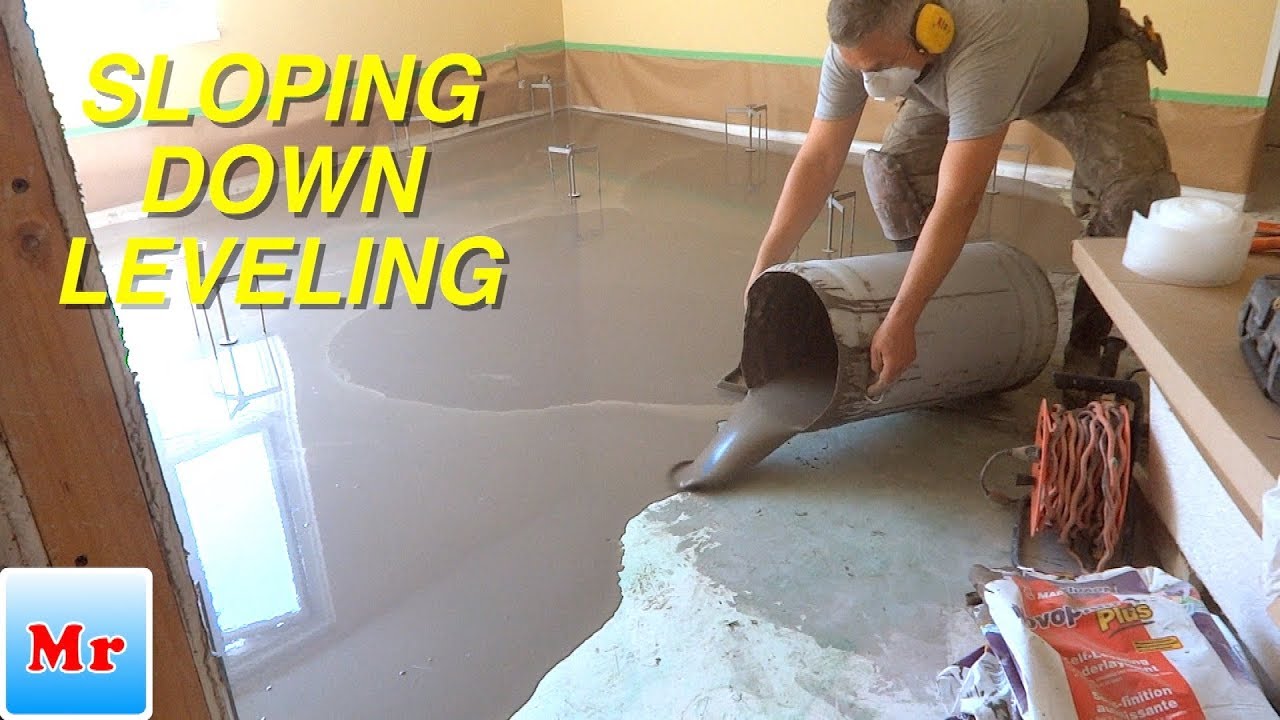
Mixing and Applying Self-Leveling Compound
Self-leveling compound is a popular choice for DIY garage floor leveling. Follow the manufacturer’s instructions to mix the compound to the right consistency. Pour the mixture onto the floor, starting at the lowest point, and spread it evenly with a trowel. The compound will flow and level itself, creating a smooth surface. Work quickly, as it sets fast.
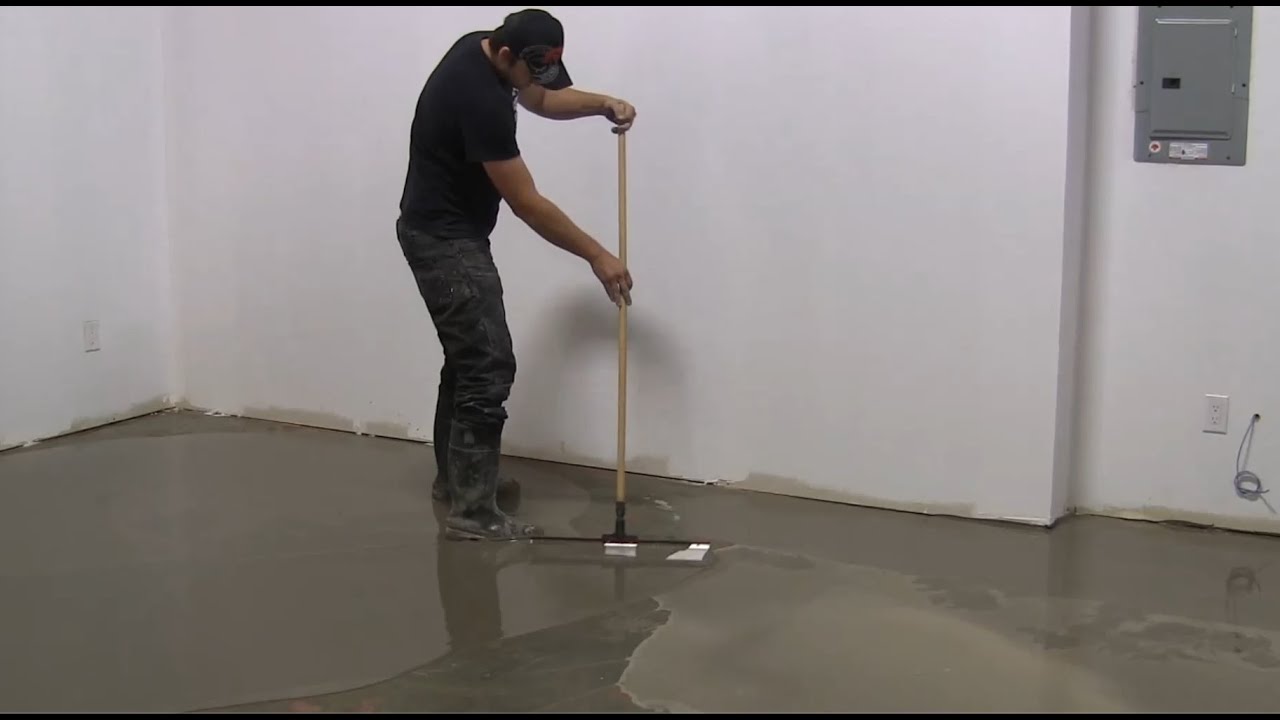
Ensuring Even Coverage and Smooth Finish
As the self-leveling compound spreads, use a squeegee or spiked roller to remove air bubbles and ensure even coverage. Pay attention to corners and edges to avoid uneven spots. Check the surface with a level to confirm it’s flat. A smooth, even finish not only looks professional but also improves the floor’s durability and functionality.
Drying and Curing Time for Leveled Floors
Allow the self-leveling compound to dry and cure according to the manufacturer’s guidelines. This typically takes 24 to 48 hours, depending on the product and environmental conditions. Avoid walking on the surface during this time to prevent damage. Proper curing ensures the floor is strong and ready for use.
Maintenance Tips for a Level Garage Floor
Once the floor is leveled, regular maintenance keeps it in good condition. Clean spills promptly to prevent stains, and avoid dragging heavy objects that could scratch the surface. Periodically inspect the floor for cracks or uneven areas and address them early. With proper care, your leveled garage floor will remain functional and attractive for years.

DIY self leveling concrete Honey Built Home

Tips u0026 Tricks to Self-Level a Floor at Millieu0027s Remodel – Pretty
Do-It-Yourself Epoxy Floor Coating
How to Self Level Concrete Floors Like Pros – Self Leveler
How to level a concrete floor cheap
How to pour self levelling concrete yourself.
How to Make a Concrete Subfloor Leveling with Sloping Down Side DIY
How to Patch and Level a Concrete Subfloor – Pretty Handy Girl

How to use self-leveling on large floor areas
Related Posts:
- 4 Car Garage Floor Plans
- DIY Garage Floor Paint
- Concrete Garage Floor Paint
- Garage Floor Treatments
- How To Paint Garage Floors
- Rustoleum Garage Floor Paint
- Garage Flooring Tiles Ideas
- Rubber Garage Flooring
- Inexpensive Garage Floor
- Industrial Garage Floor
DIY Garage Floor Leveling: A Step-by-Step Guide
Are you looking to level your garage floor? Doing it yourself can be a daunting task, but with the right tools, knowledge, and guidance, you can get the job done quickly and easily. This guide will provide you with all the information you need to know about doing DIY garage floor leveling.
What Is Garage Floor Leveling?
Garage floor leveling is the process of creating an even and level surface in a garage by removing bumps and lumps and filling in any low spots. This is important for two reasons: first, it ensures that water does not pool on the floor and that it is easy to clean; second, it helps support the weight of heavy items like cars and trucks.
Tools Needed for DIY Garage Floor Leveling
The tools needed for DIY garage floor leveling include a concrete saw, hammer drill, electric sander, masonry trowel, grout mixer, vacuum cleaner, leveler, patching compound, and sealant. Depending on the condition of your floor, you may also need a crack filler or mortar.
Step-by-Step Process for DIY Garage Floor Leveling
1. Start by cleaning the area thoroughly with a vacuum cleaner. This will help ensure that there is no dust or debris that could interfere with the process of leveling.
2. Use a leveler to identify any areas that are higher or lower than the rest of the surface. Mark these areas so they are easier to find later on.
3. If there are any cracks or large holes in the floor, fill them in with patching compound or mortar. Allow this to dry completely before continuing.
4. Use a concrete saw to cut off any high spots in the floor that were identified with the leveler earlier. Be sure to wear safety glasses and other protective gear when using this tool.
5. Use an electric sander to smooth out the edges of any cuts made with the concrete saw.
6. Fill in any low spots with patching compound or mortar. Allow this to dry completely before continuing.
7. Use a grout mixer to mix up some mortar and then use a masonry trowel to spread it over any uneven areas in the floor. Allow this to dry completely before continuing.
8. Use a vacuum cleaner to remove any debris from the area and then use a sealant to protect your work and keep moisture out of the garage floor in future years.
FAQs About DIY Garage Floor Leveling
Q: How long does it take to level a garage floor?
A: It depends on how much work needs to be done, but it typically takes between one and two days to complete the job properly.
Q: Is DIY garage floor leveling hard?
A: While it can be intimidating at first, with some research and practice, anyone can do it! Just be sure to follow all safety instructions when using power tools and wear protective gear when needed.
Q: What type of sealant should I use?
A: There are many different types of sealants available for protecting your garage floor from moisture damage. Consult your local hardware store for advice on which sealant best suits your needs.
DIY garage floor leveling doesn’t have to be difficult – just follow this step-by-step guide for best results! With the right tools, knowledge, and guidance, you’ll have a perfectly level surface in no time!