When I started planning my garage upgrade, I went back and forth between epoxy coatings, interlocking tiles, and rubber flooring for what felt like months. Everyone I talked to had a strong opinion, and the options were genuinely overwhelming. What finally pushed me toward rubber was a conversation with a friend who had installed it in his workshop three years earlier and couldn’t stop raving about how practical it had been. Two years into my own rubber garage floor, I completely understand his enthusiasm. If you’re considering rubber flooring for your garage, let me walk you through everything I wish I had known going in.
Why Rubber Flooring Makes Sense for a Garage Environment
Garages are hard on flooring. Between vehicle traffic, dropped tools, chemical spills, temperature swings, and moisture, it’s one of the most demanding environments in any home. When I thought honestly about what a garage floor needs to handle, rubber kept rising to the top of my list because it addresses almost every one of those challenges in a single material.
Rubber is naturally resistant to oil, gasoline, and most automotive fluids, which was a major priority for me since I do a fair amount of my own vehicle maintenance. Where bare concrete absorbs those spills and stains permanently, rubber resists penetration and cleans up with minimal effort. I’ve had oil drips, brake fluid, and the occasional coffee spill on my rubber floor, and none of them left a permanent mark.
The traction rubber provides is another practical advantage that I genuinely appreciate every day. Concrete becomes dangerously slippery when wet, and I had a near-miss on my old bare concrete floor after washing my car. Rubber’s textured surface maintains grip even when wet, which matters enormously in a space where you’re moving around with heavy objects and working in proximity to vehicles. That safety factor alone would have been enough to sell me on the material.
Rubber Rolls vs. Rubber Tiles: Understanding Your Options
Before I bought anything, I spent time understanding the difference between rolled rubber flooring and rubber tile or mat systems, because the right choice depends a lot on how you use your garage. Both are rubber, but they behave differently in terms of installation, appearance, and how well they suit different garage activities.
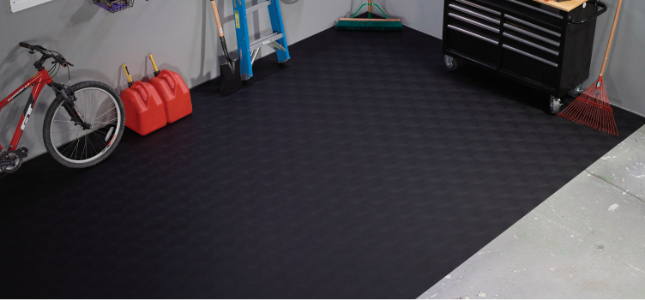
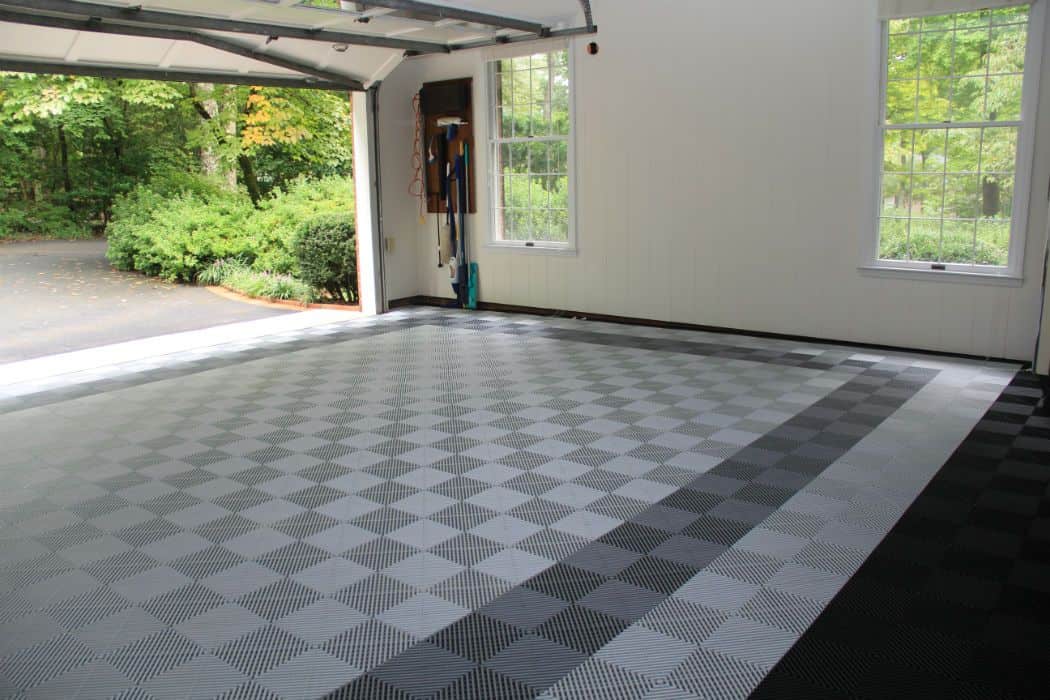
Rubber rolls come in long continuous lengths and are sold by the linear foot. They create a seamless surface with no joints, which looks clean and is easier to sweep. I used rubber rolls in my main workspace area because I wanted an uninterrupted surface that felt cohesive. The installation requires cutting to fit and some attention to keeping edges flat, but once down it feels permanent and professional.
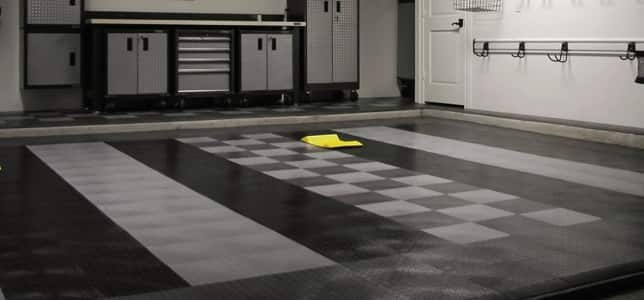
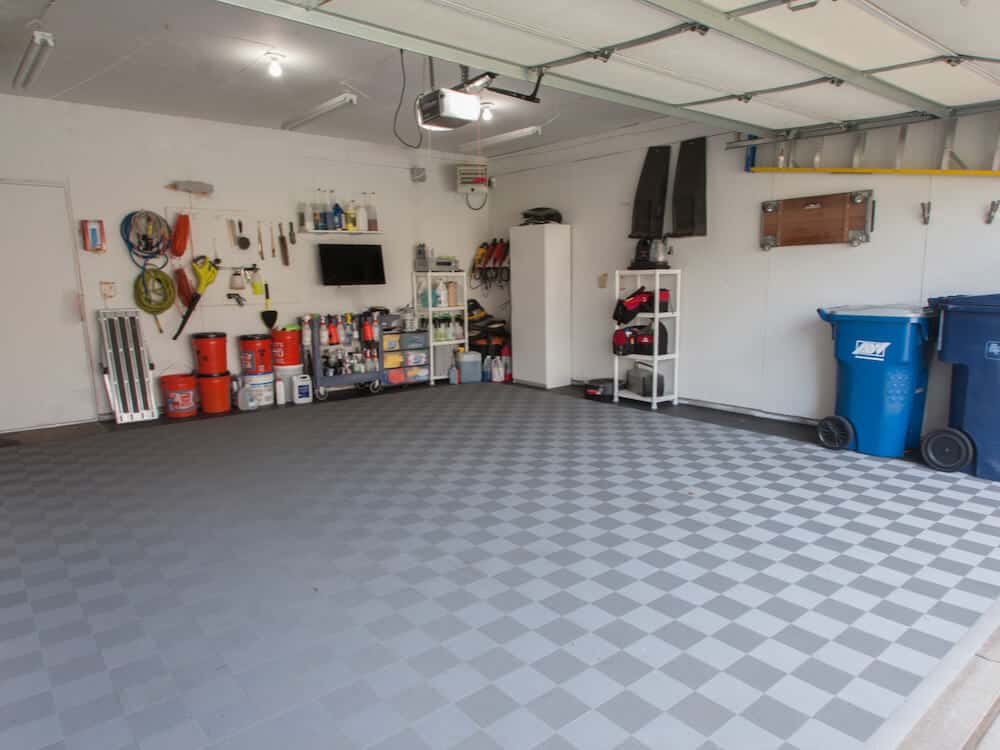
Rubber tiles and interlocking mats offer more flexibility. You can cover specific zones, mix thicknesses for different purposes, and replace individual pieces if one gets damaged. I used thicker rubber tiles under my weight bench and near my workbench where I stand for long periods, because the extra cushion in those spots is genuinely valuable. Mixing both formats across different garage zones gave me a customized solution that serves every part of the space well.

Choosing the Right Thickness for Your Specific Needs
Thickness is one of the most important decisions in rubber garage flooring, and it’s where I see a lot of people underbuy and regret it. Rubber flooring is typically available from a quarter inch up to three quarters of an inch or more for heavy-duty applications, and the right choice depends entirely on what your garage will be used for.
For a standard garage used primarily for parking and light storage, three-eighths of an inch provides good protection and comfortable standing. I have this thickness throughout my main floor area and it strikes a nice balance between cushion and durability without feeling spongy underfoot. Thinner rubber, at a quarter inch, works well for light-use areas or zones where you mainly want protection for the concrete rather than comfort for your feet.
For a gym area, workshop bench zone, or anywhere heavy equipment lives, go thicker. I installed half-inch rubber tiles under my gym equipment and the difference in how it absorbs impact is immediately noticeable. Dropping a weight on half-inch rubber sounds and feels completely different from dropping it on thin rubber or bare concrete, and that protection extends to the concrete subfloor underneath. Spending a few extra dollars per square foot on thickness in high-use zones is money well spent.
Installation Tips That Saved Me Time and Frustration
I installed my rubber garage floor myself over a weekend, and while it was more physical work than I expected, it was entirely manageable. The most important preparation step, which I almost skipped and am very glad I didn’t, was thoroughly cleaning and degreasing the concrete before laying anything down. Old oil stains, dust, and grime prevent rubber from lying flat and can cause edges to lift over time.
Cutting rubber to fit around obstacles and along walls requires a sharp utility knife and patience. I went through more blades than I expected because rubber dulls them quickly, especially at thicker gauges. Keeping a generous supply of replacement blades on hand made the cutting process much smoother. A metal straightedge and a chalk line helped me keep cuts accurate and edges clean against the walls.
For rolls, allowing the rubber to acclimate to your garage temperature for at least 24 hours before installation helps it relax and lie flat. Cold rubber is stiff and harder to work with, and it may take longer to settle flat if you install it directly from cold storage. I rolled mine out and left it overnight before cutting and fitting, and it laid significantly flatter than a test section I had tried to install immediately after unrolling. That small patience paid off in a much cleaner finished result.

How Rubber Garage Flooring Handles Real-World Wear
Two years of daily use have given me a genuine sense of how rubber garage flooring holds up under real conditions, and the honest answer is: very well. The surface in my main traffic area shows minimal wear despite constant foot traffic, regular vehicle movement, and the kind of abuse that comes with active home automotive work. The texture has stayed grippy and the color has held without significant fading.
The areas under my vehicle tires did show some compression in the early months, which I had read about but still noticed more than I expected. Hot tires from a recently driven vehicle can temporarily indent rubber, and in some cases that compression becomes more permanent over time. I now let my vehicle cool before parking on the rubber, and I occasionally rotate a mat in those zones to distribute wear. This is a known characteristic of rubber flooring under vehicles, not a flaw, just something to plan for.
Chemical resistance has been everything I hoped for. Oil, brake fluid, and cleaning solvents wipe up cleanly without leaving stains or degrading the surface. I hose down my garage floor periodically and the rubber dries quickly without any damage. The one thing I did notice is that some rubber products have a strong initial odor that takes a few weeks to fully dissipate. Mine was noticeable for about three weeks before fading completely, so I’d recommend good ventilation during that initial period.
Costs, Maintenance, and Whether Rubber Is Worth It
Rubber garage flooring sits in a comfortable mid-range price point that makes it accessible without feeling like a budget compromise. Standard three-eighths-inch rubber rolls typically cost between one and two dollars per square foot, while thicker or specialty tiles run two to four dollars per square foot. For my two-car garage of approximately 400 square feet, my total material cost came in under six hundred dollars, which felt very reasonable for what I got.
Maintenance is genuinely easy, which was one of my primary requirements. Regular sweeping or blowing out debris with a leaf blower handles daily upkeep. For deeper cleaning, a mop with a mild detergent solution or a hose-down followed by a squeegee works perfectly. I do a thorough cleaning about once a month and a quick sweep every week or so. Compared to the effort required to keep painted concrete or bare concrete looking decent, rubber is significantly easier.
Looking back, rubber was absolutely the right choice for my garage, and I’d make the same decision again without hesitation. It transformed a cold, hard, utilitarian space into somewhere I genuinely enjoy spending time. The comfort underfoot during long work sessions, the safety benefits, the easy cleanup, and the durability have all exceeded my expectations. If you’re on the fence between rubber and other garage flooring options, I’d encourage you to take it seriously as more than just a gym material. In a garage, it genuinely delivers.
Will rubber flooring hold up under the weight of a vehicle?
Yes, quality rubber flooring handles vehicle weight well, but hot tires can cause temporary or permanent compression over time. I let my car cool before parking on the rubber, which minimizes this issue significantly. Thicker rubber, at half inch or more, handles tire pressure better than thinner options. It’s a known characteristic rather than a product failure, and simple habits address it effectively.
Does rubber garage flooring smell, and how long does the odor last?
New rubber does have a noticeable smell that comes from the vulcanization process. In my experience, good ventilation and three to four weeks of off-gassing resolved the odor completely. Opening the garage door daily during that initial period speeds the process considerably. If smell sensitivity is a concern, look for products marketed as low-odor or those made with recycled rubber content, which tend to off-gas more quickly.
Is rubber flooring easy to clean after oil spills?
This is one of rubber’s strongest advantages in a garage setting. Oil and most automotive fluids wipe up cleanly without staining or penetrating the surface. I use an absorbent cloth for fresh spills and a mild degreaser for older ones. Unlike concrete, rubber doesn’t hold onto petroleum stains permanently. A regular mop-down with soapy water keeps the surface clean and maintains the texture’s grip over time.
Can I install rubber garage flooring myself without professional help?
Absolutely, and I did exactly that over a single weekend. Rubber rolls and tiles require no special tools beyond a sharp utility knife, a straightedge, and basic measuring equipment. The physical work of cutting and positioning heavy rubber rolls is the main challenge. Having a helper for the cutting and placement phase makes the job significantly easier and faster. No adhesive is needed for most garage applications.
How does rubber flooring compare to epoxy coating for a garage?
Both are good options with different strengths. Epoxy creates a hard, glossy surface that looks polished and handles vehicle traffic very well, but it requires significant prep and can crack or peel over time. Rubber is softer, more comfortable for standing work, easier to install, and fully replaceable section by section. I chose rubber specifically for the comfort and practicality in my workshop-style garage use.
What is the best rubber flooring thickness for a garage gym area?
For a gym area with free weights and equipment, I strongly recommend at least half an inch, and three-quarters of an inch if you’re dropping heavy weights regularly. The thicker the rubber, the better it protects both the concrete subfloor and your joints during high-impact activities. I use half-inch tiles in my gym corner and the impact absorption compared to thinner options is immediately and noticeably better for both performance and floor protection.

Related Posts: