When I finally decided to tackle my garage floor, I had no idea what I was getting into. The concrete was stained, cracked in places, and looked like it hadn’t seen any love in decades. After spending a weekend researching, buying the wrong products, starting over, and ultimately ending up with a floor I’m genuinely proud of, I want to share everything I know. If you’re thinking about painting your garage floor, this guide is for you.
Choosing the Right Type of Garage Floor Paint
The first thing I learned is that not all garage floor paints are created equal. There’s a big difference between basic latex paint, epoxy paint, and 100% solid epoxy coatings. I made the mistake of grabbing a cheap latex option the first time around, and it peeled within months.
Epoxy paint is a two-part system that chemically bonds to concrete, making it far more durable than latex. It resists oil stains, hot tire pickup, and moisture. For most homeowners doing a DIY project, water-based epoxy paint kits are the sweet spot between performance and ease of application.
If you want truly professional results, 100% solid epoxy is the gold standard, but it’s harder to work with and typically needs to be applied fast before it cures. For a first-timer, I’d honestly stick with a quality water-based epoxy kit and save the heavy-duty stuff for a second coat or future refresh.
Prepping Your Concrete Floor (This Step Makes or Breaks It)
I cannot stress this enough: prep work is everything. I skipped proper prep on my first attempt and paid for it dearly. The paint looked great for about two months, then started bubbling and peeling near the garage door.
Start by cleaning the floor thoroughly. Degrease any oil spots with a dedicated concrete degreaser, not just dish soap. Let it dry completely, and I mean completely, for at least 24 hours. Any moisture trapped beneath the paint will cause adhesion failure.
Next, you need to etch the concrete to open up its pores so the epoxy can bond. You can use a muriatic acid solution or a safer phosphoric acid-based etching product. After etching, rinse thoroughly and let the floor dry again. When water beads on your floor, it’s not ready. When it absorbs, you’re good to go.

Mixing and Applying Epoxy Paint Like a Pro
Mixing epoxy correctly is one of those things that sounds simple but trips a lot of people up. Most kits come with two parts, a resin and a hardener, that need to be combined in the right ratio. Don’t eyeball it. Measure carefully and mix slowly to avoid introducing air bubbles.
Let the mixed epoxy sit for about 30 minutes after combining. This is called the induction period, and it lets the chemical reaction kick in properly. Skipping this step can result in soft spots or uneven curing. I set a timer on my phone and waited it out both times.
When you apply, work in sections starting from the back of the garage toward the door. Use a quality roller with a 3/8-inch nap for smooth concrete and a 1/2-inch nap for rougher surfaces. Maintain a wet edge to avoid lap marks. Don’t overwork the paint once it’s down, epoxy doesn’t forgive a lot of back-and-forth brushing.

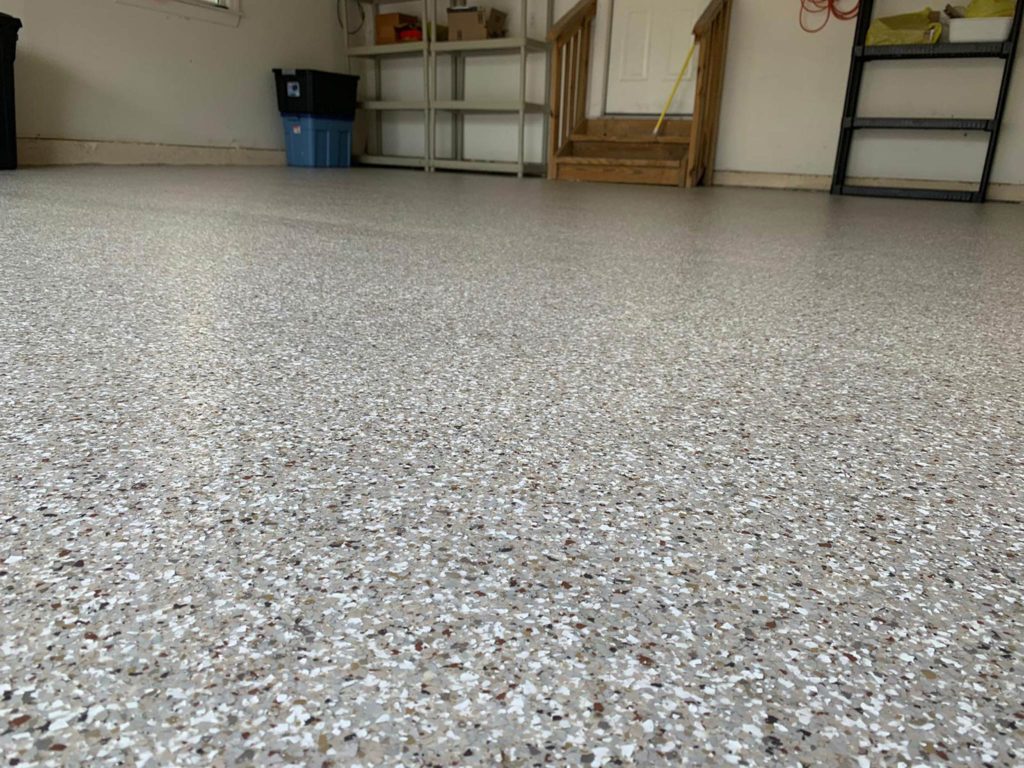
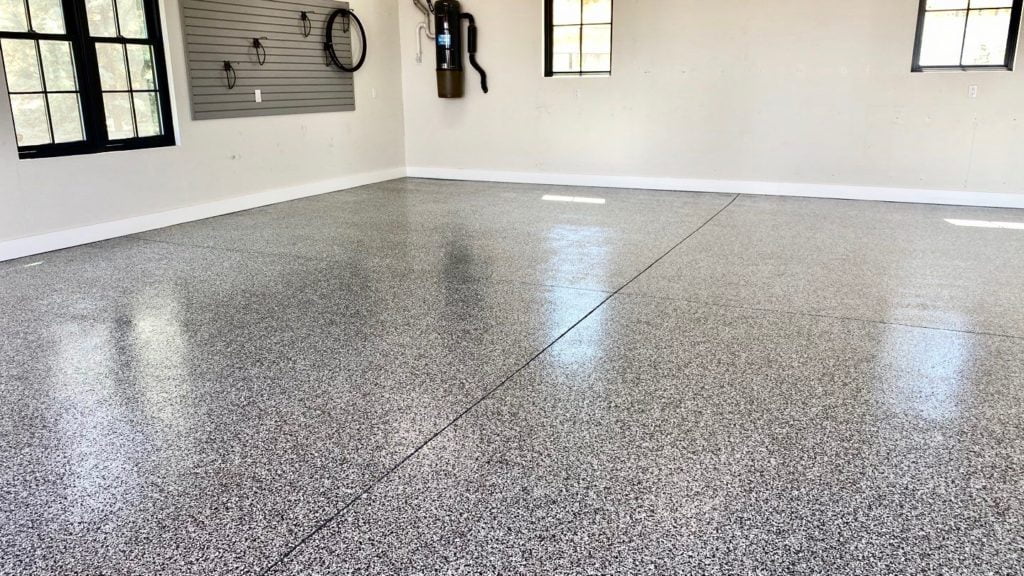
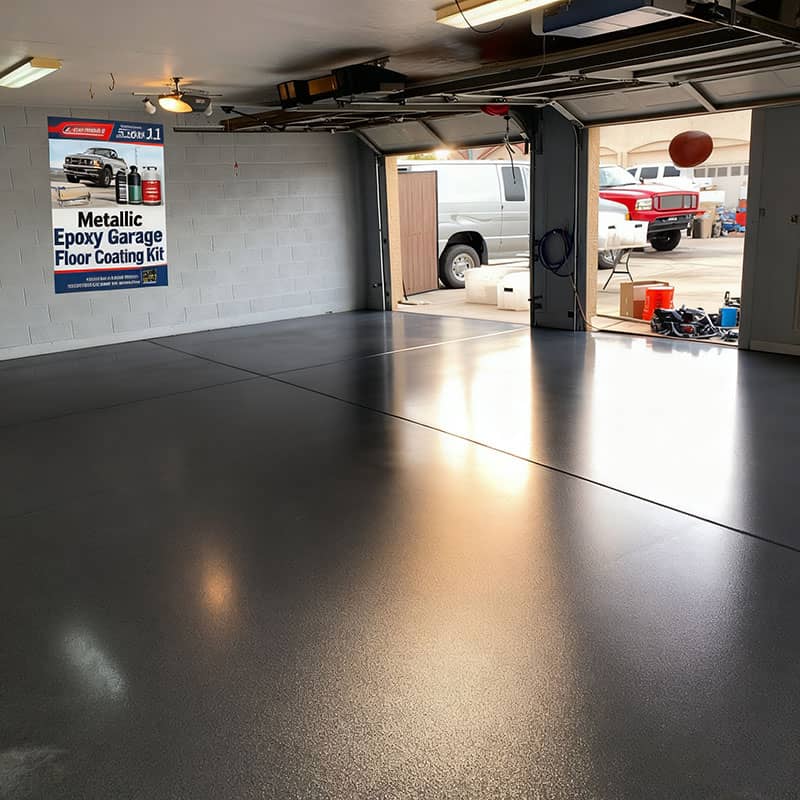
Decorative Flakes and Topcoats: Worth the Extra Step?
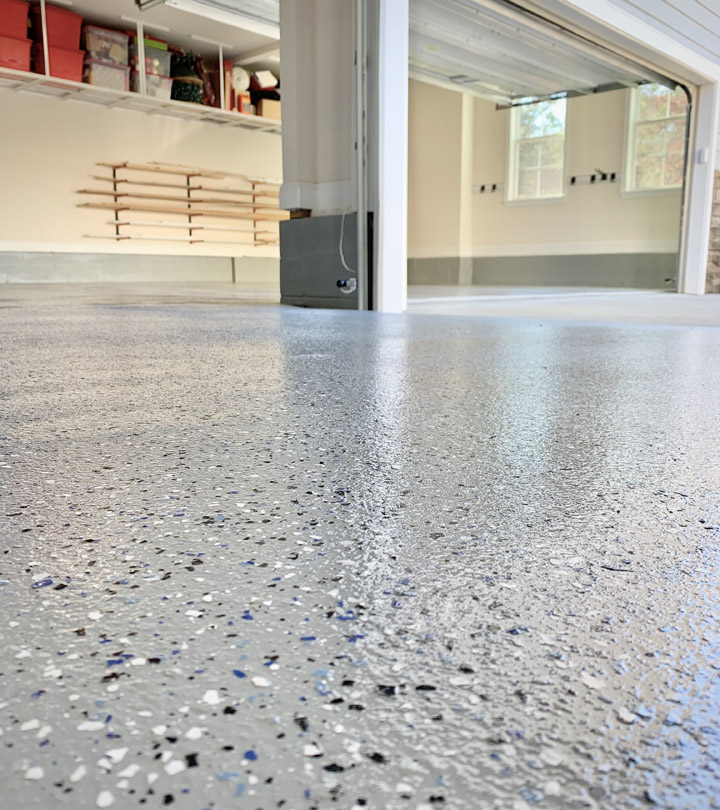
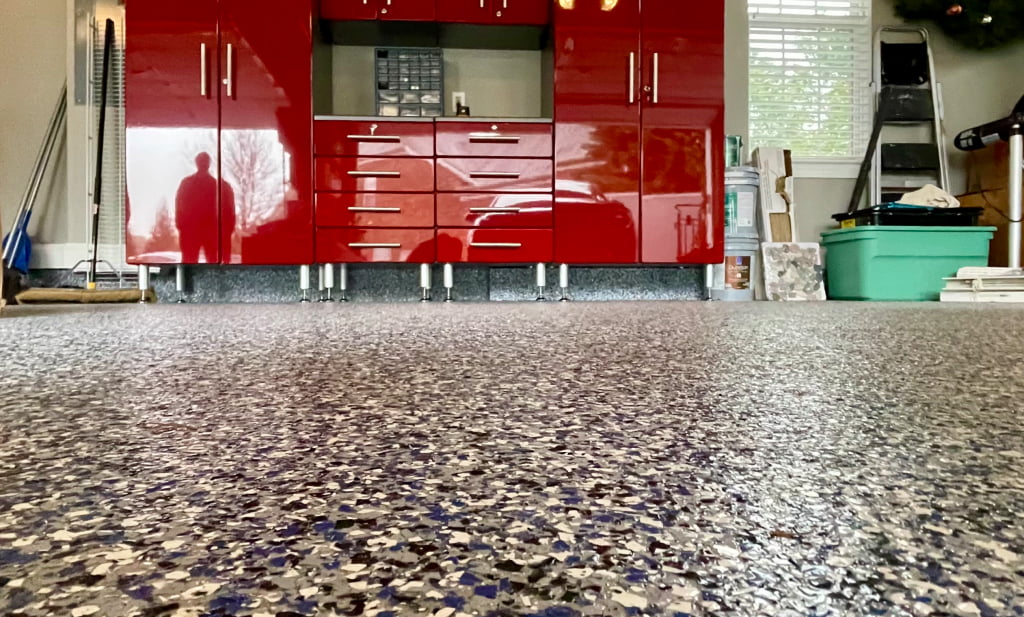
When I saw those garage floors covered in colorful paint flakes online, I thought it was purely cosmetic. Turns out, those decorative chips actually serve a functional purpose too. They add texture that improves grip, especially when the floor gets wet.
Broadcasting flakes is easy. Right after rolling out your epoxy base coat, scatter the flakes by hand across the wet surface. You can go light for a subtle look or heavy for full coverage. I did a medium broadcast and loved the result. Once cured, sweep up any loose chips and you’re ready for a topcoat.
A clear polyurethane or polyaspartic topcoat seals everything in and adds serious durability. It protects the color flakes from UV fading and makes the surface easier to clean. If you’re investing time in a full epoxy project, don’t skip the topcoat. It’s what gives your floor that showroom shine and keeps it looking good for years.
Dealing with Cracks, Moisture, and Problem Concrete
Not every garage floor starts out in great shape, and mine definitely didn’t. I had a few hairline cracks and a low spot near the corner that collected water whenever it rained. Dealing with these before painting made all the difference in the final result.
For cracks, use a concrete crack filler or a polyurethane caulk rated for concrete. Press it deep into the crack and let it cure fully before sanding flush. Small imperfections can be filled with a vinyl concrete patch compound. Let everything cure for at least 48 hours before moving on.
Moisture is a bigger challenge. If your concrete is below grade or you notice efflorescence (that white chalky residue), you may have a moisture intrusion problem. Test by taping a plastic sheet to the floor and leaving it for 24 hours. If moisture collects underneath, you’ll need a moisture-blocking primer before any paint goes down. Skipping this will lead to failure no matter how good your paint is.
How Long It Takes and What to Realistically Expect
Going into this, I thought I’d knock it out in a single weekend. The reality was a bit more spread out, and that’s okay once you understand why. Rushing any of the drying or curing times is the fastest route to disappointment.
Day one is all prep: cleaning, degreasing, and etching. Day two is your base coat application. Most water-based epoxies are dry to the touch in a few hours, but you should wait 24 hours before applying flakes or a second coat. Day three or four is your topcoat. Then you wait again, usually 72 hours before light foot traffic and up to seven days before parking a car on it.
The good news? Once it’s done, it’s really done. My floor has been holding up for over a year with just occasional mopping. It’s transformed the space from a grimy storage area into something that actually feels like part of the house. If you’re willing to put in the prep time and respect the curing process, DIY garage floor paint is absolutely worth it.

How long does garage floor epoxy paint last?
In my experience, a properly applied epoxy floor lasts 5 to 10 years with normal use. The key factors are good surface prep, using a quality product, and adding a protective topcoat. High-traffic garages or those exposed to harsh chemicals may need a refresh sooner, but regular cleaning goes a long way toward extending its life.
Can I apply garage floor paint over existing paint?
It depends on what’s already down. If the old paint is peeling or flaking, it needs to come off entirely first, otherwise your new coat will peel too. If the existing paint is solid and well-bonded, light sanding and a good clean may be enough. I’d always do a small test patch first before committing to the whole floor.
Do I need to hire a professional to paint my garage floor?
Not at all! I did mine completely solo with a store-bought epoxy kit. The prep work is the most labor-intensive part, but it’s entirely manageable as a weekend project. Just follow the instructions on your kit carefully, respect the cure times, and don’t rush the prep. A professional job looks great, but DIY is very achievable.
Is garage floor paint safe for kids and pets?
Once fully cured, most epoxy floor coatings are non-toxic and perfectly safe for kids and pets. The fumes during application can be strong, so ventilate the garage well and keep everyone out until the floor has fully cured, typically 72 hours or more. Water-based epoxy products tend to have lower VOC levels than solvent-based options if that’s a concern for your household.
What’s the best temperature to apply garage floor paint?
Most epoxy products apply best between 50°F and 90°F with low humidity. I did mine in early fall and conditions were perfect. Avoid painting in direct sunlight or on very hot concrete, as this causes the epoxy to cure too fast and can lead to bubbles. Cold temperatures slow curing and can affect adhesion. Always check your product’s specific guidelines before starting.
How do I clean and maintain a painted garage floor?
Honestly, maintenance is one of the best parts. A quick mop with a mild detergent is all it usually takes. For oil drips, a degreaser works well. Avoid harsh solvents or abrasive scrubbers that can dull the surface. If you added a topcoat, the floor is even more resistant to staining and scuffing. A good rinse after washing your car inside is usually enough to keep things looking sharp.
Related Posts: