My garage used to be the one part of my home I was genuinely embarrassed to show people. Cracked concrete, oil stains from years of car leaks, and a generally grim atmosphere made it feel more like a punishment than a useful space.
When I finally decided to tile the floor, it changed everything. The garage went from an afterthought to one of the most functional and visually satisfying spaces in my home. If you’re thinking about garage flooring tiles, let me walk you through what I tried, what worked, and what I’d do differently starting from scratch.
Interlocking Plastic Tiles: The Easiest Starting Point for Beginners
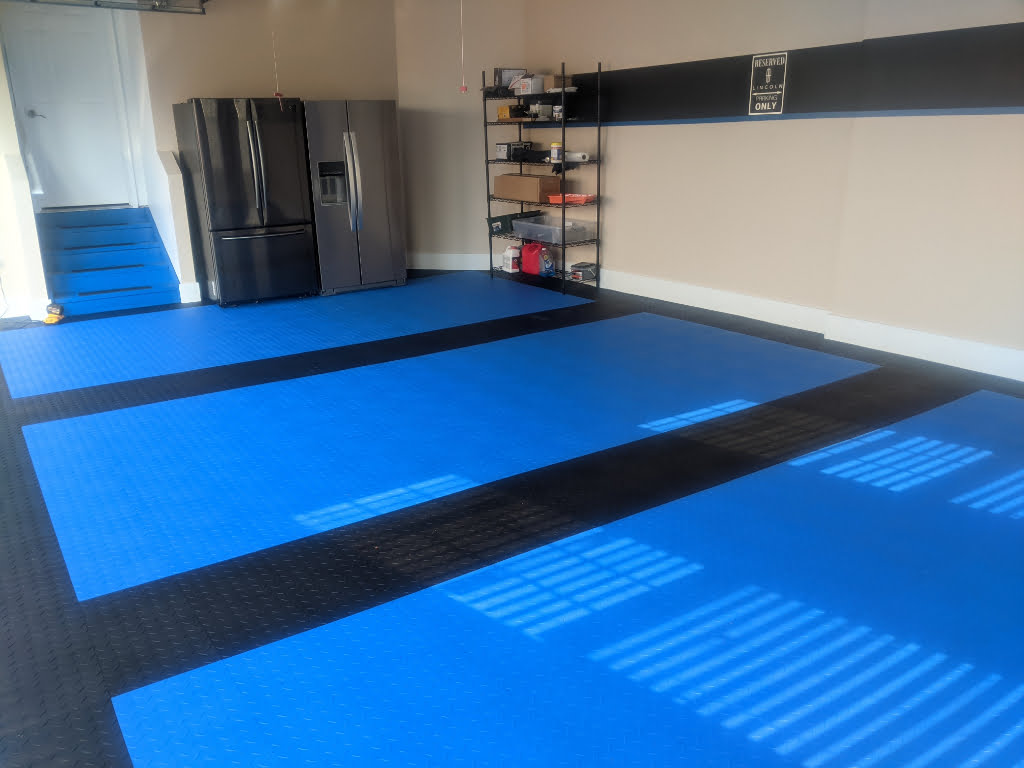
The first tiles I ever tried in my garage were interlocking polypropylene plastic tiles, and honestly they were a revelation for how simple the installation was. No adhesive, no tools beyond a utility knife for trimming edges, just snapping tiles together directly over the existing concrete. I had my two-car garage done in an afternoon.
These tiles come in a huge range of colors and surface patterns. I went with a raised diamond pattern in dark gray, which hides dirt and debris between washes and gives the floor a solid, purposeful look.
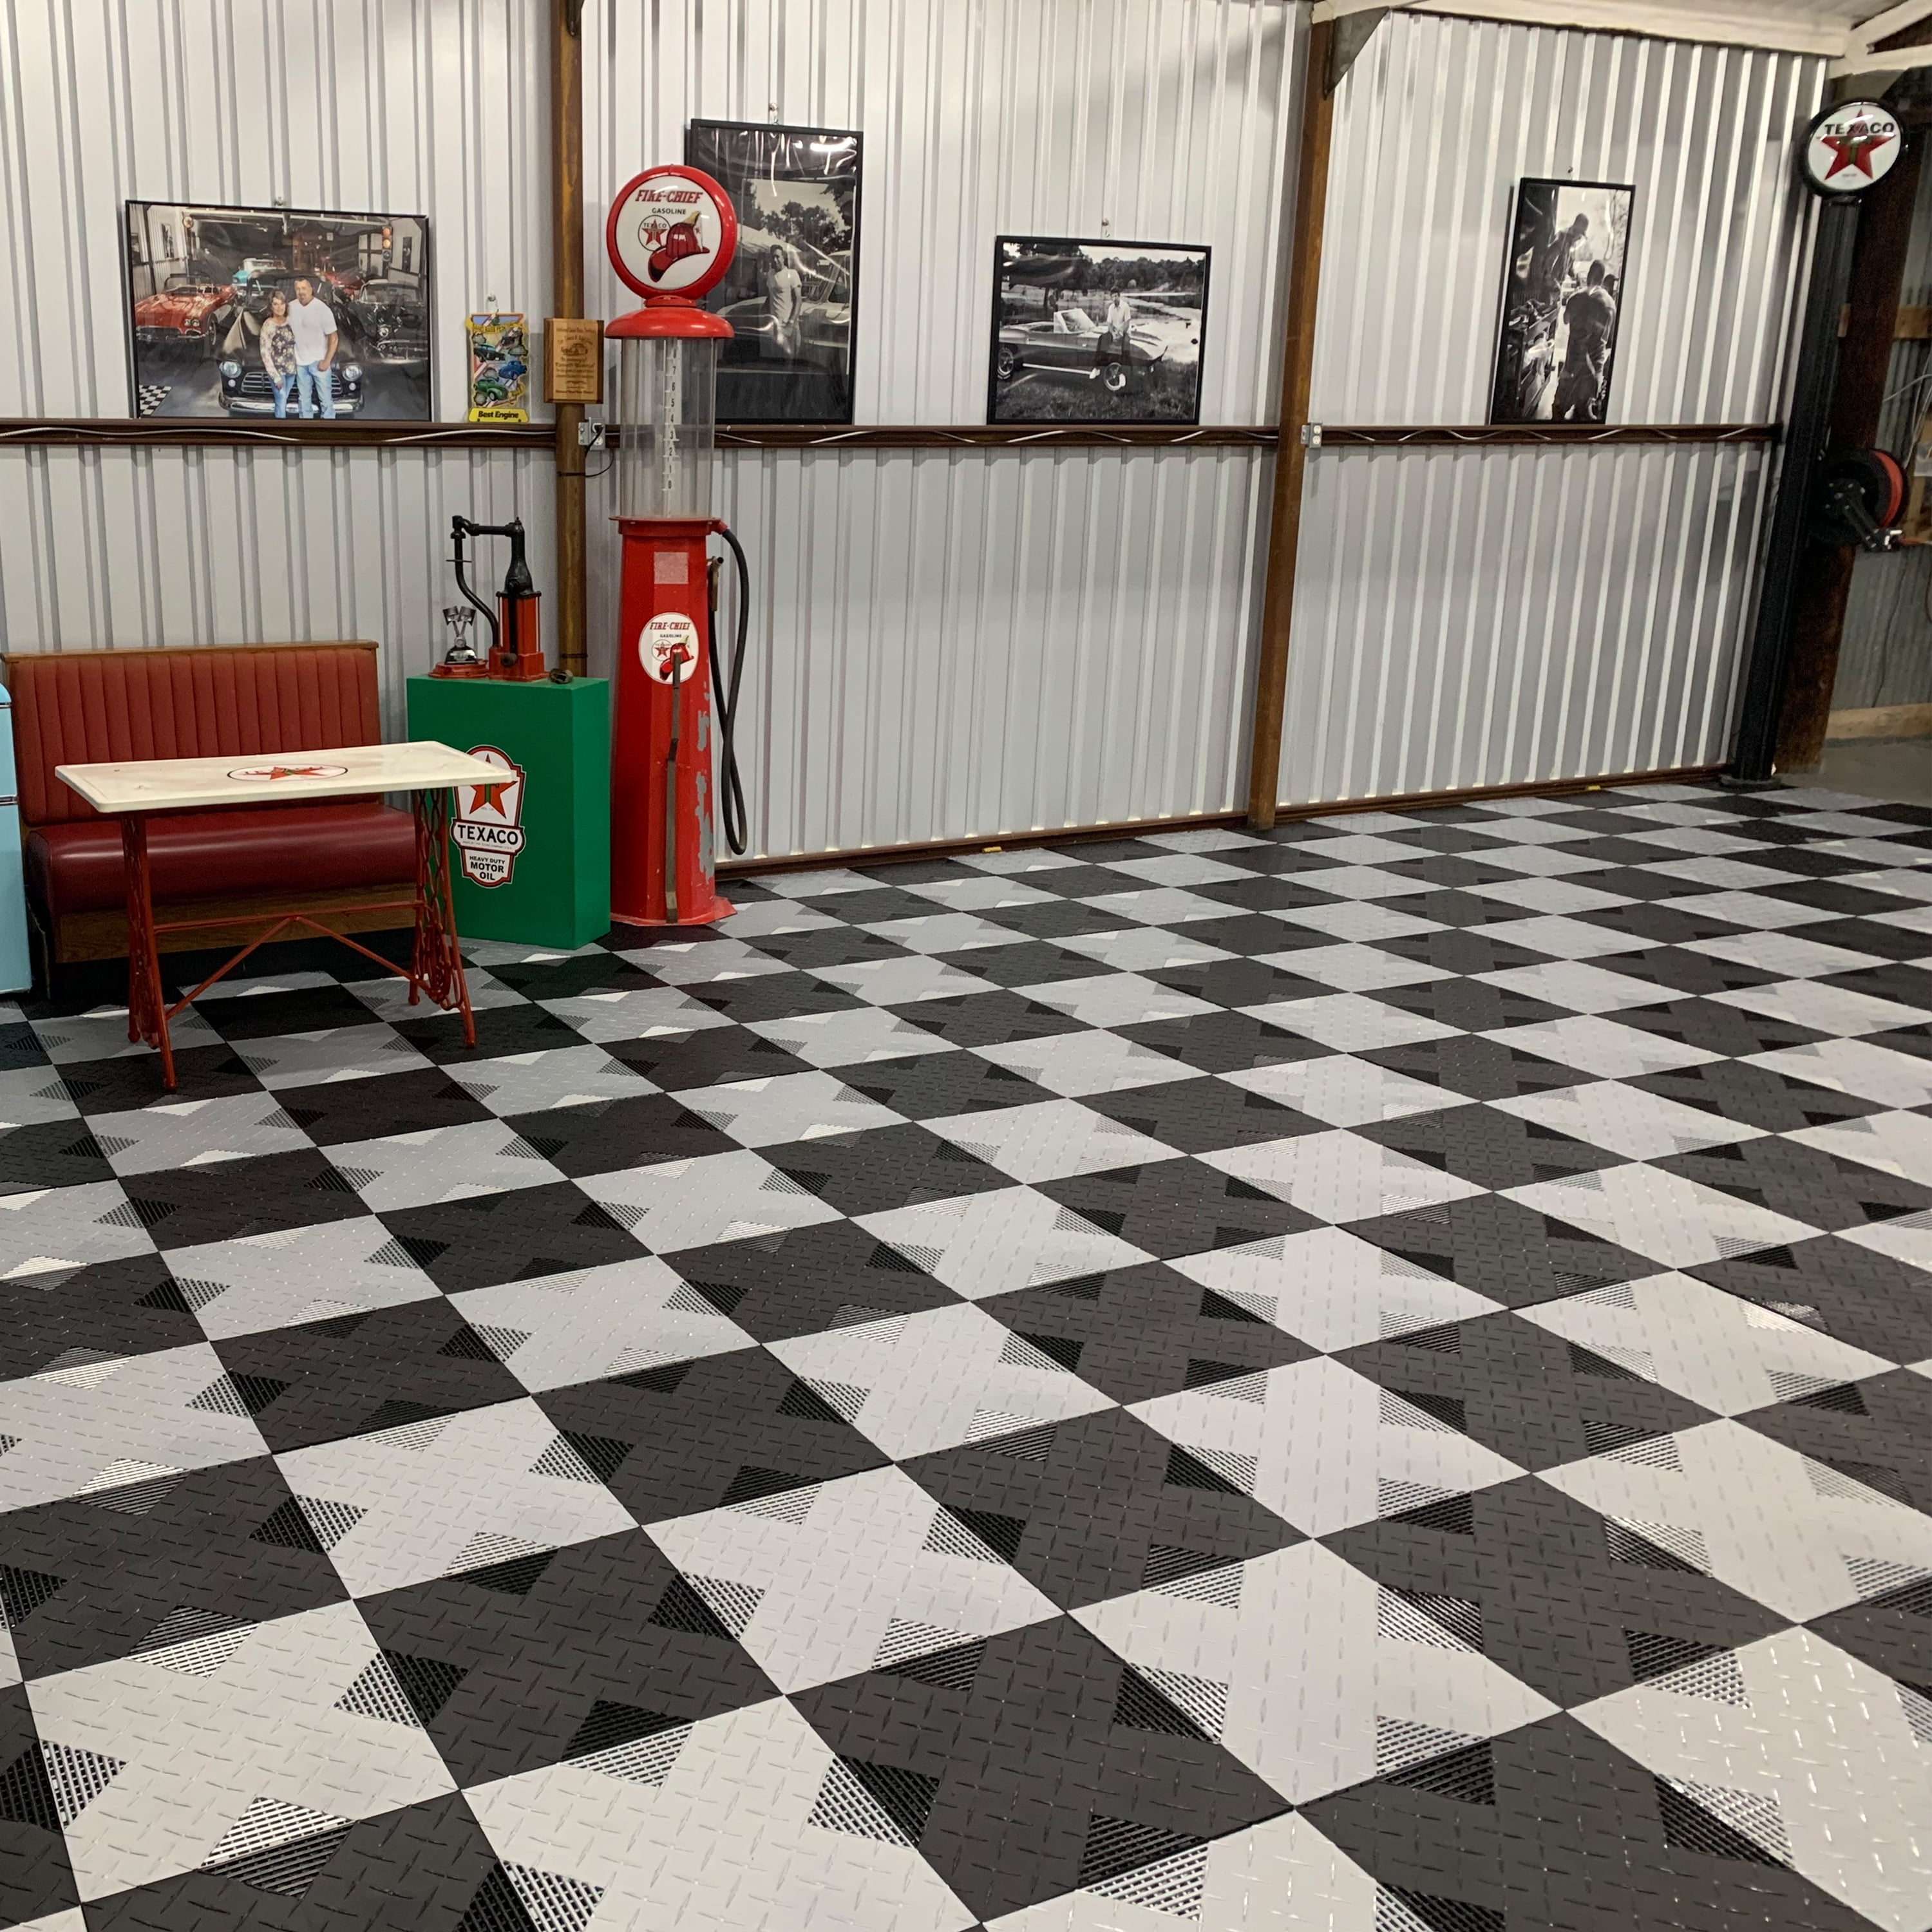
Some people mix two colors to create checkerboard or border patterns, and I’ve seen those look incredibly sharp in finished garage spaces.
The tradeoff is that plastic tiles flex slightly underfoot and can shift over time in areas with heavy vehicle traffic. I noticed some tiles separating near where I park my truck after about a year.
Pressing them back together is easy enough, but if rock-solid stability is your priority, plastic interlocking tiles are better suited for workshop or gym areas than active parking spaces.
Rigid Polypropylene Tiles for Heavy Vehicle Traffic
After my experience with the lighter plastic tiles, I upgraded the parking area of my garage to a thicker, more rigid polypropylene tile designed specifically for vehicle loads. These are a different category from the standard interlocking tiles and make a noticeable difference when you drive over them.
The ones I chose were 3/4 inch thick with a solid core rather than an open grid underside. They handle the weight and rolling pressure of my truck without flexing, clicking, or shifting. The surface texture is more aggressive as well, providing grip even when wet from rain or melted snow being tracked in from the car.
These tiles cost more per square foot than standard plastic options, typically around $3 to $5 each depending on size and brand. But for the parking zone specifically, the investment made complete sense. I kept the lighter interlocking tiles in my workshop area to save money overall, using each product where it performs best rather than tiling the entire garage with the premium option.

Rubber Tiles for Comfort and Noise Reduction in Workshop Areas
When I set up a dedicated workshop corner in my garage, rubber tiles were the obvious choice for that zone. Standing on concrete for hours while working at a bench is genuinely exhausting, and even a half-inch rubber tile makes a dramatic difference in how your feet and back feel at the end of the day.
Rubber garage tiles also dampen the sound of dropped tools and equipment, which was a meaningful benefit since my workshop shares a wall with the house. The noise reduction isn’t dramatic, but tools clanging on rubber rather than bare concrete is noticeably quieter and less jarring throughout the day.
I used 3/4 inch thick interlocking rubber tiles in the workshop area and was happy with how they handled oil drips and chemical spills. Most rubber tiles resist common automotive fluids well, though I always clean up spills promptly rather than letting anything sit. The textured surface also grips well even when slightly wet, which adds an important safety element in a space where spills happen regularly.
Porcelain and Ceramic Tile Options for a Premium Finished Look
If your goal is a garage that looks more like a showroom than a utility space, porcelain or ceramic tile delivers a level of polish that plastic and rubber options simply can’t match. I’ve seen porcelain-tiled garages that genuinely look like extensions of the home’s interior, and the effect is stunning when done well.
Large-format porcelain tiles in a light gray or concrete-look finish are particularly popular right now, and I understand why. They reflect light beautifully, making the garage feel larger and brighter. They’re also extremely durable and chemical-resistant when properly sealed, which matters a lot in an environment that sees automotive fluids and cleaning products regularly.
The catch is cost and installation complexity. Porcelain requires a very flat, structurally sound subfloor, proper thin-set adhesive, grout, and significant labor. I got quotes for a professional porcelain installation in my two-car garage that ranged from $4,000 to $7,000. If budget allows and you want the most refined look possible, it’s worth every dollar, but it’s not the right call for every situation or every garage floor condition.

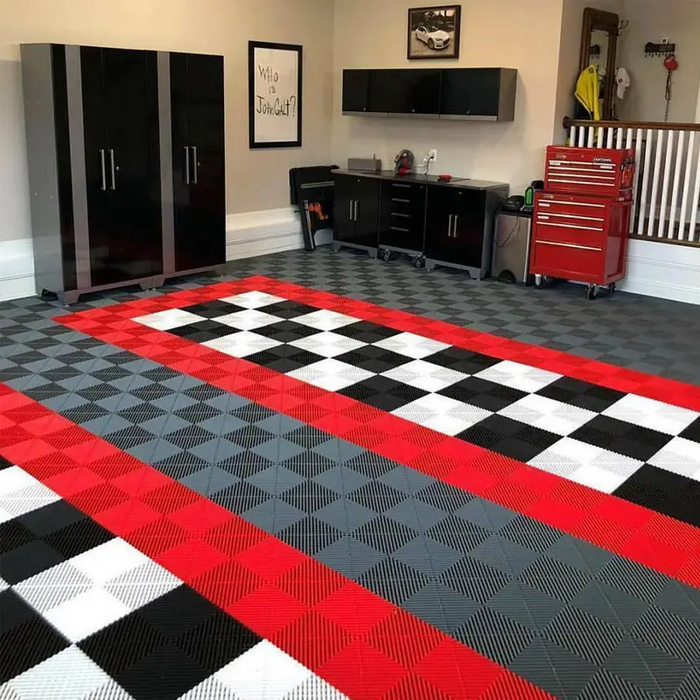
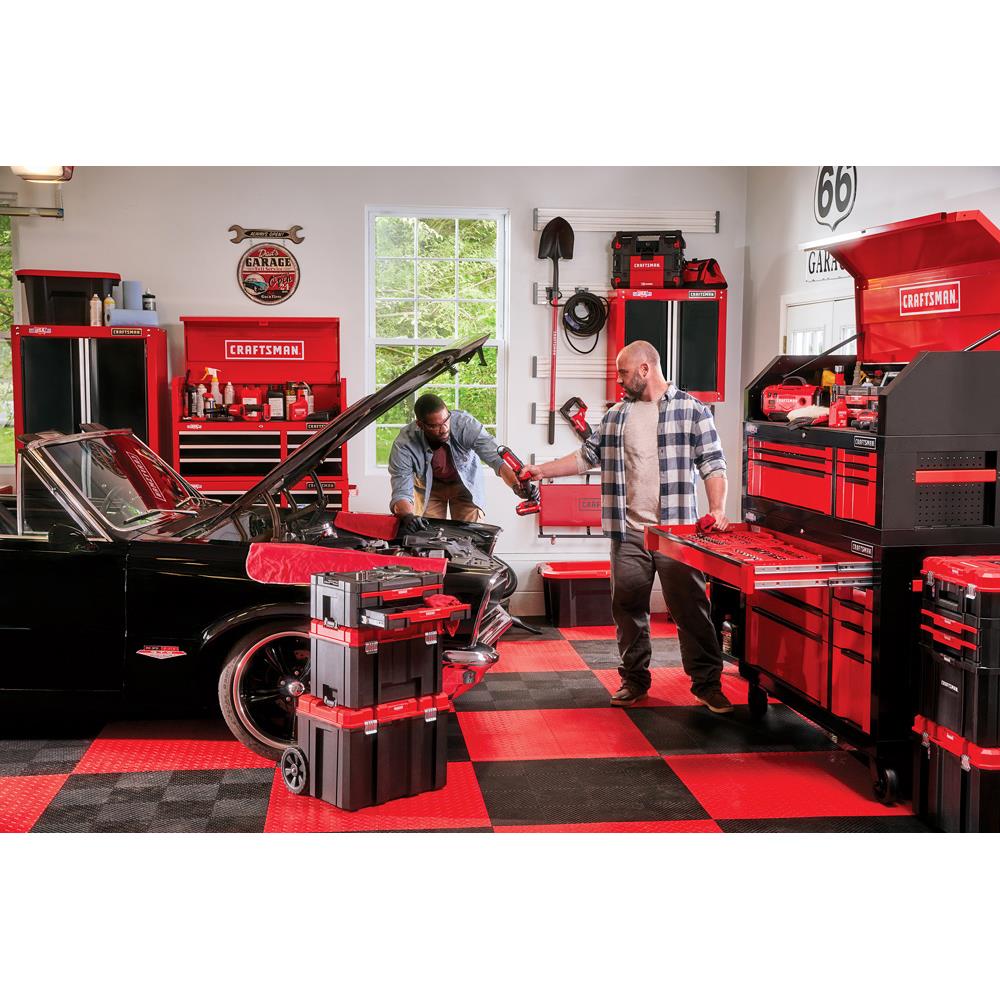
Creative Tile Layout Ideas to Make Your Garage Look Intentional
One of the things that transformed my garage most dramatically wasn’t the tile type itself but how I laid it out. A simple straight grid pattern looks fine, but taking a little extra time to plan a more intentional layout makes the space feel designed rather than just covered.
I used a contrasting color border around the perimeter of my garage in a darker charcoal tile, with a lighter gray filling the center field. This simple two-tone approach immediately gave the floor a finished, professional quality that people comment on. It’s the same principle interior designers use with rugs, defining a space within a space.
Diagonal layouts are another option that creates a sense of larger square footage by drawing the eye across the space at an angle. I considered this for my workshop area but ultimately stuck with a straight layout for practical reasons since diagonal cutting creates more waste. If you have a simple rectangular garage without many obstacles, diagonal tiling is a beautiful choice that’s well worth the extra tile needed to complete it.
What I Learned About Prep Work and Installation That Actually Matters
No matter which tile you choose, the preparation you do beforehand has more impact on the final result than the tiles themselves. I learned this the slightly hard way when a few tiles in my first installation started lifting at the edges because I hadn’t addressed a low spot in the concrete properly.
For interlocking tiles, the floor needs to be clean, reasonably level, and free of major debris or loose concrete. I swept, vacuumed, and then used a concrete grinder to knock down any high spots before installing. For the parking zone with heavier tiles, I also filled a significant crack with concrete patching compound and let it cure for two full days before tiling over it.
Temperature matters more than I initially realized too. Most plastic and rubber tiles become more flexible in heat and more brittle in cold, and installation in extreme temperatures can cause fitment issues later. I installed in mild weather, around 60 to 70 degrees Fahrenheit, which gave me the most accurate fit and the cleanest final result. Taking the extra time to prep and install under good conditions is genuinely the difference between a floor that looks professional and one that looks rushed.
Are garage floor tiles strong enough to handle car and truck weight?
It depends on the tile type. Standard interlocking plastic tiles work fine for light vehicles but can shift under heavier trucks over time. Rigid polypropylene tiles rated for vehicle traffic handle cars and trucks without issue. I use vehicle-rated tiles in my parking zone and lighter tiles in the workshop area. Always check the weight rating on the product before using it under any vehicle regularly.
How do garage floor tiles hold up against oil and chemical spills?
Most polypropylene and rubber garage tiles resist common automotive fluids like oil, brake fluid, and antifreeze reasonably well. The key is cleaning up spills promptly rather than letting them sit. I wipe spills immediately and do a full floor wash monthly. Porcelain tiles sealed properly are the most chemical-resistant overall. Avoid leaving harsh solvents or gasoline sitting on any tile surface for extended periods.

Can I install garage floor tiles myself or do I need a professional?
Interlocking plastic and rubber tiles are very DIY-friendly and require no special tools or adhesive. I tiled my two-car garage myself in one day. Porcelain or ceramic tile installation is more complex and usually benefits from professional installation, especially for large spaces. If you’re comfortable with basic home improvement tasks, interlocking tile systems are genuinely one of the more satisfying and achievable weekend projects available.
How much do garage floor tiles typically cost?
Basic interlocking plastic tiles start around $1 to $2 per square foot. Heavy-duty vehicle-rated polypropylene tiles run $3 to $5 per square foot. Rubber tiles range from $2 to $4 per square foot depending on thickness. Porcelain tile installed professionally can reach $8 to $15 per square foot including labor. For a standard two-car garage of around 400 square feet, budget anywhere from $400 for basic tiles to $6,000 for a premium porcelain finish.

Do garage tiles work over cracked or uneven concrete?
Interlocking tiles are more forgiving of minor imperfections than porcelain or glue-down options, but significant cracks and uneven spots should still be addressed first. I filled my major cracks before tiling and it made a big difference in how stable the finished floor felt. Very uneven floors can cause interlocking tiles to rock or separate over time. Patch and level any significant issues before installation for the best long-term results.
How long do garage floor tiles last before needing replacement?
Quality polypropylene tiles can last 10 to 20 years with reasonable care. Rubber tiles are similarly long-lived if kept clean and away from prolonged solvent exposure. Porcelain tiles, properly installed and sealed, can last the lifetime of the home. Individual interlocking tiles can be replaced one at a time if damaged, which is one of the format’s biggest practical advantages over poured coatings or glue-down products that require full removal to fix a problem area.
Related Posts: