When my garage floor reached a point where the stains and cracks were genuinely embarrassing, I started researching options and kept landing on Rustoleum garage floor paint as the most accessible DIY solution.
I’d heard mixed things from neighbors and online reviews, so I went in with tempered expectations and a commitment to following every step properly. Two years later, I can share an honest assessment of what Rustoleum delivers, where it shines, where it falls short, and what I’d do differently if I started over today. If you’re considering this project, this is the account I wish I had found first.
Understanding the Different Rustoleum Garage Floor Products
Before I bought anything, I spent time understanding that Rustoleum makes several distinct garage floor products that are not interchangeable. The EpoxyShield line is their most recognized offering and comes in both one-part and two-part formulas.
The two-part epoxy kit requires mixing a resin and hardener together before application and produces a significantly harder, more durable finish than the single-part option.
I initially considered the single-part EpoxyShield because it seemed simpler, but after reading through forums and product comparisons, I upgraded to the two-part kit.
The two-part formula creates a genuine chemical bond as it cures rather than simply drying like paint, which results in much better adhesion and resistance to hot tire pickup, the notorious peeling problem where tires pull coating off the floor when they’re warm.
Rustoleum also makes a product called RockSolid, which is a polycurea-based coating that cures faster and claims higher durability than the epoxy line. I tested EpoxyShield for my project but have spoken with other homeowners who used RockSolid and were very happy with it. Understanding which product you’re buying before you start matters because each has different prep requirements, mixing ratios, and application windows.
The Most Critical Step Nobody Told Me About: Surface Prep
If I could give one piece of advice to anyone starting a Rustoleum garage floor project, it would be this: the prep work determines everything. I spent more time preparing my floor than actually applying the coating, and that ratio is exactly right for getting results that last rather than peel within months.
The first step was degreasing the entire floor with Rustoleum’s included cleaner and etching solution. This removes oil, grease, and the smooth surface layer of the concrete that would prevent proper adhesion. I scrubbed on hands and knees with a stiff bristle brush, working in sections, then rinsed thoroughly and let the floor dry completely for a full 24 hours. The concrete turned slightly rough and chalky after etching, which is exactly what you want.
I also addressed cracks and divots before coating. Rustoleum sells a concrete patch product that I used for a significant crack near my garage door and several smaller surface chips. Letting those repairs cure fully before moving forward was important. Rushing past the prep stage is the single most common reason Rustoleum garage floor coatings fail prematurely, based on everything I read and my own experience confirming that observation.
Mixing and Applying the Two-Part Epoxy Correctly
Applying the two-part Rustoleum EpoxyShield requires more attention than rolling paint on a wall, and going in understanding that set me up for a cleaner result. The kit includes a resin base and a hardener that must be combined and mixed thoroughly before use. I poured the hardener into the resin container and stirred for a full three minutes with a mixing paddle attached to my drill.
After mixing, there is a working window of approximately two hours before the product begins to cure and becomes difficult to spread. I planned my application to stay well within that window by working in sections and keeping my pace steady. For my two-car garage, I had two kits ready and worked systematically from the far wall toward the garage door without stopping between kits.
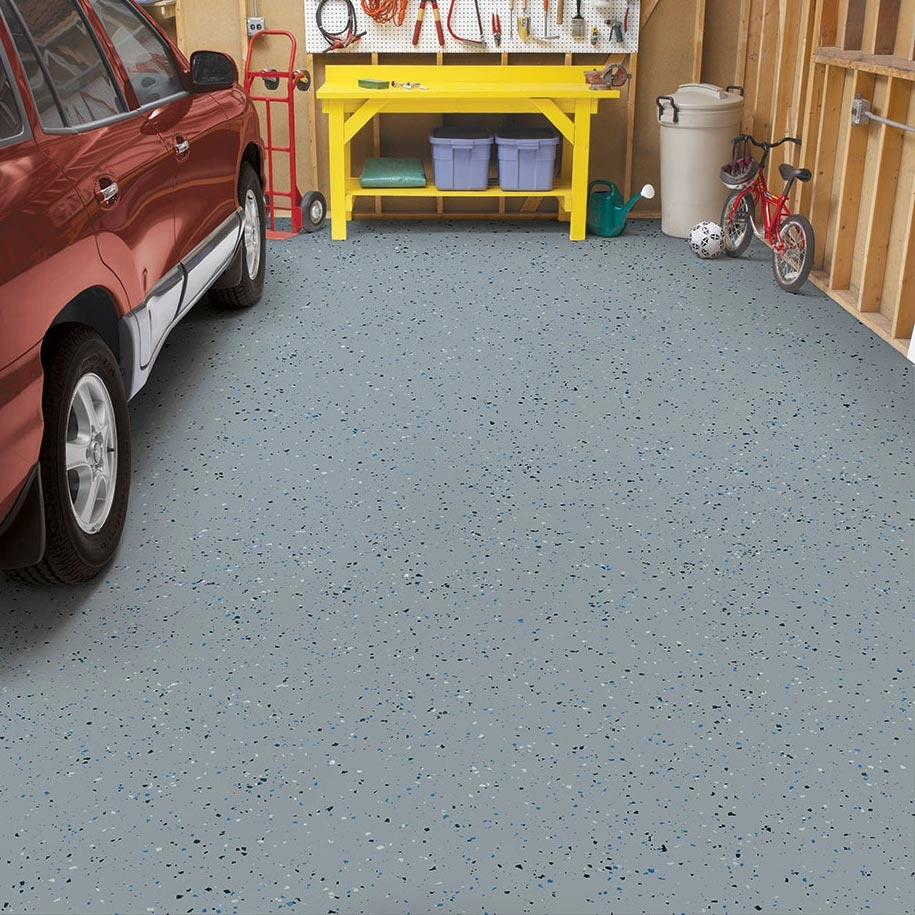
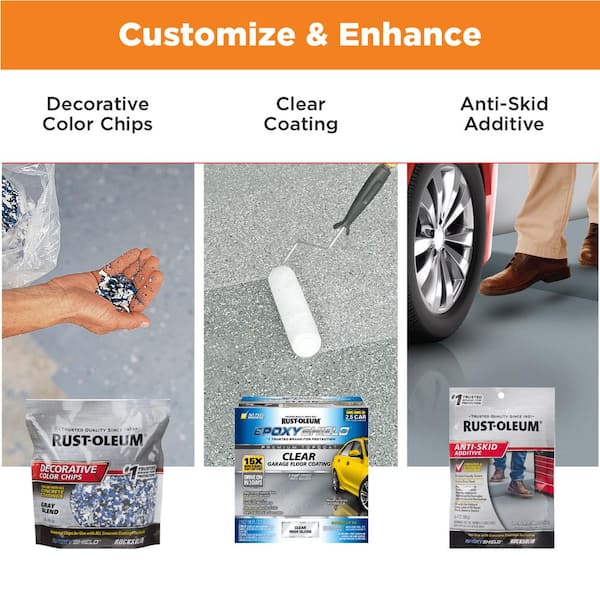
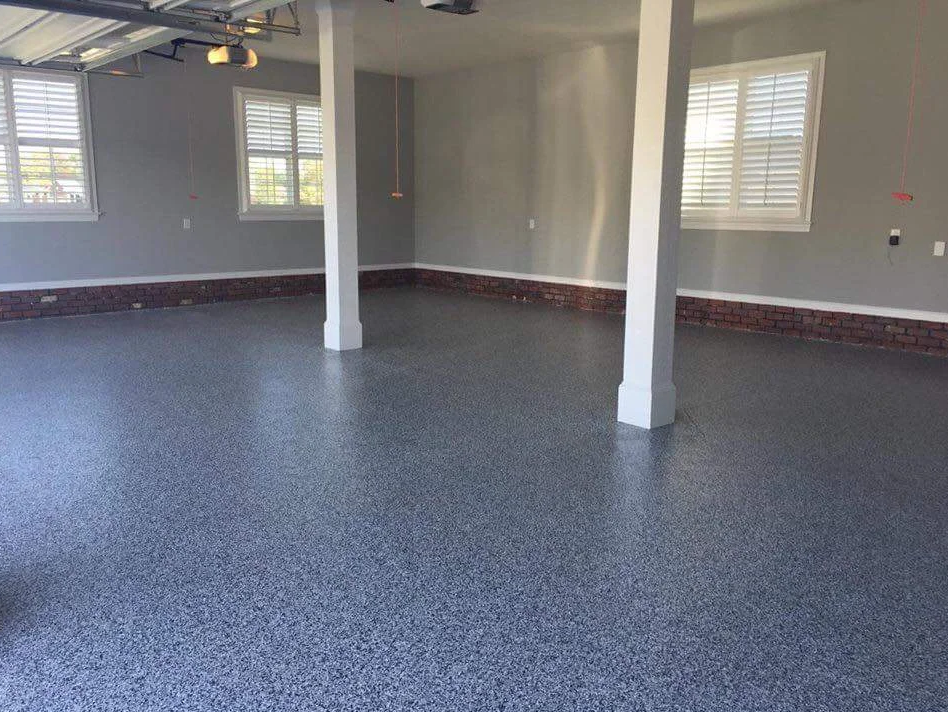
I applied the epoxy with a 3/8 inch nap roller on an extension pole, working in 4-foot wide strips and maintaining a wet edge to avoid lap marks. The product spreads more thickly than standard paint and requires deliberate, even pressure to distribute uniformly. While the base coat was still tacky, I broadcast the included decorative chips across the surface, which added texture that helps with both slip resistance and hiding minor surface imperfections in the finished floor.
Temperature, Humidity, and Timing Considerations That Actually Matter
One of my early mistakes was not paying close enough attention to the weather forecast before scheduling my application day. Rustoleum’s EpoxyShield requires an application temperature between 50 and 90 degrees Fahrenheit, and the concrete surface temperature matters as much as the air temperature. Applying on a day when the garage is heating up rapidly causes bubbles and adhesion problems I discovered on a small test section.
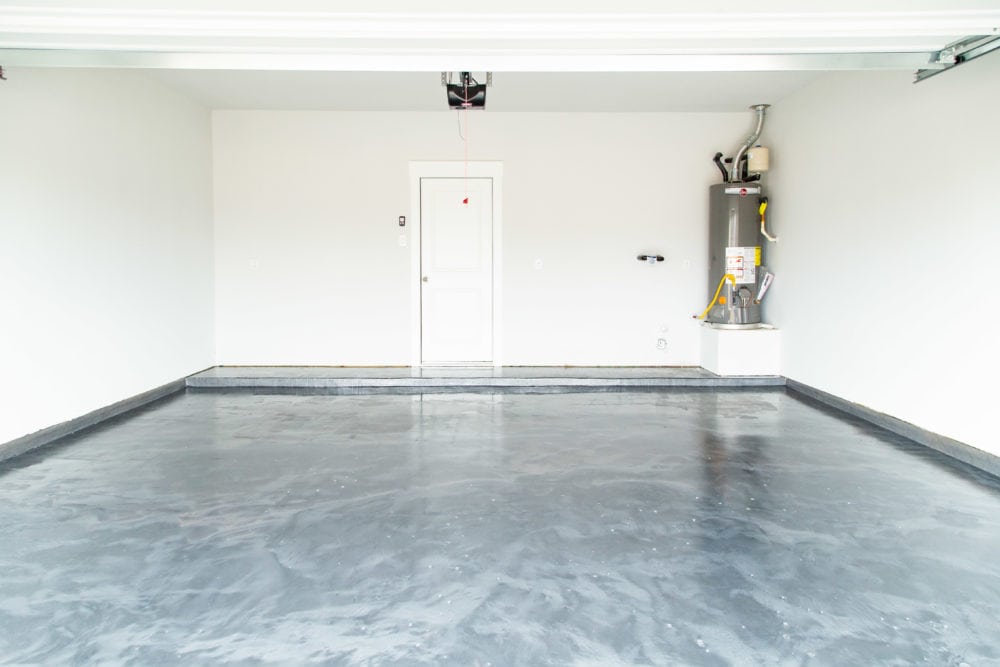
I rescheduled to a mild overcast day with temperatures in the low 70s, which turned out to be ideal. The product spread smoothly and leveled nicely without the rapid skinning over I’d experienced when I tested in warmer conditions. Humidity is also worth monitoring since applying epoxy in very humid conditions can cause cloudiness in the finish or adhesion problems at the surface level.
Drying and curing time requires more patience than most people expect. Rustoleum’s EpoxyShield is typically ready for light foot traffic after 24 hours, but I waited 48 hours before walking on it extensively and a full 72 hours before driving my car back into the garage. The coating continues to harden and reach full chemical cure over several days, and respecting that timeline makes a meaningful difference in how tough and resistant the final surface becomes.
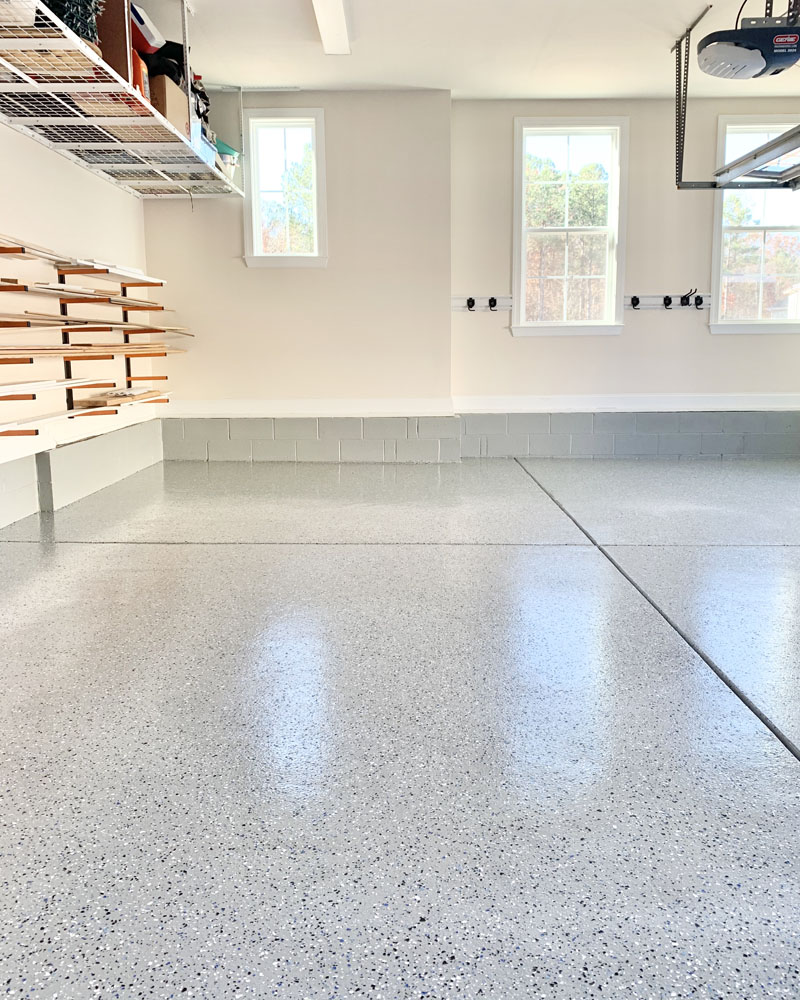
What Rustoleum Garage Floor Paint Does Well and Where It Has Limits
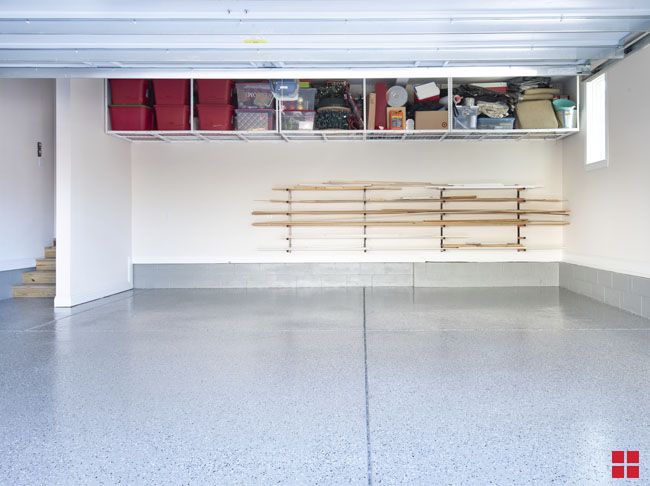
After two years of daily use, I have a balanced view of what Rustoleum delivers. On the positive side, the transformation in appearance is dramatic and immediate. My stained, pitted gray concrete became a smooth, glossy, professional-looking surface that genuinely changed how I feel about spending time in the garage. For the cost of two kits and a weekend of work, that visual upgrade is hard to beat.
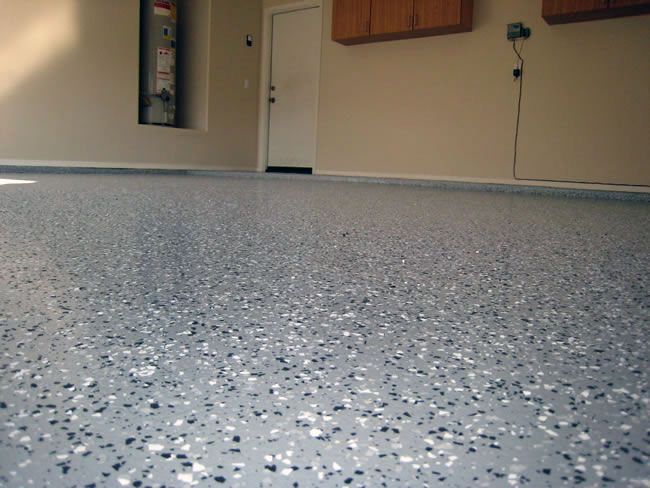
Chemical resistance has been solid in my experience. Oil drips, brake fluid spills, and occasional fuel splashes have all cleaned up without staining the surface when addressed promptly. The coating does require cleaning up spills before they sit too long, but in normal garage use that’s a reasonable expectation. The textured chip layer also provides enough grip that the floor doesn’t feel slippery even when slightly damp.
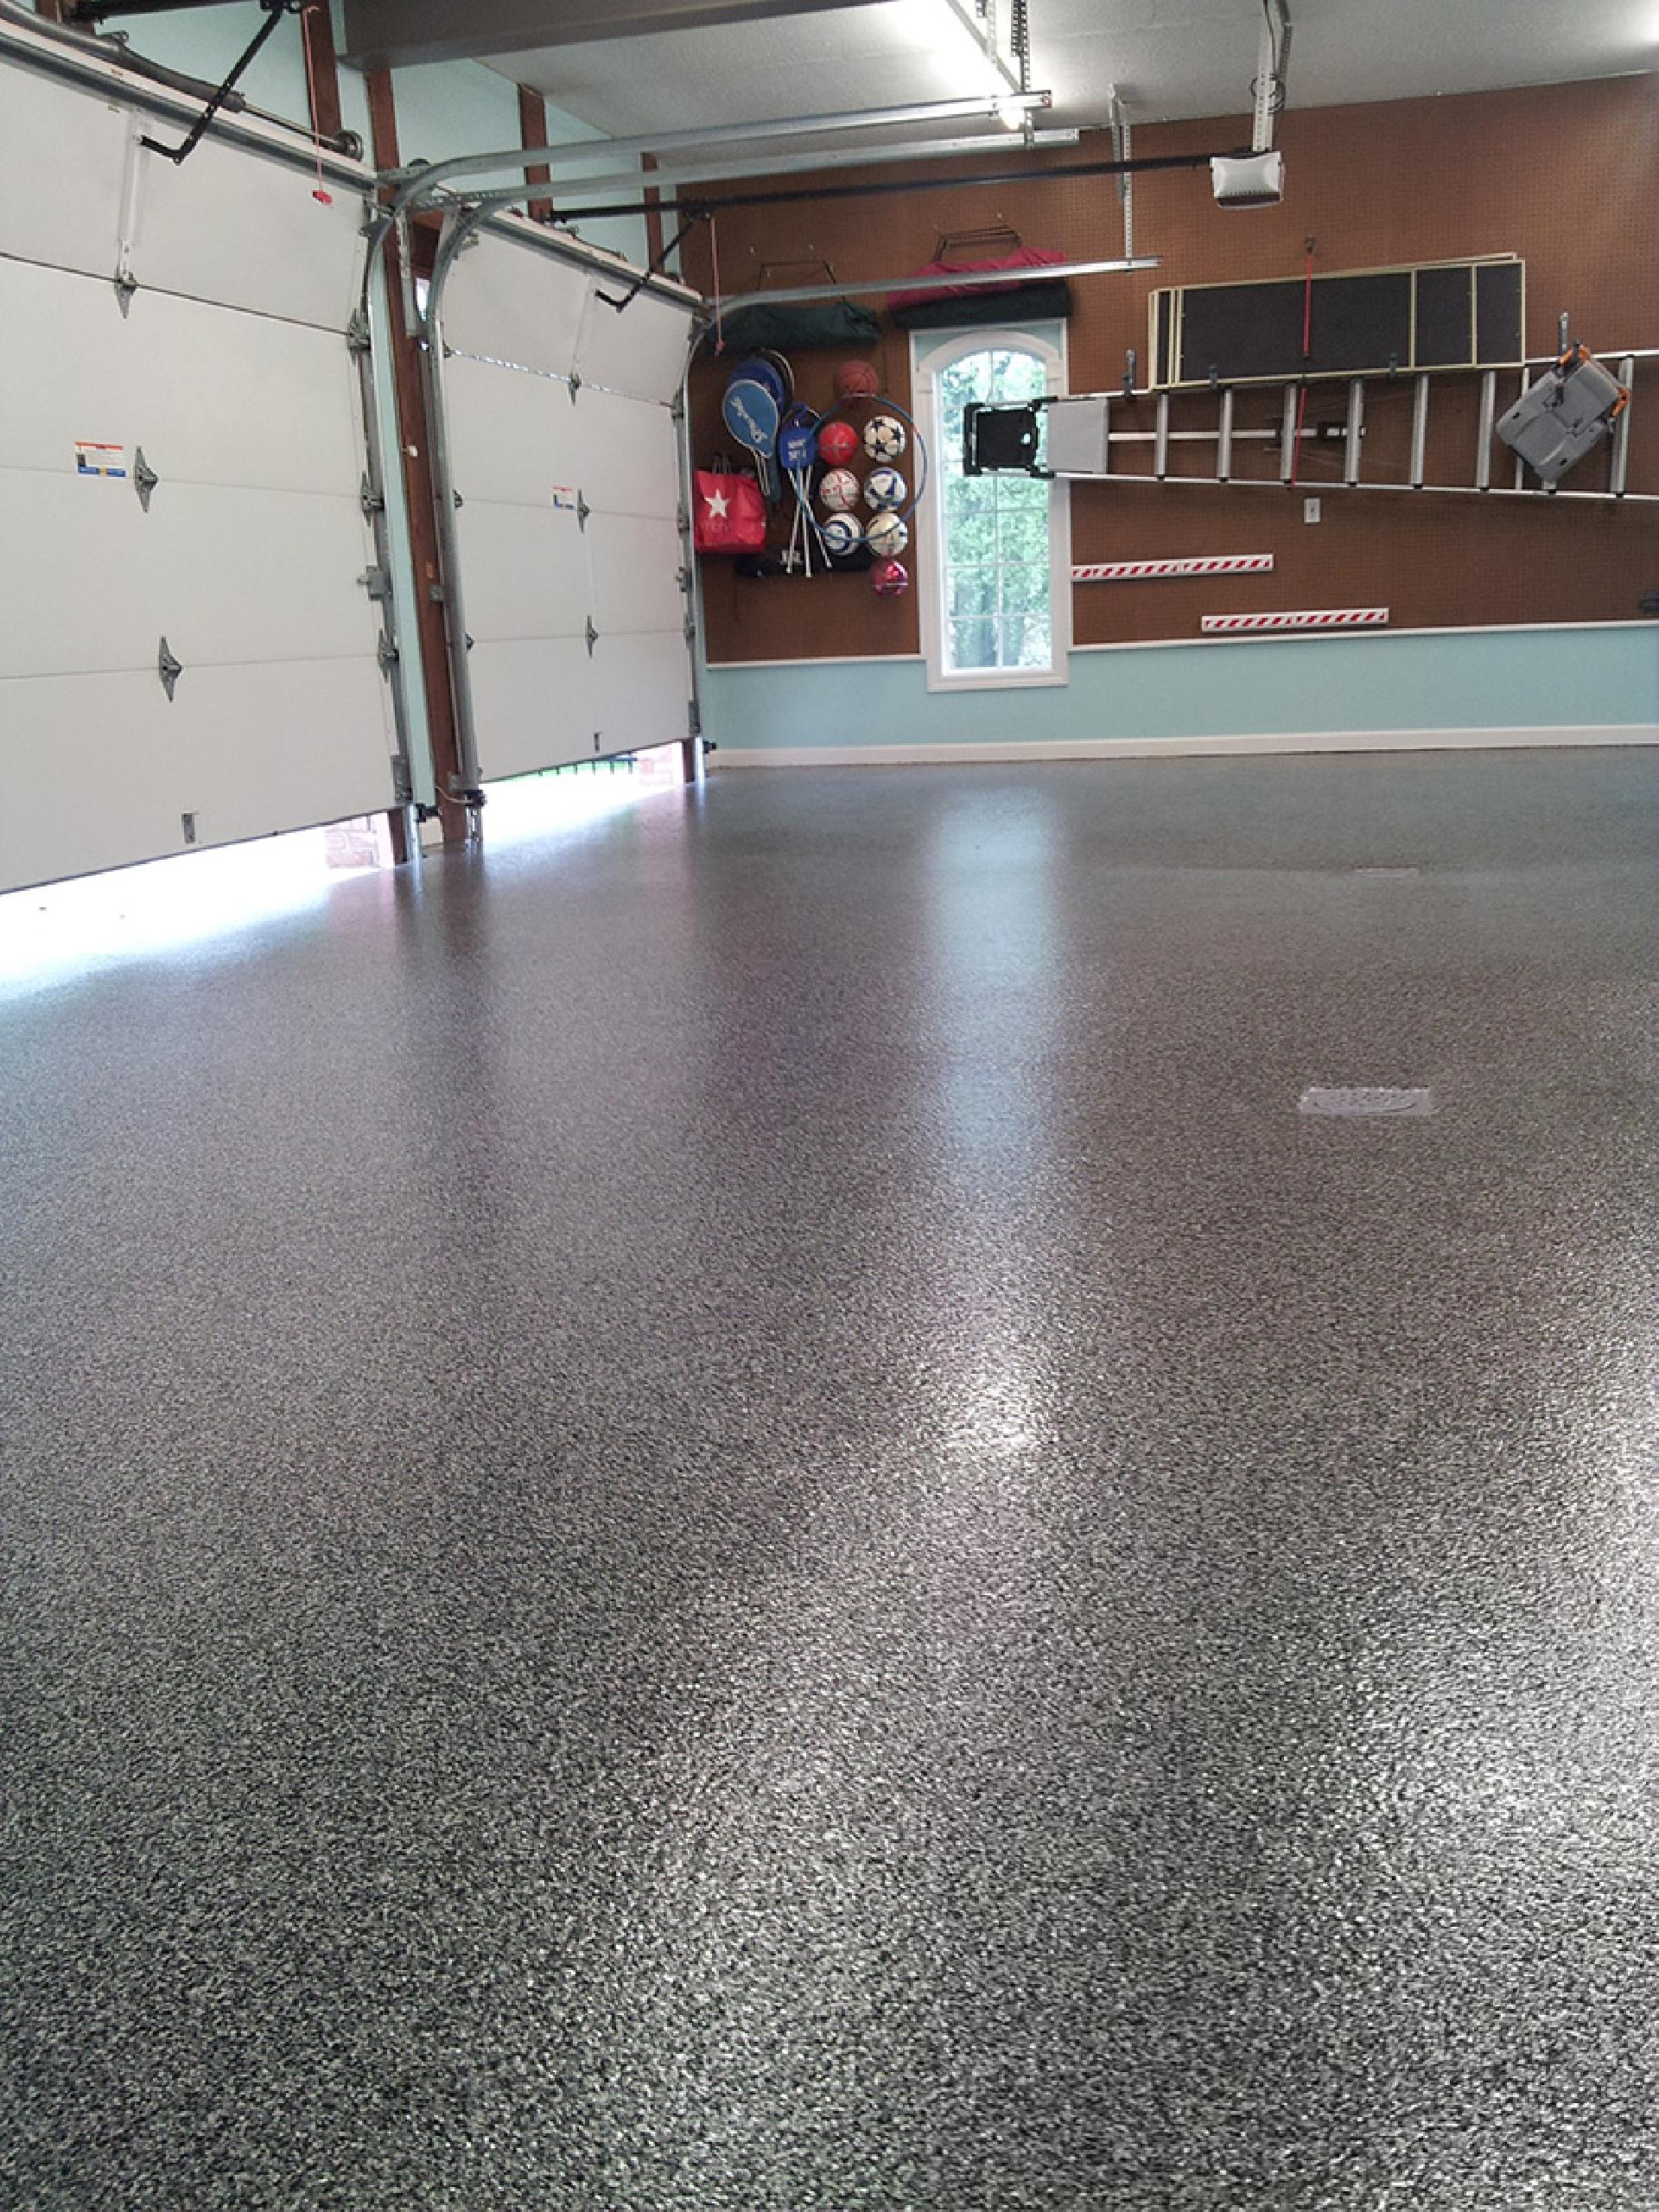
The honest limitation is longevity compared to professional polyurea coatings. I’ve started to see minor wear in the tire contact zones after two years, which I anticipated based on research. The coating is holding up in all other areas without any peeling or lifting, but the high-stress zones where tires sit and turn will likely need attention within another year or two. For a DIY product at its price point, I consider this a reasonable tradeoff rather than a failure.
Touch-Ups, Maintenance, and Getting the Most From Your Coating
Maintaining a Rustoleum garage floor coating is simple once you establish a basic routine. I sweep or blow out the garage weekly to prevent abrasive grit from accumulating and grinding into the surface under foot and tire traffic. Grit and sand are the coating’s biggest daily enemy since they act like sandpaper every time something moves across the surface.
For deeper cleaning, I use a mop with warm water and a small amount of Simple Green diluted in the bucket. Harsh chemical cleaners with bleach or strong solvents can degrade the epoxy surface over time. I’ve found that routine cleaning keeps the floor looking close to how it did when freshly applied, which is a reasonable maintenance ask for a garage floor that takes real daily abuse.
Touch-up capability is limited with two-part epoxy since the chemistry means new product bonds differently to cured existing coating than it does to fresh concrete. Minor chips can be addressed with single-part touch-up paint for appearance purposes, but structural repair of larger damaged areas is tricky without doing a full recoat of the affected zone. I keep a small amount of leftover product in a sealed container for this purpose, though I’ve only needed it once so far for a chip near my workbench area.
How long does Rustoleum garage floor paint last before peeling or wearing?
In my experience, two to five years is a realistic range depending on traffic and prep quality. The tire contact zones in my garage showed light wear after about two years while all other areas remain in excellent condition. Professional polyurea coatings last longer, but at significantly higher cost. Proper prep and respecting cure times before driving on the surface are the biggest factors in maximizing how long the coating lasts.
Do I need to acid etch my garage floor before applying Rustoleum?
Yes, absolutely. Etching opens up the concrete surface so the epoxy has something to grip. Rustoleum includes an etching solution in their kits for this reason. Skipping this step is the most common cause of peeling. After etching, the concrete should feel slightly rough like fine sandpaper. If water still beads on the surface after etching, the concrete may have a sealer on it that requires mechanical grinding before the coating will adhere properly.
How much does a Rustoleum garage floor kit cost?
A single two-part EpoxyShield kit covering approximately 250 square feet runs around $100 to $130 at most home improvement stores. A standard two-car garage typically requires two kits, putting total material cost around $200 to $260. Additional supplies like rollers, mixing paddles, brushes for edges, and any concrete patch add another $30 to $50. Compared to professional garage floor coating quotes I received, the DIY savings were substantial and significant.
Can I apply Rustoleum over an existing painted or coated garage floor?
Generally not recommended. Previously coated concrete requires testing to confirm the existing coating is fully bonded and compatible. Most manufacturers including Rustoleum recommend applying to bare, properly prepared concrete for best adhesion results. If you have existing paint that is peeling or compromised, you’ll need to remove it completely before applying any new coating. Applying over a failing existing coating guarantees that the new coating will fail along with it.
How long do I need to stay off the floor after applying Rustoleum epoxy?
Light foot traffic is generally safe after 24 hours, but I personally waited 48 hours before walking on my floor regularly. For vehicle traffic, Rustoleum recommends waiting 72 hours minimum, and I’d suggest 72 to 96 hours for best results. The coating continues curing and hardening beyond what’s visible, and driving on it too early can cause permanent impressions from tires. Patience in this final stage protects everything you invested in the prep and application work.
Is Rustoleum garage floor paint safe and non-toxic once cured?
Once fully cured, the coating is safe for normal garage use including around children and pets. During application and curing, ventilation is important since the product produces fumes that require fresh air and ideally a respirator for comfort. I kept my garage door open during application and for 24 hours after. Once the coating has fully cured and the smell has dissipated completely, which typically takes two to three days, normal garage activity can resume without any safety concerns.

Related Posts: