Installing kitchen floor tile yourself can dramatically transform your space while saving on labor costs. With proper planning and the right techniques, even novice DIYers can achieve professional-looking results that last for years. This comprehensive guide covers everything from material selection to grouting, helping you navigate the process with confidence. Whether you prefer classic ceramic, durable porcelain, or trendy patterned cement tiles, understanding the fundamentals ensures your project goes smoothly from start to finish.
Selecting the Right Tile for Your Kitchen
Durability should be your top priority when choosing kitchen floor tiles. Porcelain tiles offer exceptional resistance to scratches, stains, and moisture, making them ideal for high-traffic cooking areas. Ceramic tiles provide a more budget-friendly option with decent durability, though they may chip more easily. Natural stone like slate or travertine adds organic beauty but requires regular sealing to prevent damage from spills.
Consider slip resistance, especially if your kitchen sees frequent spills. Look for tiles with a textured surface or high COF (coefficient of friction) rating. Larger format tiles (12×24 inches or bigger) create a modern look with fewer grout lines, while smaller mosaic tiles offer better traction. The tile’s PEI rating indicates wear resistance—choose at least PEI 3 for residential kitchens.
Style coordination with your existing decor matters just as much as functionality. Light-colored tiles make small kitchens appear more spacious, while dark hues conceal dirt between cleanings. Patterned encaustic cement tiles create visual interest but require careful layout planning. Always view physical samples in your actual kitchen lighting before making final decisions.
Essential Tools and Preparation
Gather all necessary tools before starting to ensure a smooth workflow. You’ll need a tile cutter (manual snap cutter for straight cuts or wet saw for complex shapes), notched trowels, spacers, and a rubber float for grouting. A laser level helps maintain straight lines, while a mortar mixer attachment for your drill ensures proper consistency. Don’t forget knee pads—you’ll appreciate them during hours of installation.
Proper subfloor preparation prevents future problems. Concrete subfloors must be clean, dry, and level—use self-leveling compound to fill low spots. Over wooden subfloors, install cement backer board screwed every 8 inches to prevent movement. Check for squeaky floorboards and reinforce as needed. The substrate must be completely flat; any imperfections will telegraph through the tile over time.
Calculate your materials carefully to avoid shortages or waste. Measure your kitchen’s square footage, then add 10-15% for cuts and mistakes. Purchase all tiles from the same production lot to ensure color consistency. Have extra mortar and grout on hand, and buy matching caulk for perimeter expansion joints. Preparing everything in advance prevents frustrating mid-project store runs.
Layout Planning and Dry Fitting
Start by finding your kitchen’s focal point and planning the layout accordingly. For most kitchens, centering tiles along the main sightline (often the doorway) creates the most balanced appearance. Use chalk lines to mark your starting point, working outward in all directions. Avoid ending with tiny slivers of tile at walls—adjust your starting point if necessary to maintain at least half-tile widths at edges.
Dry lay several rows of tiles with spacers to visualize the pattern. This reveals how cuts will fall at cabinets and appliances, allowing adjustments before mortar sets. Pay special attention to how patterns align at transitions and whether grout lines stay consistent. For diagonal layouts, establish perfect 45-degree angles using a framing square before committing to mortar.
Consider traffic flow when planning tile direction. Running rectangular tiles parallel to cabinets typically looks best, while diagonal layouts can make small kitchens appear larger. Herringbone or chevron patterns require precise angle cuts but create a dramatic visual impact. Mark any tricky cuts (around pipes or corners) clearly on tiles before final installation.
Mortar Application and Tile Setting
Choose the right mortar type for your specific tile. Unmodified thin-set works for most ceramic tiles, while porcelain requires polymer-modified mortar for better adhesion. Large-format tiles need mortar with higher non-sag properties. Mix mortar to peanut butter consistency—too thin causes tiles to sink, too thick prevents proper bonding.
Apply mortar using the correct trowel notch size (usually 1/4″ x 3/8″ for floor tiles). Hold the trowel at a consistent 45-degree angle to create uniform ridges. Work in manageable 3×3 foot sections to prevent mortar skinning over before tile placement. Use the “burning” technique: skim a thin mortar layer on the tile back for maximum adhesion, especially with porcelain.
Set tiles firmly into place with a slight twisting motion to ensure full mortar contact. Use spacers to maintain even grout lines, checking alignment frequently with a straightedge. Remove excess mortar from grout lines immediately with a margin trowel. Let mortar cure fully (24-48 hours) before grouting—walking on tiles too soon can disrupt alignment.
Grouting and Finishing Touches
Select grout based on your kitchen’s needs. Sanded grout works best for joints wider than 1/8″, while unsanded suits narrower spaces. Epoxy grout resists stains better than cement-based options but is harder to work with. Consider adding grout additive or sealer for enhanced moisture protection in spill-prone kitchens.
Apply grout using a rubber float held at 45 degrees, forcing it completely into joints. Work diagonally across tiles to avoid pulling grout out of lines. After 15-20 minutes (when grout begins to haze), clean tiles with a damp sponge using circular motions. Change rinse water frequently to prevent grout haze. Final polishing with a dry cloth occurs once grout has fully set (about 24 hours).
Finish edges professionally with matching caulk at walls and cabinets to allow for expansion. Install transition strips where tile meets other flooring materials. Apply penetrating sealer to natural stone tiles and grout (if not pre-sealed). Wait at least 72 hours before heavy use or appliance replacement to ensure complete curing.
Maintenance and Long-Term Care
Regular cleaning preserves your tile’s appearance and longevity. Sweep or vacuum frequently to remove abrasive grit. Damp mop with pH-neutral cleaner—avoid vinegar or acidic solutions that can erode grout over time. Immediately wipe up spills, especially with porous tiles like natural stone or unglazed ceramics.
Reseal grout and natural stone annually, or as recommended by the manufacturer. Watch for cracked or missing grout, which allows moisture penetration. Regrouting small sections promptly prevents larger problems. Place protective pads under heavy appliances to prevent tile cracking, and use rugs in high-traffic areas to minimize wear.
Address minor repairs quickly to maintain your floor’s integrity. Keep extra tiles from your original installation for future replacements. Chipped tiles can often be carefully removed and replaced without disturbing surrounding ones. For larger issues, consult a professional to assess whether spot repairs or complete replacement makes more sense.

How difficult is DIY kitchen tile installation for beginners?
While challenging, first-timers can successfully tile a kitchen floor with proper preparation. Start with simpler layouts (straight patterns with large-format tiles) and forgiving materials like ceramic. The physical labor is demanding but straightforward—precision in measuring, cutting, and alignment matters most. Allow extra time for learning curves, and consider practicing cuts on spare tiles first. Many home improvement stores offer free clinics that teach basic tiling techniques before you begin your project.
What’s the average cost difference between DIY and professional tile installation?
Professional installation typically costs 5−10 per square foot, while DIY materials average 2−6 per square foot depending on tile quality. A 150-square-foot kitchen could save 450−1200 by self-installing. However, factor in tool rentals/purchases (about 100−300) and potential mistakes requiring replacement tiles. The savings diminish for complex patterns or natural stone that requires specialized skills. Get multiple quotes if considering professionals to compare with your DIY budget.

How long does a DIY kitchen tile project usually take?
For an average-sized kitchen (150 sq ft), allow 3-5 days total working at a careful pace. Day 1: prep and layout. Day 2-3: tile setting. Day 4: grouting. Day 5: finishing/sealing. Complex patterns or large kitchens may take longer. Rushing leads to mistakes—the mortar and grout need proper curing time between steps. Schedule the project when you can avoid using the kitchen for at least 48 hours after grouting.
Can you tile directly over existing vinyl or laminate flooring?
It’s possible but generally not recommended. Existing flooring must be perfectly adhered, level, and free of wax or grease. Even then, the added height may cause issues with appliances and transitions. For vinyl, you must first install cement backer board. Most professionals advise removing old flooring to ensure a stable base and proper door clearances. The exception is some vinyl tiles specifically designed as tile underlayment—check manufacturer guidelines.
What’s the best way to cut tiles around cabinets and obstacles?
For straight cuts against walls, a manual snap cutter works efficiently. Complex cuts (around pipes or corners) require a wet saw with diamond blade. Mark cuts carefully using cardboard templates for irregular shapes. Leave 1/4″ expansion gap at walls covered by baseboards. Under cabinets, you can often hide imperfect cuts—measure to ensure the visible edges look precise. Always cut tiles face-up on a wet saw to prevent chipping the visible surface.
How soon after tiling can I put my appliances back in place?
Wait at least 72 hours after grouting before replacing heavy appliances to allow full curing. Use appliance rollers or plywood sheets to distribute weight when moving items back. Place felt pads under appliance feet to prevent scratching. For refrigerators with water lines, check that new floor height doesn’t kink connections. Consider leaving the dishwasher disconnected until the floor fully cures (7 days) if access requires removing it again.
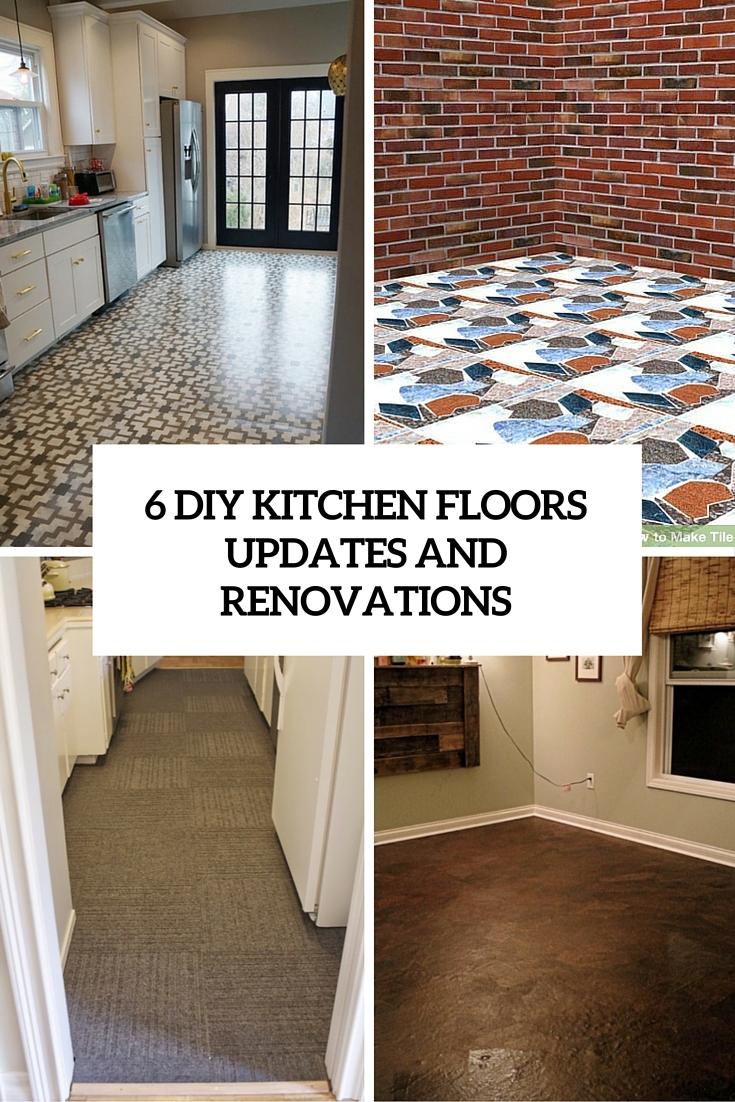
Kitchen Flooring Materials and Ideas

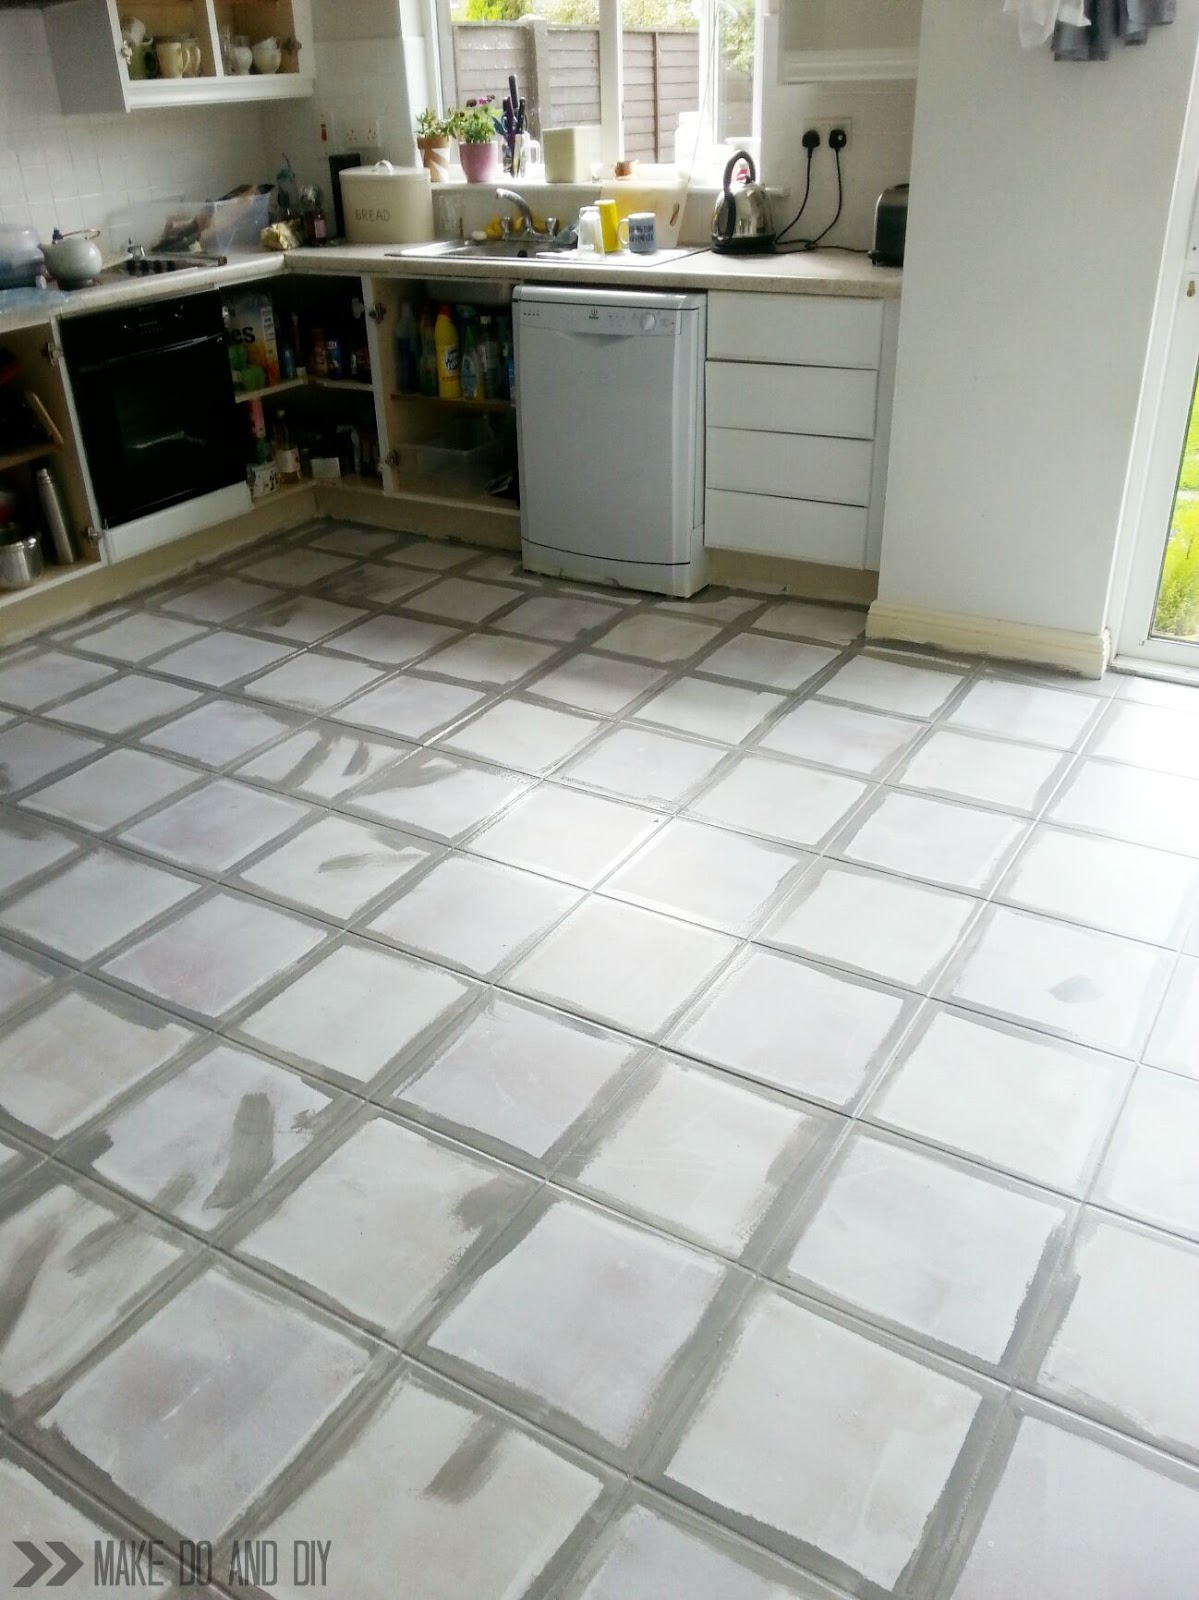
painted tile floor-no really! ~ Make Do and DIY
Lisboa Tile Stencil

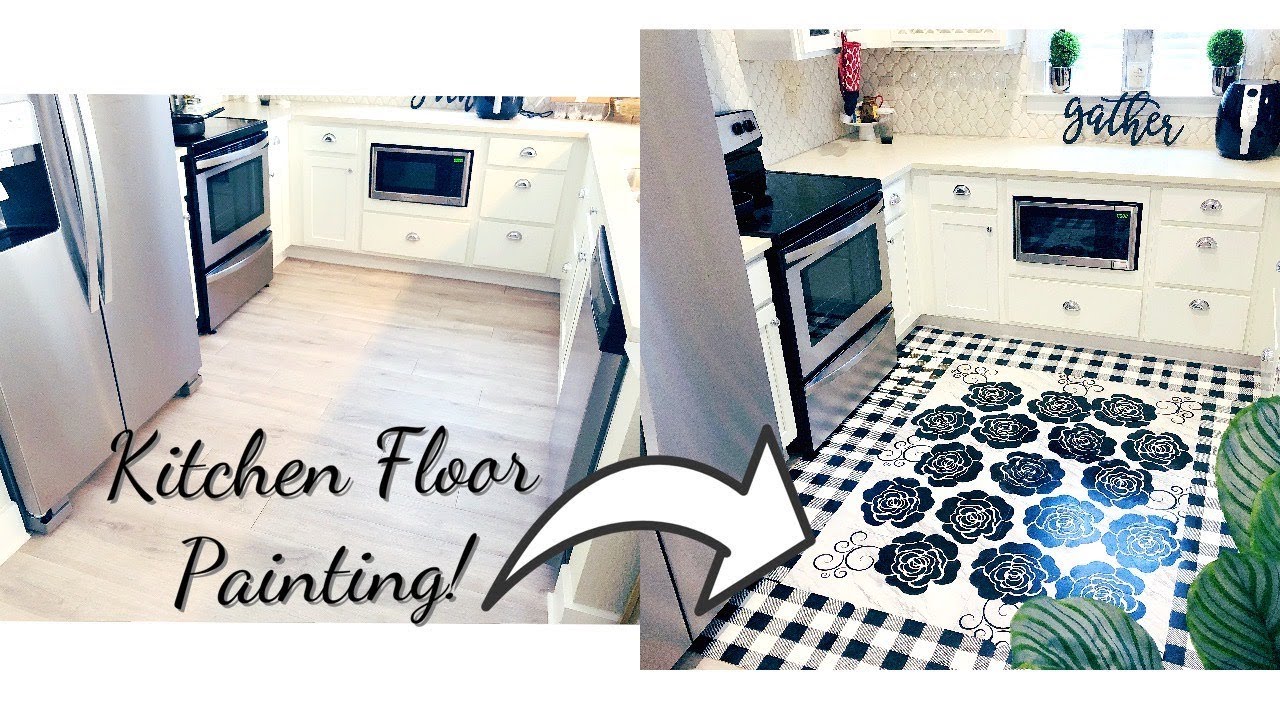
DIY Peel & Stick Kitchen Floor

Related Posts: