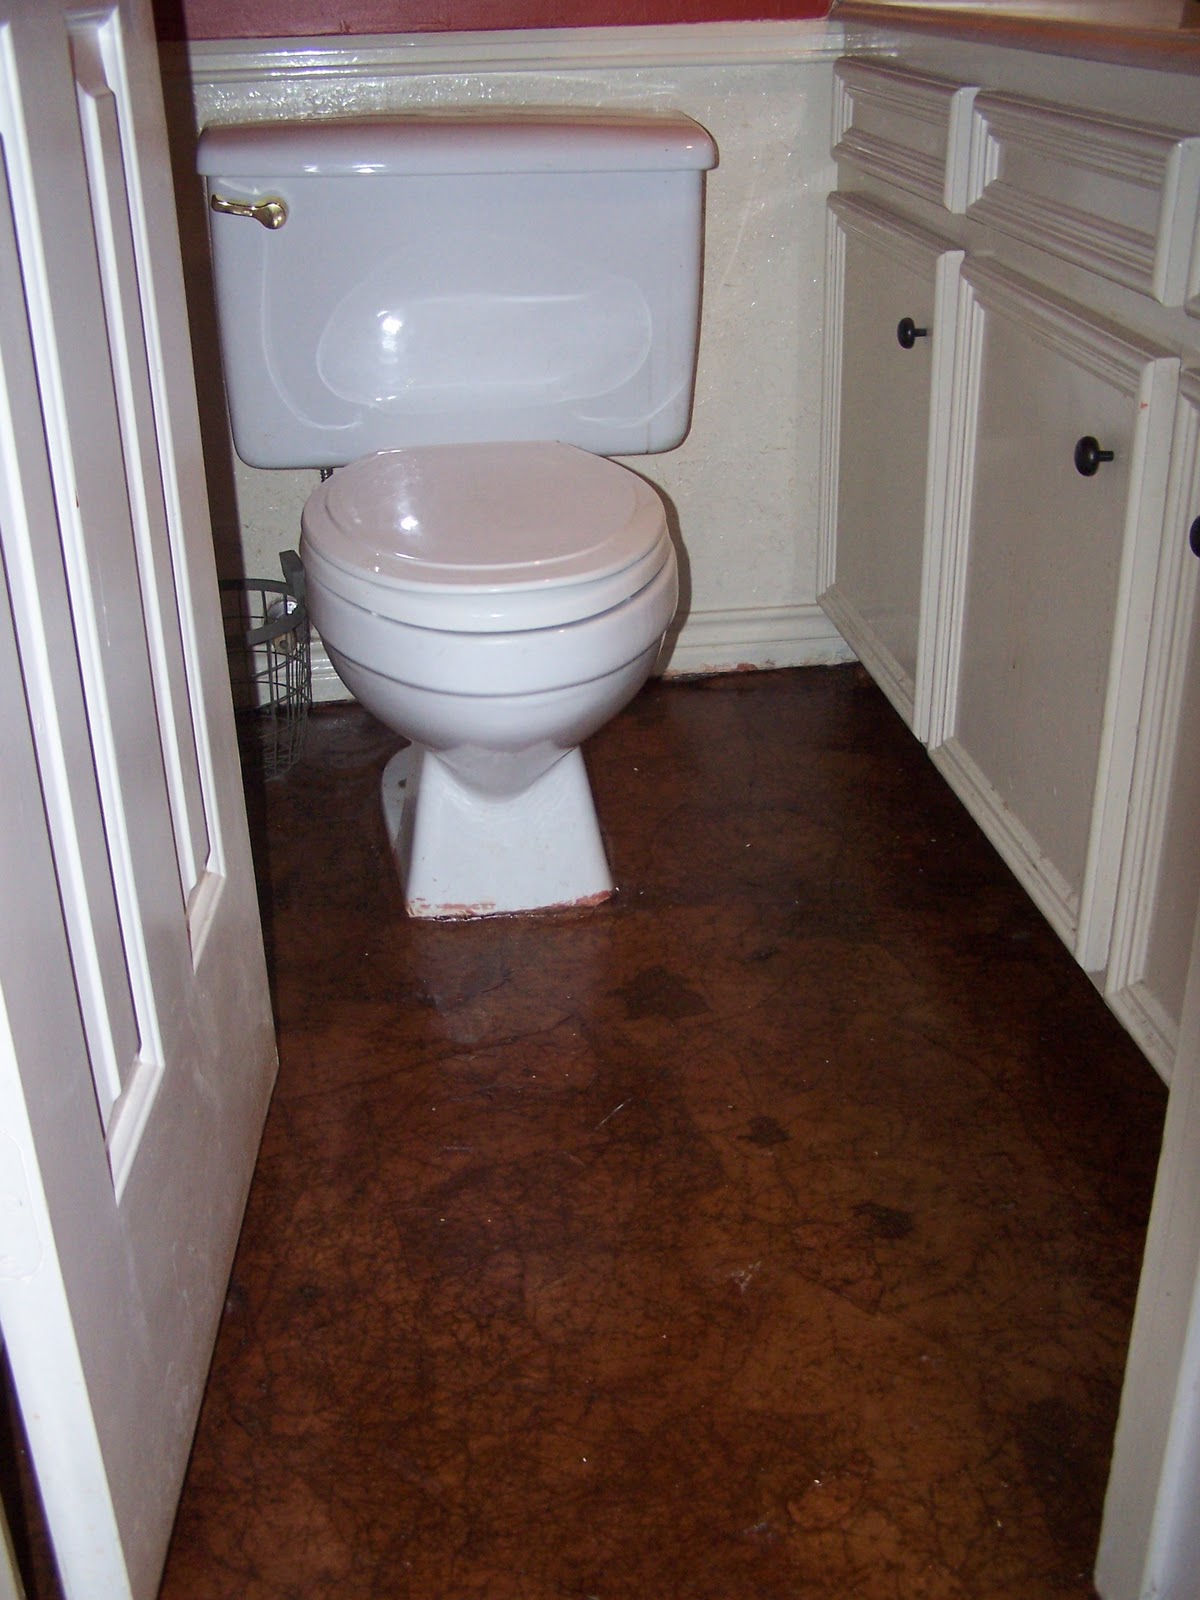
When I decided to give my bathroom a facelift, I didn’t expect flooring to be such a big part of the decision. At first, I figured it was just about picking something that looked good and could handle water. However, as I began digging in, I realized how much more goes into selecting the right floor for a bathroom. It needs to be slip-resistant, durable, easy to clean, and ideally, something that complements the overall style of the space.
After weeks of browsing samples, reading reviews, and even redoing one failed attempt (tile adhesive is not as forgiving as it looks), I discovered some surprisingly simple yet stylish options that made all the difference. If you’re looking for ideas that’re both practical and stylish, here are six easy bathroom flooring ideas that helped me transform my space without breaking a sweat or the bank.
Tile: Classic and Versatile
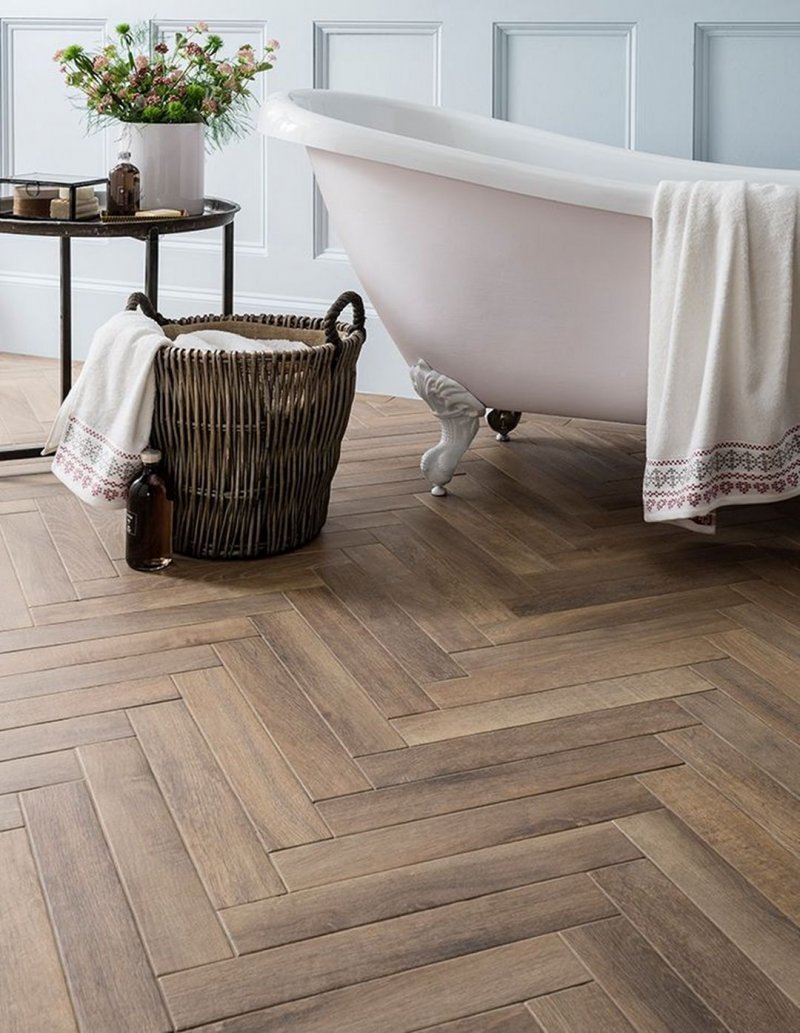
Ceramic tile was the first option I considered because it’s so common in bathrooms. It’s affordable, water-resistant, and comes in every color and shape imaginable. I went with a soft gray subway tile laid in a herringbone pattern, which gave my small bathroom a bit of movement without overwhelming the space. The grout lines were tricky to keep clean at first, but sealing them helped a lot.
Porcelain tile was another contender because it’s denser and less porous than ceramic, making it even more resistant to moisture. I liked how polished porcelain mimics natural stone without the high cost or maintenance.
I tested a few glossy white slabs against my existing fixtures and found they reflected light beautifully, making the room feel larger and brighter.
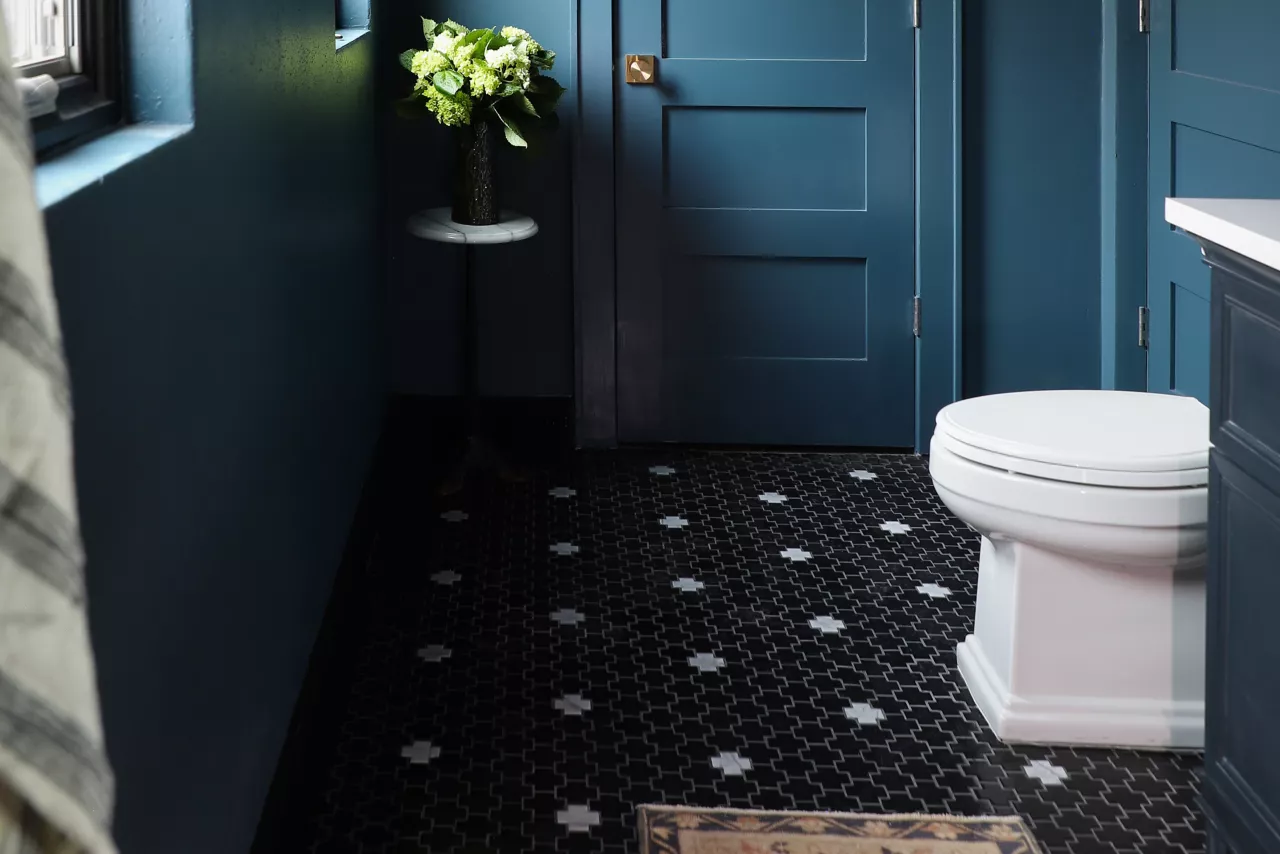
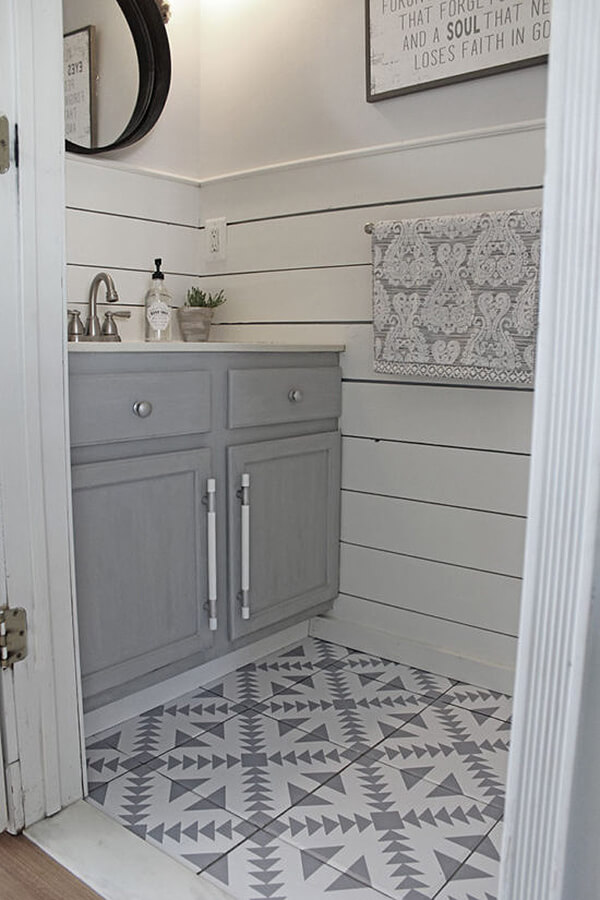
One thing I hadn’t thought about before starting this project was using mosaic tiles for flooring. They’re usually reserved for backsplashes or accent walls, but when installed correctly, they can add texture and visual interest to the floor.
I tried a mix of matte black hexagon tiles around the base of the shower area to create contrast. It was a small change, but it added depth and personality without being too bold.
Vinyl: Affordable and Realistic
Vinyl plank flooring surprised me with how realistic it looked and how easy it was to install. I chose a wood-look version that had subtle grain patterns and a textured surface to mimic real hardwood. Since vinyl is 100% waterproof, I didn’t have to worry about water damage from splashes or humidity. I rolled out the underlayment myself and clicked the planks together in an afternoon.
Luxury vinyl tile (LVT) was another great find, especially for areas where I wanted the look of stone or ceramic without the cold, hard feel. I picked a slate-gray version that matched my vanity countertop and gave the whole room a cohesive feel. Installation was straightforward since it uses a peel-and-stick method, though I did take extra care around the edges near the tub to make sure it was sealed properly.
The biggest bonus with vinyl was the price point. Compared to other materials, it was significantly cheaper, especially if you opt for mid-range brands. I also appreciated how quiet it felt underfoot compared to tile, which made early morning trips to the bathroom a little more comfortable. For anyone on a tight budget or doing a quick update, vinyl offers a surprising amount of style and comfort.
:strip_icc()/CaptureOneSession58331_preview-213eb6922a4846029740f519ef4c2619.jpg)
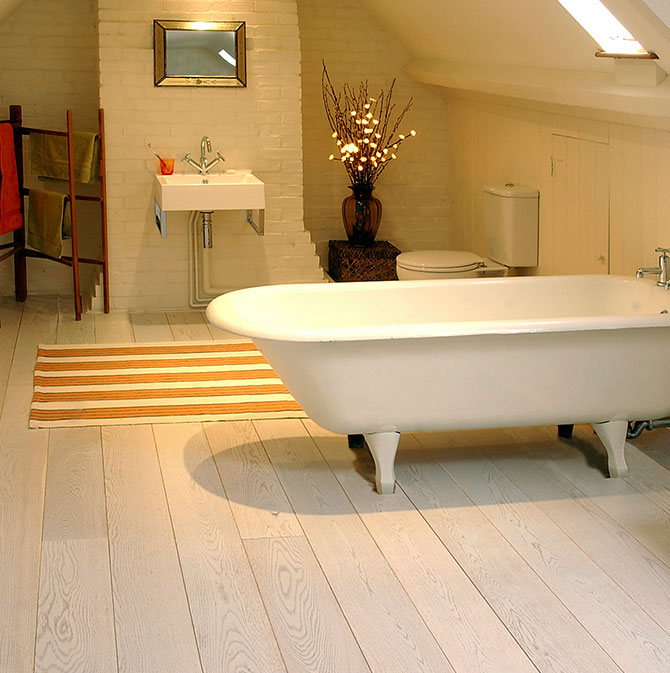
Engineered Wood: Warmth Without the Worry
I never thought engineered wood would work in a bathroom until I saw it in person. Unlike solid hardwood, engineered planks have a core made of plywood or high-density fiberboard, which makes them more stable in humid environments. I found a dark walnut finish that brought warmth and richness to the otherwise neutral space, creating a spa-like retreat.
Installation was similar to laminate, with a click-lock system that snapped together easily. I made sure to leave expansion gaps around the perimeter and behind the toilet to account for any swelling due to moisture. I also applied a waterproof sealant along the seams just to be safe. With proper ventilation, I’ve had no issues with warping or mold growth.
What I loved most about engineered wood was the way it softened the entire look of the bathroom. It paired well with brass fixtures and linen curtains, giving the space a lived-in, elegant vibe. While it’s not completely waterproof like vinyl, it held up well with regular cleaning and careful use. If you want the charm of wood without the high risk, engineered is a smart compromise.
Laminate: Budget-Friendly and Durable
Laminate flooring was another option I almost dismissed because of its reputation for being cheap-looking. But modern versions have come a long way in terms of realism and durability. I tried a medium oak shade that mimicked the look of real wood and layered it over foam padding for a bit of cushion underfoot. The result was shockingly convincing and very easy to maintain.
I appreciated how scratch-resistant laminate was, especially in a space where dropped soap bottles and heel traffic are common. Cleaning was simple—just a quick sweep and occasional damp mop kept it looking fresh. I also liked how it stayed cool in summer and warm in winter, depending on the lighting and room temperature.
One drawback I noticed was that while it’s water-resistant, it’s not fully waterproof. A spill left overnight could seep into the seams and cause swelling. To avoid this, I made sure to wipe up messes quickly and used a bath mat in front of the tub. For a temporary fix or a rental-friendly upgrade, laminate offered a solid balance between affordability and aesthetics.
Natural Stone: Elegant and Timeless
Natural stone like slate and travertine gave my bathroom a level of sophistication I hadn’t expected. Each piece had slight variations in color and texture, which made the floor feel unique and organic. I chose honed rather than polished stone for a softer, non-slip finish that worked better in a wet environment. The earthy tones blended perfectly with the white fixtures and wooden cabinets.
Sealing was essential with natural stone, and I learned that lesson the hard way after a coffee spill left a stain on the lighter stones. Once I applied a penetrating sealer, the floor became much easier to maintain. I resealed once a year and wiped up spills promptly, which kept the surface looking pristine.
The only downside was the price and installation difficulty. Natural stone requires professional cutting and setting in mortar, which adds to the cost. But the payoff was worth it—the floor felt luxurious and grounded the entire design. If you’re aiming for elegance and don’t mind a little upkeep, natural stone delivers timeless appeal.

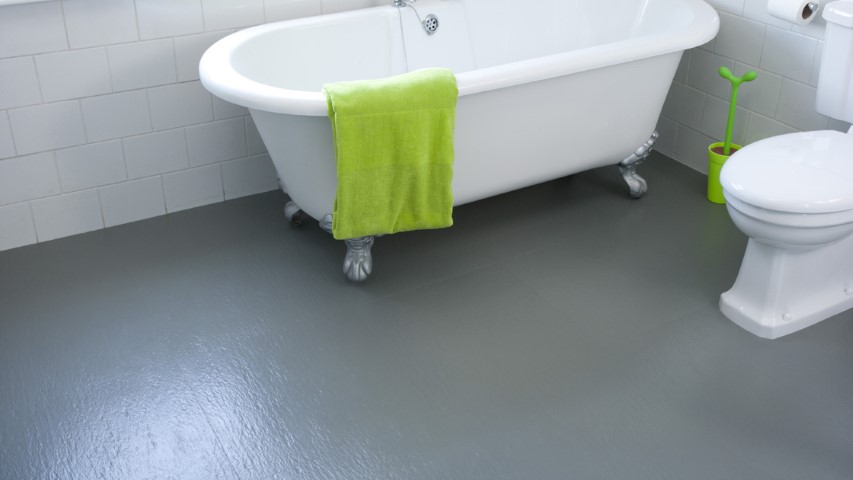
Rubber Flooring: Practical and Comfortable
Rubber flooring was the last thing I expected to love, but it ended up being one of the most functional choices. Originally designed for gyms and playrooms, rubber mats are incredibly slip-resistant, making them perfect for wet areas. I chose a charcoal-gray roll-out style that covered the main floor area and provided a soft, cushioned step.
Cleaning was effortless—soap scum wiped away easily, and I could hose it down without worrying about water damage. The material was also sound-absorbing, which cut down on echo in the tiled space. I added a decorative border using peel-and-stick vinyl tiles to dress up the edges and break up the industrial look.
While rubber isn’t the most stylish option out there, it made up for it with performance. It was especially useful in a kid’s bathroom or a shared space where safety matters most. I found that pairing it with modern fixtures and sleek lighting helped elevate the look. If comfort and safety are your top priorities, rubber flooring might be the unsung hero of your bathroom remodel.
What is the easiest bathroom flooring to install?
Among the easiest options are luxury vinyl plank, peel-and-stick vinyl tiles, and laminate. These materials typically feature click-lock or adhesive backing systems that allow for quick, tool-free installation. Vinyl plank is especially user-friendly, requiring only a utility knife and measuring tape. Laminate is slightly trickier due to expansion gaps, but still manageable for DIYers. Rubber rolls also offer a fast solution, especially for smaller spaces.
Which bathroom flooring is most slip-resistant?
Textured tile, rubber flooring, and certain types of vinyl provide the best traction in wet conditions. Textured porcelain or ceramic tiles have a built-in grip without sacrificing style. Rubber mats, especially those with raised patterns or grooves, offer excellent slip resistance and are commonly used in commercial settings. Some vinyl planks come with enhanced embossed surfaces designed specifically for safety in moist areas.
How do I choose bathroom flooring on a budget?
Look for materials that combine affordability with durability. Laminate and vinyl are two of the most cost-effective choices, offering a wide range of styles without the high price tag. Ceramic tile can also be budget-friendly if you stick to standard sizes and do the installation yourself. Avoid exotic materials unless you plan to live in the space for many years and can justify the investment.
Can I use hardwood in a bathroom?
Solid hardwood isn’t recommended due to moisture exposure, but engineered wood can work if properly sealed and maintained. It has a more stable core that resists warping better than traditional hardwood. Use a waterproof topcoat, ensure good ventilation, and avoid standing water. Many people enjoy the warmth and beauty engineered wood brings to a bathroom when installed correctly.
Do I need underlayment for bathroom flooring?
Yes, underlayment helps with soundproofing, insulation, and moisture protection. It’s especially important with floating floors like vinyl or laminate to create a smooth, even surface. Foam or cork underlayments are popular choices, and some vinyl products come with them already attached. Make sure to choose a moisture-resistant variety to prevent mold and mildew buildup beneath the flooring.
What flooring works best in a small bathroom?
Light-colored vinyl plank or large-format tile can make a small bathroom appear bigger by reducing visual clutter. Light grout lines help maintain continuity, while dark floors can make the space feel cramped. Peel-and-stick tiles offer flexibility for renters or temporary updates. Consider using a single flooring material throughout the space to create flow and avoid dividing the room visually.

How To Update Your Bathroom Floor Tiles

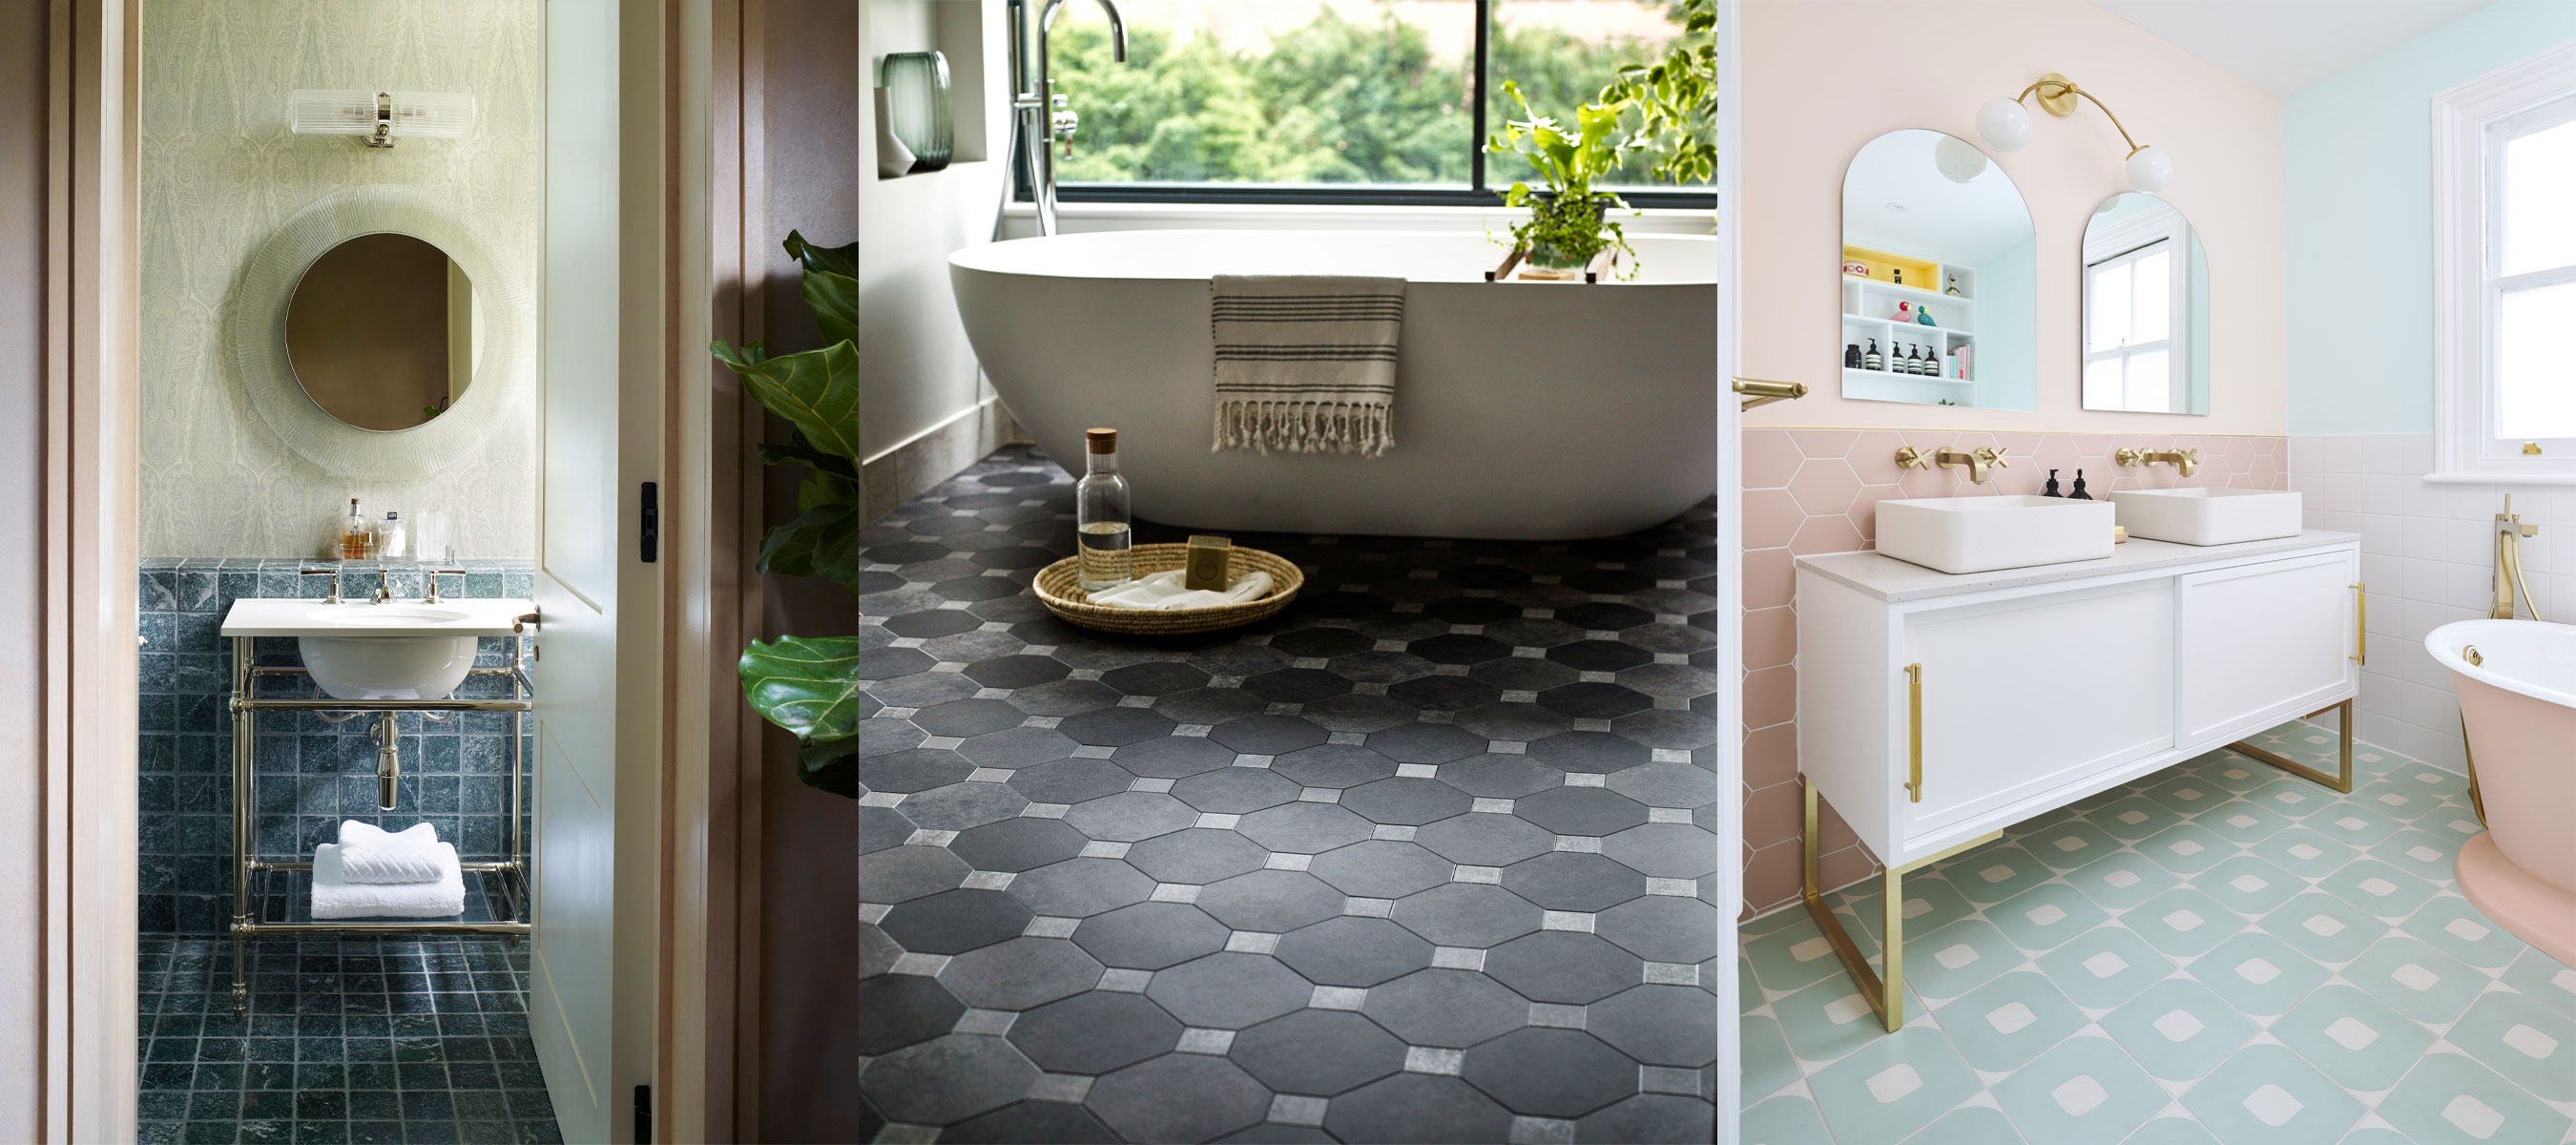
Best Bathroom Flooring Ideas and Designs
Small bathroom flooring ideas: from bold colors and striking
Bathroom Flooring ideas small bathroom, bathroom design

How To Update Your Bathroom Floor Tiles – 6 DIY ideas

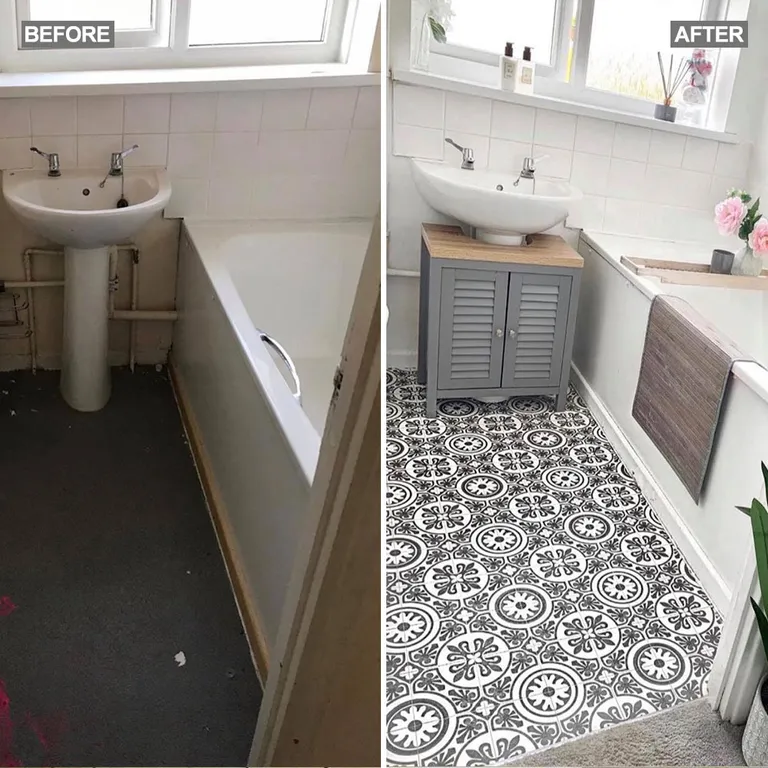
DIY vinyl bathroom flooring transforms this lacklustre bathroom
Related Posts: