When I decided to transform my concrete-based basement into a comfortable living space, adding hardwood flooring became my priority. The change was about more than just aesthetics; it was also about bringing warmth to an otherwise frigid setting. Years of experience working on house renovations have taught me that installing hardwood flooring over concrete necessitates certain procedures and considerations. In this essay, I’ll offer my expertise and knowledge to assist you in managing this tough but rewarding project, from planning to completion.
Understand Your Concrete Foundation
The key to a good hardwood installation is a thorough understanding of the concrete foundation. I learnt this lesson when I put my first hardwood floor in my previous home and noticed moisture problems midway through the installation. Now, I use a long straight edge to inspect the levelness of the concrete slab and measure any dips or peaks. Variations more than 3/16 inch within a 10-foot radius require leveling compound application before proceeding.
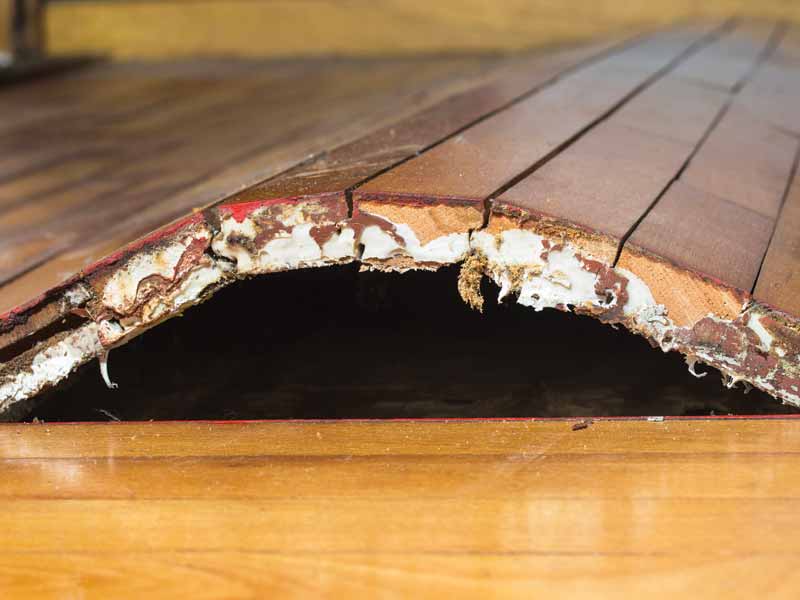
Moisture testing is essential for concrete foundations because excess moisture will ruin even the finest hardwood. I utilize both calcium chloride tests and electronic moisture meters to keep results below the manufacturer’s requirements, which are typically less than 3 pounds per 1,000 square feet per 24 hours. My rule is to test many spots, especially near outside walls and pipes, as these areas frequently disclose hidden moisture issues that could jeopardize the entire installation.
Concrete curing is an important consideration that I had previously missed. A newly poured concrete slab requires at least 60 days to cure properly, but I recommend waiting at least 90. During my last basement renovation, I rushed the procedure and paid the price with minor warping in numerous areas. The concrete must also be clean, structurally sound, and free of paint, oil, or existing adhesives that could interfere with bonding, which may necessitate mechanical grinding or chemical stripping, depending on the pollutants present.
Choosing the Suitable Hardwood for Concrete Subfloors
Based on my installation expertise, engineered hardwood routinely outperforms solid hardwood when built on concrete. The cross-layered design ensures dimensional stability in the face of moisture and temperature changes that occur naturally in concrete environments. I prefer engineered goods with a wear layer of at least 3mm, which has allowed me to refinish my heavily trafficked kitchen floor twice without needing replacement.
When installing on concrete, selecting the right wood species is critical. I’ve discovered that tougher species such as oak, maple, and hickory may resist small substrate defects better than softer woods like pine or cherry. Thicker planks, spanning 1/2 to 3/4 inches, provide better insulating properties and a more solid underfoot sensation than thinner choices, which can sometimes indicate slight concrete defects.
Finish concerns are especially critical with concrete projects. I prefer prefinished hardwood wherever possible since it removes the need for on-site sanding and finishing, lowering the overall moisture introduction to the project. Factory-applied aluminum oxide finishes have worked very well in my basement installations, providing greater protection against the tiny residual moisture that concrete generally contains. The small beveled edges of prefinished goods also help to hide any minor subfloor flaws that may remain after preparation.
Essential Moisture Barriers and Underlayment
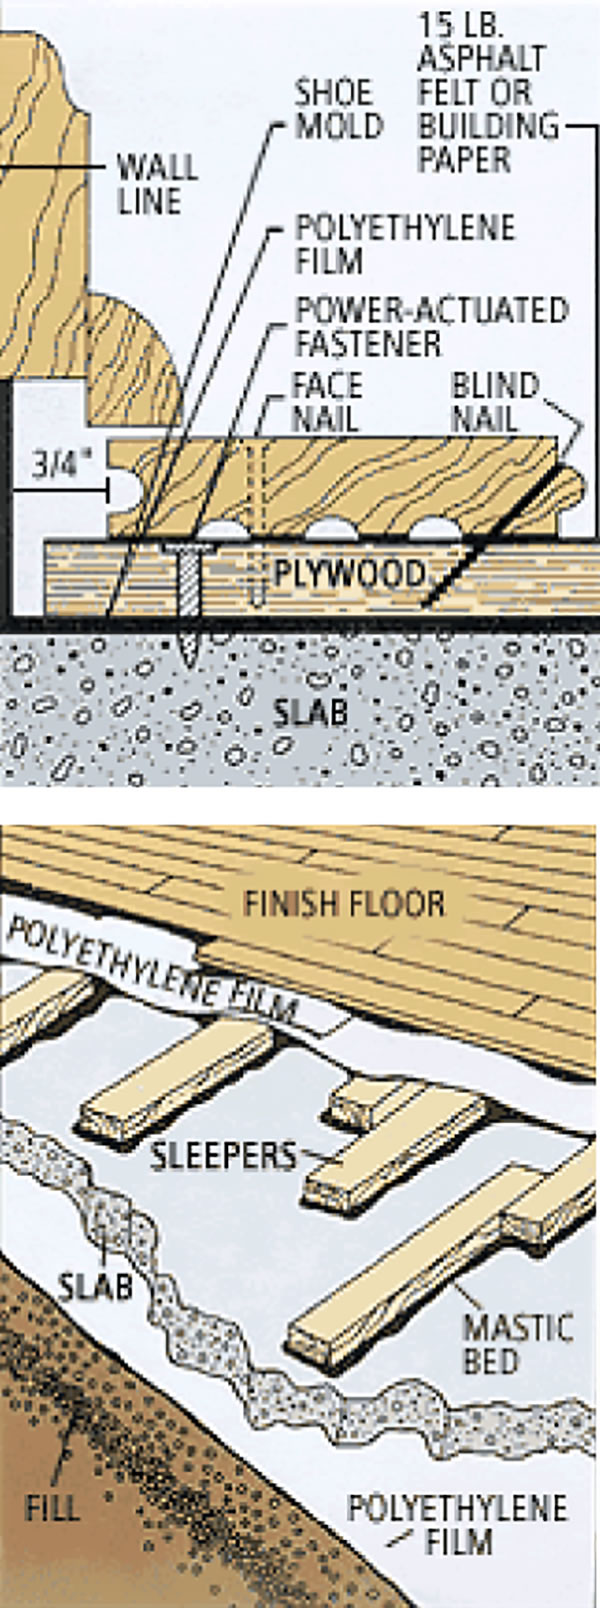
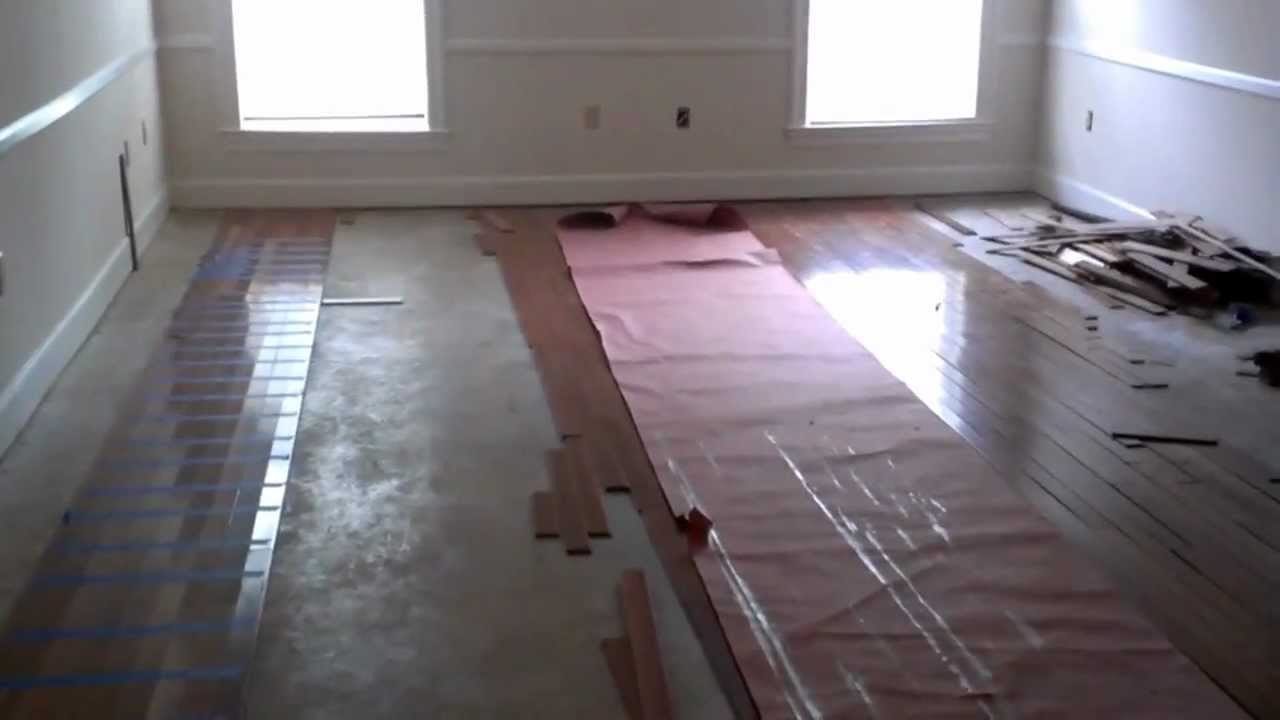
Installing a proper moisture barrier remains the most important step I’ve learnt from multiple concrete projects. I always use a minimum of 6-mil polyethylene sheeting, with seams at least 8 inches apart and sealed with moisture-resistant tape. For my own home, I upgraded to a 10-mil barrier for added protection, overlaying it up the walls by about 2 inches before trimming after installation, resulting in a complete moisture envelope beneath the flooring.
Underlayment selection is determined by the unique project requirements; nevertheless, I’ve discovered that 1/4-inch cork underlayment gives great sound absorption, thermal insulation, and a tiny cushioning effect that makes standing more comfortable. Foam underlayments perform well on lesser budgets, but they give less sound insulation. In my basement entertainment room, I chose a hybrid solution with a vapor barrier and attached foam cushioning, which made installation easier while also addressing moisture and sound issues.
The installation process for the underlayment layer requires careful consideration. I usually put it perpendicular to the intended direction of the hardwood boards, butting the edges without overlapping to avoid uneven surfaces. Taping the seams tightly minimizes shifting during hardwood installation. When installing radiant heat systems embedded in concrete, as I did in my sunroom, I chose a specialized heat-resistant underlayment with lower thermal resistance to maximize heating efficiency while maintaining moisture protection, an investment that paid off in terms of both comfort and energy savings.

Installation Methods: Floating vs. Glue Down
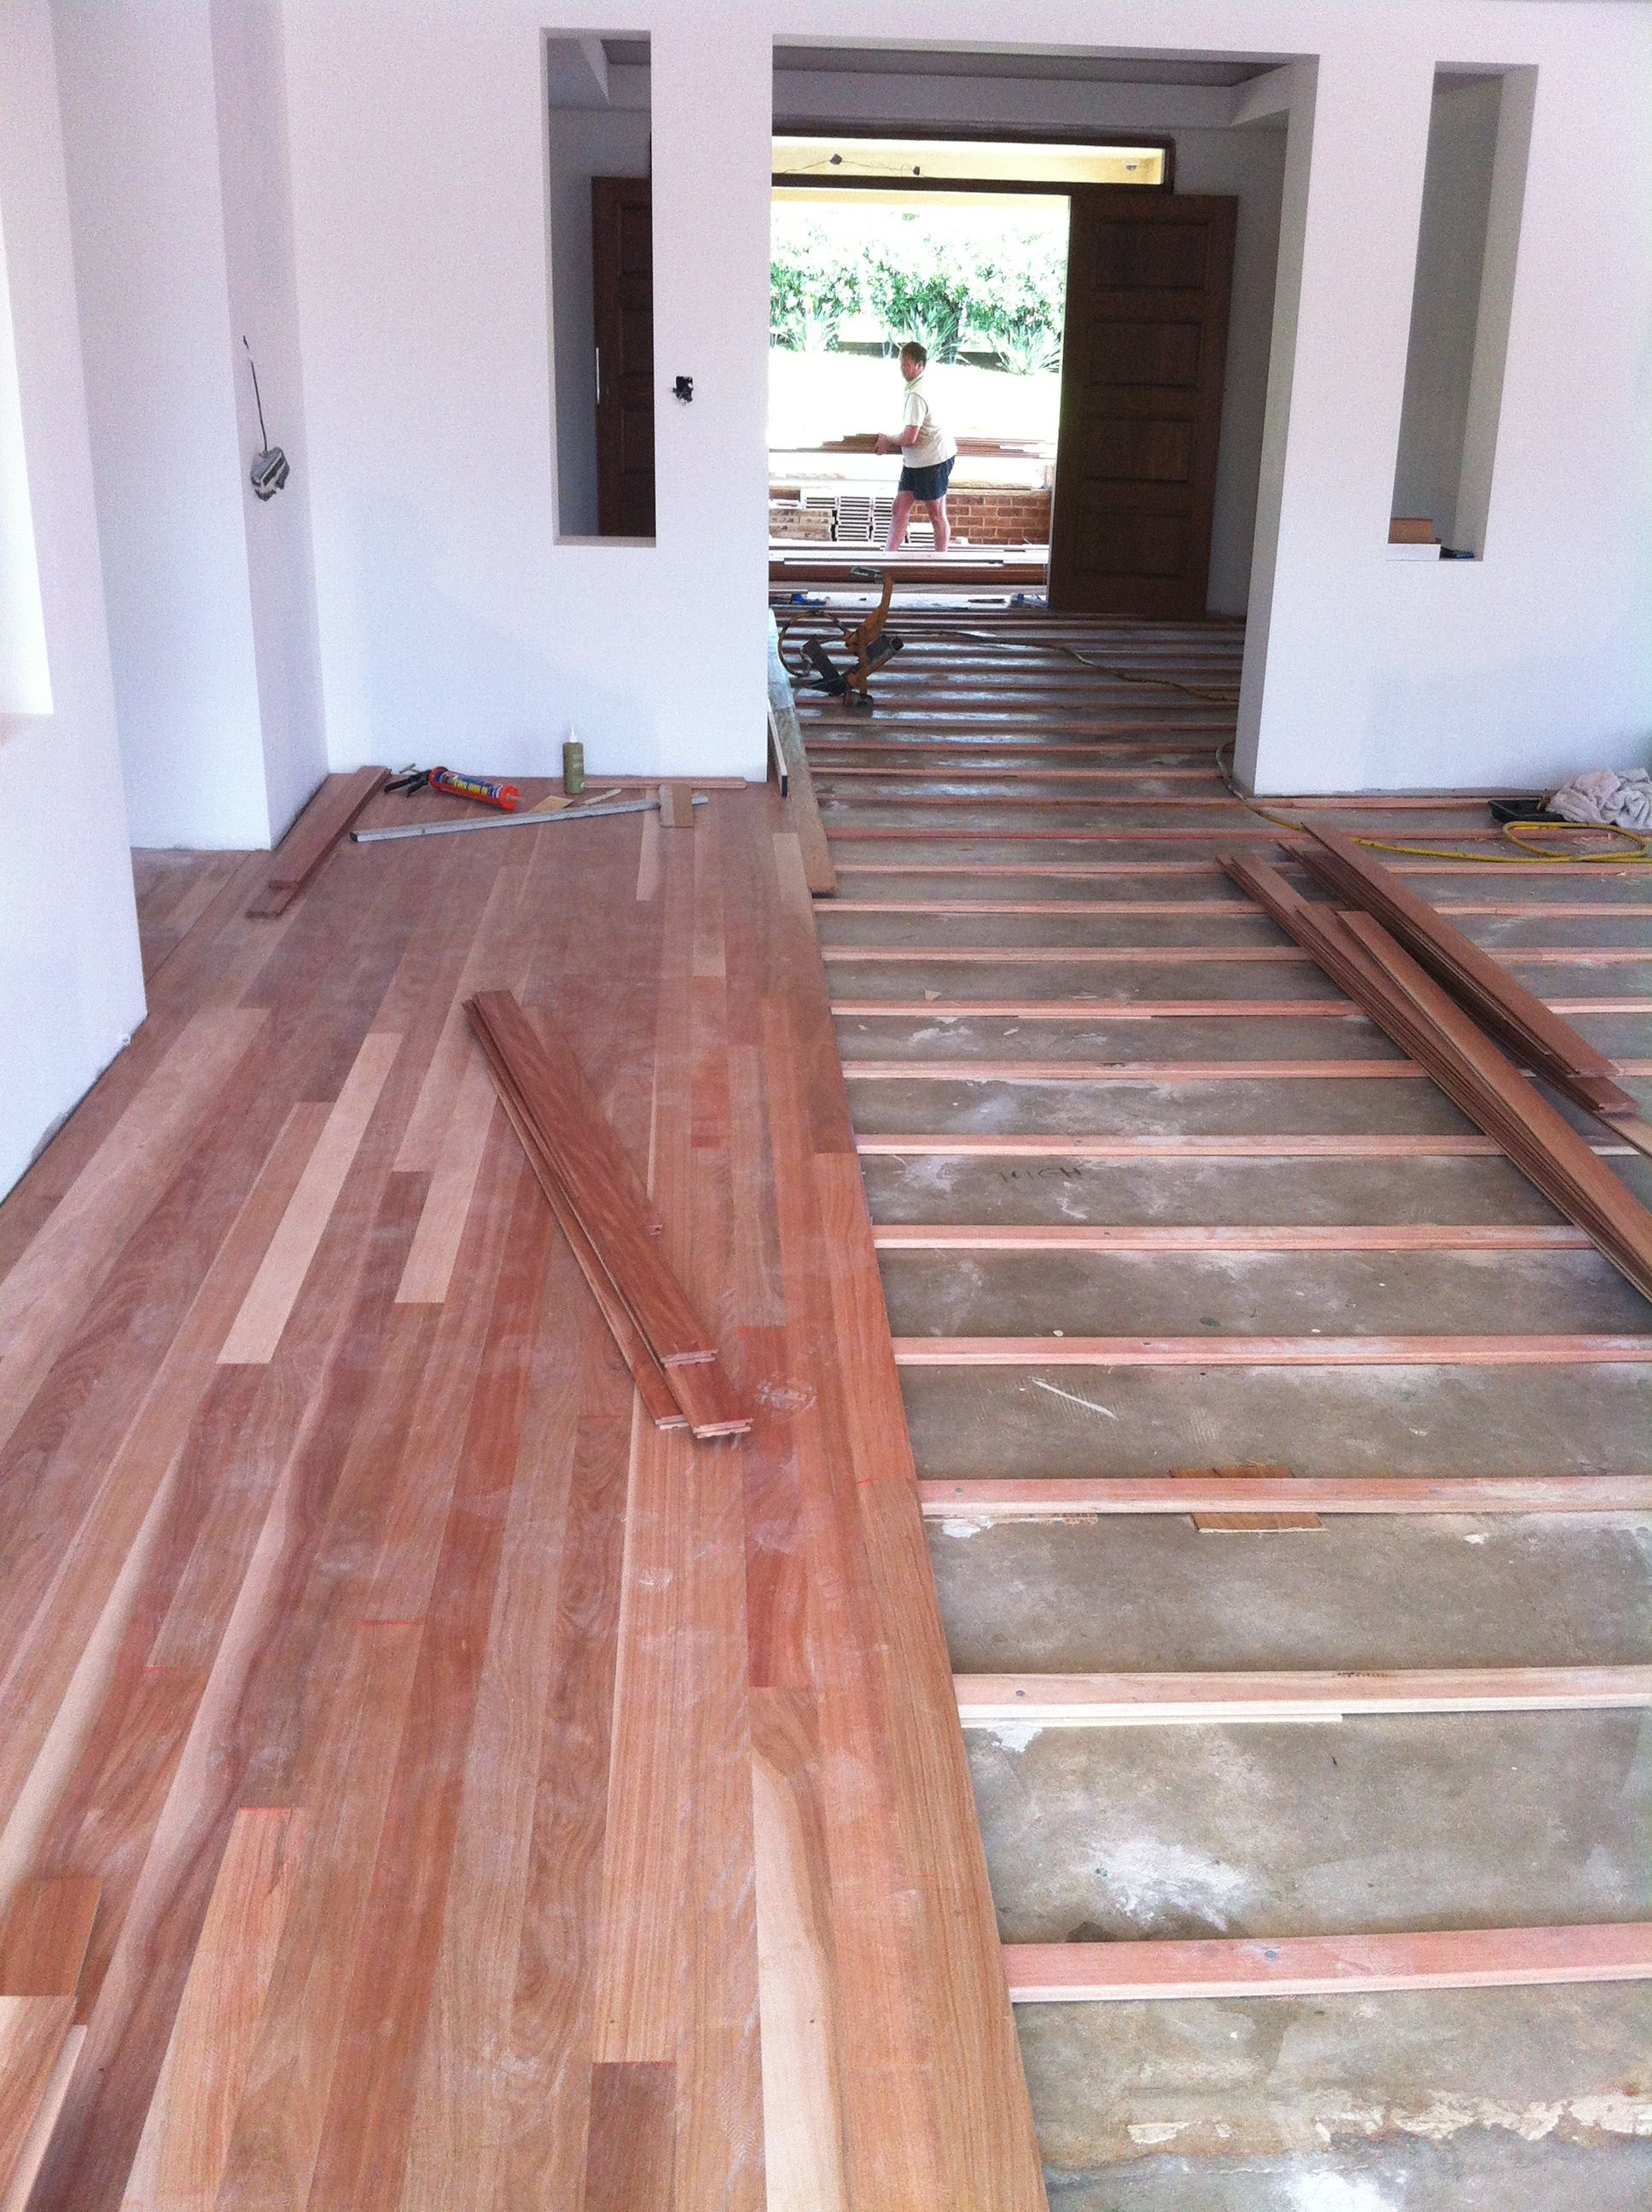
The floating installation method has become my preferred option for most concrete installations due to its forgiving nature and ability to handle minor seasonal movements. Instead of fastening the boards directly to the concrete, I use tongue-and-groove systems, such as click-lock or bonded connections. This method produces a homogenous floating surface that may slightly expand and contract in response to environmental changes, avoiding the buckling and gapping concerns I had with previous efforts.
Glue-down installations have advantages in certain instances, especially for thinner manufactured goods or where maximum stability is required. I picked this solution for my dining room since the direct adhesive to the concrete subfloor prevents any potential movement or hollow sounds when stepped on. When employing this method, I carefully choose moisture-curing urethane adhesives with vapor barrier qualities and apply them using the manufacturer’s recommended trowel size to ensure enough coverage and bond strength.
When picking between these options, room usage strongly influences my decision. For my home workplace, where I have rolling chairs, I chose a glue-down technique to ensure optimal stability under dynamic stresses. For bigger living areas with regular furniture and foot traffic, floating systems are easier to install and replace if damage occurs. Either method necessitates careful acclimatization of the wood supplies, which I do by keeping the unopened packages in the installation room for at least 72 hours at regular living temperatures and humidity levels.
Proper Layout and Installation Techniques
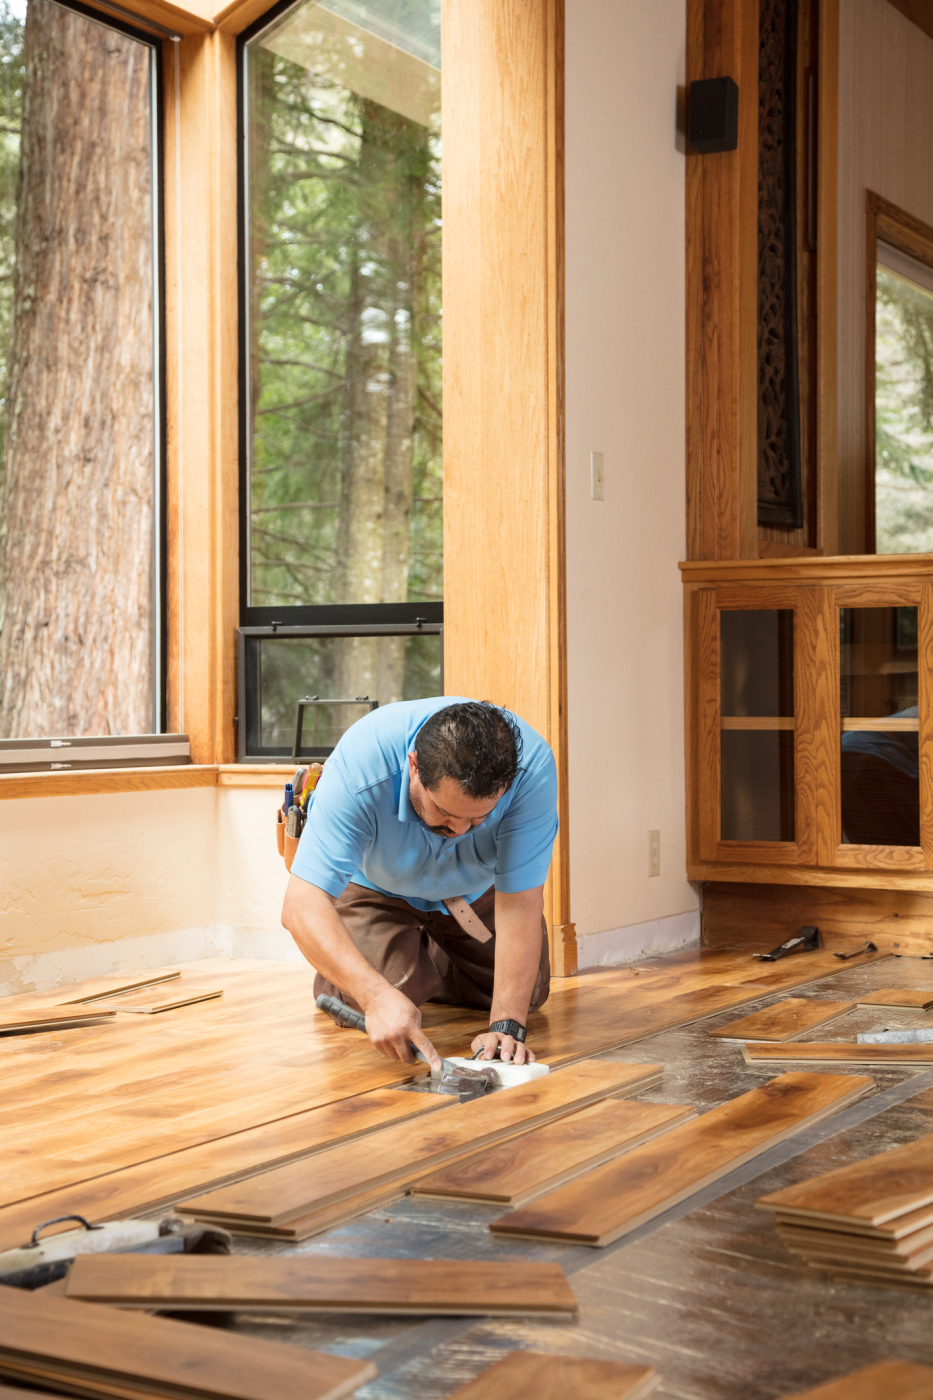
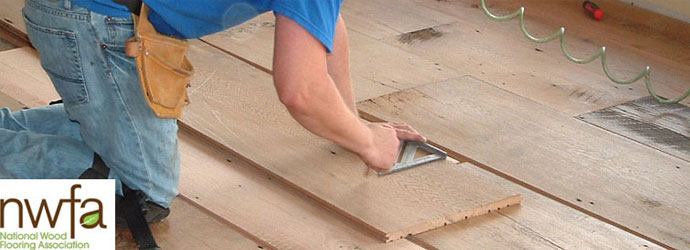
Starting with a solid layout plan improved my installation quality because I began measuring from the middle of the room rather than the walls, which are rarely precisely straight or square. I use chalk lines to make perpendicular guidelines, then dry-lay the first few rows to achieve an aesthetically attractive pattern, which is especially crucial when working with natural hardwoods of various colors. This planning stage allows me to identify any problematic cuts at walls or transitions before beginning permanent installation.
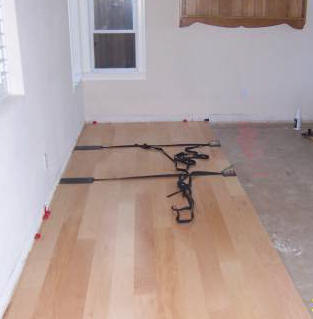
Even when using advanced concrete materials, the expansion gap remains crucial. During installation, I use spacers to keep a consistent 1/2-inch gap between all perimeter walls and fixed objects. This seemingly enormous distance allows for seasonal movement and prevents buckling floors, a costly mistake I made on my first installation by following obsolete advice for narrower gaps. These slots eventually disappear completely beneath baseboards or quarter-round molding, remaining undetectable in the finished product yet allowing for necessary movement.
To provide esthetic appeal and structural integrity, I often install perpendicular to the main light source or along the longest wall dimension. I stagger the end joints between rows by at least 6 inches, which improves overall floor integrity and prevents unattractive patterns. When placing near entrances or transitioning to other flooring materials, I carefully arrange the pattern to avoid small slivers of wood that could break under traffic, aiming for at least half-width boards even if it means slightly modifying the starting row location.

Final Touches and Maintenance Considerations
Baseboard installation has both a functional and aesthetic purpose. I usually remove the existing baseboards before installing the flooring and reinstall them slightly higher to cover the expansion gaps. When working with existing baseboards that cannot be removed, quarter-round or shoe molding put against the baseboard fills the expansion gap and adds a finished look. I usually nail these trim pieces to the wall rather than the flooring so that they can move naturally without producing squeaks or gaps.
Transition pieces between rooms and flooring materials require careful planning. I utilize T-moldings at entrances to link to similar-height flooring, reducer strips to adapt to lower materials like vinyl or carpet, and threshold moldings at outside doors. These specific parts compensate for material movement variances and ensure smooth, safe transitions. I usually manually tie these transitions to the subfloor rather than the hardwood, so that each flooring component can move independently.
Maintaining hardwood on concrete necessitates different procedures than traditional installations. I only use manufacturer-recommended cleaning chemicals and avoid wet mopping, which might introduce moisture through seams. Maintaining a steady indoor humidity of 35-55% is especially crucial for concrete subfloors, since extreme swings can induce wood movement despite moisture barriers. To safeguard my investment and assure long-term beauty and function, I placed a hygrometer in each room with hardwood flooring and used humidifiers in the winter and dehumidifiers in the summer as needed.

Can any hardwood be placed over concrete?
Not all hardwoods do equally well on concrete. I’ve discovered that engineered hardwood developed expressly for below- or on-grade installation performs well in these conditions. The multilayer architecture inhibits moisture movement, which happens naturally in concrete. Solid hardwood is generally not advised since concrete’s potential moisture transmission can result in cupping, crowning, or buckling. Even with perfect moisture barriers, solid wood’s intrinsic expansion properties make it dangerous for concrete applications. If you must have solid hardwood aesthetics, try engineered goods with substantial wear layers, which provide the same visual appeal while offering more dimensional stability.
How long should the concrete cure before laying hardwood flooring?
Patience with concrete curing avoids huge issues later. New concrete should cure for at least 60 days before testing for moisture content, but I prefer 90-120 days for best results. Even ancient concrete requires extensive moisture testing before starting with hardwood installation. The moisture emission rate of the concrete should be less than 3 pounds per 1,000 square feet per 24 hours when tested with calcium chloride, or less than 75% relative humidity with in-situ probes. Without adequate curing and testing, retained moisture can degrade adhesives, cause mold growth, and deform even manufactured goods that have moisture barriers.
Can I lay hardwood flooring in a basement with concrete floors?
Yes, hardwood flooring may be installed in basements with adequate preparation. I successfully put engineered hardwood in my below-grade basement by thoroughly addressing moisture concerns. This involves addressing any water intrusion issues, conducting extended moisture testing during seasonal fluctuations, utilizing strengthened moisture barriers, and selecting specialized items designed specifically for below-grade installation. The concrete should test dry consistently over several months, preferably during seasonal fluctuations that may impact groundwater levels. Additionally, keeping regular humidity levels is especially critical in basement situations to prevent seasonal wood movement.
Which is the best moisture barrier technology for concrete subfloors?
The optimum moisture protection is achieved by a multi-layer method adapted to your concrete circumstances. For mild moisture readings (2-3 pounds according to ASTM standards), I use 6-10 mil polyethylene sheeting with taped seams and a different underlayment product. For higher readings up to the manufacturer’s maximum, I recommend specialized two-part epoxy moisture management systems that encapsulate the concrete surface, followed by an adhesive that is compatible with these sealants. Premium moisture control pays out in the form of longer-lasting floors. Remember that different manufacturers define varying allowable moisture levels, so always adhere to product-specific criteria rather than general guidelines.
How much does it usually cost to put hardwood floors over concrete?
Based on my experience supervising installations, I anticipate spending $8-15 per square foot on materials and $4-7 per square foot on professional installation, with concrete-specific preparation adding to the expenses. Grinding, leveling compounds, moisture tests, and specific moisture barriers may all be required for proper concrete preparation, which might cost $2-5 per square foot, depending on the condition. High-end engineered hardwood with superior underlayment systems is more expensive initially, but it often performs better on concrete over time. While DIY installation is still possible, concrete subfloors pose technical obstacles that frequently require expert installation to assure warranty compliance and efficient moisture management.
Are radiant heating systems compatible with hardwood floors on concrete?
Radiant heating systems can function with engineered hardwood over concrete if properly specified. I put this combo in my sunroom with great success by using engineered hardwood materials that are explicitly warranted for radiant heat applications. These normally define maximum surface temperatures (about 85°F) and moderate temperature change restrictions to avoid damage. The flooring must be laid using either a floating approach or adhesives designed for radiant heat compatibility. Choose products with reduced thickness specifications (usually 3/8 to 1/2 inch) to ensure more efficient heat transfer while keeping the structural integrity required for concrete applications.

Guide: How to Install Hardwoods on a Concrete Subfloor
How to Install an Engineered Hardwood Floor
Prepping Concrete Slabs for Hardwood Floor Installation City

Getting it right: Wood flooring over a concrete subfloor – Page 2
How To Install Hardwood Floors On Concrete
Laying A Floating Wooden Floor On Concrete Engineered wood
Related Posts: