When I started planning my kitchen renovation, almost everyone I talked to told me hardwood in a kitchen was a risky move. Too much moisture, too much foot traffic, too many dropped pots and spilled glasses. But I had fallen hard for the look of walnut, that deep, rich chocolate tone with swirling grain patterns that no other wood quite matches, and I wasn’t ready to give it up without really investigating whether it could work. Two years later, walnut hardwood is my favorite decision in the entire renovation, and I want to share everything I learned along the way for anyone standing at the same crossroads I was.
What Makes Walnut Such a Special Choice for a Kitchen
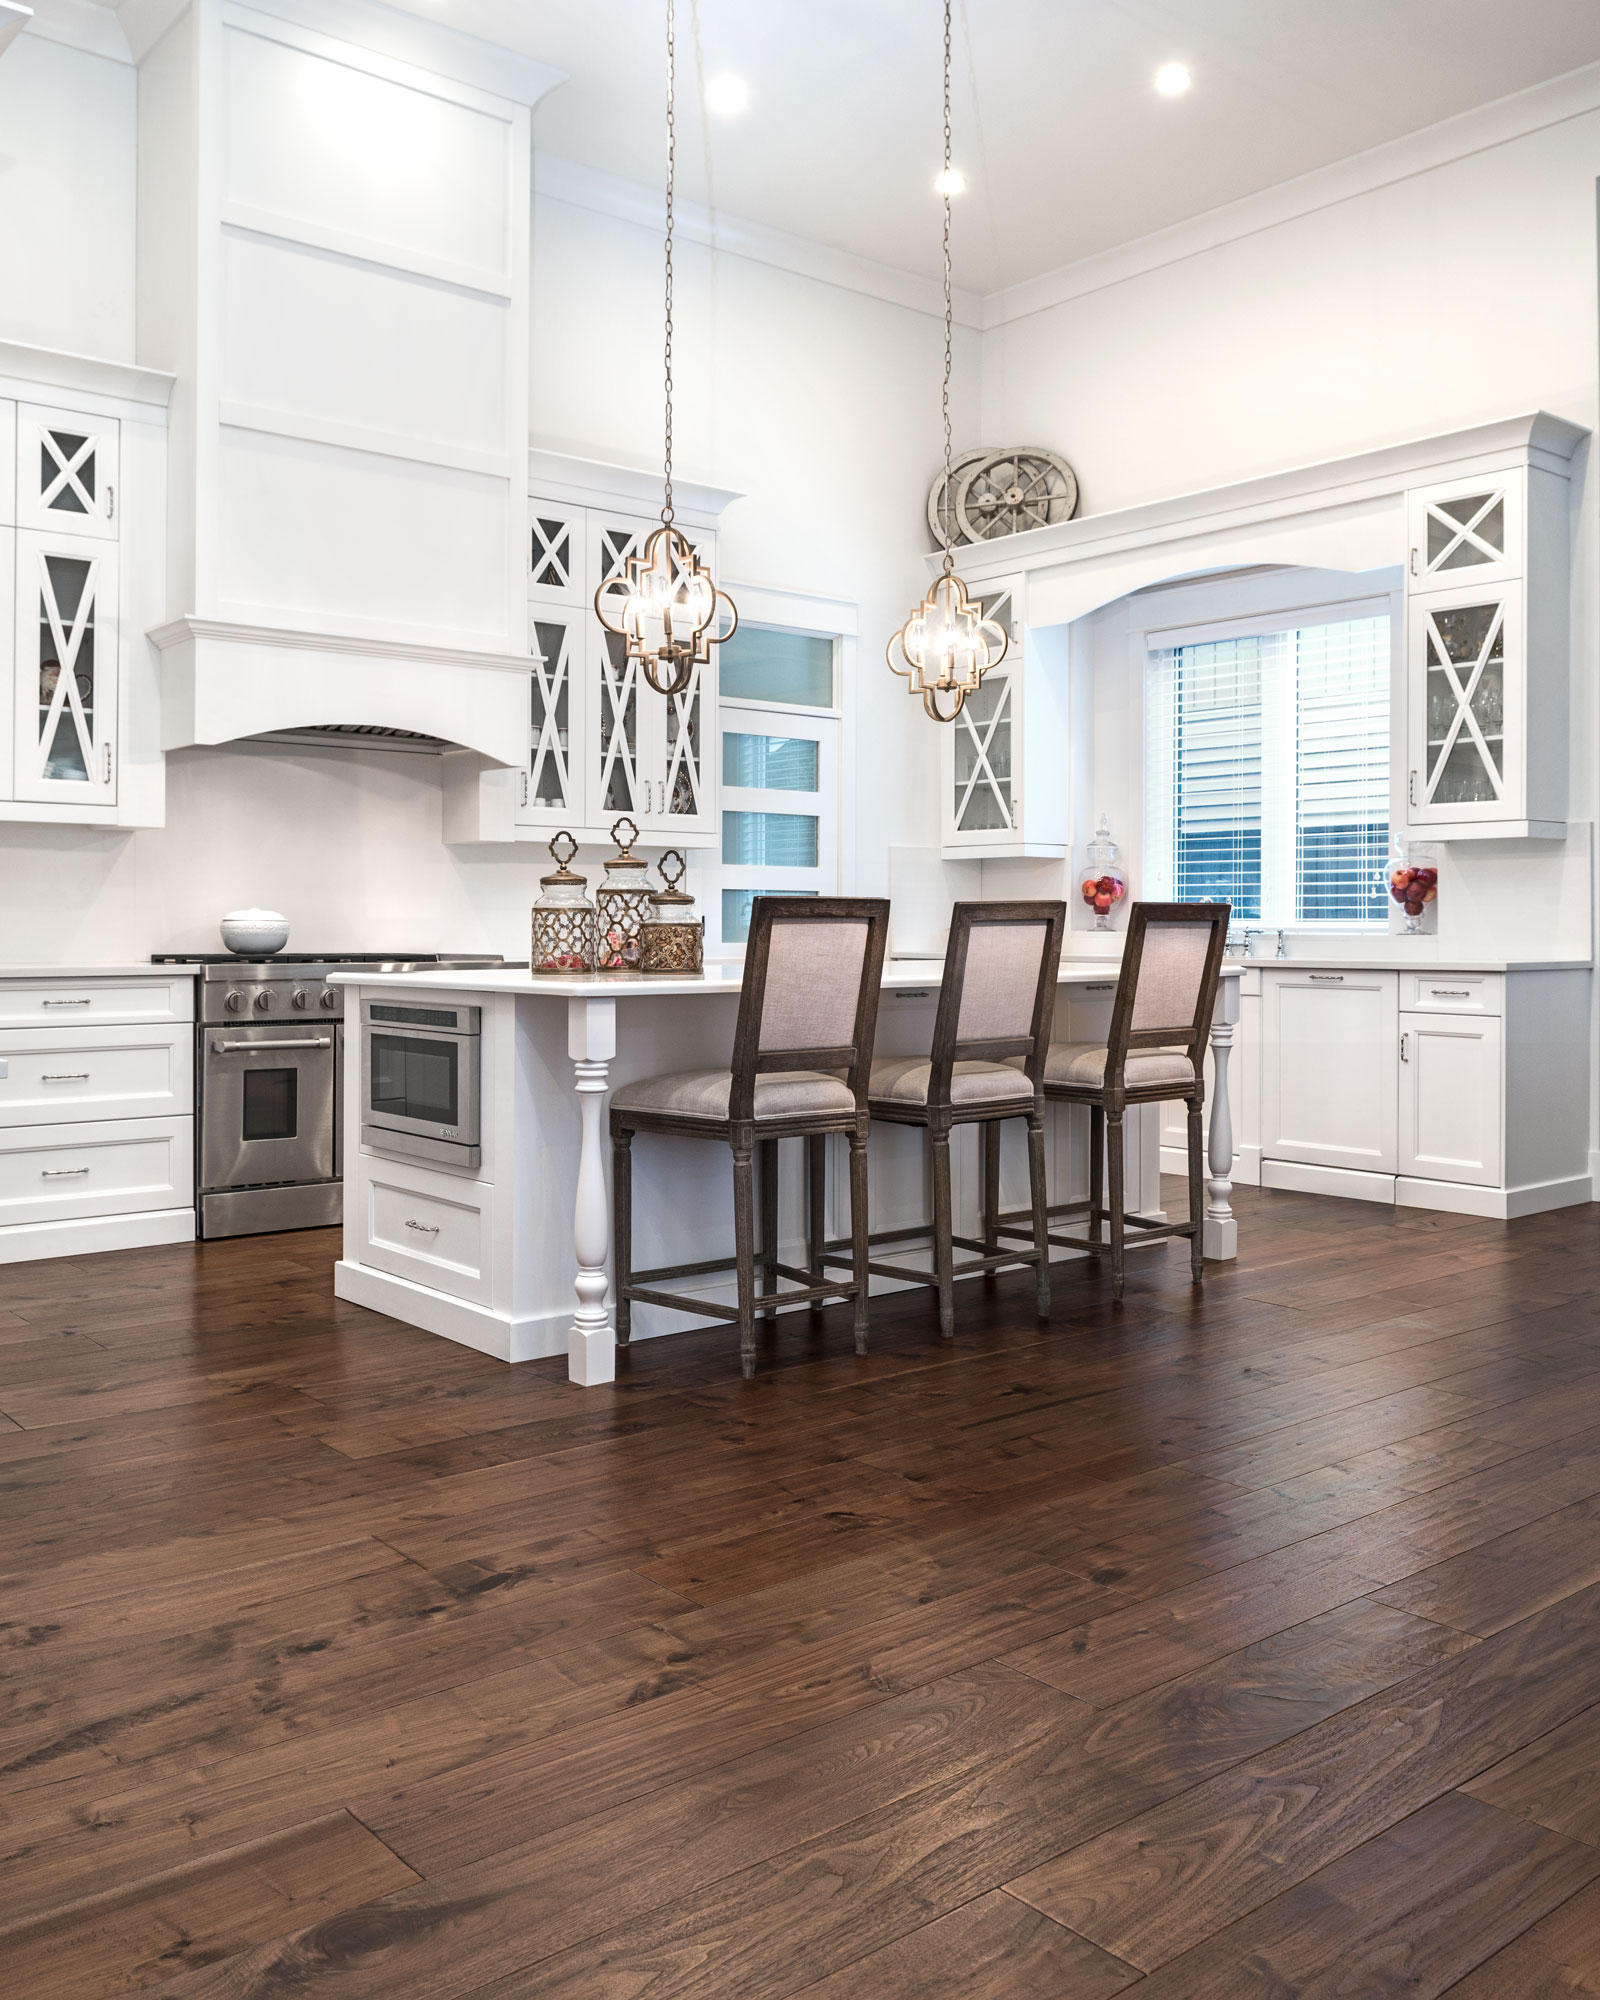
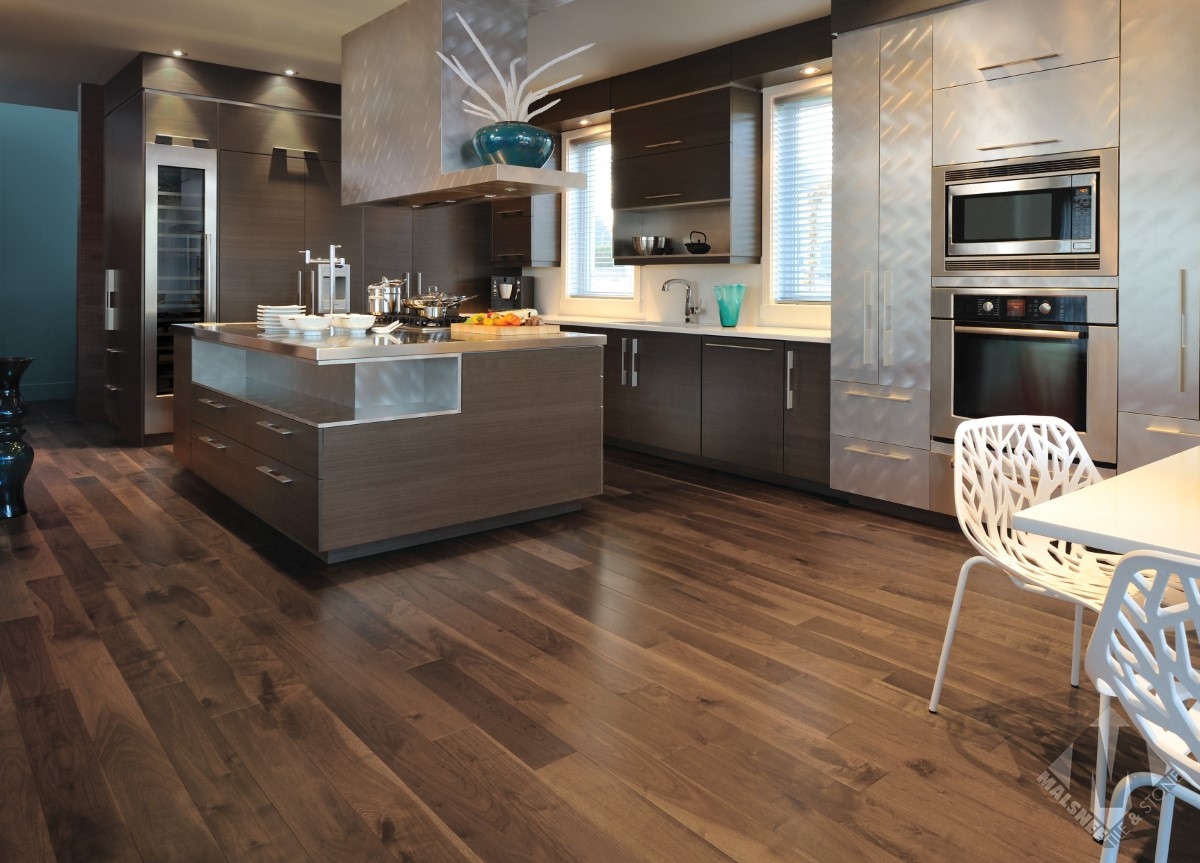
Walnut has a visual depth that I find genuinely hard to describe until you see it in person. The color ranges from a pale grayish brown to a rich dark chocolate, often within the same plank, and the grain patterns have a natural movement to them that makes the floor look almost alive. In a kitchen, where you spend so much time on your feet looking down, that kind of visual interest really matters.
Beyond the looks, walnut is a hardwood with a Janka hardness rating that makes it suitable for high-traffic spaces when properly finished. It’s not the hardest wood available, which is something I had to make peace with, but it’s dense enough to handle daily kitchen life without showing excessive wear. The key is choosing a high-quality finish and committing to reasonable care habits that protect the surface over time.
What I didn’t fully anticipate was how much walnut would anchor the entire kitchen design. My cabinets are a soft white and my countertops are a light gray quartz, and the dark warmth of the walnut floor ties everything together in a way that feels grounded and intentional. It stopped the kitchen from feeling cold or clinical, which was a real risk with all that white and gray. The floor became the element that made the whole room feel like a home.
Solid Walnut vs. Engineered Walnut: What I Chose and Why
This was one of the most important decisions in the whole process, and I spent a lot of time going back and forth before landing on engineered walnut for my kitchen. Solid hardwood and engineered hardwood look nearly identical once installed, but they behave very differently in environments where moisture and temperature fluctuate regularly, which describes every kitchen I’ve ever been in.
Solid walnut is milled from a single piece of wood throughout its entire thickness. It can be sanded and refinished many times over its life, which gives it impressive longevity. But solid wood moves with changes in humidity, expanding and contracting in ways that can cause gaps, cupping, or warping in a kitchen environment. For a room that sees steam, spills, and temperature swings daily, that movement is a real concern worth taking seriously.
Engineered walnut has a genuine walnut veneer on top bonded to layers of plywood beneath, which makes it significantly more dimensionally stable. It handles humidity fluctuations better than solid wood and can be installed over a wider range of subfloor types, including concrete slabs. I chose a thick-veneered engineered option specifically so it could be lightly sanded and refinished at least once or twice if needed down the road, giving me the best of both durability and longevity.

Preparing for Installation in a Kitchen Environment
Kitchen installations have specific demands that you don’t encounter in living rooms or bedrooms, and understanding those demands before the project starts saves a lot of stress and money. The moisture exposure in a kitchen is constant and varied, coming from the sink, the dishwasher, cooking steam, and tracked-in water from outside, and your preparation needs to account for all of it.
I had a moisture barrier installed over the subfloor before any planks went down, which my installer insisted on and which I was happy to pay for once I understood its purpose. Even with engineered wood, moisture rising from below can cause problems over time, and a proper vapor barrier is a straightforward way to prevent an issue that would otherwise be invisible until damage was already done.
I also made sure the wood acclimated in the kitchen for a full week before installation. The planks sat stacked with spacers between them, adjusting to the room’s specific temperature and humidity levels before they were ever touched by an installer. It felt like a lot of waiting at the time, but acclimation is what prevents the floor from shifting and gapping after installation, and rushing it is a mistake that shows up weeks or months later in ways that are expensive to fix.
Finishing and Sealing Walnut for Kitchen Use
The finish on your walnut floor is essentially the entire line of defense between that beautiful wood and everything a kitchen throws at it every day. I went with a hard-wax oil finish rather than traditional polyurethane, partly for aesthetic reasons and partly for practical ones, and it has been one of the decisions I feel best about looking back.
Hard-wax oil penetrates into the wood rather than sitting on top of it as a surface film. This gives walnut a more natural, matte look that I personally find far more appealing than the plasticky sheen of a thick polyurethane coat. It also means that when scratches or scuffs do occur, they tend to blend into the surface rather than standing out as bright white marks the way they would on a high-gloss finish.
The practical benefit of hard-wax oil is that it allows for spot repairs. If a section of the floor gets damaged or the finish wears down in a high-traffic area like in front of the sink, I can sand and re-oil just that section without refinishing the entire floor. That flexibility is genuinely valuable in a kitchen, where wear tends to be uneven and concentrated in specific zones rather than spread evenly across the whole surface.

Living with Walnut in the Kitchen: The Real Day-to-Day Experience
I want to be completely transparent about what it’s like to actually live with walnut hardwood in a kitchen, because there are real trade-offs alongside the things I love. Walnut does show scratches more readily than harder flooring options, and in a kitchen, scratches happen. Dropped utensils, chair legs dragging, pet nails if you have animals, all of it eventually leaves a trace on the surface.
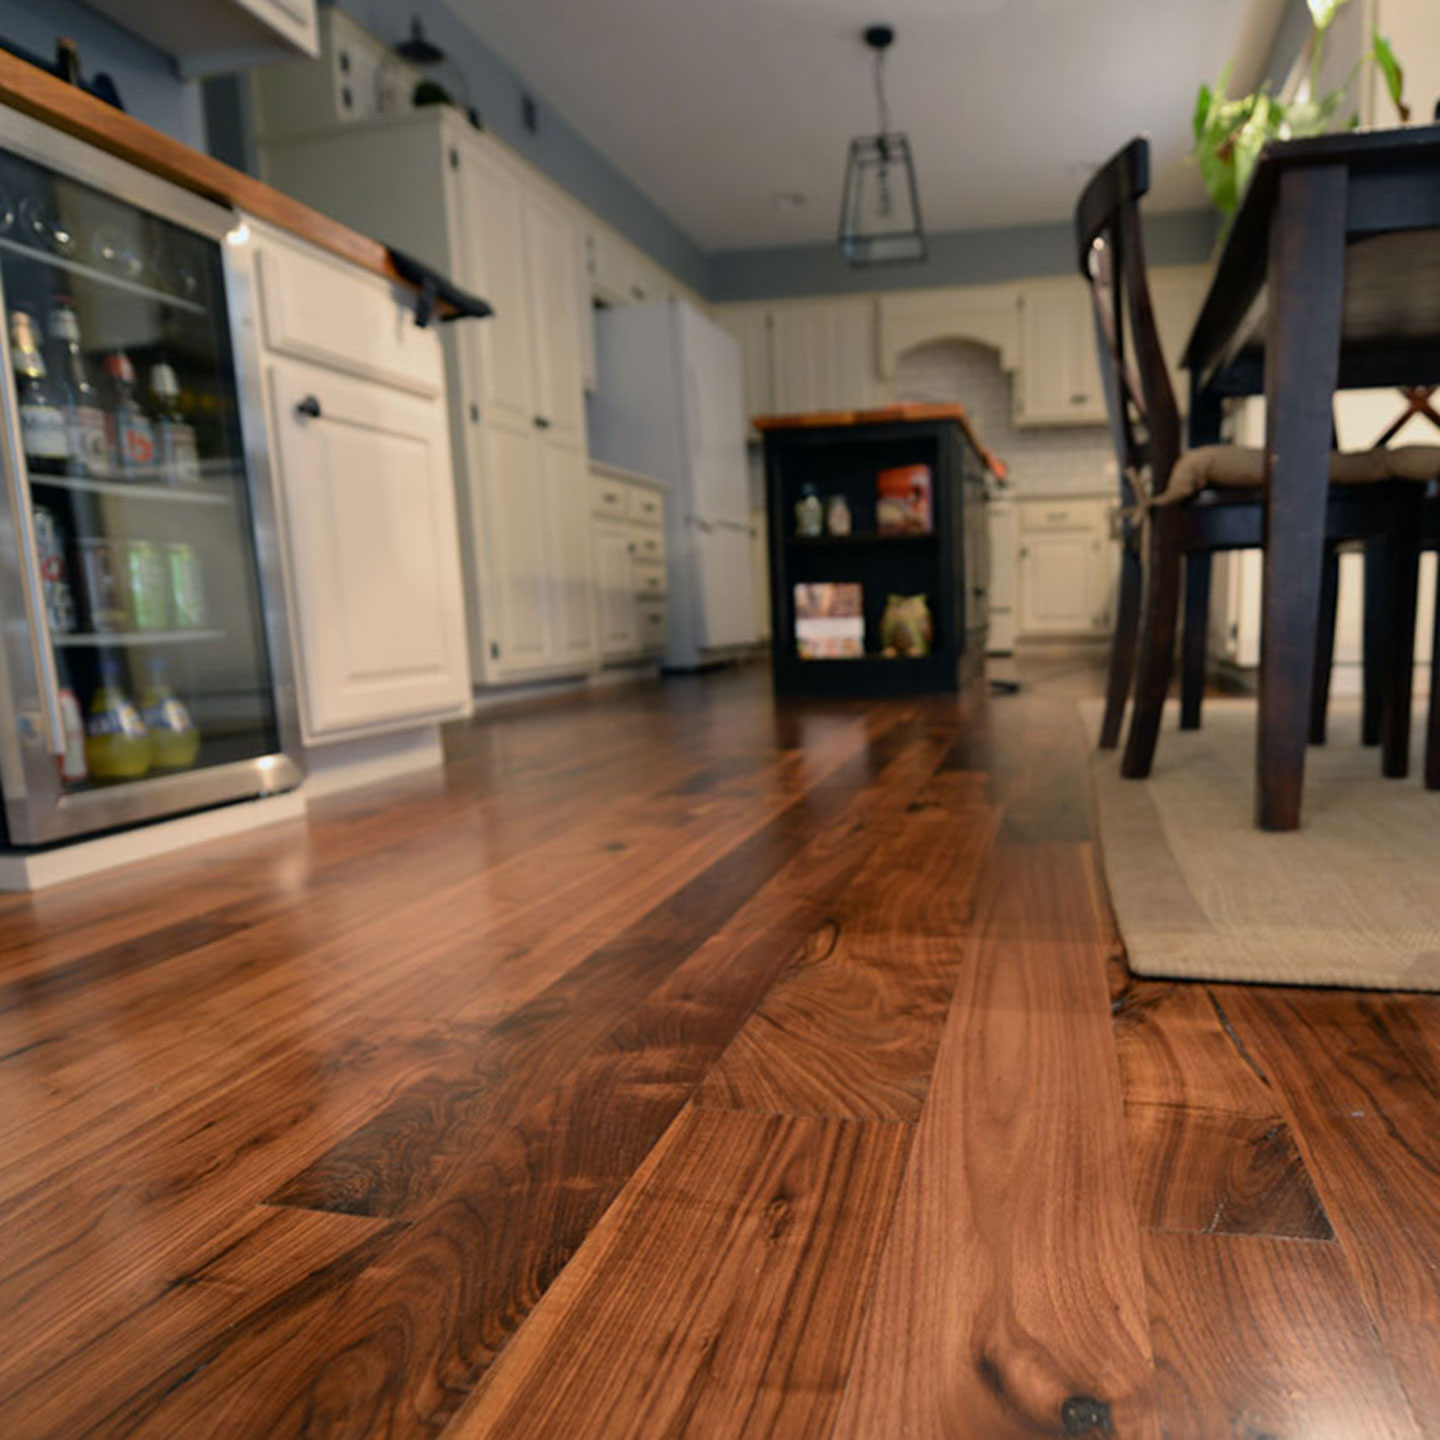
That said, my experience has been that the scratches and small marks blend into the natural grain and color variation of walnut in a way that reads more as character than damage. After two years of real kitchen use, my floor looks lived-in and warm rather than beat up, and the overall impression is actually one I prefer over the brand-new look it had when first installed. Some floors age gracefully, and walnut is genuinely one of them.
The area right in front of my sink required the most attention in terms of maintenance. I put a low-profile mat there from day one to catch water drips, and I wipe up any standing water immediately rather than letting it sit. Building those small habits took maybe two weeks to feel automatic, and since then I haven’t had any swelling, staining, or finish lifting in that vulnerable zone. A little daily mindfulness goes a very long way with wood floors in a kitchen.
Maintenance Tips That Have Kept My Walnut Floor Looking Beautiful
Regular maintenance on walnut hardwood is simpler than most people expect, but it does require consistency. I sweep or dust mop every day or two because fine grit and debris are what cause the most surface scratching over time. A microfiber dust mop picks up everything without scratching, and the whole process takes about three minutes, which makes it easy to keep up with even on busy days.
For wet cleaning, I use a well-wrung damp mop with a hardwood-specific cleaner about once a week or whenever the floor looks like it needs it. The key word is damp, not wet. Excess water sitting on any wood floor, even a well-sealed one, is something you want to avoid consistently. I’ve found that a light mist of cleaner directly onto the mop pad rather than onto the floor gives me the best control over moisture levels during cleaning.
Every year or two I do a maintenance coat of hard-wax oil over the entire floor, which refreshes the finish and fills in any micro-scratches that have accumulated with daily use. It’s a half-day project that requires clearing the kitchen and letting it cure overnight, but the difference it makes in how the floor looks and how protected it feels is significant. Think of it as a seasonal tune-up that keeps a beautiful floor performing and looking its best for years to come.

Is walnut hardwood flooring too soft for a kitchen with heavy use?
Walnut is softer than oak or maple, and it will show some scratches and dents over time in a kitchen setting. That said, with a good finish and basic care habits, it holds up well for daily use. I’ve found that the natural grain and color variation in walnut helps scratches blend in rather than stand out. It ages beautifully rather than looking worn, which for me makes the trade-off very much worth it.
How do I protect walnut floors from water damage near the sink?
A mat in front of the sink is the simplest and most effective protection you can use. I also wipe up any standing water immediately rather than letting it sit. My hard-wax oil finish provides a solid moisture barrier for normal splashes and drips. The key is building the habit of quick cleanup rather than letting water linger on the surface, and that habit becomes automatic faster than you’d expect.

Can walnut hardwood flooring be refinished if it gets damaged?
Solid walnut can be sanded and refinished multiple times over its life. Engineered walnut with a thick veneer can typically be refinished once or twice depending on the veneer thickness. Hard-wax oil finishes also allow for spot repairs in damaged areas without refinishing the whole floor. This repairability is one of the reasons I feel so confident about walnut as a long-term investment in my kitchen.
How much does walnut hardwood flooring cost compared to other options?
Walnut is a premium hardwood and is priced accordingly. It typically costs more per square foot than oak or maple, and installation adds to that. For my kitchen, the total cost was higher than tile or vinyl would have been, but I viewed it as a long-term investment given walnut’s longevity and the way it transformed the space. If budget is tight, engineered walnut is generally more affordable than solid while still delivering the same look.

Is walnut flooring in a kitchen a good idea for homes with kids and pets?
It’s workable with the right expectations. Walnut will show scratches from pet nails and dropped toys more than harder flooring options, but with a matte hard-wax oil finish those marks tend to blend in nicely. I keep pet nails trimmed and use area rugs in play zones. Families who are comfortable with a floor that shows its life rather than looking showroom-perfect will find walnut warm, forgiving, and genuinely beautiful over time.
What finish is best for walnut hardwood in a kitchen?
I strongly recommend hard-wax oil over polyurethane for kitchen walnut floors. It gives the wood a more natural look, allows for spot repairs without refinishing the whole floor, and holds up well to kitchen conditions when maintained properly. Polyurethane is more protective as a surface film but shows scratches as bright marks and requires full sanding to repair. For a kitchen where spot damage is inevitable, the repairability of hard-wax oil is a practical game changer.
Related Posts: