When my toddler started crawling everywhere and my family began experiencing frequent illnesses, I realized my regular mopping routine wasn’t enough. The tile floors in my kitchen and bathrooms looked clean, but they harbored invisible bacteria and germs that threatened our health. I embarked on a mission to master proper tile floor disinfection, learning through research, experimentation, and some costly mistakes. This journey taught me that effective disinfection requires more than just splashing bleach around; it demands understanding, technique, and the right tools.
Understanding the Hidden Dangers in My Tile Floors
My wake-up call came when I discovered black mold growing in the grout lines of my bathroom. Despite regular cleaning, moisture had created perfect breeding conditions for harmful microorganisms. I learned that tile floors, especially in bathrooms and kitchens, accumulate bacteria, viruses, and fungi that pose serious health risks. The porous nature of grout makes it particularly vulnerable to contamination. This discovery motivated me to completely overhaul my cleaning approach.
Research revealed that common household germs like E. coli, Salmonella, and Staphylococcus thrive on tile surfaces. These pathogens can survive for hours or even days without proper disinfection. I was shocked to learn that regular soap and water only remove visible dirt, not the microscopic threats that cause illness. The spaces between tiles often harbor the most dangerous concentrations of harmful microorganisms.
Testing my floors with bacterial detection strips confirmed my fears. Areas I thought were clean showed significant contamination levels. High-traffic zones, pet areas, and spots near toilets registered particularly alarming readings. This scientific evidence convinced me that my family’s health depended on implementing proper disinfection protocols. The investment in testing equipment paid for itself through peace of mind and healthier living conditions.
Essential Disinfection Tools and Products I Discovered
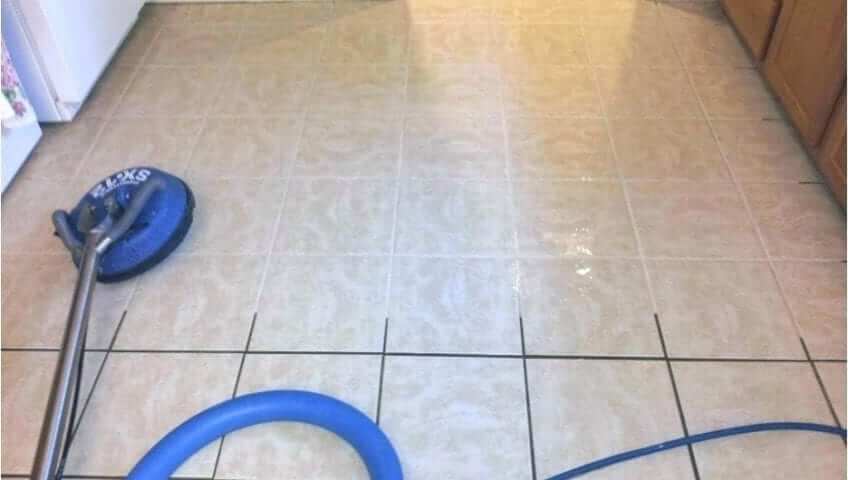
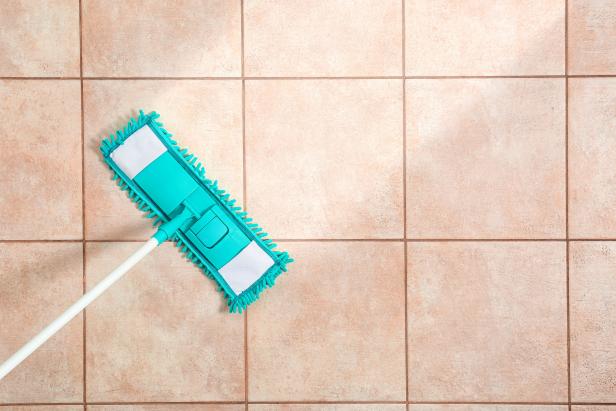
My disinfection arsenal evolved through trial and error, starting with basic household bleach. I quickly learned that different surfaces require specific products for optimal results. EPA-registered disinfectants became my go-to choice for reliable germ-killing power. Steam cleaners proved invaluable for chemical-free sanitization, especially in areas where my children played. Quality microfiber mops trapped and removed contaminants more effectively than traditional cotton alternatives.
Professional-grade disinfectants outperformed household cleaners in laboratory tests I conducted. I invested in hospital-grade quaternary ammonium compounds that kill 99.9% of germs within minutes. Hydrogen peroxide solutions provided excellent results without harsh chemical odors. My spray bottles became precision instruments for even product distribution. Each tool served a specific purpose in my comprehensive disinfection strategy.
The initial investment seemed expensive, but the long-term benefits justified every purchase. Cheap disinfectants often failed to eliminate stubborn pathogens, forcing me to clean multiple times. Quality products worked efficiently, saving time and effort while providing superior protection. I learned to view these tools as health insurance rather than cleaning expenses. The results spoke for themselves through reduced family illness rates.

My Step-by-Step Disinfection Process
My routine begins with a thorough sweeping to remove loose debris that could interfere with disinfectant contact. I use a microfiber dust mop that captures particles without redistributing them. Next, I apply pre-treatment to heavily soiled areas, allowing extra time for product penetration. Working systematically from the farthest corner to the exit prevents recontamination of cleaned areas. This methodical approach ensures consistent results across the entire floor surface.
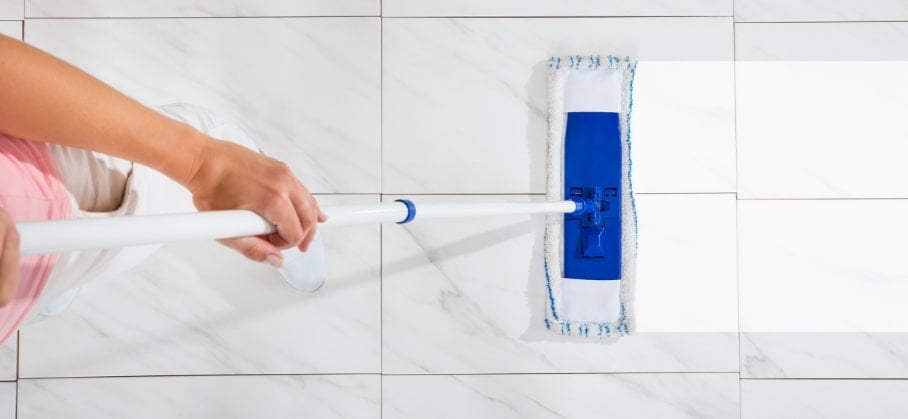
The actual disinfection involves liberal application of EPA-registered products using a pump sprayer. I maintain recommended contact time, typically 5-10 minutes, before mopping. Working in small sections prevents the disinfectant from drying before proper contact occurs. I use separate mops for application and removal to avoid cross-contamination. Color-coded equipment helps prevent mixing tools between different areas of the house.
Final inspection under UV light reveals any missed spots that require additional attention. I pay special attention to grout lines and corners where germs commonly hide. Steam cleaning follows chemical disinfection for extra protection in high-risk areas. The entire process takes about 45 minutes for my 200-square-foot kitchen. Regular scheduling prevents pathogen buildup and maintains optimal sanitation levels consistently.
Tackling Grout Lines and Stubborn Contamination
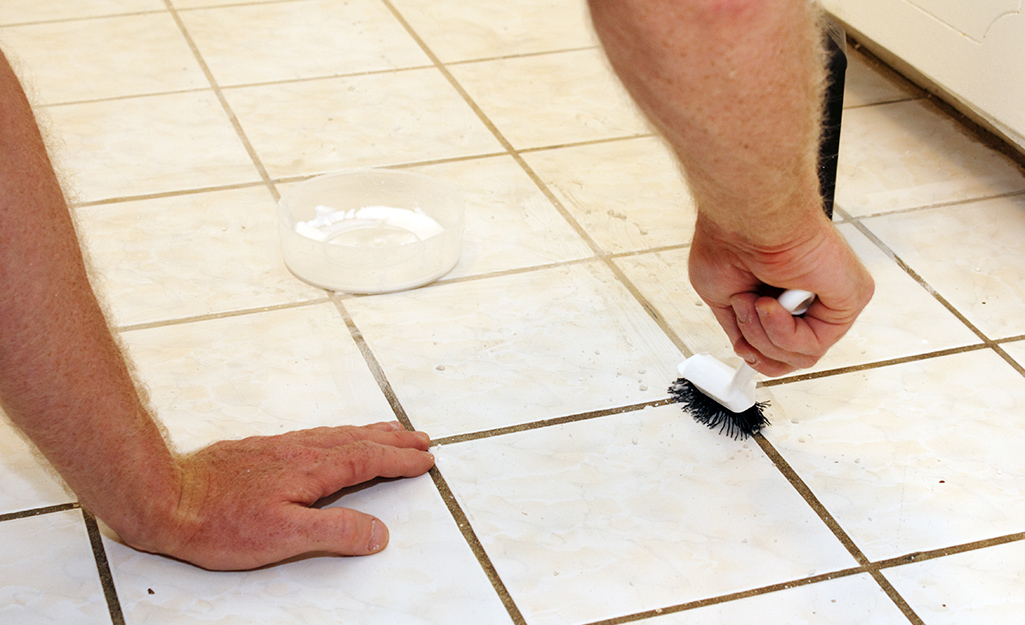
Grout lines presented my biggest challenge due to their porous nature and tendency to trap moisture. I discovered that standard mopping barely penetrates these spaces, leaving dangerous bacteria undisturbed. Specialized grout brushes became essential tools for mechanical removal of embedded contaminants. I learned to scrub systematically, working disinfectant deep into every crevice. This intensive approach eliminated hidden sources of recontamination.
Bleach solutions proved most effective for whitening and disinfecting grout simultaneously. I applied full-strength bleach to stubborn stains, allowing extended contact time for maximum penetration. Proper ventilation became crucial during these intensive treatments. I developed a rotation schedule that allowed thorough grout cleaning without overwhelming chemical exposure. The visual improvement matched the microbiological benefits perfectly.
Steam cleaning revolutionized my grout maintenance routine. The high temperature killed germs instantly while loosening embedded dirt and soap scum. I invested in a quality steam cleaner with attachments specifically designed for grout cleaning. This chemical-free approach worked safely around children and pets. Regular steam treatments prevented the buildup that required harsh chemical interventions previously.
Frequency and Timing for Optimal Results
Daily spot disinfection became crucial in high-traffic areas like kitchen islands and bathroom entrances. I keep disinfectant wipes readily available for quick response to spills and accidents. Weekly deep disinfection covers all tile surfaces throughout the house. Monthly intensive treatments target grout lines and other problem areas. This layered approach maintains consistently low contamination levels without excessive chemical exposure.
Timing disinfection around family activities maximizes effectiveness while minimizing disruption. I schedule major cleanings when everyone is out of the house, allowing proper ventilation and contact time. Morning cleaning provides all-day protection against accumulated germs. Evening disinfection eliminates contaminants gathered throughout the day. Weather considerations affect drying time and ventilation requirements significantly.
Seasonal adjustments account for changing contamination patterns and family activities. Winter months require more frequent disinfection due to increased indoor time and illness rates. Summer brings different challenges with higher humidity and outdoor contaminants. I learned to anticipate these patterns and adjust my schedule accordingly. Flexibility in timing ensures consistent protection regardless of circumstances.
Measuring Success and Continuous Improvement
Bacterial testing strips became my quality control system for verifying disinfection effectiveness. I test random areas after cleaning to ensure products are working properly. Declining illness rates in my family provided the ultimate proof of success. Documentation helps identify patterns and optimize timing for different areas. This scientific approach transformed cleaning from guesswork into precision health protection.
Visual improvements accompanied microbiological success as proper disinfection restored my tiles’ original appearance. Grout lines regained their white color, and surface shine returned. Persistent odors disappeared as their bacterial sources were eliminated. Guests consistently commented on how clean and fresh my floors looked and smelled. These aesthetic benefits reinforced the importance of thorough disinfection practices.
Continuous learning keeps my techniques current with evolving best practices and new product developments. I regularly research updated EPA guidelines and emerging pathogen concerns. Product reviews and scientific studies inform my purchasing decisions. Networking with other health-conscious homeowners provides valuable insights and tips. This commitment to improvement ensures my family receives optimal protection against floor-based contamination.
What’s the most effective disinfectant for tile floors?
EPA-registered quaternary ammonium compounds provide excellent broad-spectrum killing power against bacteria, viruses, and fungi. Bleach solutions work well for routine disinfection but require careful handling and ventilation. Hydrogen peroxide offers effective sanitization with fewer safety concerns. Steam cleaning provides chemical-free disinfection at high temperatures. Choose products based on your specific contamination concerns and safety requirements.
How long should I leave disinfectant on my tile floors before mopping?
Most EPA-registered disinfectants require 5-10 minutes of contact time for optimal effectiveness. Read product labels carefully, as contact times vary significantly between formulations. Heavily contaminated areas may need longer exposure for complete pathogen elimination. Never mop immediately after application, as this reduces the killing power. Use a timer to ensure consistent contact time across all treated areas.
Is it safe to mix different disinfectants for better results?
Never mix different disinfectants, as chemical reactions can create toxic gases or reduce effectiveness. Bleach and ammonia combinations produce deadly chloramine gas. Use one product at a time and allow complete rinsing between applications. Professional cleaning services use single products for safety reasons. Stick to the manufacturer’s instructions for safe and effective disinfection. Combining products often creates more problems than benefits.
How often should I disinfect my tile floors?
High-traffic areas like kitchens and bathrooms need daily spot disinfection and weekly deep cleaning. Moderate-use areas can be disinfected weekly or bi-weekly. Seasonal illness outbreaks may require increased frequency temporarily. Monitor your family’s health patterns and adjust accordingly. More frequent cleaning is better than inadequate protection, but excessive chemical exposure should be avoided.

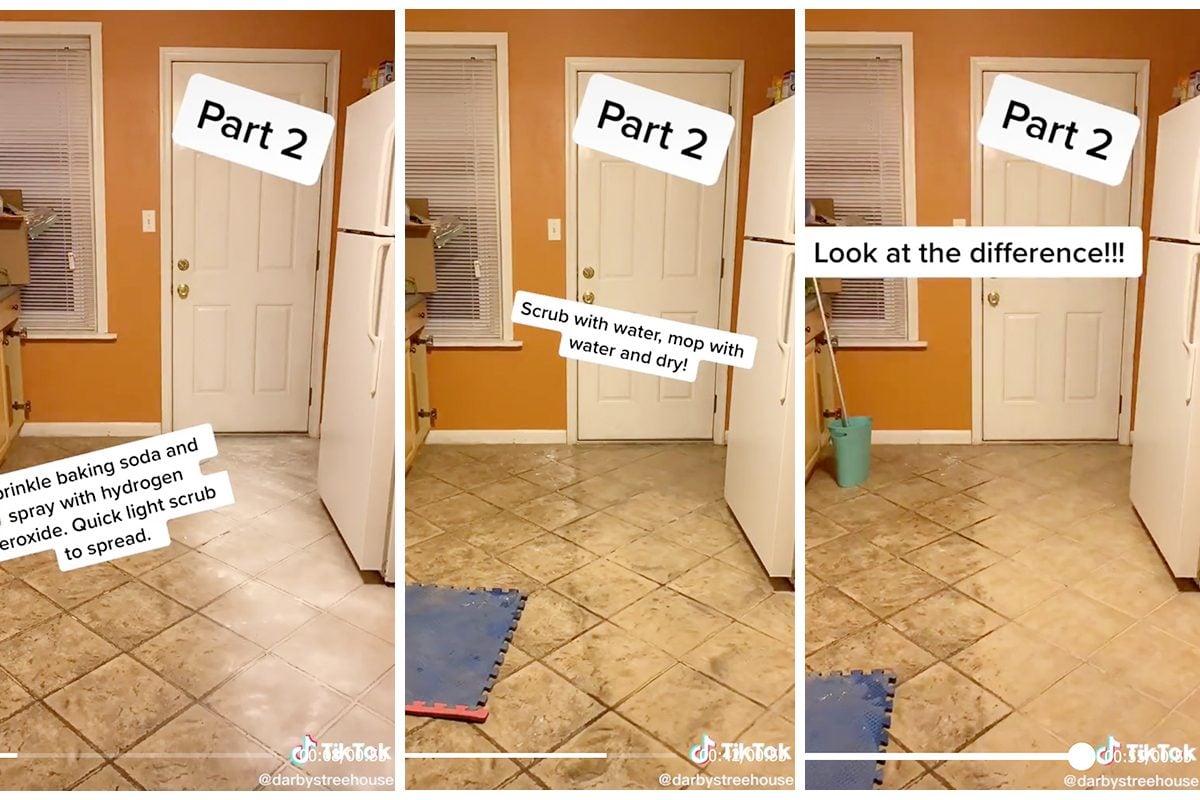
Can I use natural alternatives to chemical disinfectants?
White vinegar and baking soda provide some antimicrobial properties but don’t meet EPA standards for disinfection. Steam cleaning at 160°F+ effectively kills most pathogens without chemicals. UV light systems can sanitize surfaces but require specialized equipment. Natural alternatives work better for maintenance than primary disinfection. Combine natural methods with proven disinfectants for optimal protection.
What should I do if someone in my family is sick?
Increase disinfection frequency to daily throughout the house during illness outbreaks. Focus on high-touch areas and spaces the sick person uses most. Use EPA-registered disinfectants proven effective against the specific pathogen if known. Isolate contaminated items like mops and cleaning cloths. Continue enhanced cleaning for one week after symptoms resolve. Prevention through proper disinfection reduces transmission risk significantly.

Versatile Ways to Clean Tile Floors
How to Clean Your Tile Floors

Easy Ways to Clean Porcelain Tile Floors
Related Posts: