If you’re looking for a durable and stylish option for your home or business, epoxy natural stone flooring might be a perfect choice. This type of flooring is not only visually appealing but also incredibly durable and long-lasting, making it a popular option for high-traffic areas.
In this guide, we’ll take you through the step-by-step process of installing epoxy natural stone flooring, from preparing the surface to applying the epoxy and natural stone finish.
Preparation
The first step in installing epoxy natural stone flooring is to prepare the surface. This includes removing existing flooring, cleaning the surface thoroughly, and repairing any cracks or damage.
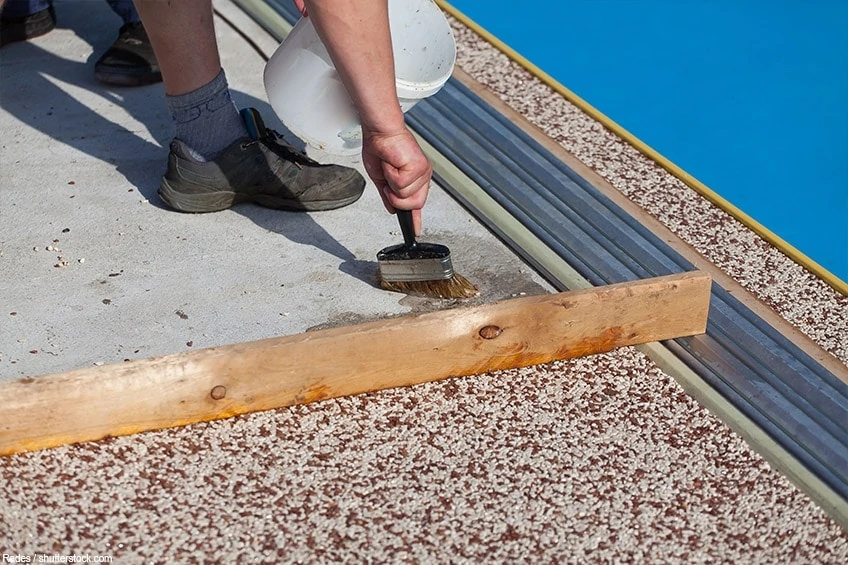
Once the surface is clean and dry, you’ll need to apply a primer to help the epoxy adhere to the surface. Be sure to choose a primer that is compatible with both the surface and the epoxy you’ll be using.
Mixing and Applying the Epoxy
After the primer has dried, it’s time to mix and apply the epoxy. Follow the manufacturer’s instructions carefully, and mix the epoxy thoroughly to ensure a consistent finish.
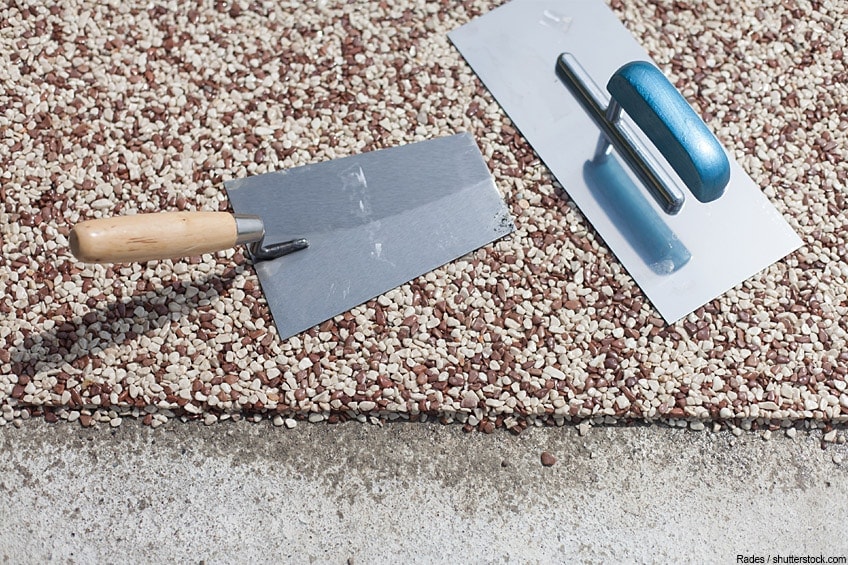
Using a roller or a trowel, apply the epoxy to the surface in small sections, working quickly to avoid the epoxy drying before you finish.
Adding Natural Stone
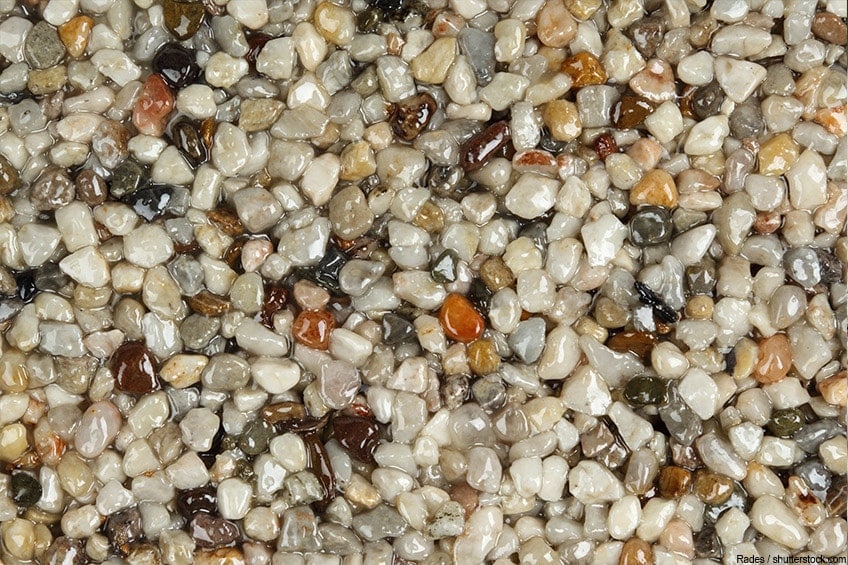
Once the epoxy has been applied, it’s time to add the natural stone finish. Choose the type of natural stone you want to use and arrange it in a pattern you like.
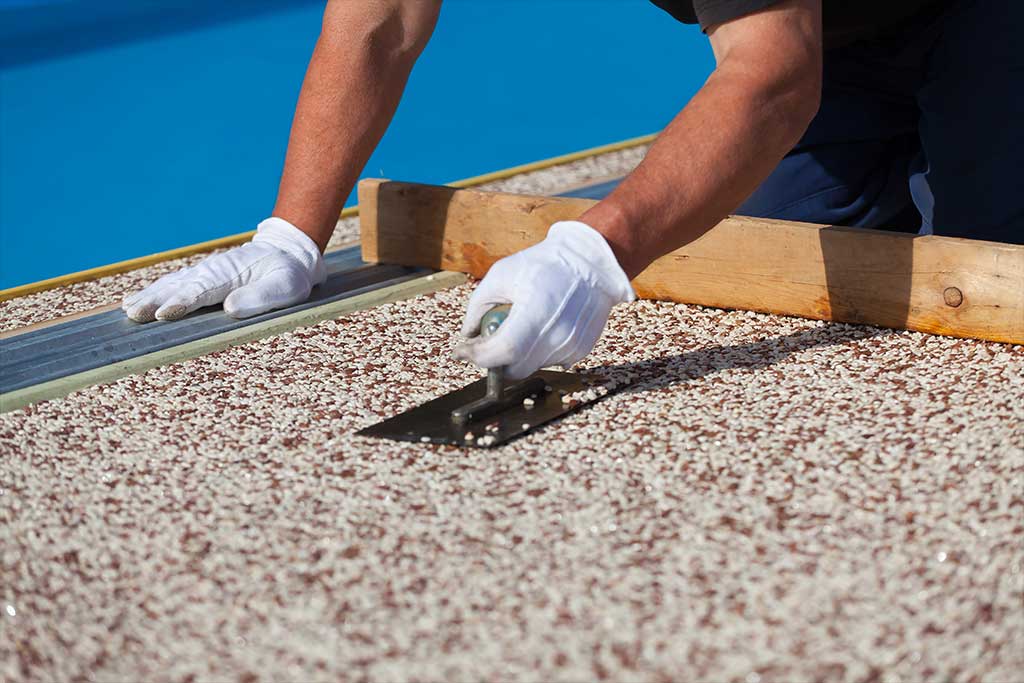
Using a trowel, carefully press the natural stone into the epoxy, ensuring that each stone is level and secure.
Finishing
After adding the natural stone, it’s time to finish the flooring. Allow the epoxy to cure for at least 24 hours before walking on the surface.
Once the epoxy has cured, you must sand the surface to remove any imperfections and create a smooth finish. Finally, apply a coat of sealer to protect the flooring from scratches and stains.
Installing epoxy natural stone flooring is a great way to add style and durability to your home or business. With the right preparation, tools, and techniques, you can create a beautiful and long-lasting flooring surface that will withstand years of use.

DIY Epoxy Stone Flooring » Everlast® Editorial

Epoxy Stone Flooring Frequently Asked Questions

Laying a Stone Carpet – Epoxy Stone Floor Guide and Instructions
Laying a Stone Carpet – Epoxy Stone Floor Guide and Instructions
Epoxy Stone Flooring – Benefits and Tips for Natural Epoxy Stone

What is Epoxy Flooring? A Better Flooring Solution Epoxy Colorado
Pin on epoxy floor diy

Custom Stone Resurfacing Driveways, Entryways, Patios, Porches

DIY Epoxy Stone Flooring » Everlast® Editorial

Laying a Stone Carpet – Epoxy Stone Floor Guide and Instructions
Related Posts:
- Epoxy Flooring Advantages Disadvantages
- Metallic Epoxy Bathroom Floor
- Sherwin Williams Epoxy Floor
- High Gloss Epoxy Flooring
- Epoxy Flooring Interior Design
- Metallic Epoxy Floor Coating
- Epoxy Floor Coating
- Epoxy Kitchen Floor
- Epoxy Basement Floor
- Epoxy Resin Garage Floor
How To Install Epoxy Natural Stone Flooring
Installing epoxy natural stone flooring is an excellent way to add style and functionality to any space. It can be used for both indoor and outdoor applications and is one of the most durable, low-maintenance flooring options available. Epoxy natural stone flooring is available in a variety of shapes, sizes, and colors, so you can easily find the perfect look for your home or business. With proper installation and care, epoxy natural stone flooring can last for years and provide a beautiful, long-lasting surface that can stand up to even the toughest wear and tear.
Preparing the Surface for Installation
Before beginning the installation of epoxy natural stone flooring, it is important to properly prepare the surface for installation. The surface should be clean, dry, and free of debris or other materials that could interfere with the bonding process. If there are any cracks or holes in the surface, they should be filled with an appropriate patching material before moving on with the installation process. Additionally, if there are any moisture problems with the surface, they should be addressed before beginning the installation process.
Measuring and Cutting
Once the surface has been properly prepared for installation, it is time to begin measuring and cutting the epoxy natural stone tiles. It is important to measure carefully and accurately to ensure a proper fit when installing the tiles. When cutting the tiles, it is best to use a wet saw or tile cutter to ensure a smooth cut without damaging the edges of the tiles. Additionally, it is important to leave a small gap between each tile to allow for expansion due to temperature changes.
Mixing and Applying the Epoxy
After measuring and cutting the tiles, it is time to mix and apply the epoxy adhesive. The adhesive should be mixed according to the manufacturer’s instructions and applied evenly over the surface of the tiles. Once applied, it is important to press down firmly on each tile to ensure that it adheres properly to the surface. After all of the tiles have been applied, it is important to allow them time to cure before proceeding with any additional steps.
Grouting
Once all of the tiles have been applied and allowed time to cure, it is time to grout them. Grouting helps fill in any gaps between tiles and provides additional protection against water damage. It is best to use a sanded grout that matches or complements the color of the tiles being installed. When applying the grout, it is important to spread it evenly with a rubber trowel and wipe away any excess with a damp sponge before allowing it time to cure.
Finishing Touches
After grouting, it is time for any finishing touches that may be desired. For example, applying a sealer can help protect against staining while also providing an attractive sheen over the epoxy natural stone flooring. Additionally, adding decorative accents such as edging or trim can give your floor an extra touch of style and elegance.
FAQs
Q: What type of grout should I use?
A: It is best to use a sanded grout that matches or complements the color of your epoxy natural stone tiles.
Q: How do I protect my epoxy natural stone floor from staining?
A: Applying a sealer can help protect against staining while also providing an attractive sheen over your flooring. Additionally, regular cleaning and maintenance can help keep your floor looking great for years to come.
Q: What tools are needed for installing epoxy natural stone flooring?
A: To properly install epoxy natural stone flooring, you will need a wet saw or tile cutter for cutting tiles, an appropriate patching material for filling in cracks or holes in the surface, rubber trowel for spreading grout evenly, damp sponge for wiping away excess grout, and sealer (optional).