Ordinarily, the garage floor is actually the last thing we bring to mind when we decide on home improvement tasks. Your garage floor is usually the most abused part of any structure, generating the usage of garage flooring tiles a crucial aspect of sustaining your clean, environment that is safe. An epoxy garage floor is able to stand up to water, oil, grease and dirt without being harmed.
Images about How To Install Interlocking Garage Floor Tiles
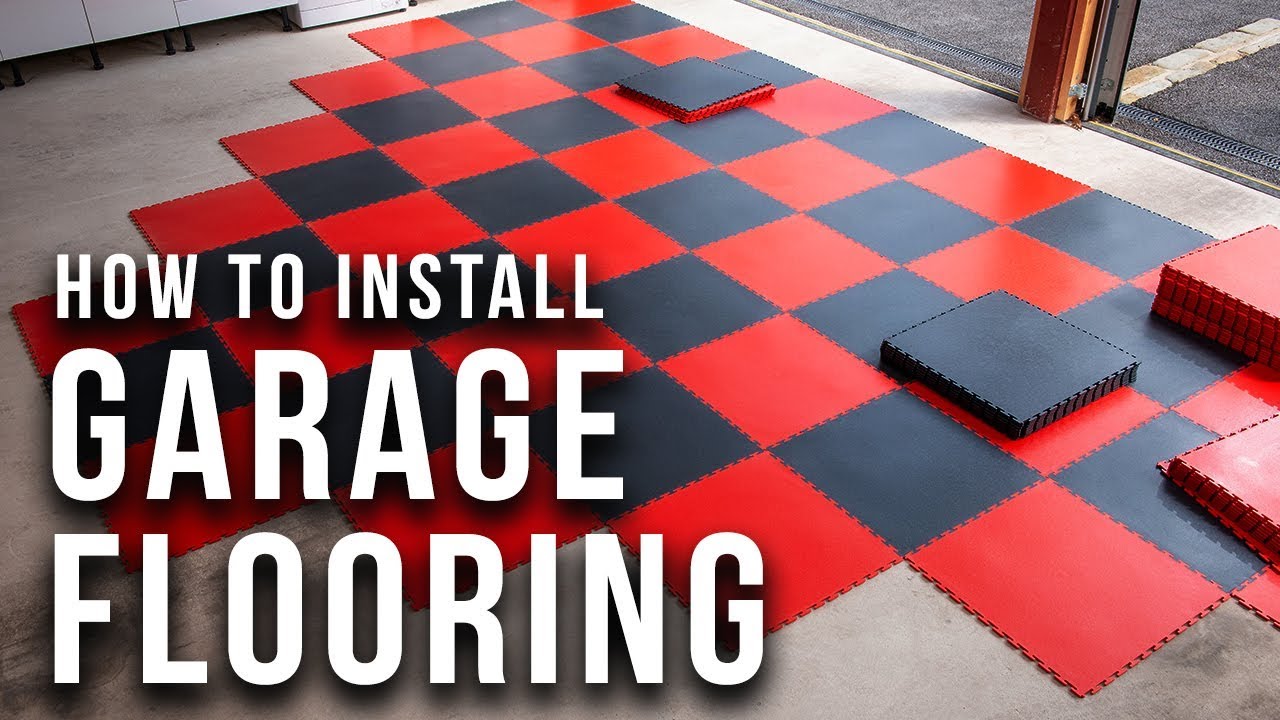
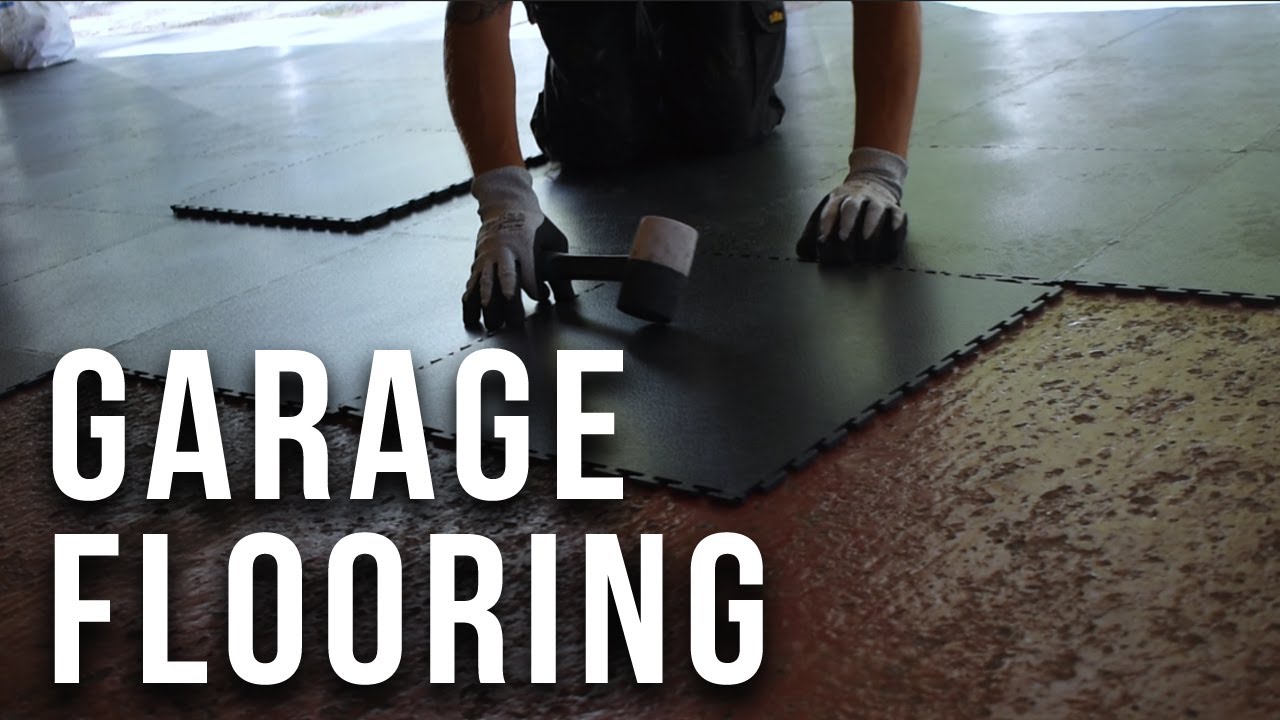
How To Install Interlocking Garage Floor Tiles
Regardless of which sort of paint is selected, continually allow a lot of ventilation for paint fumes as well as don safety glasses as well as gloves for protection during the laundering process. Most floor surfaces are actually made of concrete that can take up stains out of dripping fluids given off with the automobile as the oil, other fluids and transmission settle. Garage can be used as being a store.
Tips to Prepare your Garage Floor for Interlocking Tiles All
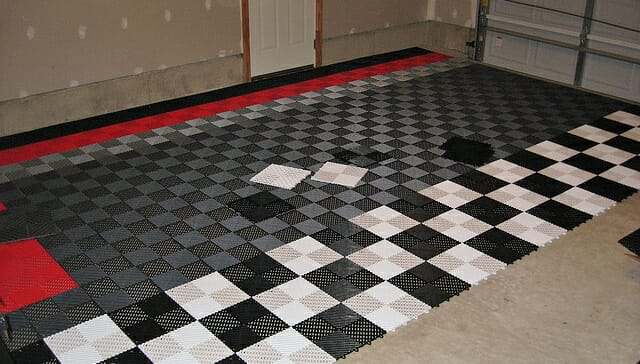
A garage flooring requires a great deal of abuse, rapidly becoming an unsightly and smelly mess that may be risky to concentrate on. Still others are even more in line with the kind of flooring found within the room and will require a little much more effort to install. It is crucial to make certain that the garage area is neat and any spills are eliminated before the garage mat is actually put in place.
How To Install Interlocking Garage Floor Tiles – LockTile

How to Install Interlocking Garage Floor Tiles – ModuTile Full
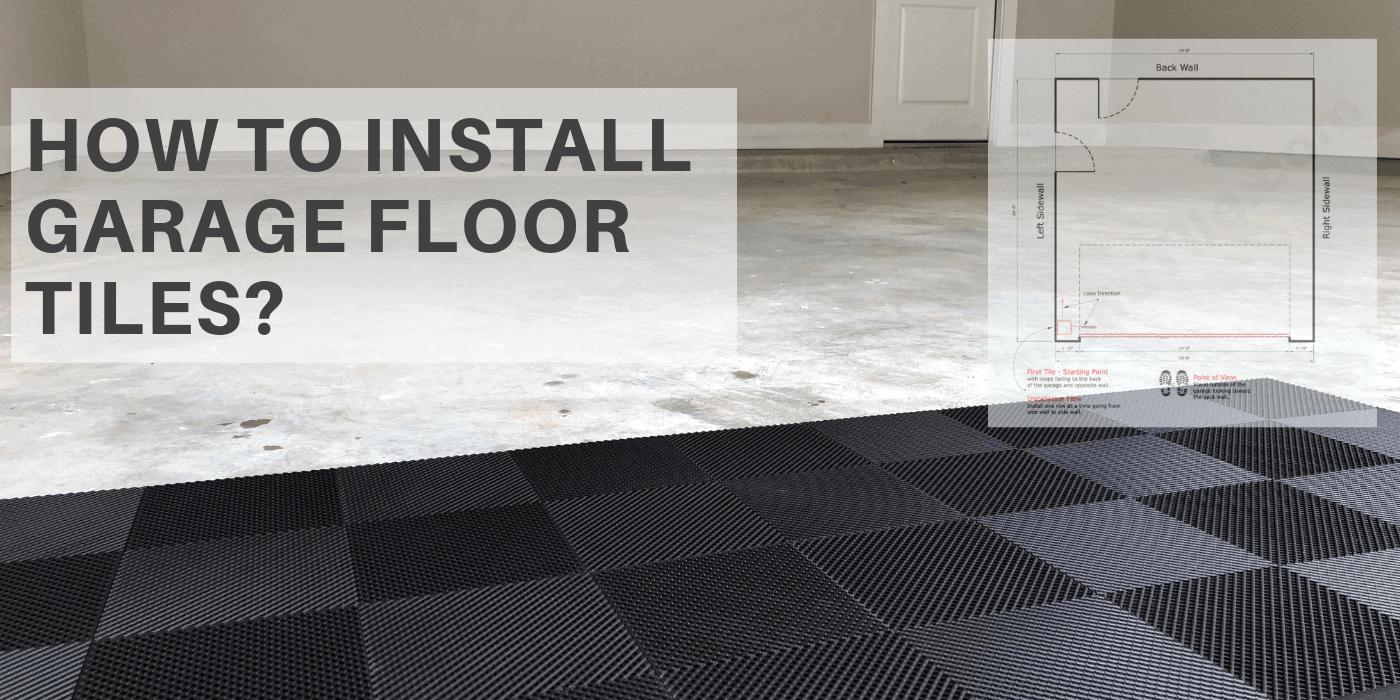
Interlocking Floor Tiles – Installing

How to Install Interlocking Garage Floor Tiles – ModuTile Full
How To Install Grid-Loc Garage Tiles by FlooringInc
How to Install Interlocking Garage Floor Tiles – ModuTile Full
Interlocking Garage Floor Tiles Get the Real Facts All Garage
How to Choose the Best Garage Floor Tiles
/garage-with-rolling-gate-interior--3d-illustration-1169555109-291cf546d58946b29ed4bbbf71065696.jpg)
How to Install Garage Tiles
Interlocking Garage Floor Tiles Get the Real Facts All Garage

PVC Garage Flooring – Fitting Interlocking Floor Tiles in A Large Garage – Ecotile Flooring Ltd
Tiling Garage Floor, Interlocking PVC Floor Tiles
Related Posts:
- 4 Car Garage Floor Plans
- DIY Garage Floor Paint
- Concrete Garage Floor Paint
- Garage Floor Treatments
- How To Paint Garage Floors
- Rustoleum Garage Floor Paint
- Garage Flooring Tiles Ideas
- Rubber Garage Flooring
- Inexpensive Garage Floor
- Industrial Garage Floor
– Use good and relevant images
How To Install Interlocking Garage Floor Tiles
Installing interlocking garage floor tiles is a great way to add value, durability and style to your garage space. Interlocking tiles provide a great look and easy installation that requires no special tools or skills. With a few simple steps, you can install interlocking garage floor tiles in just a few hours.
Tools Needed for Installation
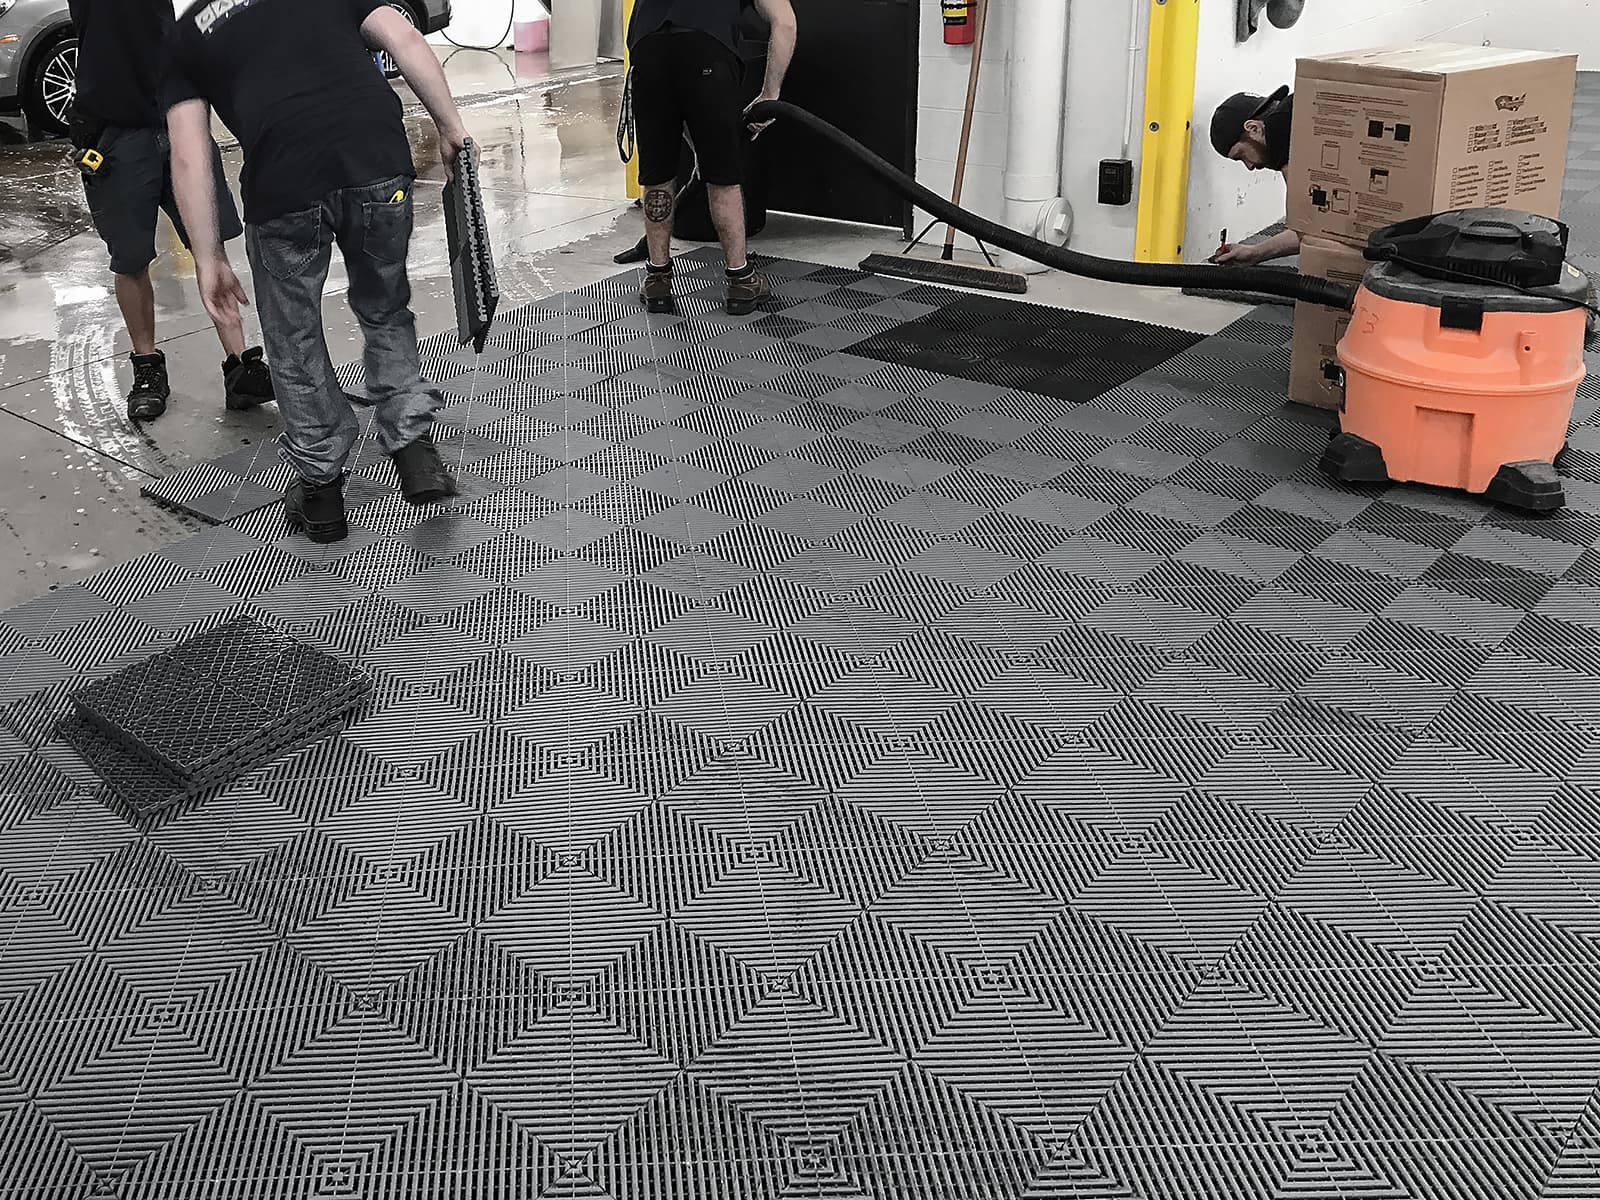
Before beginning the installation process, it is important to have all of the necessary tools on hand. The most important tool for this job is a quality wet/dry vacuum cleaner. This will help to remove any dirt and debris from the floor before you begin installing the tiles. Additionally, you will need a utility knife, a tape measure, a level, and a rubber mallet. You may also need a power drill if your tiles require screws or nails for installation.
Preparing Your Garage Floor
The first step in installing interlocking garage floor tiles is to prepare the floor. Start by vacuuming the area to remove any dirt and debris that may be present. If there are any stains on the floor, use an industrial strength cleaner to remove them. Be sure to allow the floor to dry completely before continuing with the installation process. Next, you will need to check the floor for any areas that may be uneven or have low spots. If necessary, use self-leveling compound to fill in any low spots or uneven areas. Once the floor has been prepped, it is time for installation.
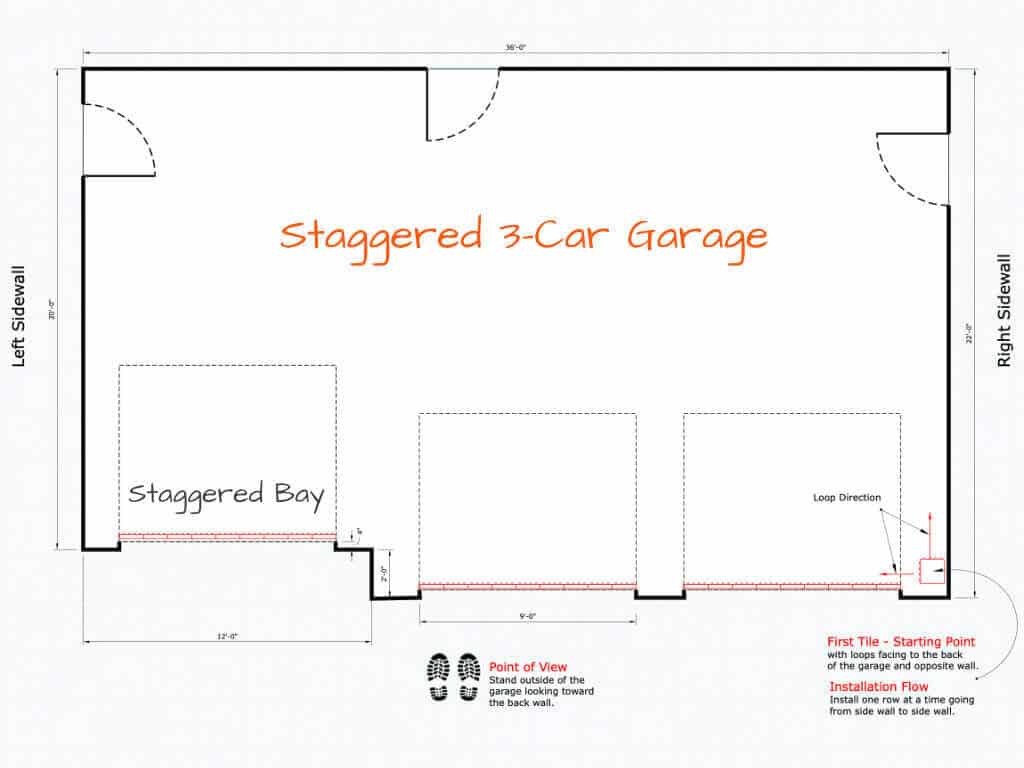
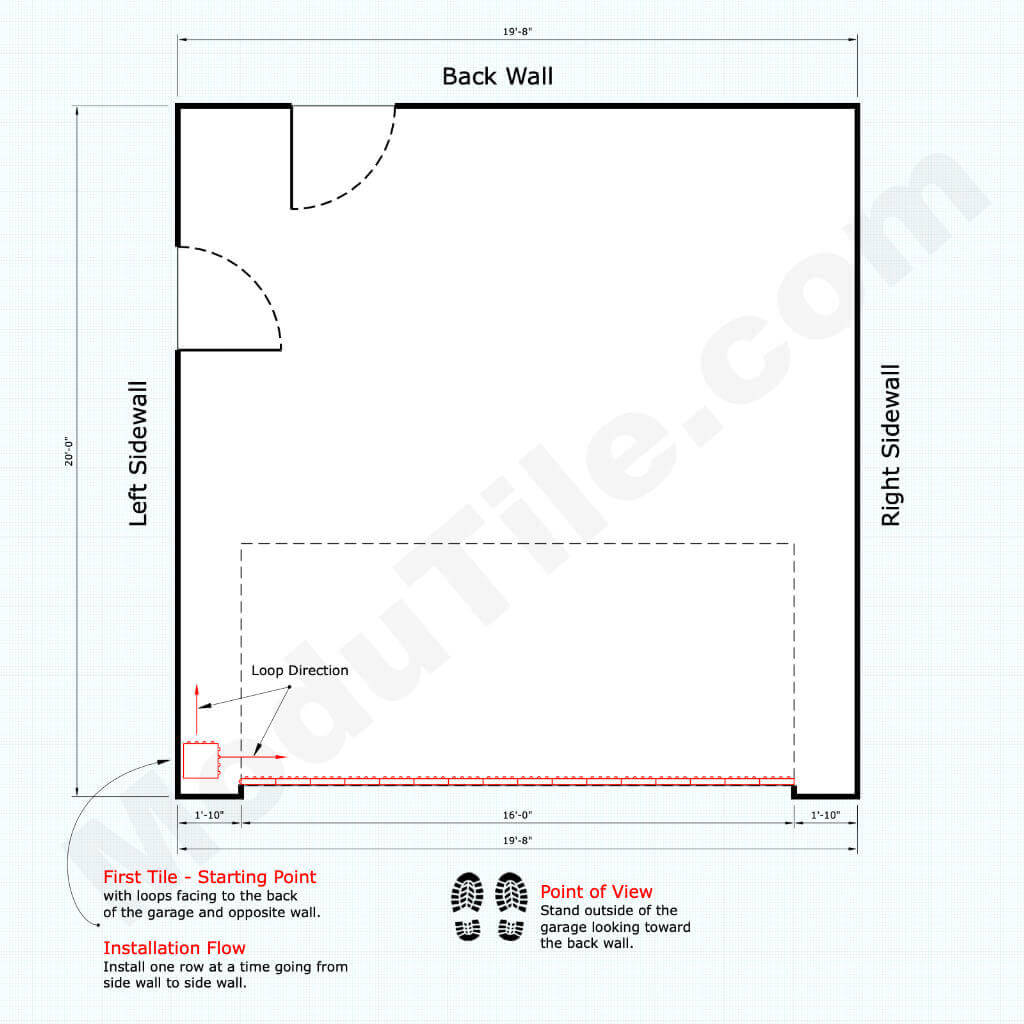
Laying Out The Tiles
After preparing your garage floor, it is time to lay out the tiles. Begin by measuring the area and determining how many tiles are needed for each row. It is important to note that some interlocking garage floor tile systems require an additional border around the perimeter of the area being covered. Once you have determined how many tiles you need, it is time to begin laying them out on the floor. Begin by placing one tile in each corner of the area and then work your way out from there. As you lay out each tile, make sure that they are level and even with each other.
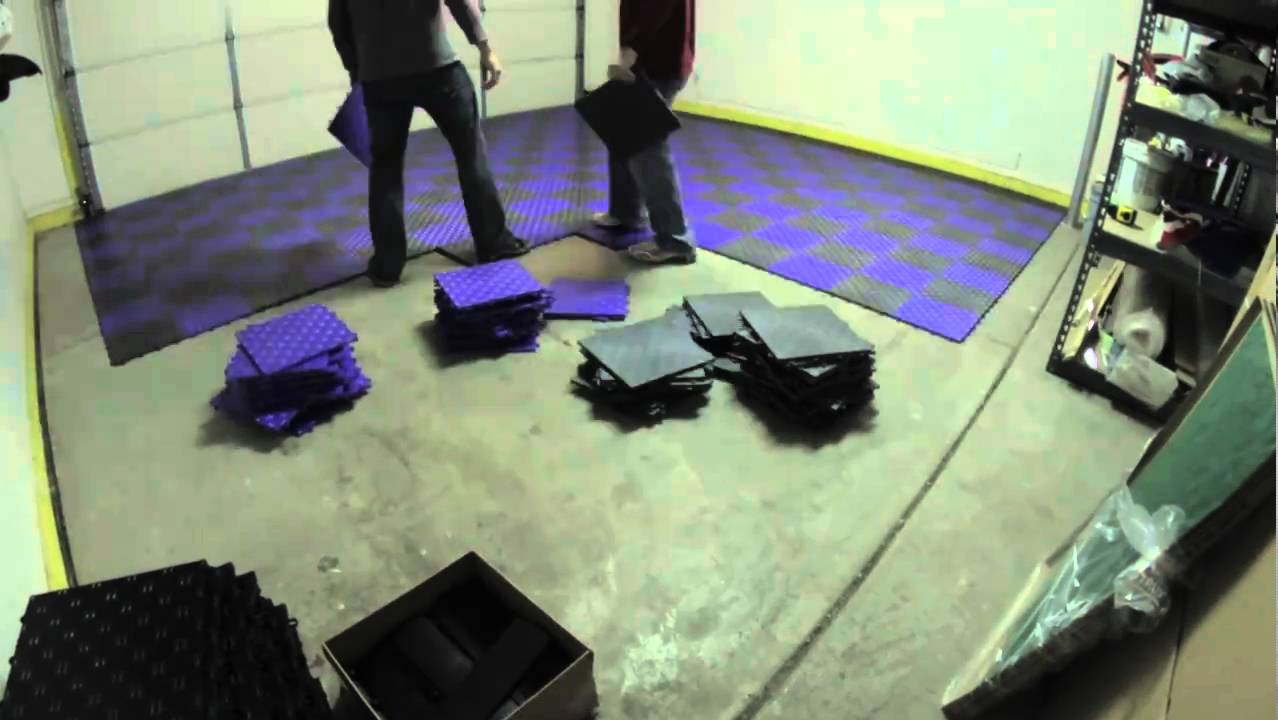
Securing The Tiles
Once you have laid out all of the tiles, it is time to secure them in place. Depending on the type of tile system you have chosen, this may involve using nails or screws with a power drill or simply tapping them into place with a rubber mallet. Be sure to read all of the instructions carefully before beginning this step as it is important that all of the tiles are securely attached to one another so they do not move or shift during use.
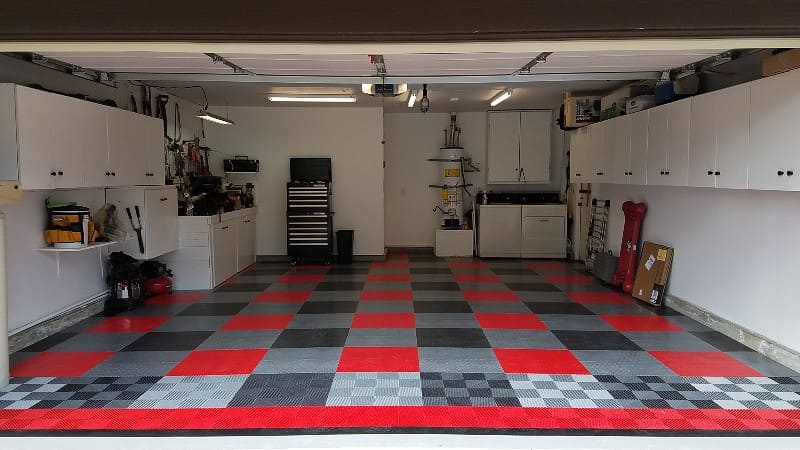
Finishing Up
Once all of the tiles have been secured in place, it is time for the final touches. If desired, you can add an edging strip around the perimeter of your garage floor for added protection and durability. Additionally, some people choose to apply an epoxy coating over their interlocking garage floor tiles for added protection against moisture and wear and tear. Finally, it is important to follow all manufacturer instructions when cleaning and maintaining your newly installed interlocking garage floor tiles to ensure they last for years to come.
FAQs
Q: What tools are needed for installing interlocking garage floor tiles?
A: The most important tool needed for installation is a quality wet/dry vacuum cleaner as it will help remove any dirt or debris before beginning installation. Additionally, you will need a utility knife, tape measure, level and rubber mallet as well as potentially a power drill if your tile system requires screws or nails for installation.
Q: How do I prepare my garage floor prior to installation?
A: Prior to installing interlocking garage floor tiles it is important to prepare your garage floor properly by first vacuuming away any dirt or debris that may be present. Additionally, check for any low spots or uneven areas that may need filled in with self-leveling compound before beginning installation.
Q: What type of edging should I use with my interlocking garage floor tiles?
A: Most interlocking tile systems come with an edging strip that should be used around the