Laminate flooring has become a popular flooring option for both commercial and residential properties. It offers a wide range of designs, colors, and finishes that can suit any interior design style. In this article, we will provide you with a comprehensive guide on how to install laminate flooring in your home.
Step 1: Preparing the Subfloor
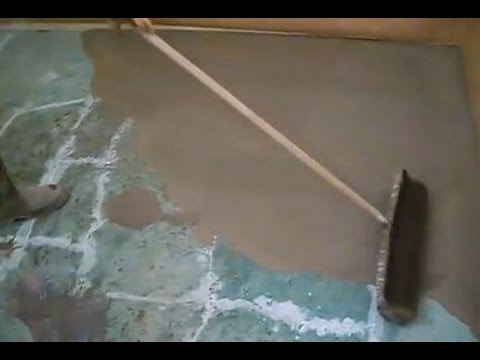
Before installing laminate flooring, it is essential to prepare the subfloor properly. Ensure that the subfloor is clean, level, and dry. If you are installing laminate flooring over concrete, make sure the surface is smooth and level. You can use a self-leveling compound to level uneven surfaces.
Step 2: Installing the Underlayment
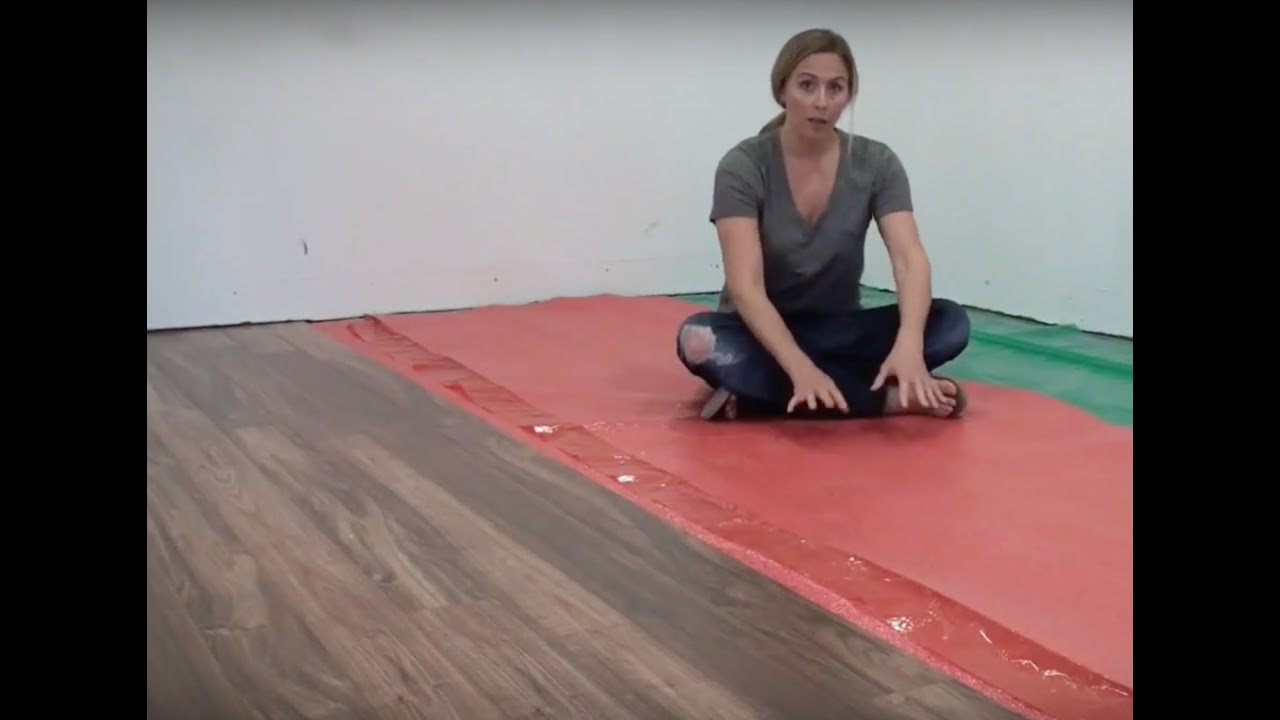
Installing underlayment is recommended when installing laminate flooring. It acts as a barrier against moisture and noise. There are various types of underlayment materials available, such as foam, cork, and rubber. Choose an underlayment that suits your needs and install it according to the manufacturer’s instructions.
Step 3: Measuring and Cutting the Laminate Flooring
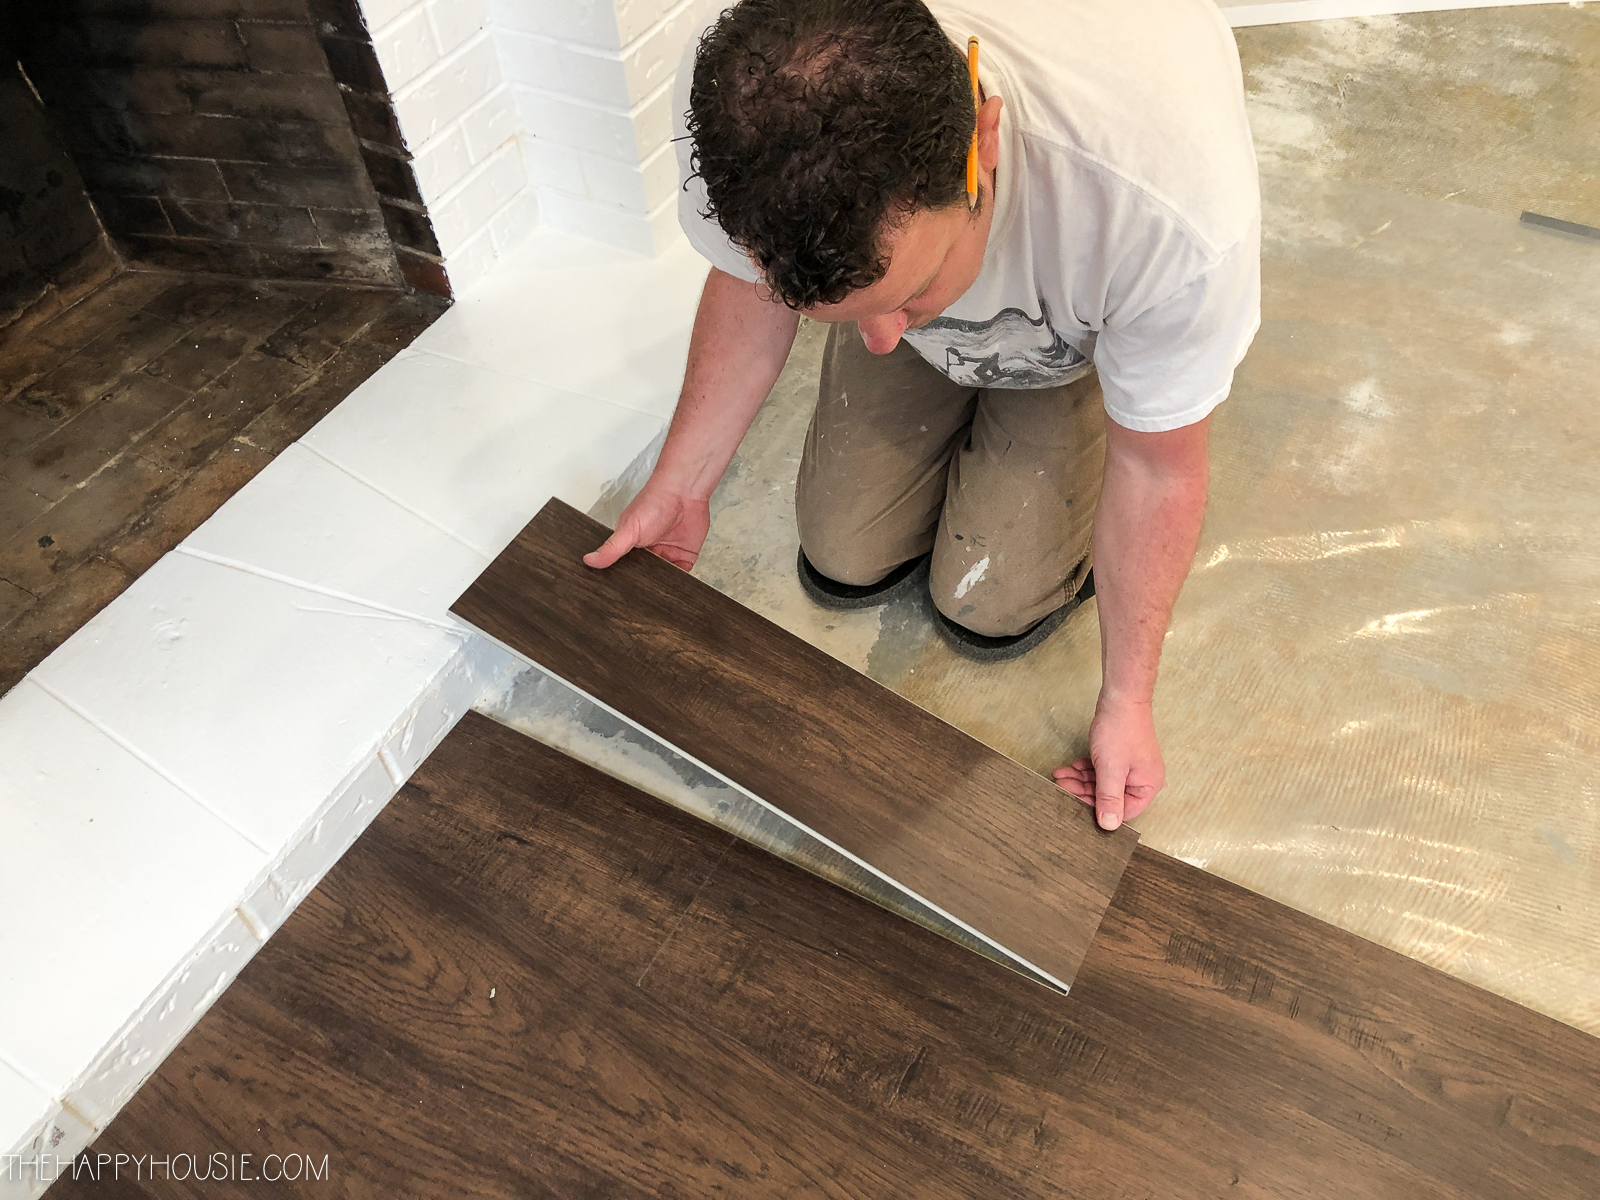
Measure the room’s dimensions and add an extra 10% to account for any errors or mistakes. When cutting the laminate flooring, ensure that you have the right tools, such as a saw or a laminate cutter. Follow the manufacturer’s instructions carefully and wear protective gear, such as goggles and gloves.
Step 4: Installing the Laminate Flooring
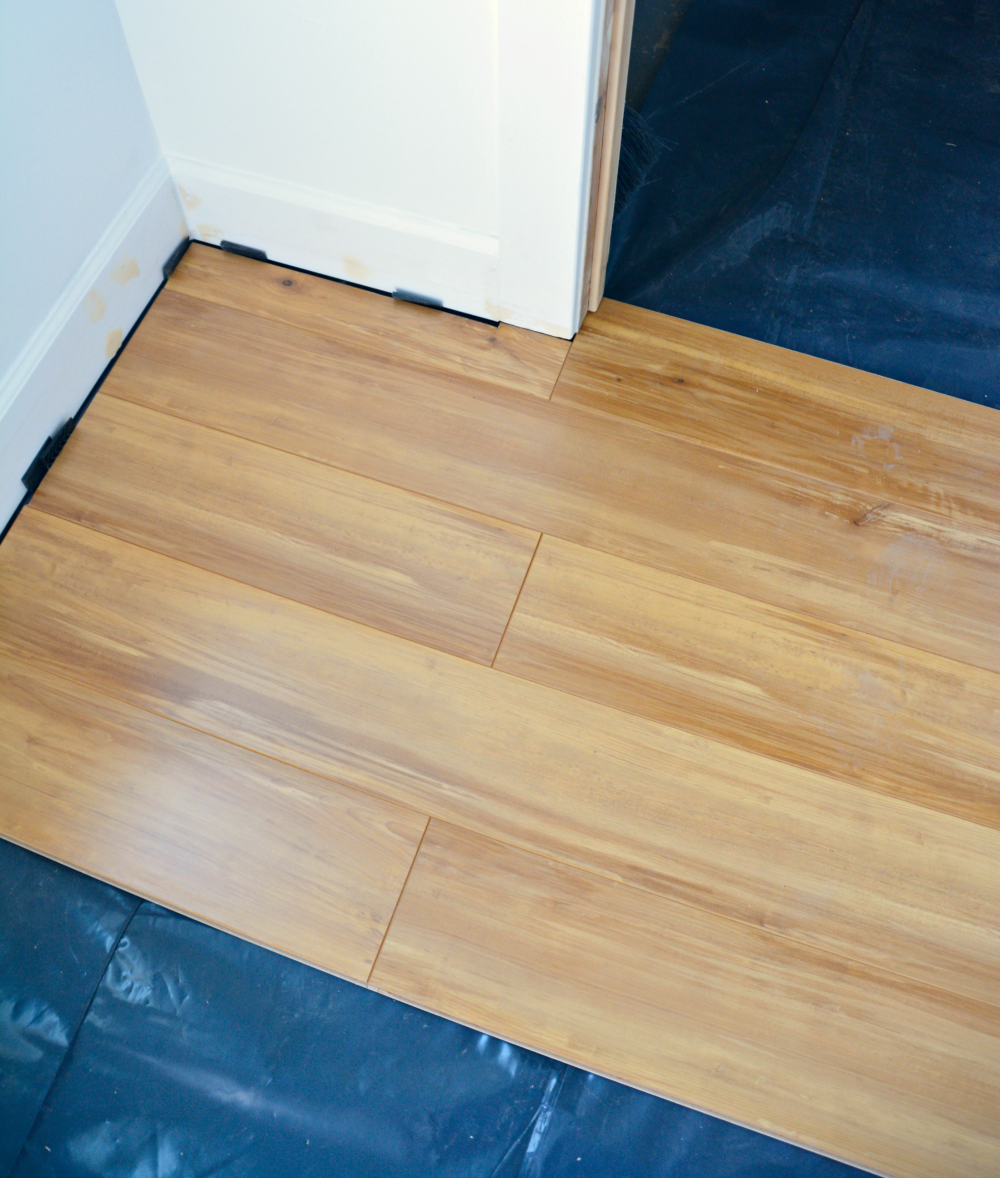
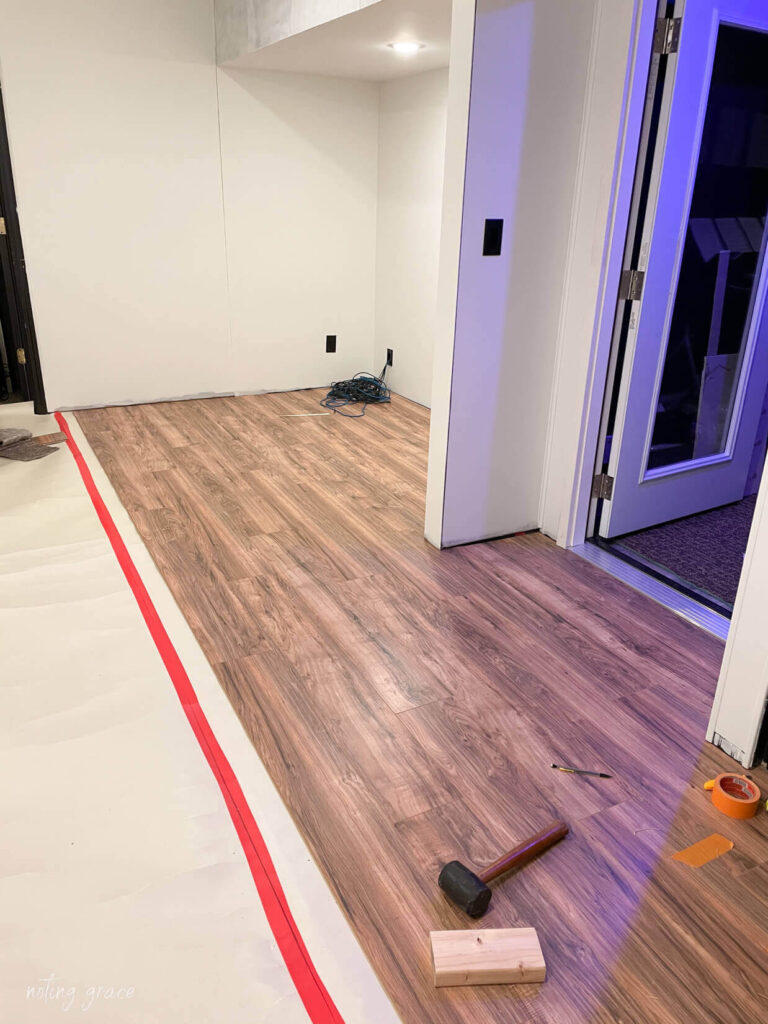
Start by laying the first row of laminate flooring against the longest wall in the room. Use spacers to create a gap between the flooring and the wall. This gap will allow the flooring to expand and contract with changes in temperature and humidity. Connect the laminate planks by clicking them together, ensuring that each row is level and even.
Step 5: Finishing the Installation
Once you have installed the laminate flooring, you can remove the spacers and install the baseboards and moldings. Use a trim saw or a coping saw to cut the baseboards to fit around corners and door frames.
Installing laminate flooring is an excellent way to give your home a fresh, new look without breaking the bank. It is a durable, easy-to-install flooring option that can mimic the look of hardwood flooring. Follow the steps outlined in this guide to ensure that your laminate flooring installation is a success. With the right tools, materials, and techniques, you can install laminate flooring like a pro.
Laminate flooring can be found in a wide range of colors and textures. Laminate flooring is a great option for homeowners who want to get a hardwood look without the price. Laminate flooring is a popular choice because it comes in various colors and textures. Laminate flooring is a popular, affordable choice made from a multi-layer synthetic material. Installing laminate flooring is a great method to provide your house a fresh look. Laminate flooring is a popular choice because it comes in various finishes and styles. Laminate flooring is a very popular choice for many homeowners. When the floor be likely to receive a lot of traffic subsequently the customer need to ensure to pick flooring that is able to withstanding a lot of pressure from the mass of the people passing through the floor. Below is a detailed appearance at the different functions as well as traits that are deemed to be the best laminate flooring quality.
How to Install Laminate Flooring on Concrete in the Kitchen Mryoucandoityourself

Installing Laminate Flooring Over Concrete – The Ultimate Guide

How to Install Laminate Floor in a Basement
How To Install Laminate Flooring Over Concrete
How to Install Vinyl Plank over Concrete (ORC Week 4/5) The
How To Install Laminate Flooring Over Concrete – Noting Grace
Concrete Subfloor Preparation Leveling for Laminate Hardwood Floor Installation MrYoucandoityouself
How To Install Laminate Flooring Over Concrete – Noting Grace
Choose the Best Underlayment for Laminate Flooring
/laminate-flooring-underlayment-1314969-hero-3894e0b403fb4e59a87a076e3da9914f.jpg)
Installing Laminate Flooring For The First Time // Home Renovation

Installing Wood Flooring Over Concrete (DIY)

How to install laminate floor on concrete Flooring, Floor

How to Install Vinyl Plank over Concrete (ORC Week 4/5) Basement

Related Posts:
- 12mm White Oak Laminate Flooring
- Walnut Laminate Flooring
- Bamboo Laminate Flooring
- Laminate Flooring Trim
- High Gloss Laminate Flooring
- Dark Oak Laminate Flooring
- Dark Wood Laminate Flooring
- Laminate Flooring Color Ideas
- Victorian Laminate Flooring
- Wood Laminate Flooring Bathroom
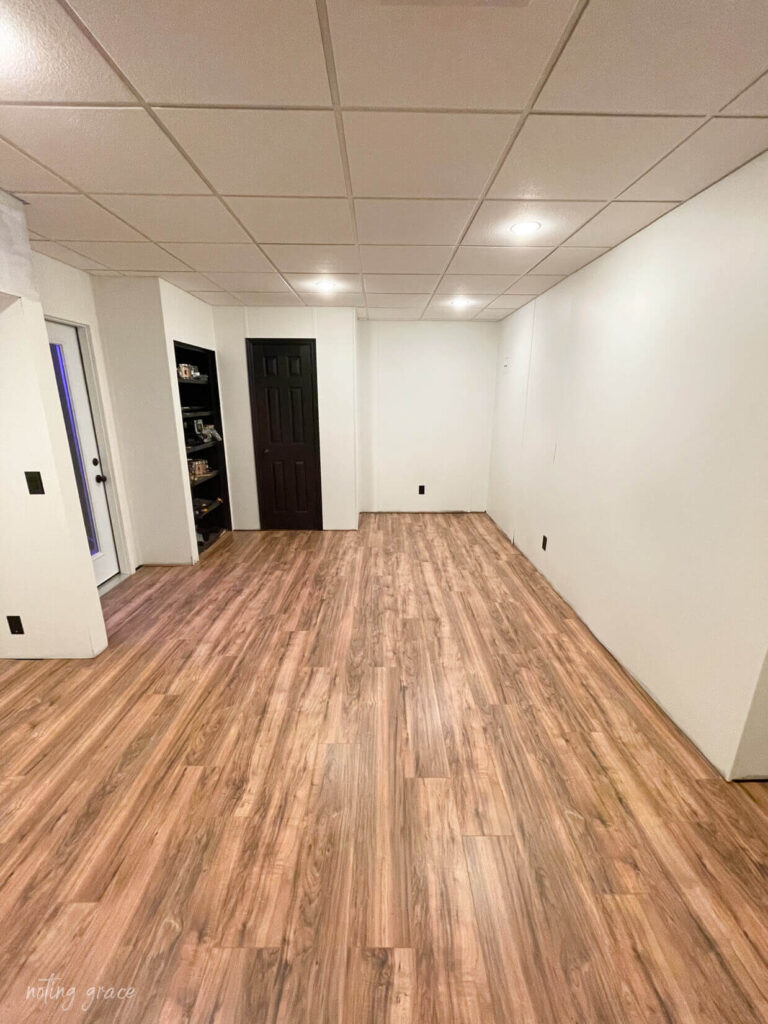
How To Install Laminate Flooring On Concrete Basement
If you’re looking for an easy and cost-effective way to upgrade your concrete basement floor, then installing laminate flooring is a great option. Laminate flooring is a great choice for a basement since it is both durable and easy to install. Installing laminate flooring on concrete basement requires some preparation and knowledge of the process. This article will provide an in-depth guide on how to install laminate flooring on a concrete basement.
Tools and Materials Needed
Before starting the installation process, it is important to gather all the tools and materials needed. The tools and materials needed for installing laminate flooring on a concrete basement include:
– Laminate Flooring
– Underlayment
– Tapping Block
– Chalk Line
– Hammer
– Pencil
– Utility Knife
– Nails or Staples
– Vacuum Cleaner
– Silicone Caulk
– Tape Measure
– Circular Saw
– Moisture Barrier
– Foam Insulation
– Safety Glasses
– Gloves
Prepare the Basement Floor
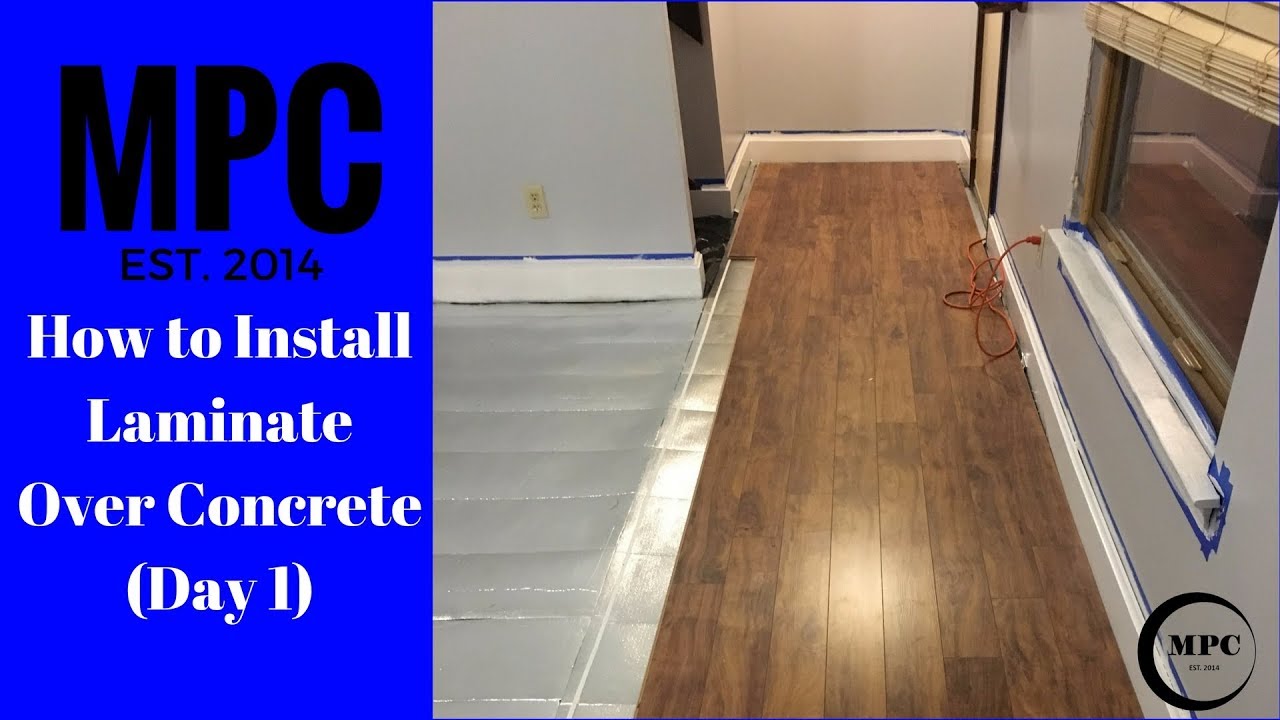
Before starting the installation process, it is important to prepare the basement floor. The first step is to remove any existing flooring such as carpet, vinyl, or tile. It is also necessary to repair any cracks or holes in the concrete before installing the laminate flooring. Once the existing flooring has been removed, it is important to vacuum clean the surface of the basement floor to remove any dust or dirt that may have accumulated over time. Once the basement floor has been cleaned and prepared, it is important to install a moisture barrier over the concrete surface. A moisture barrier prevents moisture from seeping through the laminate flooring and damaging it.
Lay Out the Laminate Planks
Once the basement floor has been prepared, it is time to lay out the laminate planks. Before laying out the planks, it is important to measure the size of the room to ensure that there are enough planks to cover the entire area. Once this has been done, it is important to lay out the planks in a way that creates an aesthetically pleasing pattern. To do this, start by laying out a few planks in one corner of the room and adjust them until they form a pleasing pattern. Once you are happy with the pattern, mark each plank with a pencil so that you know where they will be installed. It may also be helpful to make a sketch of where each plank should be installed as this will make it much easier during installation.
Install Underlayment and Moisture Barrier
Once you have laid out the planks, it is now time to install underlayment and moisture barrier. Underlayment helps protect against moisture seeping into the laminate planks and damaging them over time. It also provides additional cushioning which makes walking on the laminate floor more comfortable. To install underlayment, start by unrolling it across one side of the room and cutting it to size with a utility knife. Then use nails or staples to secure it in place. For added protection, it may also be helpful to install a moisture barrier which can be purchased from most home improvement stores. A moisture barrier should be installed directly over top of the underlayment before installing any laminate planks.
Install Laminate Planks
Now that all of the preparations have been completed, it is time to start installing the laminate planks. To ensure that each plank is properly installed, use a tapping block and hammer when attaching them together. Start by lining up two planks at one end of the room and tap them together using a tapping block and hammer until they fit securely together. Continue this process until all of the planks have been installed in their respective positions. It may also be helpful to use a chalk line when aligning each plank in order to ensure that all of them are properly aligned with each other.
FAQs About Installing Laminate