When I first attempted to tile my tiny bathroom floor, I thought the small space would make the job easier. I was completely wrong. Small bathrooms present unique challenges that require careful planning, precise measurements, and creative problem-solving. After completing several small bathroom projects, I’ve learned that success depends on choosing the right tiles, understanding layout principles, and mastering techniques for working in cramped quarters. Let me share the hard-won lessons that transformed my approach to small bathroom tiling.
Choosing the Right Tiles for Small Spaces
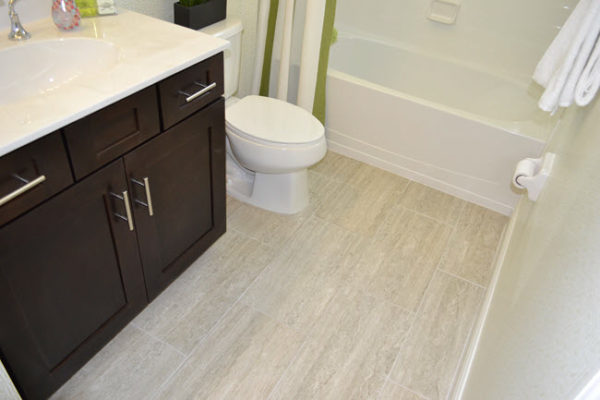
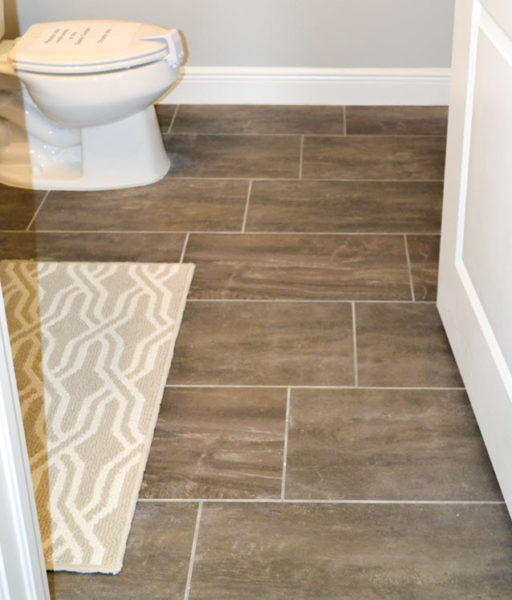
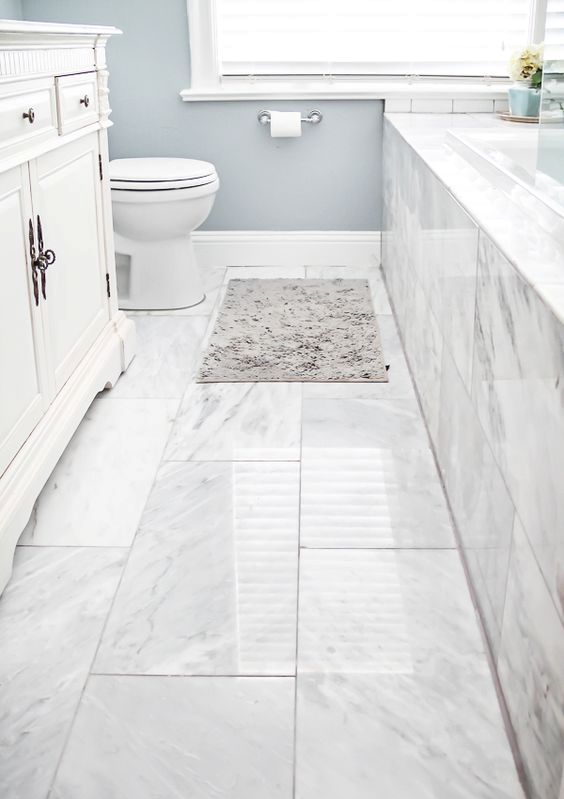
My first mistake was selecting tiles that were too large for my compact bathroom. I learned that proportion matters tremendously in small spaces. Large tiles can make a tiny bathroom feel even smaller, while extremely small tiles create too many grout lines that visually break up the space. I’ve found that medium-sized tiles, typically 12×12 or 6×12 inches, strike the perfect balance for most small bathrooms.
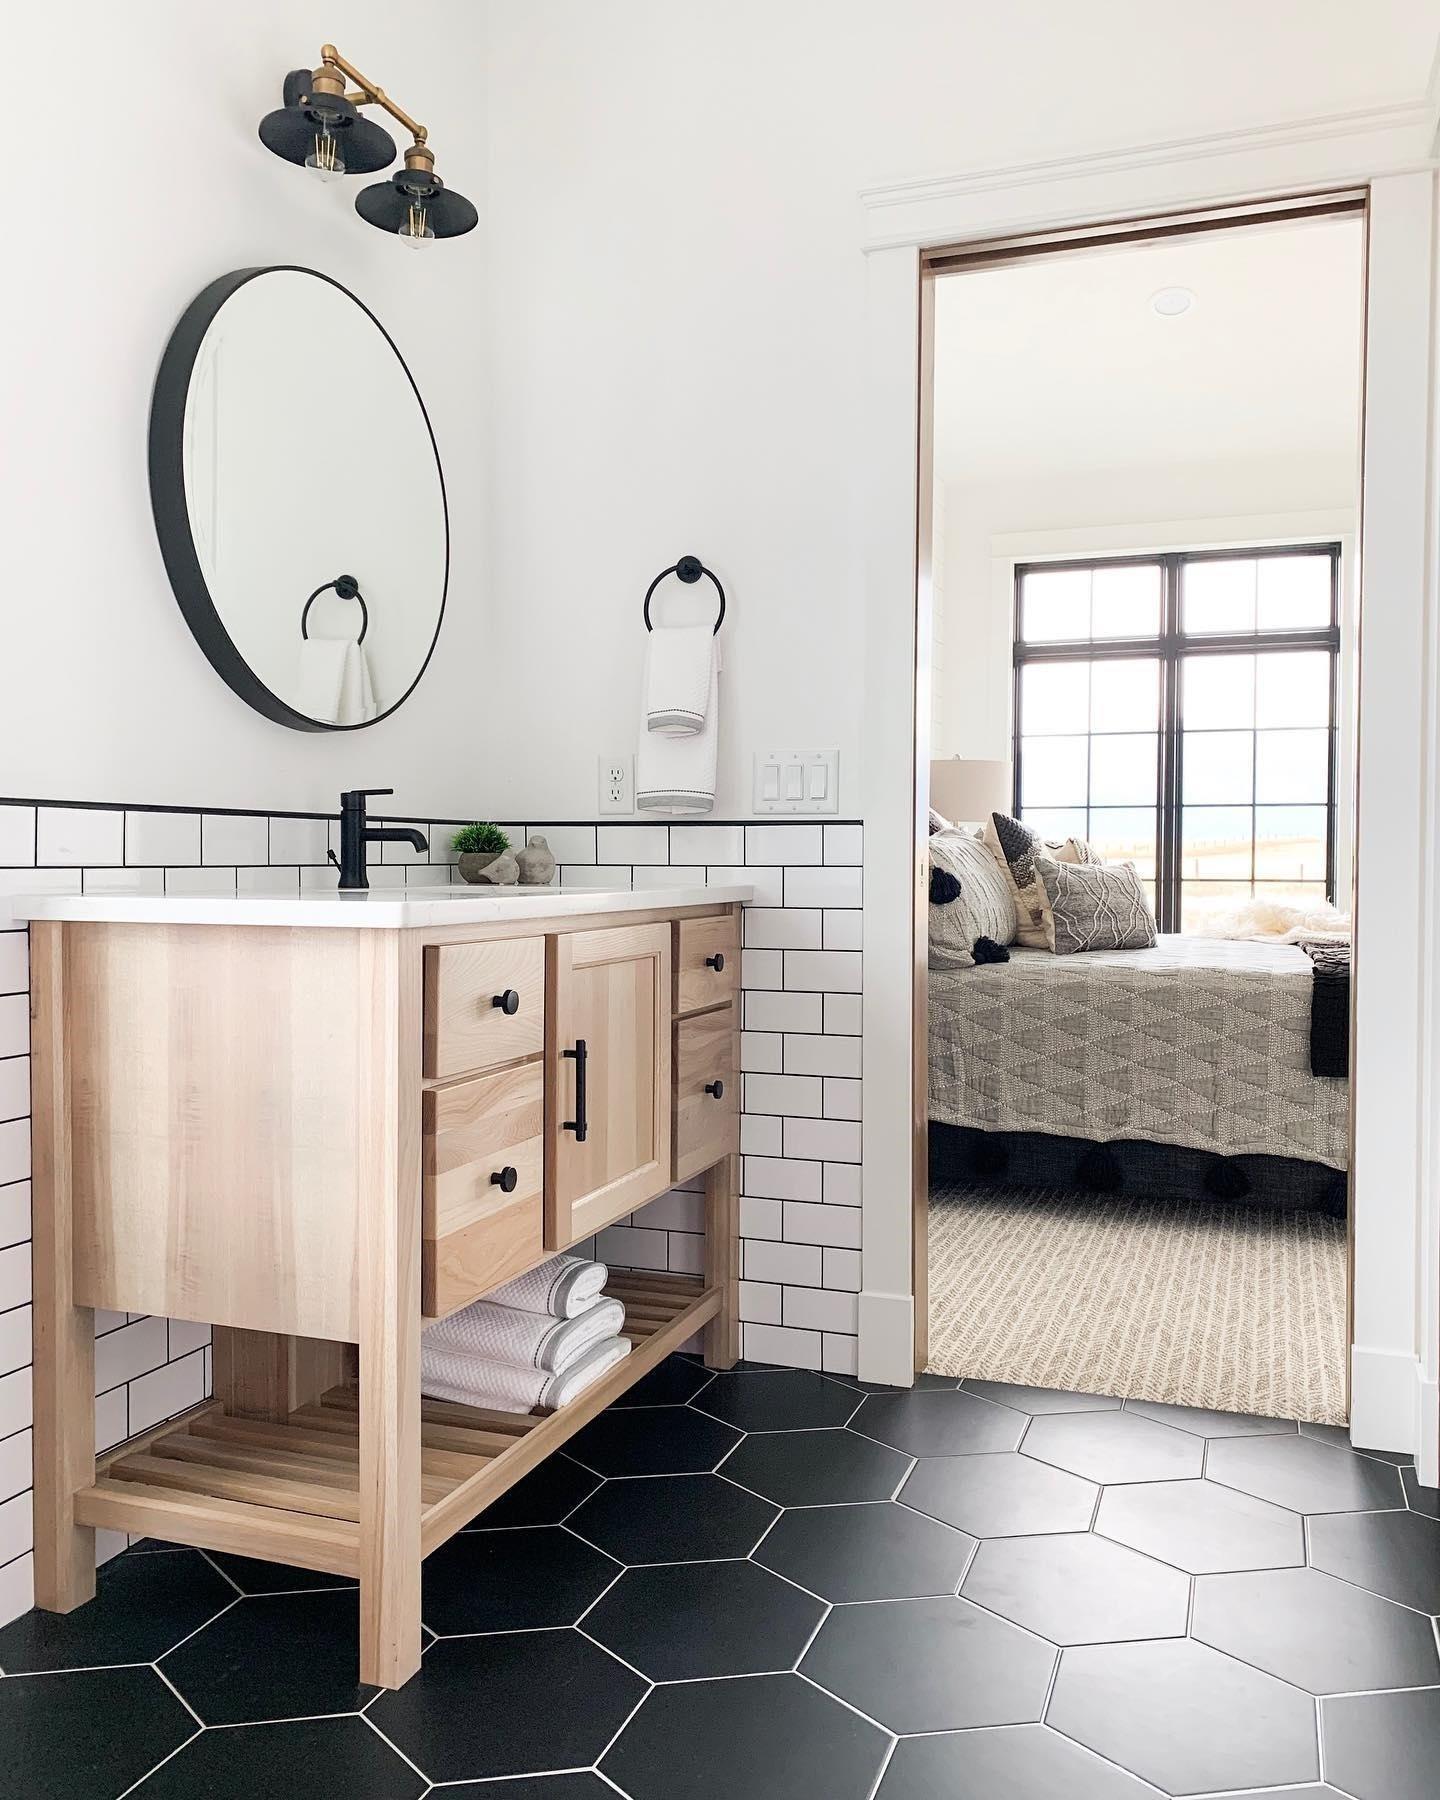
Color selection proved more important than I initially realized. Light colors reflect more light and create the illusion of space, making your bathroom feel larger. I experimented with various shades and discovered that warm whites, soft grays, and pale blues work exceptionally well. Dark tiles can look sophisticated but tend to absorb light, making small spaces feel cramped and closed in.
Texture and finish significantly impact both appearance and functionality. I prefer matte or slightly textured tiles for bathroom floors because they provide better slip resistance when wet. Highly polished tiles look beautiful but can be dangerously slippery in wet conditions. I learned this lesson after my first installation resulted in a few close calls with family members nearly slipping on the glossy surface.
Essential Tools and Materials for Small Bathroom Projects
Working in small spaces requires compact, efficient tools. My essential toolkit includes a small tile saw, manual tile cutter, rubber mallet, trowel, level, and measuring tape. I invested in a quality wet tile saw that fits on a small table, which has been invaluable for making precise cuts in tight quarters. A manual tile cutter serves as a backup for straight cuts and reduces noise in residential settings.
Material selection goes beyond just tiles. I always use high-quality waterproof underlayment, premium tile adhesive, and matching grout. For small bathrooms, I prefer unsanded grout for joints under 1/8 inch and sanded grout for wider gaps. Waterproof membrane is critical, especially around toilets and along walls where moisture exposure is highest.
Organization becomes crucial when working in confined spaces. I use a rolling cart to keep tools and materials accessible without cluttering the work area. Pre-cutting tiles outside the bathroom and bringing them in as needed saves space and reduces dust. I also keep cleaning supplies handy because small spaces show dirt and debris more readily than larger areas.
Planning Your Layout and Measuring Accurately
Layout planning makes or breaks small bathroom projects. I start by measuring the space multiple times and creating a detailed floor plan on paper. Finding the center point of the room and working outward typically produces the most balanced appearance. However, in very small bathrooms, I sometimes adjust the starting point to avoid having thin slivers of tile along the most visible edges.
Dry-laying tiles before applying adhesive saves countless headaches. I arrange tiles on the floor without adhesive to visualize the final result and identify potential problems. This step reveals where cuts will be needed and helps me optimize the layout for the best visual impact. I take photos of successful dry layouts for reference during installation.
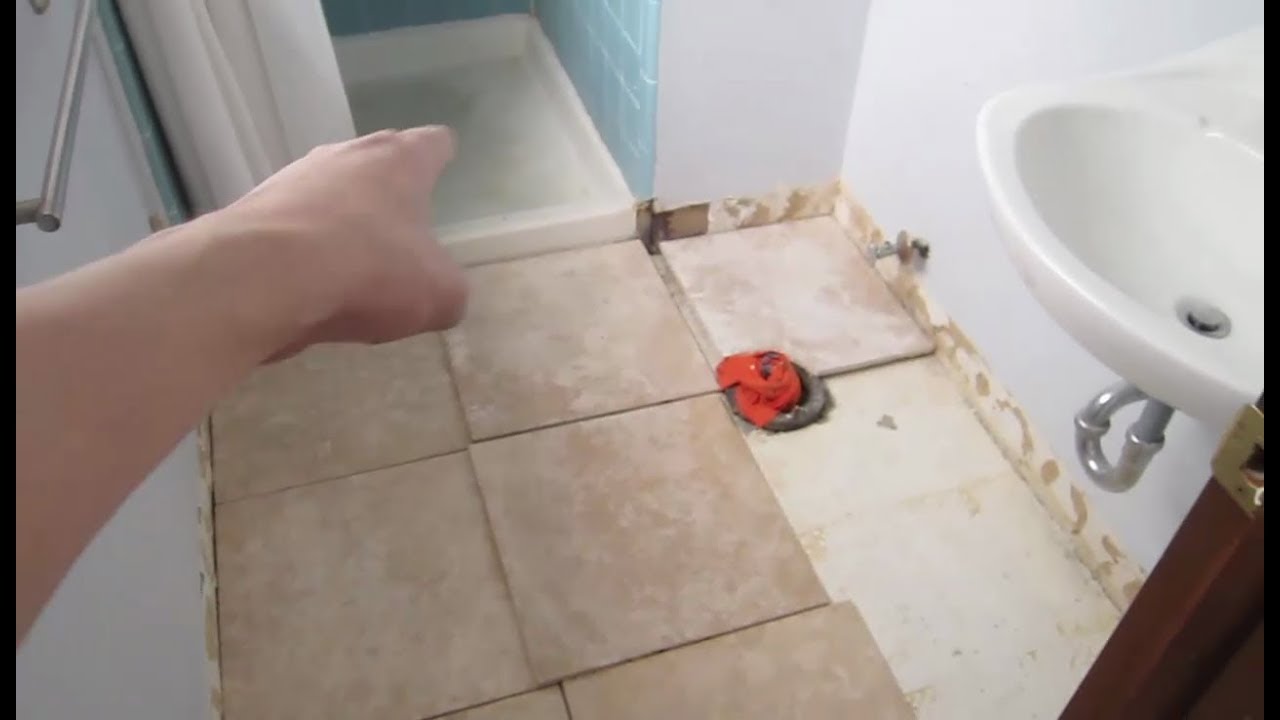
Measuring around fixtures requires extra attention in small spaces. Toilets, vanities, and other permanent fixtures create irregular shapes that must be accommodated. I make cardboard templates for complex cuts and use them to trace patterns onto tiles. This method reduces waste and ensures accurate fits, especially important when working with expensive tile materials.
Preparing the Subfloor and Ensuring Proper Drainage
Subfloor preparation is even more critical in small bathrooms because every imperfection becomes magnified. I check for level using a long straight edge and shim low spots with floor leveling compound. Small bathrooms often have multiple plumbing penetrations that can create weak spots, so I reinforce these areas with additional blocking or support as needed.
Moisture management cannot be overlooked in any bathroom project. I install a waterproof membrane over the entire floor, paying special attention to seams and edges. In small bathrooms, I extend the membrane up the walls at least 6 inches to create a moisture barrier. This extra step prevents water damage that could compromise the entire installation.
Drainage considerations become more complex in small spaces. I ensure the floor slopes slightly toward the drain, typically 1/4 inch per foot. This gradient must be subtle to avoid creating noticeable unevenness while still directing water flow properly. I use a long level to check the slope and make adjustments with thin-set adhesive during installation.

Installation Techniques for Tight Spaces
Working in small bathrooms requires modified installation techniques. I start tiling from the center point and work toward the walls, but I adjust my approach based on the room’s specific challenges. Sometimes I begin along the most visible wall to ensure full tiles appear in prominent locations. Flexibility in approach often yields better results than rigid adherence to standard procedures.
Cutting tiles for small bathrooms demands patience and precision. I measure each cut multiple times and use cardboard templates for complex shapes. Working slowly reduces waste and ensures proper fits. I keep a wet sponge handy to clean adhesive from tile surfaces immediately, because dried adhesive is much harder to remove in tight working conditions.
Grouting in small spaces requires careful technique to avoid making a mess. I work in small sections, applying grout diagonally across joints to ensure complete fill. The limited space makes it challenging to clean excess grout quickly, so I keep multiple buckets of clean water available. I also use smaller grout floats that are easier to maneuver in tight quarters.
Finishing Touches and Long-Term Maintenance
Final details make the difference between amateur and professional-looking results. I carefully caulk all edges where tiles meet walls, fixtures, or other surfaces. In small bathrooms, these transition areas are highly visible, so neat, consistent caulk lines are essential. I use color-matched caulk that complements the grout for a cohesive appearance.
Sealing grout lines protects against moisture and staining, especially important in small bathrooms where cleaning challenges exist. I apply grout sealer 24 hours after installation and reapply annually. This maintenance step significantly extends the life of the installation and keeps the bathroom looking fresh. I also seal natural stone tiles if used.
Regular maintenance keeps small bathroom floors looking their best. I sweep or vacuum regularly to prevent grit from scratching tile surfaces. Weekly mopping with pH-neutral cleaner maintains the finish without damaging grout or tiles. I inspect caulk lines monthly and touch up as needed to prevent moisture penetration behind tiles.
What tile size works best for very small bathroom floors?
In my experience, 12×12 inch tiles provide the best balance for most small bathrooms. They’re large enough to minimize grout lines but not so big that they overwhelm the space. For extremely tiny bathrooms under 25 square feet, I sometimes use 6×12 inch rectangular tiles laid in a brick pattern to create visual interest without making the space feel cluttered.
How do I handle cuts around the toilet and other fixtures?
Cutting around fixtures requires careful measurement and patience. I create cardboard templates first, then trace them onto tiles. For toilet flanges, I measure from two reference points and mark the center of the pipe. I use a tile hole saw for clean circular cuts and a wet saw for irregular shapes. Always measure twice and cut once to avoid waste.
Can I tile over existing flooring in a small bathroom?
It depends on the existing flooring condition and type. I’ve successfully tiled over stable vinyl and old ceramic tiles after proper preparation. However, I remove loose or damaged flooring first. Adding tile thickness raises the floor level, which can create problems with door clearances and transitions. Sometimes removal is worth the extra effort.
What’s the best way to ensure straight grout lines in a small space?
I use tile spacers consistently throughout the installation, even in tight areas where they’re harder to place. Working systematically from one side to the other helps maintain alignment. I frequently check my work with a straight edge and make adjustments while the adhesive is still workable. Taking time during installation prevents problems later.
How long should I wait before using the bathroom after tiling?
I typically wait 24 hours before light foot traffic and 48 hours before heavy use. However, cure times vary based on temperature, humidity, and adhesive type. I always follow manufacturer recommendations for specific products. In small bathrooms, I often use rapid-set adhesives that allow faster return to service when family members need access.
What’s the most common mistake people make when tiling small bathrooms?
The biggest mistake I see is inadequate planning and preparation. People often underestimate the importance of proper layout and rush into installation. Small spaces magnify every error, so taking time to plan, measure accurately, and prepare the subfloor properly pays dividends. Cutting corners on preparation almost always leads to problems later.
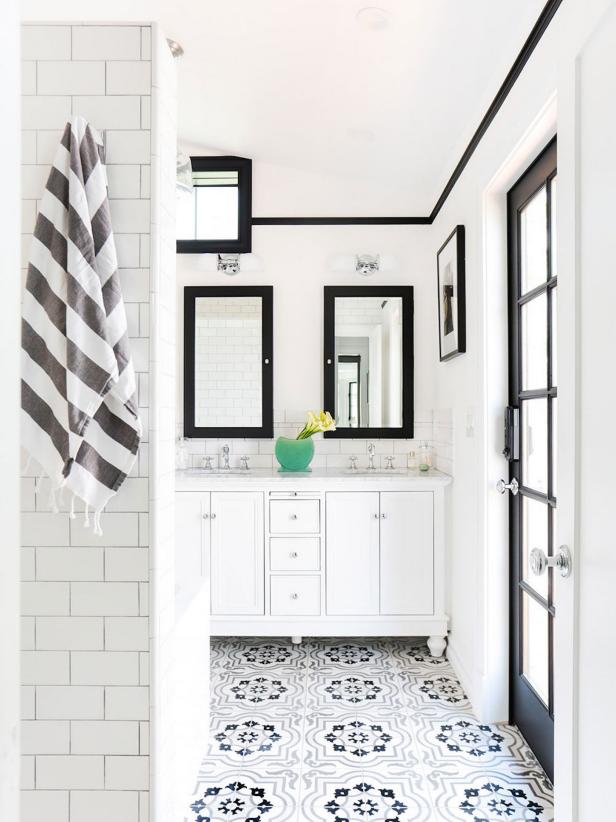
Bathroom Floor Tile – Small Bathroom Remodel
Cool Bathroom Floor Tiles Ideas You Should Try
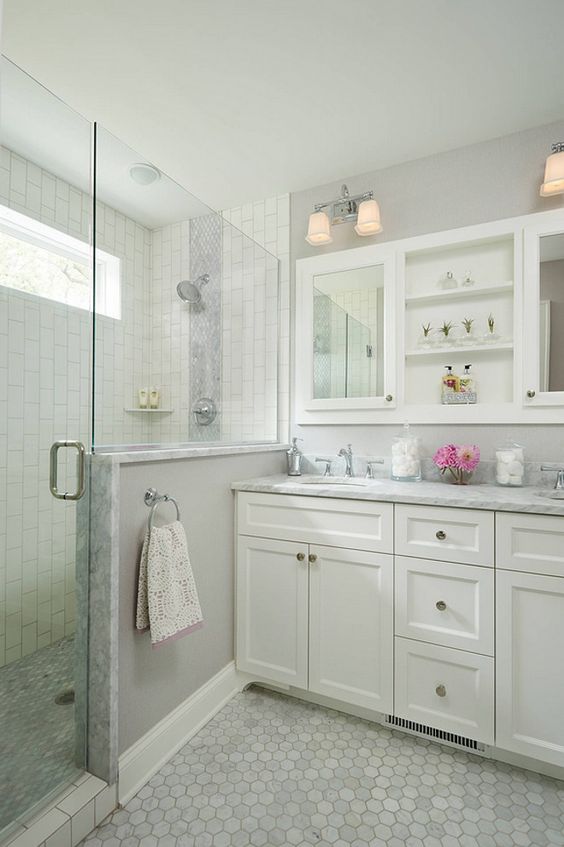
Bathroom Flooring ideas small bathroom, bathroom design

Flooring ideas for small bathroom, bathroom design

Related Posts: