I’ve spent countless hours in my basement over the years, and nothing frustrated me more than dealing with a damaged floor. Whether you’re facing cracks, moisture issues, or uneven surfaces, fixing your basement floor doesn’t have to be overwhelming. Through trial and error, I’ve learned that most basement floor problems can be tackled with the right approach and patience. Let me share what I’ve discovered about transforming your basement from a problematic space into a functional area you can enjoy.
Identifying Common Basement Floor Problems
Looking back at my first basement renovation, I wish I had known how to properly diagnose floor issues. Most problems fall into three categories: structural damage, moisture infiltration, and surface deterioration. I learned this the hard way when I tried to patch visible cracks without addressing the underlying cause. The key is understanding whether you’re dealing with settling, water damage, or simple wear and tear.
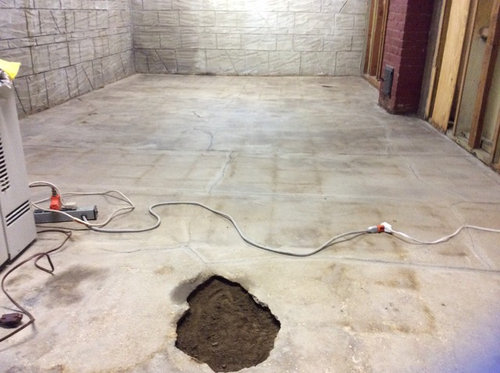
Moisture problems were my biggest nightmare initially. I noticed dark stains, musty odors, and sometimes even standing water after heavy rains. These signs indicated that my basement floor wasn’t properly sealed or that the drainage systems were failing. What I discovered is that moisture issues must be resolved before any other repairs, or you’ll find yourself repeating the same work repeatedly.
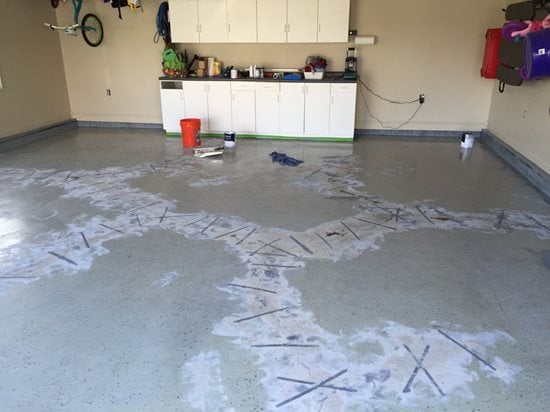
Surface problems like chipping, spalling, or uneven areas might seem purely cosmetic, but they often signal deeper issues. I made the mistake of assuming these were minor concerns until I realized they were allowing moisture to penetrate further into the concrete. Now I address even small surface defects promptly because prevention is always easier than major reconstruction work.
Essential Tools and Materials You’ll Need
My tool collection has grown significantly since I started working on basement floors. Basic hand tools include a hammer, chisel set, wire brushes, and measuring tape. Power tools that proved invaluable include an angle grinder, concrete mixer, and wet vacuum. I also invested in safety equipment like dust masks, safety glasses, and knee pads, which made the work much more comfortable and safer.
For materials, I always keep concrete patching compound, hydraulic cement, and concrete sealer on hand. These cover most repair scenarios I encounter. Depending on your specific situation, you might also need sand, gravel, plastic sheeting, and reinforcement mesh. I learned to buy slightly more materials than calculated because basement projects often reveal additional issues as you progress.
One lesson I learned is that quality materials matter significantly for basement applications. Cheap patching compounds often fail within months due to moisture exposure. I now spend extra on marine-grade sealers and high-quality concrete products. The initial investment pays off through durability and reduced maintenance needs over time.
Preparing Your Basement for Repair Work
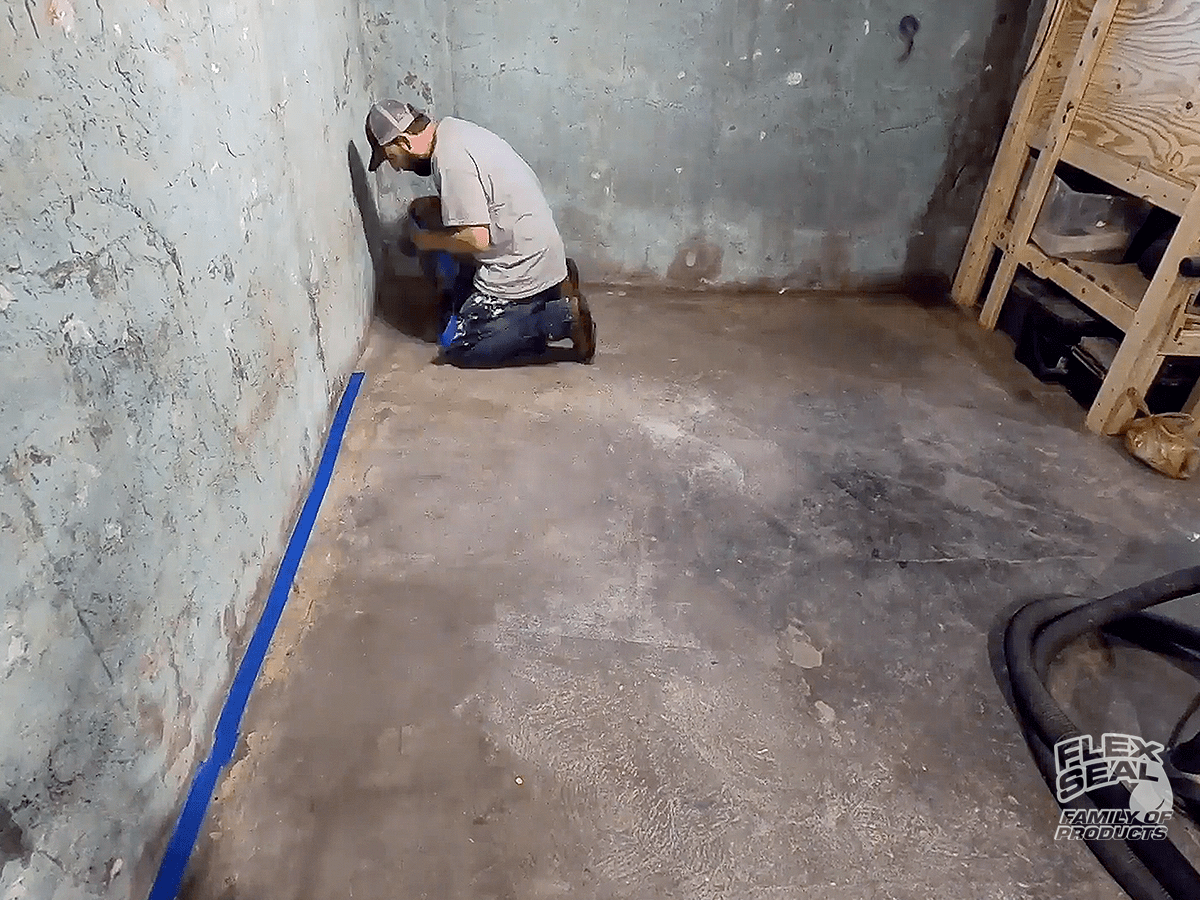
Preparation makes or breaks any basement floor project. I start by removing everything from the space and thoroughly cleaning the floor surface. This includes scraping away loose concrete, dirt, and any existing coatings that might interfere with new materials. I use a wire brush and sometimes an angle grinder to achieve a clean, rough surface for better adhesion.
Water management is crucial during preparation. I ensure proper ventilation by running fans and dehumidifiers to reduce moisture levels. If there’s active water infiltration, I address drainage issues first. Sometimes this means installing or repairing sump pumps, improving exterior drainage, or applying temporary waterproofing measures before starting floor repairs.
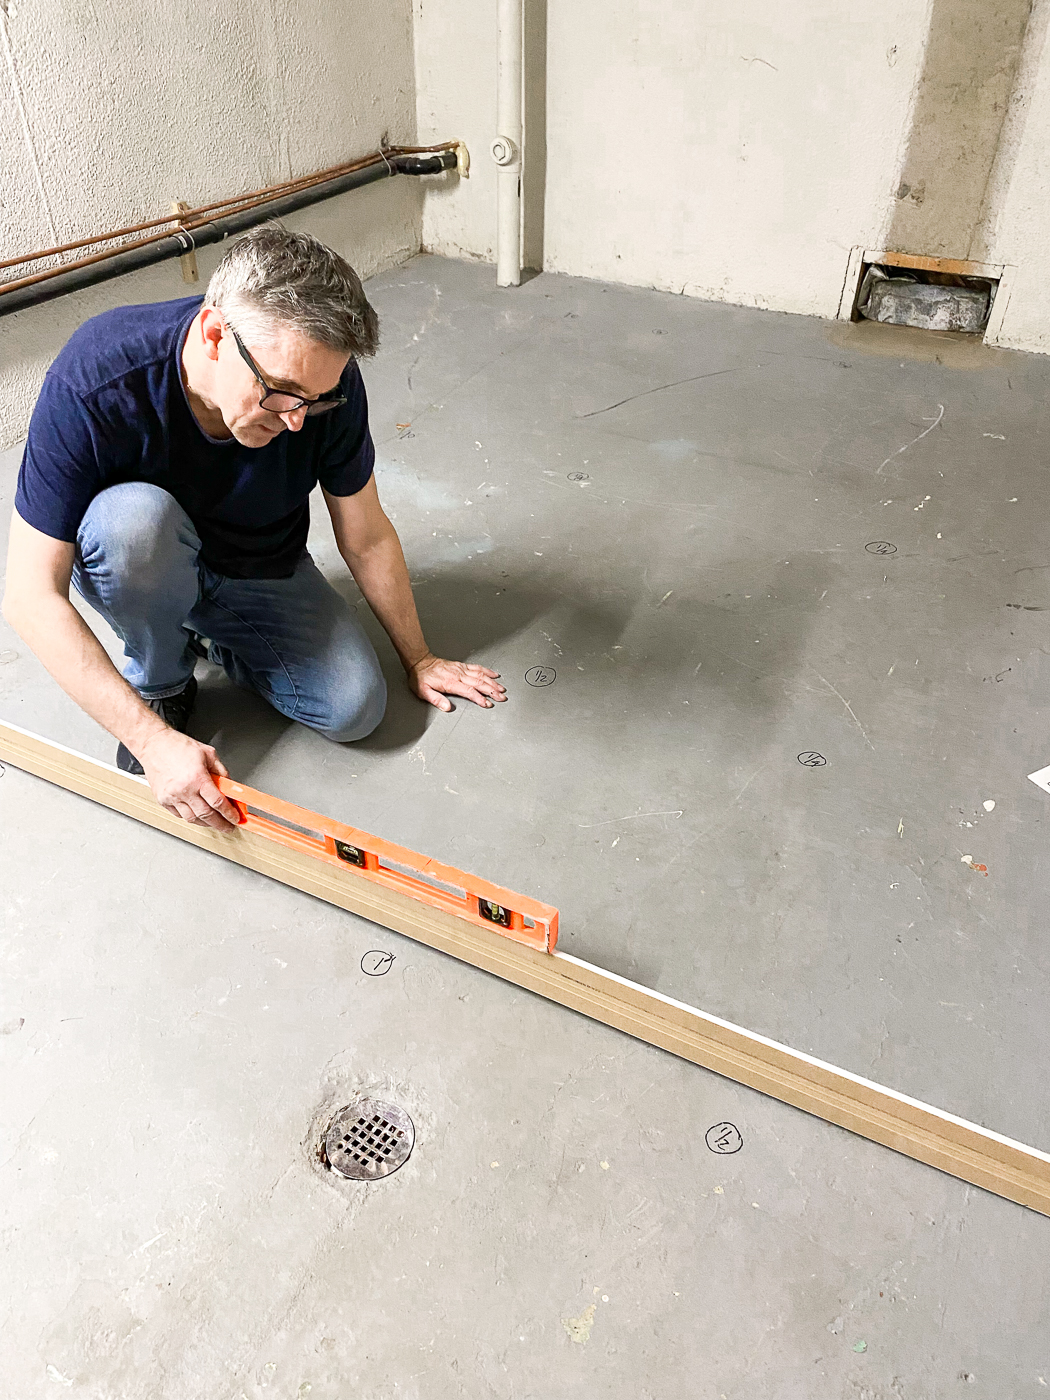
I also mark all areas requiring attention using chalk or spray paint. This systematic approach prevents me from missing problem spots once I begin working. Taking photos before starting helps document the original condition and can be useful for insurance claims or future reference. Proper preparation typically takes a full day but saves significant time during actual repairs.
Step-by-Step Crack Repair Process
Crack repair has become one of my specialties through necessity. Small cracks under 1/4 inch wide can usually be handled with flexible sealants or concrete crack filler. I clean out loose debris using a wire brush or vacuum, then apply the filler according to the manufacturer’s instructions. The key is ensuring the crack is completely dry before sealing.
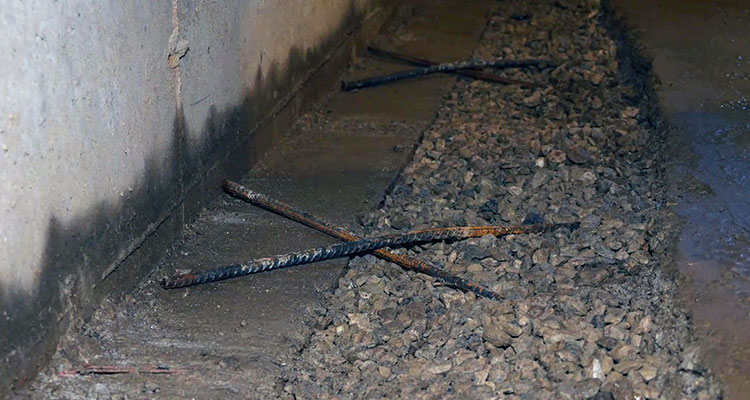
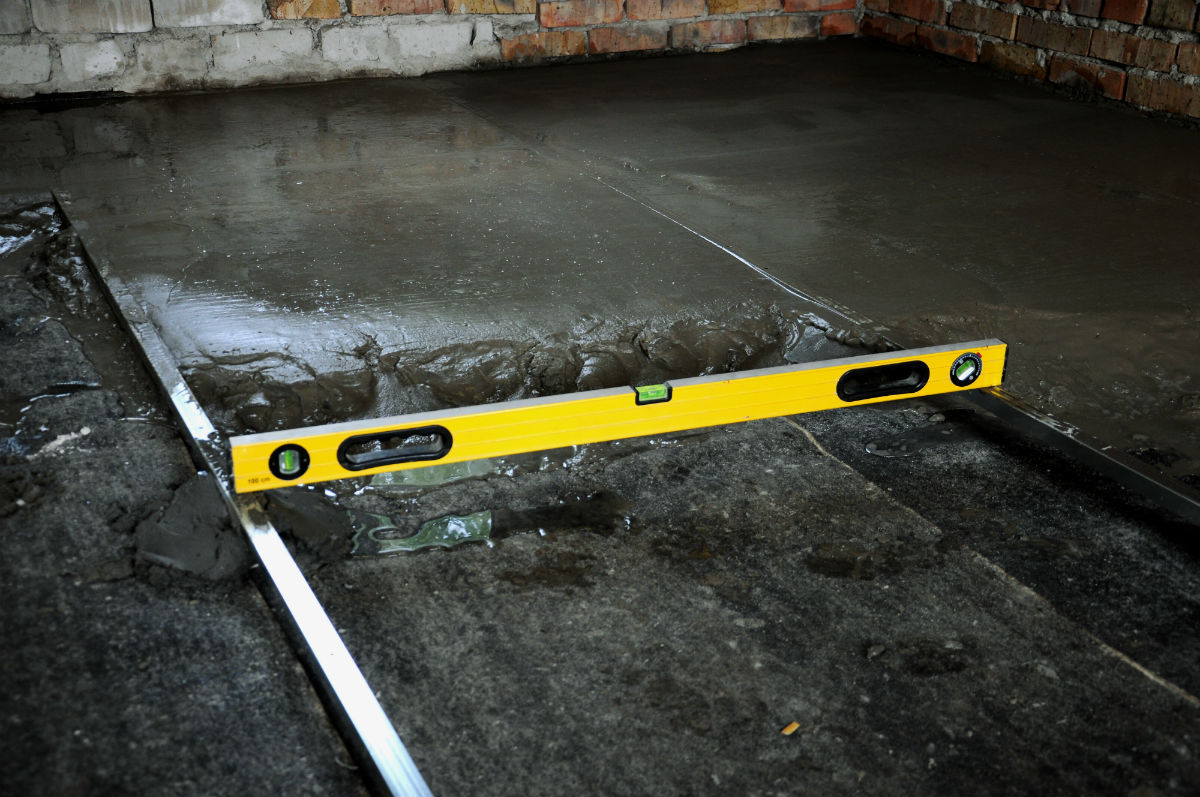
Larger cracks require more intensive treatment. I use a chisel to widen the crack slightly, creating a V-shaped groove that helps the repair material bond properly. For structural cracks, I sometimes insert reinforcement mesh before applying hydraulic cement. This extra step prevents the crack from reopening due to foundation movement or thermal expansion.
After applying any crack filler, I allow proper curing time before walking on the area. Rushing this step has caused me problems in the past when repairs failed prematurely. I typically wait at least 24 hours for small repairs and up to a week for major crack work. Temperature and humidity affect curing times, so I adjust accordingly based on conditions.
Addressing Moisture and Drainage Issues
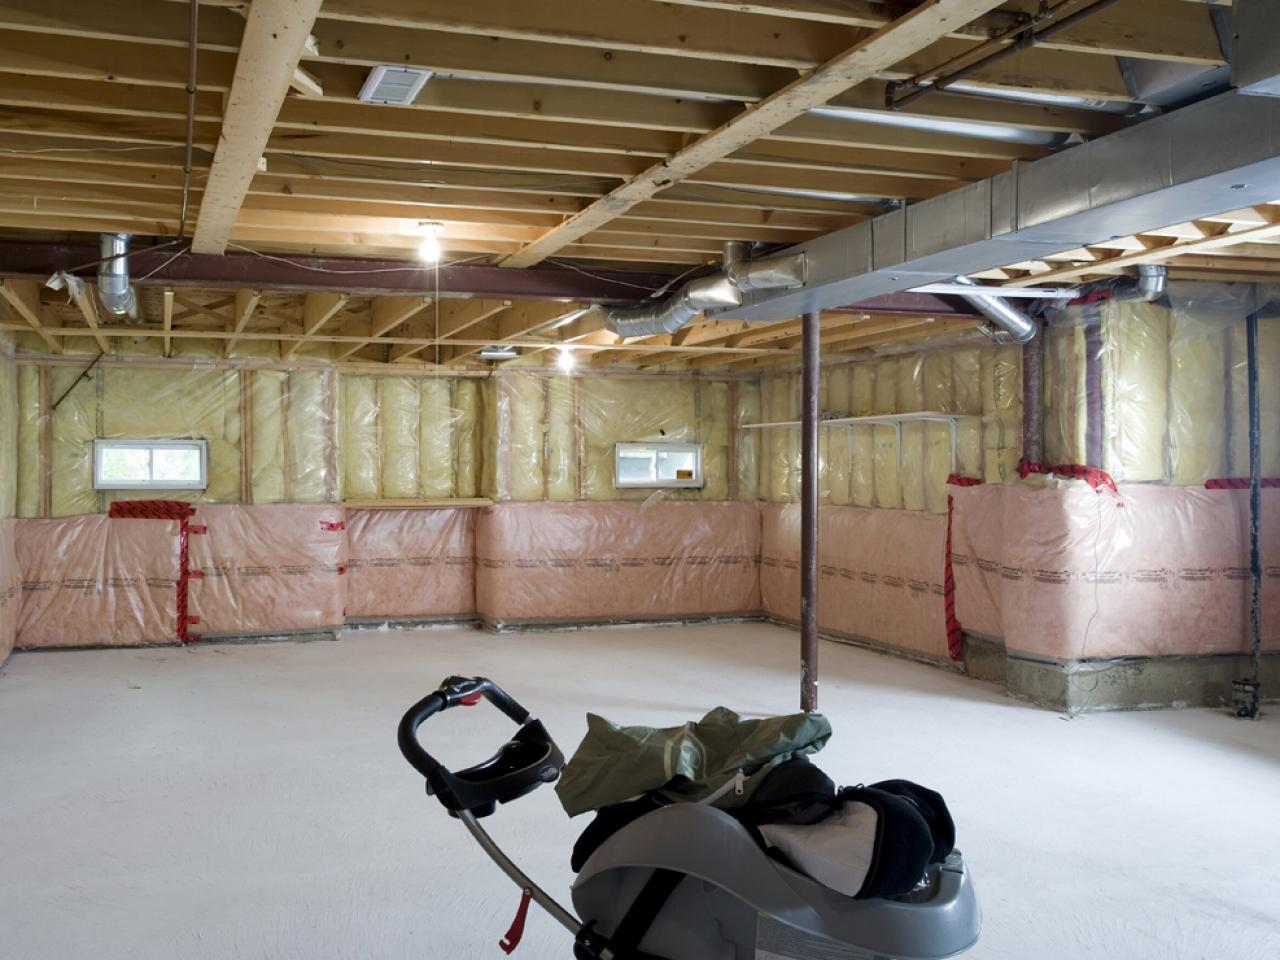
Moisture control transformed my basement from a damp, unusable space into a comfortable area. I start by identifying water sources, which might include poor exterior drainage, foundation cracks, or inadequate waterproofing. Sometimes the solution is as simple as extending downspouts or regrading soil around the foundation to direct water away from the house.
Interior drainage solutions have been game-changers for me. Installing a French drain system around the basement perimeter captures water before it can damage the floor. I’ve also used floor drains connected to sump pumps for areas prone to flooding. These systems require careful planning and sometimes professional installation, but they provide long-term solutions.
Vapor barriers and sealers help control moisture transmission through concrete. I apply penetrating sealers to clean, dry floors, followed by topical sealers for extra protection. In particularly problematic areas, I install plastic sheeting under new concrete pours. Regular maintenance of these systems includes checking sump pump operation and reapplying sealers as needed.

Finishing Touches and Long-Term Maintenance
Once repairs are complete, I focus on protective measures and aesthetic improvements. Concrete sealers not only prevent moisture penetration but also make cleaning easier and reduce dusting. I apply two coats of high-quality sealer, allowing proper drying time between applications. This step significantly extends the life of my repairs and improves the overall appearance.
For high-traffic areas, I sometimes install protective coatings or even decorative finishes. Epoxy coatings provide excellent durability and come in various colors and textures. However, proper surface preparation is critical for these products to adhere correctly. I’ve learned that spending extra time on preparation always yields better results than rushing to apply the final coating.
Ongoing maintenance keeps my basement floor in excellent condition. I inspect for new cracks or moisture issues quarterly, addressing small problems before they become major concerns. Regular cleaning with appropriate products maintains the protective coatings. I also monitor humidity levels and run dehumidifiers when necessary to prevent moisture-related problems from recurring.
How long does it typically take to repair a basement floor?
The timeline depends on the extent of damage and the type of repairs needed. Simple crack filling might take a weekend, while major reconstruction could require several weeks. I always factor in curing time for materials, which can extend the project duration. Weather conditions also affect drying times, so I plan accordingly and avoid rushing critical steps.
Can I fix basement floor problems myself, or do I need professional help?
Many basement floor issues can be handled as DIY projects with proper preparation and materials. I’ve completed most repairs myself using basic tools and techniques. However, structural problems, major drainage issues, or extensive damage often require professional assessment and repair to ensure safety and effectiveness.
What’s the most common mistake people make when repairing basement floors?
The biggest mistake I see is addressing symptoms rather than root causes. Patching cracks without fixing moisture problems leads to recurring issues. I learned this lesson expensively when my first repairs failed within months. Always identify and address underlying problems before cosmetic fixes, or you’ll be repeating the same work.
How much should I expect to spend on basement floor repairs?
Costs vary dramatically based on the scope of work required. Simple crack repairs might cost under $100 in materials, while major reconstruction could run several thousand dollars. I typically budget 20% more than initial estimates to account for unexpected issues that often arise during basement projects.
When is the best time of year to repair basement floors?
I prefer working during dry seasons when humidity levels are naturally lower. Spring and fall often provide ideal conditions with moderate temperatures and less moisture. Avoid rainy periods when possible, as excess moisture interferes with the proper curing of repair materials. Winter work is possible but requires extra attention to temperature control.
How can I prevent future basement floor problems?
Prevention focuses on moisture control and regular maintenance. I maintain proper drainage around the foundation, ensure good ventilation, and address small issues promptly before they become major problems. Regular inspections help catch problems early, and keeping humidity levels below 60% prevents many moisture-related issues from developing.
Heaving Basement Floors – Canadian Home Inspection Services

Basement Floor Crack Repair
Fixing a Concrete Basement Floor American Dry

Related Posts: