Made to have the physical appearance of natural stained wood floor surfaces, laminate is a bit more affordable, does not have being nailed in place, doesn't require finishing remedies, and it is damage resistant. Realize that you can't end up with a sense of the product; right after it's sent to you, you may realize that it wasn't just what you'd wanted. Don't use abrasives or scouring powdered, polishes, or waxes.
Images about Laying Quick Step Laminate Flooring
Laying Quick Step Laminate Flooring
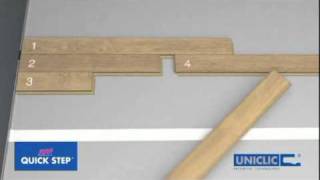
Floating Laminate floors are not attach in your existing floor so that exactly why I mean by is quick and easy. Be certain to never ever use a hammer to strike the side area of the laminate flooring. However, laminate flooring is usually substantially less expensive than stone or hardwood. Laminate flooring is made of a high-density center with an image positioned on the top layer and then sealed with a laminate overlaying.
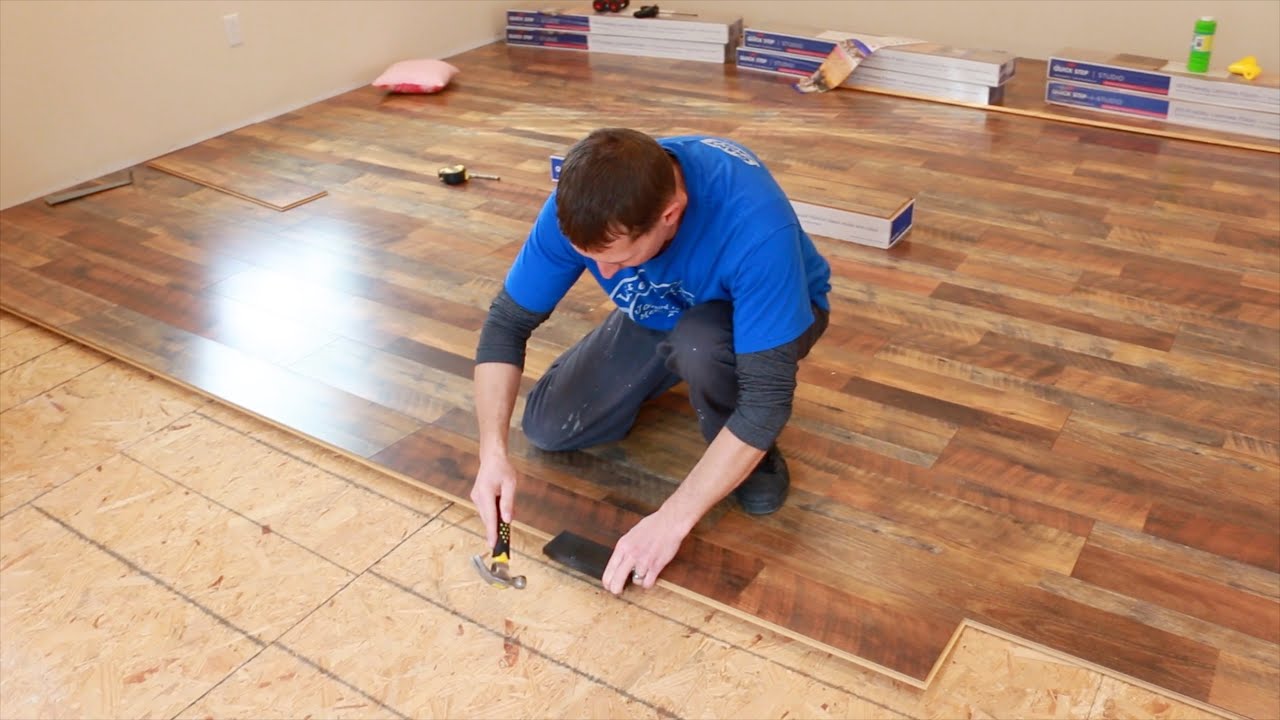
How to install Loweu2019s Quickstep Studio Restoration Oak Laminate Flooring! Awesome Looking and cheap!
Pulling bars are used when you reach the tail end of a row and don't have sufficient space to employ a beating block. The budget friendly as well as durability factors of laminate are unbeatable. This is always a difficult one as a flooring product is only as effective as the installation. Laminate is going to take a shorter time to clean. But, if you've laminates at your home, no importance to be worried about the scratches.
Installing your laminate floor
How do you install a Quick-Step floor?
Quick-Step Laminate Installation Instructions Uniclic – YouTube
How to install Quick Step laminate flooring planks

OnFlooring Quick-Step Uniclic Laminate Flooring – Floating Floor Installation.

How to lay vinyl flooring
Quick-Step Intenso Installation
Installing your laminate floor
How to install a Quick-Step wood floor – floating installation
How to lay flooring part 3: laying locking laminate
QUICK-STEP INSTALLATION SET

Jou0027s House: Quick-Step Stair Installation Process with Stairnose

Related Posts:
- 12mm White Oak Laminate Flooring
- Walnut Laminate Flooring
- Bamboo Laminate Flooring
- Laminate Flooring Trim
- High Gloss Laminate Flooring
- Dark Oak Laminate Flooring
- Dark Wood Laminate Flooring
- Laminate Flooring Color Ideas
- Victorian Laminate Flooring
- Wood Laminate Flooring Bathroom
Introduction
Laying quick step laminate flooring is one of the most popular and cost-effective ways of installing a durable, easy-to-maintain flooring solution. With the right tools and materials, it’s possible to have a beautiful and long-lasting laminate floor in no time. Here we will take a look at some of the steps needed to lay quick step laminate flooring, as well as some helpful tips and FAQs to guide you through the process.
Preparing the Subfloor
The first step in laying quick step laminate flooring is preparing the subfloor. Depending on the type of subfloor, you may need to make some adjustments to ensure that it is level and even. If necessary, use a leveler or self-leveling compound to prepare the subfloor for installation. Once the subfloor is ready, you can begin laying your quick step laminate flooring.
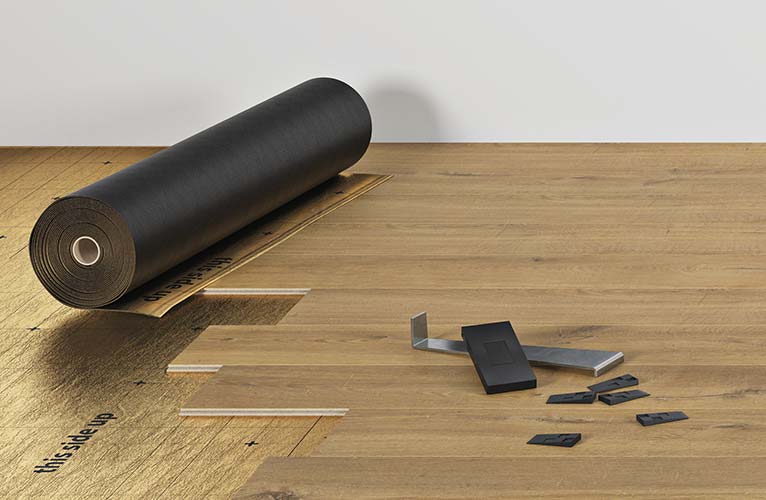
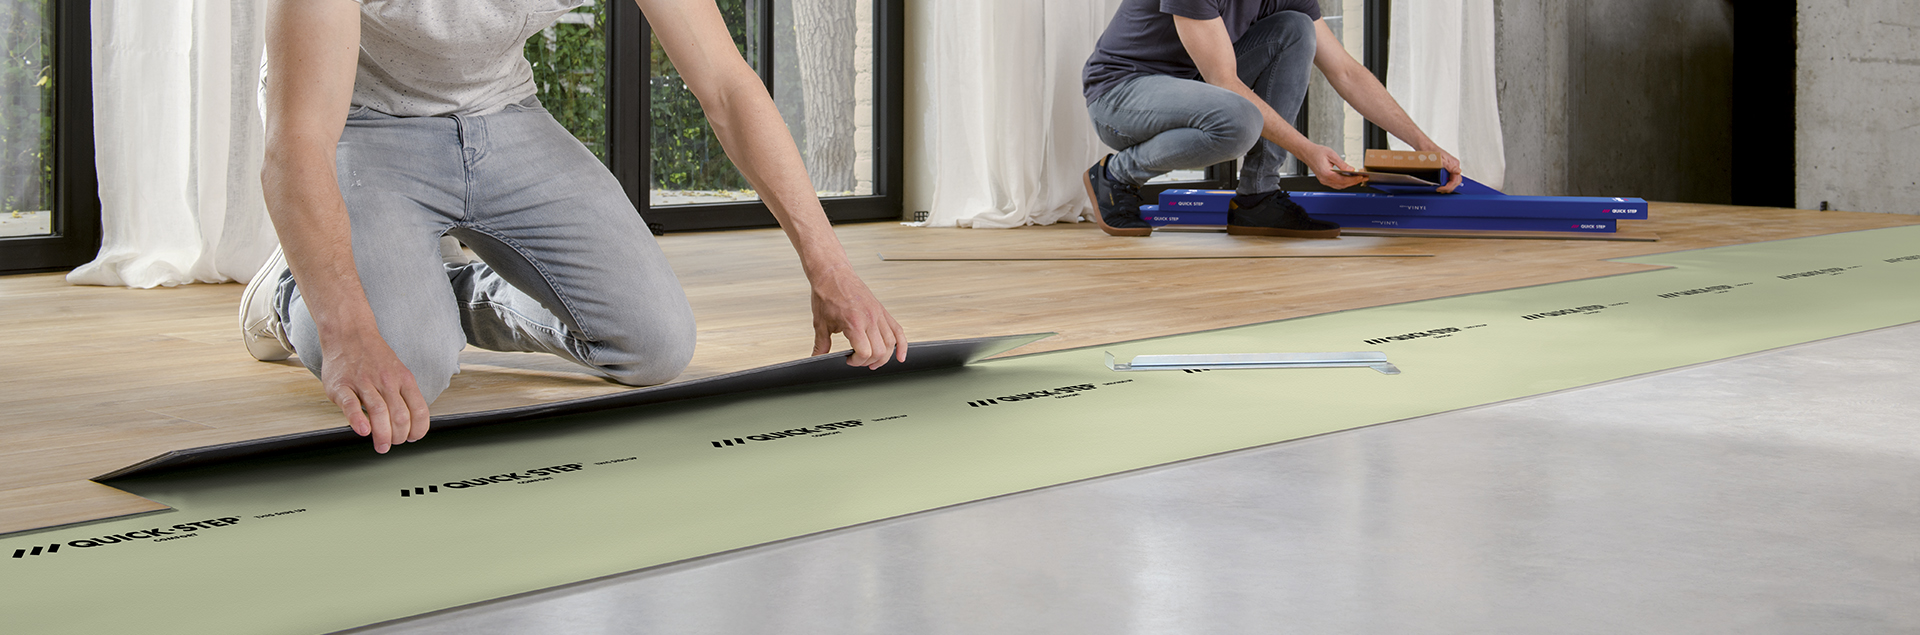
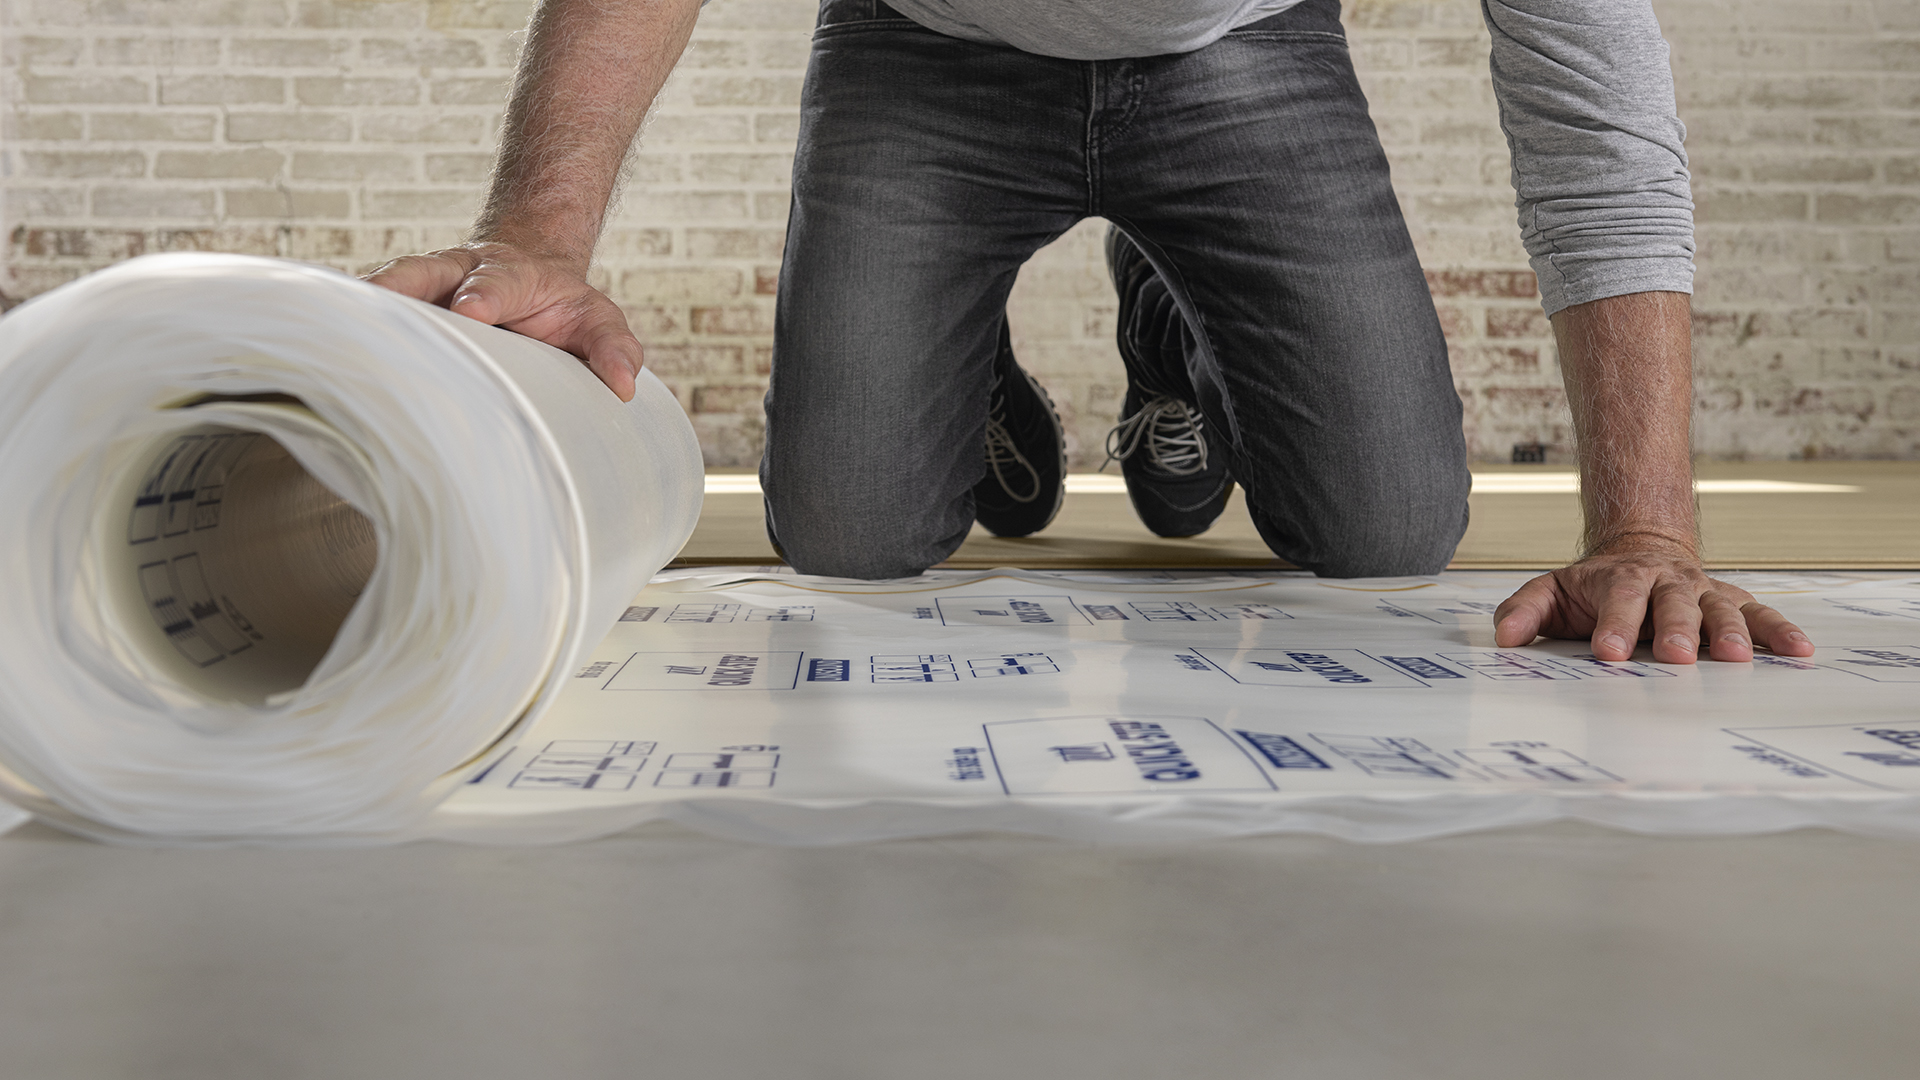
Installing Underlayment
Before laying the laminate floor, you’ll need to install an underlayment. An underlayment helps to protect the surface of the laminate from moisture damage and also provides a cushion for walking comfort. When choosing an underlayment, make sure to select one that is compatible with your chosen type of laminate flooring. It’s also important to provide ample ventilation underneath the underlayment as this will help to prevent moisture from accumulating beneath the floor.
Laying Quick Step Laminate Flooring
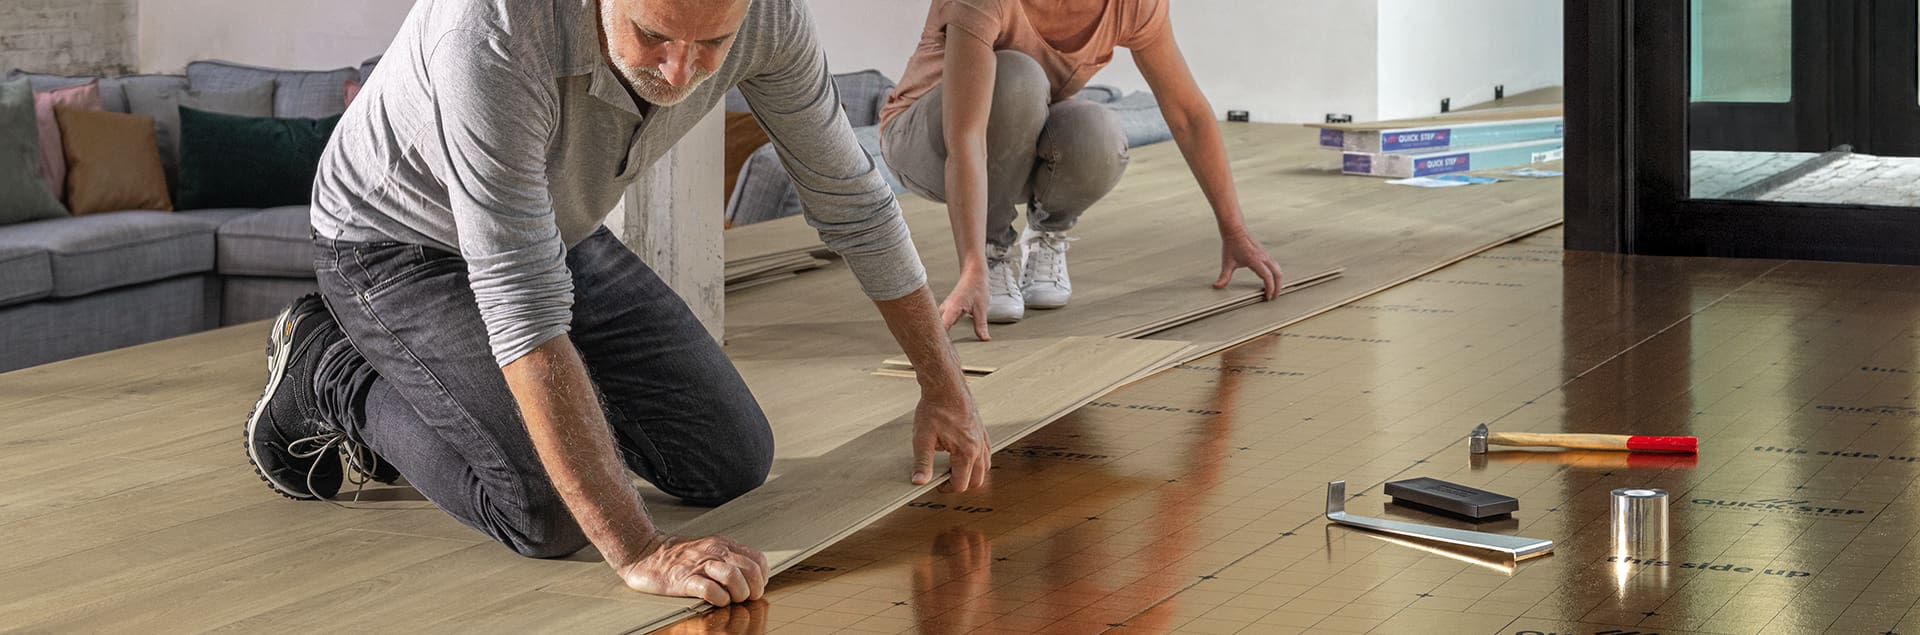
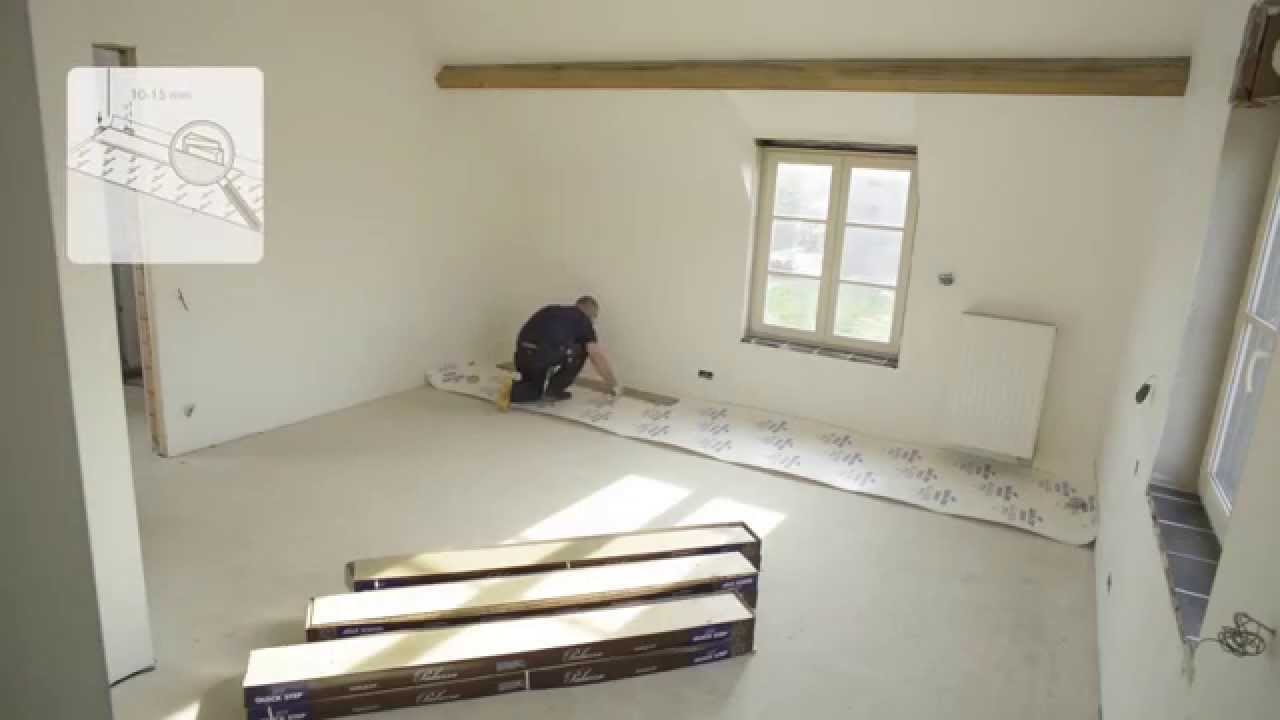
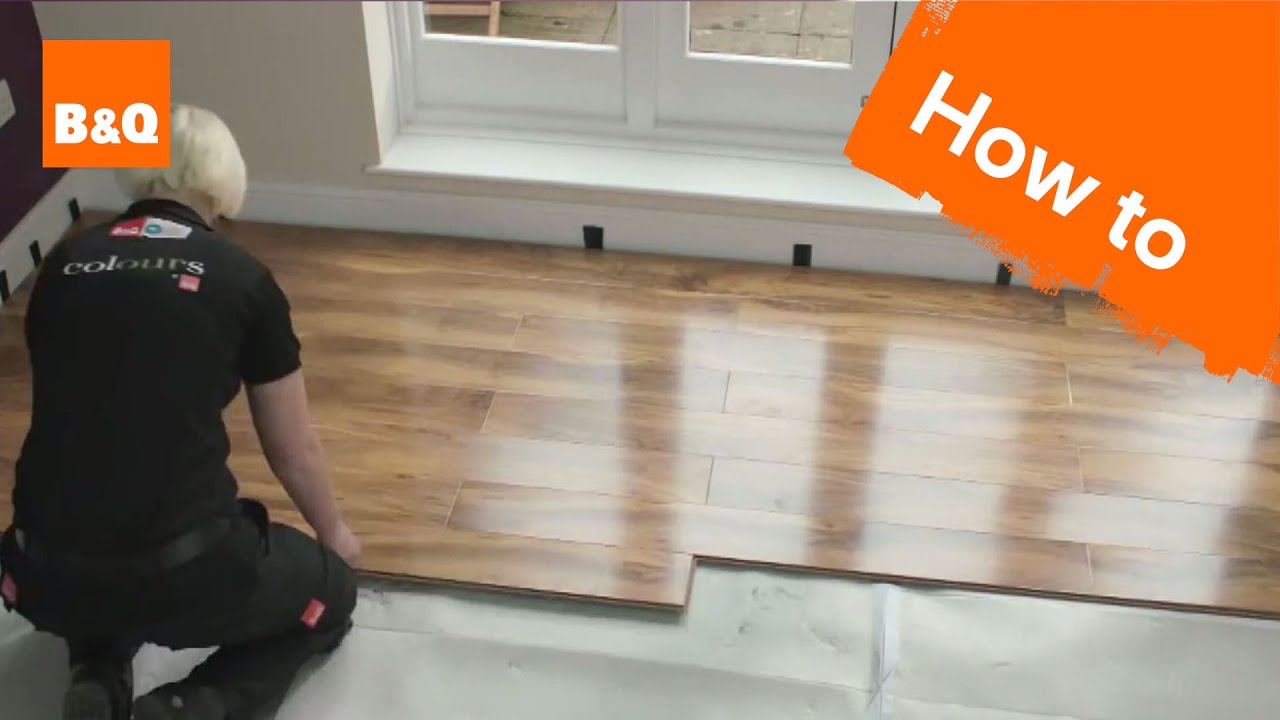
Once you have selected your underlayment, it’s time to start laying your quick step laminate flooring. Begin by laying down the first board along one wall of the room, making sure that it is properly aligned with the wall. You’ll want to leave a small gap between each board for expansion purposes. Continue laying down boards in rows until you reach the opposite wall of the room. To ensure a tight fit between each board, you can use a pull bar or tapping block to carefully tap each board into place. When you reach transitions between rooms or other areas where you will be using different types of flooring, make sure to leave a small expansion gap around these edges as well.
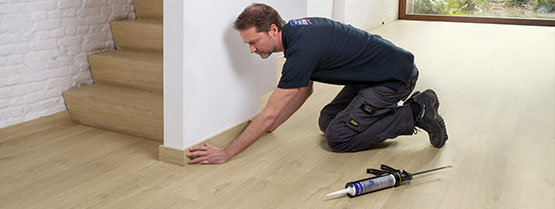
Finishing Touches
When all of the boards have been laid, it’s time for some finishing touches. Start by cutting off any excess pieces along the walls with a jigsaw or circular saw. Then use a trimming knife or scraper to remove any excess glue or debris from between each board. Finally, use a damp mop or cloth to clean up any dust or dirt left behind during installation.
FAQs
Q: How much space should I leave for expansion?
A: Generally speaking, it is recommended to leave at least a 1/4 inch gap around all edges of your laminate flooring for expansion purposes. This will help ensure that your flooring won’t buckle or warp due to temperature changes or other environmental factors.
Q: Can I install quick step laminate flooring over concrete?
A: Yes, quick step laminate flooring can be installed over concrete if certain steps are taken first. First, make sure that the concrete is level and even before you begin installation. Then make sure to use an appropriate underlayment designed for use on concrete surfaces in order to protect your laminate from moisture damage. Lastly, be sure to provide ample ventilation underneath the underlayment in order to prevent moisture from accumulating beneath the floor.
Q: What are some tips for making sure my quick step laminate floor looks great?
A: Here are some tips for ensuring that your quick step laminate floor looks great once installed: Make sure that all boards are properly aligned before tapping them into place; use a pull bar or tapping block when necessary; leave adequate expansion gaps around all edges; cut off any excess pieces along walls with a jigsaw or circular saw; and use a trimming knife or scraper to remove any excess glue or debris from between each board. Following these tips will help ensure that your quick step laminate floor looks great once installed!