When I decided to finish my basement two years ago, I had no idea how crucial the flooring decision would be. What started as a simple project to create extra living space turned into a deep education about moisture management, subfloor preparation, and finding flooring that could handle the unique challenges of below-grade spaces. After extensive research, multiple consultations, and yes, one costly mistake that required complete replacement, I finally found the perfect solution. Let me share what I learned so you can avoid my early missteps and create the basement space of your dreams.
Moisture Management: The Foundation of Basement Flooring Success
Before I even considered flooring options, I had to address the elephant in the room: moisture. My basement had always felt slightly damp, but I didn’t realize how much this would impact my flooring choices until my first attempt failed miserably. I initially installed laminate flooring, thinking it would be fine, only to discover warping and mold growth within six months. That expensive lesson taught me that moisture management isn’t optional in basement renovations.
I invested in a proper vapor barrier system and improved ventilation before my second flooring attempt. This included sealing foundation cracks, installing a dehumidifier, and ensuring proper drainage around my home’s exterior. The moisture testing I did afterward showed humidity levels consistently below 60%, which opened up many more flooring options. This preparation phase cost more upfront, but saved me from future headaches and replacement costs.
The key insight I gained is that basement moisture isn’t just about visible water damage. Even slight humidity can cause problems with certain flooring materials over time. I learned to use a moisture meter on my concrete slab and discovered that readings that seemed acceptable could still cause issues. Professional moisture mitigation became a non-negotiable part of my project, not an optional upgrade.
Luxury Vinyl Plank: My Ultimate Basement Flooring Solution
After my laminate disaster, I researched extensively and landed on luxury vinyl plank flooring, which has been absolutely perfect for my basement environment. The 100% waterproof core construction means I never worry about minor moisture issues, and the realistic wood-look planks give my basement the warm, inviting feel I wanted. I chose a medium-toned oak pattern that brightens up the naturally darker space while hiding any dust or pet hair between cleanings.
The installation process was surprisingly straightforward, even for someone with limited DIY experience like myself. The click-lock system allowed me to install the entire basement over a long weekend, working around existing posts and irregular corners. I appreciated that luxury vinyl plank doesn’t require acclimatization time like hardwood, so I could start installation immediately after delivery. The built-in underlayment also provided sound dampening, which was important since my basement sits directly below our main living areas.
What impressed me most was how comfortable the flooring feels underfoot. Unlike the cold, hard concrete I expected from a basement floor, the luxury vinyl plank has just enough give to make standing and walking comfortable for extended periods. My basement has become our primary entertainment space, and guests consistently comment on how warm and inviting it feels. The flooring plays a huge role in creating that welcoming atmosphere.

Addressing Subfloor Preparation and Concrete Issues
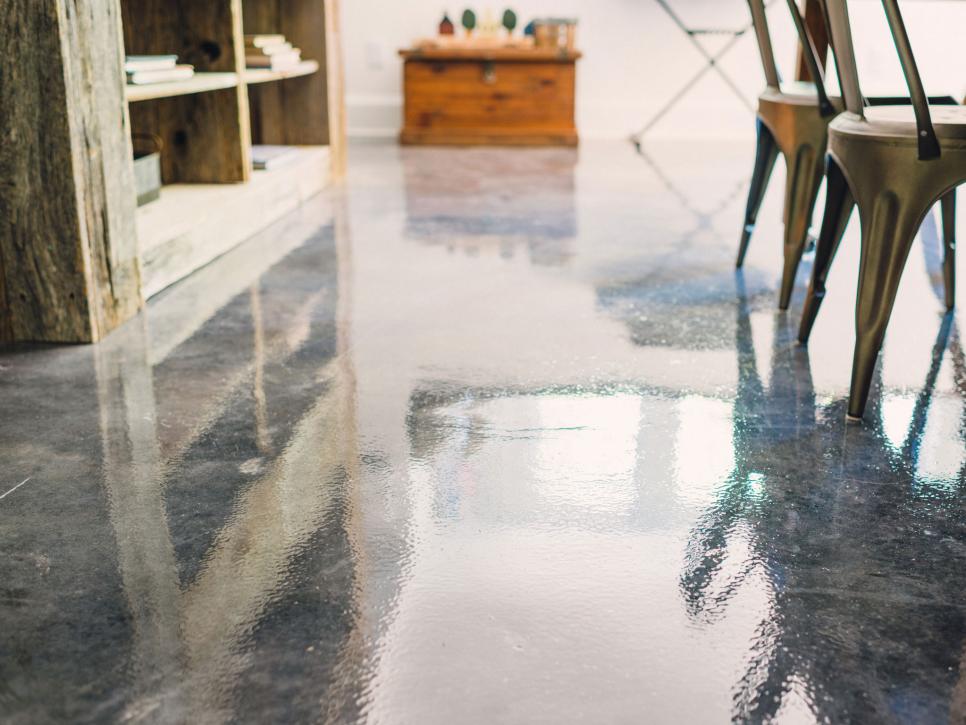
The concrete preparation phase taught me more about construction than I ever expected to learn. My basement floor looked reasonably smooth, but once I started seriously evaluating it for flooring installation, I discovered numerous imperfections that needed addressing. Small cracks, uneven sections, and minor pitting all had to be repaired before I could install any flooring. I learned that what looks acceptable for a storage basement isn’t suitable for a finished living space.
I used a self-leveling compound to address the uneven areas, which was messier and more time-consuming than anticipated. The key was taking time to properly clean and prep the concrete surface first, removing any paint, adhesive residue, or loose debris. I rented a concrete grinder for the worst spots, which was worth every penny for creating a proper foundation. This preparation work took almost as long as the actual flooring installation, but was absolutely crucial for long-term success.
One mistake I almost made was skipping the moisture barrier between the concrete and the flooring. Even with good moisture management, concrete naturally contains moisture that can migrate upward over time. I installed a plastic vapor barrier with sealed seams, which adds insurance against future moisture problems. This relatively inexpensive step provides peace of mind and protects my flooring investment for years to come.

Temperature and Humidity Control Considerations
Living in a climate with significant seasonal temperature swings, I quickly learned that basement temperature and humidity control affect flooring performance dramatically. During my first summer with the new flooring, I noticed slight expansion in areas where air circulation was limited. This taught me that proper HVAC integration isn’t just about comfort; it’s essential for flooring longevity and performance in basement environments.
I installed ceiling fans in key areas to promote air circulation and added return air vents to tie the basement into my home’s central air system. The investment in proper climate control has paid dividends in both comfort and flooring performance. My luxury vinyl plank flooring remains stable year-round now, with no seasonal buckling or gaps that I experienced in poorly ventilated areas before making these improvements.
Humidity control became an ongoing management task rather than a one-time fix. I monitor levels regularly with a digital hygrometer and adjust my dehumidifier settings seasonally. Summer humidity requires more aggressive dehumidification, while winter heating can make the air too dry. Finding that sweet spot between 30-50% humidity has kept my flooring looking and performing like new after two full years of use.

Design Choices That Make Basements Feel Like Real Living Space
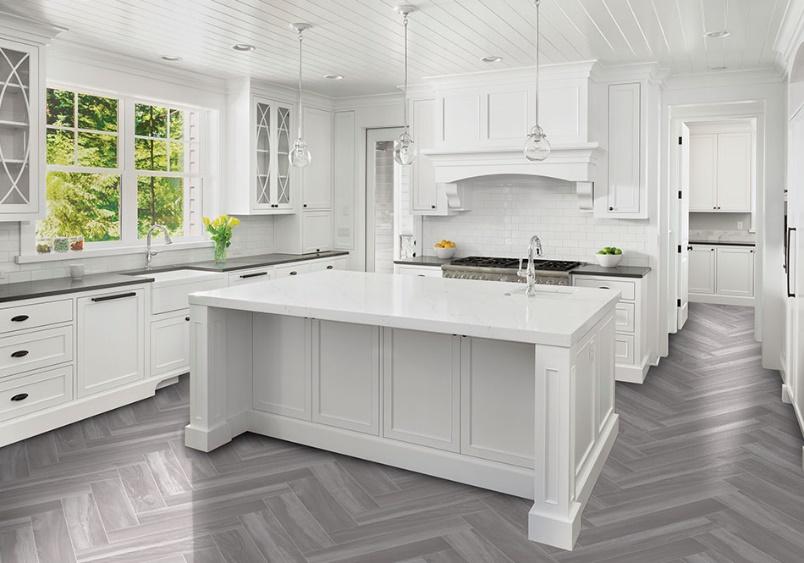
Choosing the right flooring color and pattern made an enormous difference in how my basement feels as a living space rather than just a finished basement. I initially considered darker colors, thinking they would hide dirt better, but lighter tones actually make the space feel larger and brighter. The medium oak pattern I chose strikes the perfect balance, providing visual warmth while reflecting available light to combat the naturally darker basement environment.
The plank direction was another design decision that had more impact than I expected. Running the planks parallel to the longest wall made my rectangular basement feel less tunnel-like and more proportional. I also used the same flooring throughout the entire space rather than trying to define different areas with different materials. This consistency creates visual flow and makes the basement feel like a cohesive living space rather than a collection of separate rooms.
Transition strips between the basement flooring and the stairs required careful consideration to maintain the finished look. I chose matching transition pieces that blend seamlessly with the luxury vinyl plank, creating a polished appearance that doesn’t scream “basement flooring.” These details matter enormously in creating a space that feels intentional and well-designed rather than like an afterthought or storage area conversion.

Long-Term Performance and Maintenance Realities
After two years of daily use as our primary family room, I can honestly report on how basement flooring performs in real-world conditions. My luxury vinyl plank has held up remarkably well to everything from movie nights with popcorn to kids’ art projects and the occasional basement workshop activities. The waterproof construction proved its worth when our water heater developed a minor leak, with no damage to the flooring despite standing water for several hours.
Daily maintenance is refreshingly simple compared to other flooring types I’ve had. Regular sweeping or vacuuming keeps the surface clean, and occasional damp mopping handles any spills or tracked-in dirt. The textured surface of my particular luxury vinyl plank hides minor scratches and wear patterns that would be obvious on smooth flooring. Even areas with heavy foot traffic still look nearly new.
The only maintenance surprise has been dealing with static electricity during the dry winter months, which I never experienced with my previous concrete floors. Adding humidity back into the air during heating season solved this issue completely. Overall, the long-term performance has exceeded my expectations, and I’m confident this flooring will look good for many years to come with minimal ongoing maintenance requirements.

What’s the best flooring for basements with occasional moisture issues?
After my laminate disaster, I chose luxury vinyl plank and couldn’t be happier. The 100% waterproof core handles minor moisture without damage, unlike laminate or hardwood. Even when my water heater leaked, there was no floor damage. Combined with proper moisture management, luxury vinyl has been bulletproof for two years of heavy family use.
How much does quality basement flooring typically cost?
I spent about $3-5 per square foot for luxury vinyl plank, plus installation supplies. Professional installation would have doubled that cost, but DIY was manageable. The moisture barrier, subfloor prep, and humidity control added another $2-3 per square foot. The total project was around $2,500 for 400 square feet, including all prep work.

Can I install basement flooring directly over concrete?
Yes, but proper preparation is crucial. I learned this the hard way with my first attempt. The concrete must be level, clean, and properly sealed. I used self-leveling compound, a moisture barrier, and sealed all cracks. Skipping these steps will cause problems later. The prep work takes time, but prevents costly failures.
How do I handle transitions between basement flooring and stairs?
I used matching transition strips that blend seamlessly with my luxury vinyl plank. The key is maintaining the finished look rather than obvious “basement flooring” transitions. Professional installation might be worth it for complex stair transitions, but simple threshold strips work well for most situations and maintain visual continuity.

Does basement flooring really need special ventilation or climate control?
Absolutely. I added ceiling fans, return air vents, and monitored humidity religiously. Poor air circulation caused expansion issues in some areas initially. Now with proper climate control, the flooring performs perfectly year-round. A dehumidifier is essential, and integrating with your home’s HVAC system makes a huge difference in performance.
What flooring mistakes should I avoid in basement renovations?
Don’t skip moisture testing and mitigation like I initially did. Avoid materials that can’t handle humidity, even if they seem cheaper upfront. Take subfloor preparation seriously; it’s not optional. Don’t rush the project; proper prep takes time but prevents expensive failures. My laminate replacement taught me these lessons the expensive way.

Basement Flooring Ideas – Basement Flooring
The Best Basement Flooring Option for your Renovation
Ideas For Basement Remodel

Complete Basement Renovation and Foyer Remodel

Related Posts: