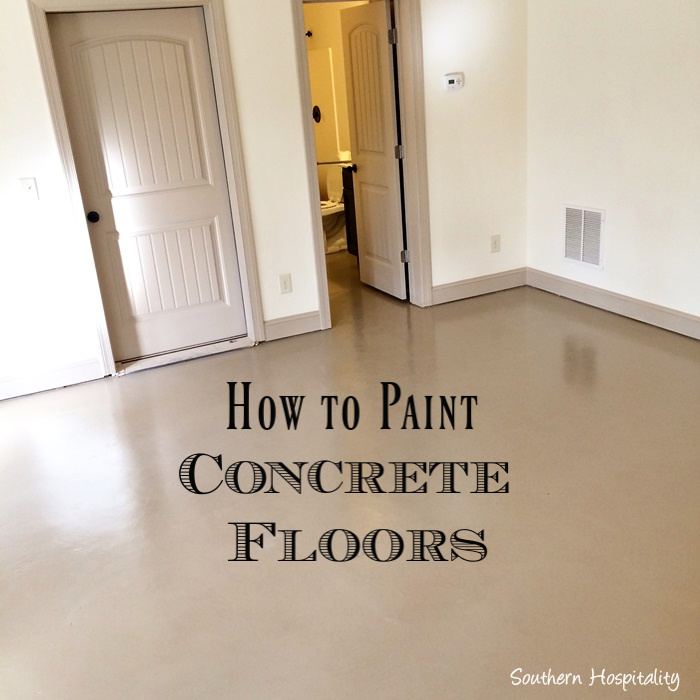
When I moved into my industrial loft apartment three years ago, the bare concrete kitchen floor felt cold and uninviting despite the space’s modern charm. The gray slab showed every spill, footprint, and dust particle, making the kitchen feel more like a warehouse than a place to create meals. After researching countless flooring options that exceeded my budget, I discovered that painting concrete floors could deliver dramatic results at a fraction of the cost. My journey through primer selection, color choices, and application techniques transformed this challenging surface into a beautiful, durable kitchen floor that guests consistently mistake for expensive tile.
Choosing the Right Paint System for Kitchen Concrete
My research revealed that not all concrete paints perform equally in kitchen environments. Standard latex wall paint simply won’t withstand the moisture, temperature changes, and foot traffic that kitchens demand daily. I invested in epoxy-based concrete paint specifically formulated for high-traffic areas, which costs more initially but provides superior adhesion and durability. The chemical resistance became crucial when dealing with cooking spills, grease, and cleaning products that would damage ordinary paint systems.
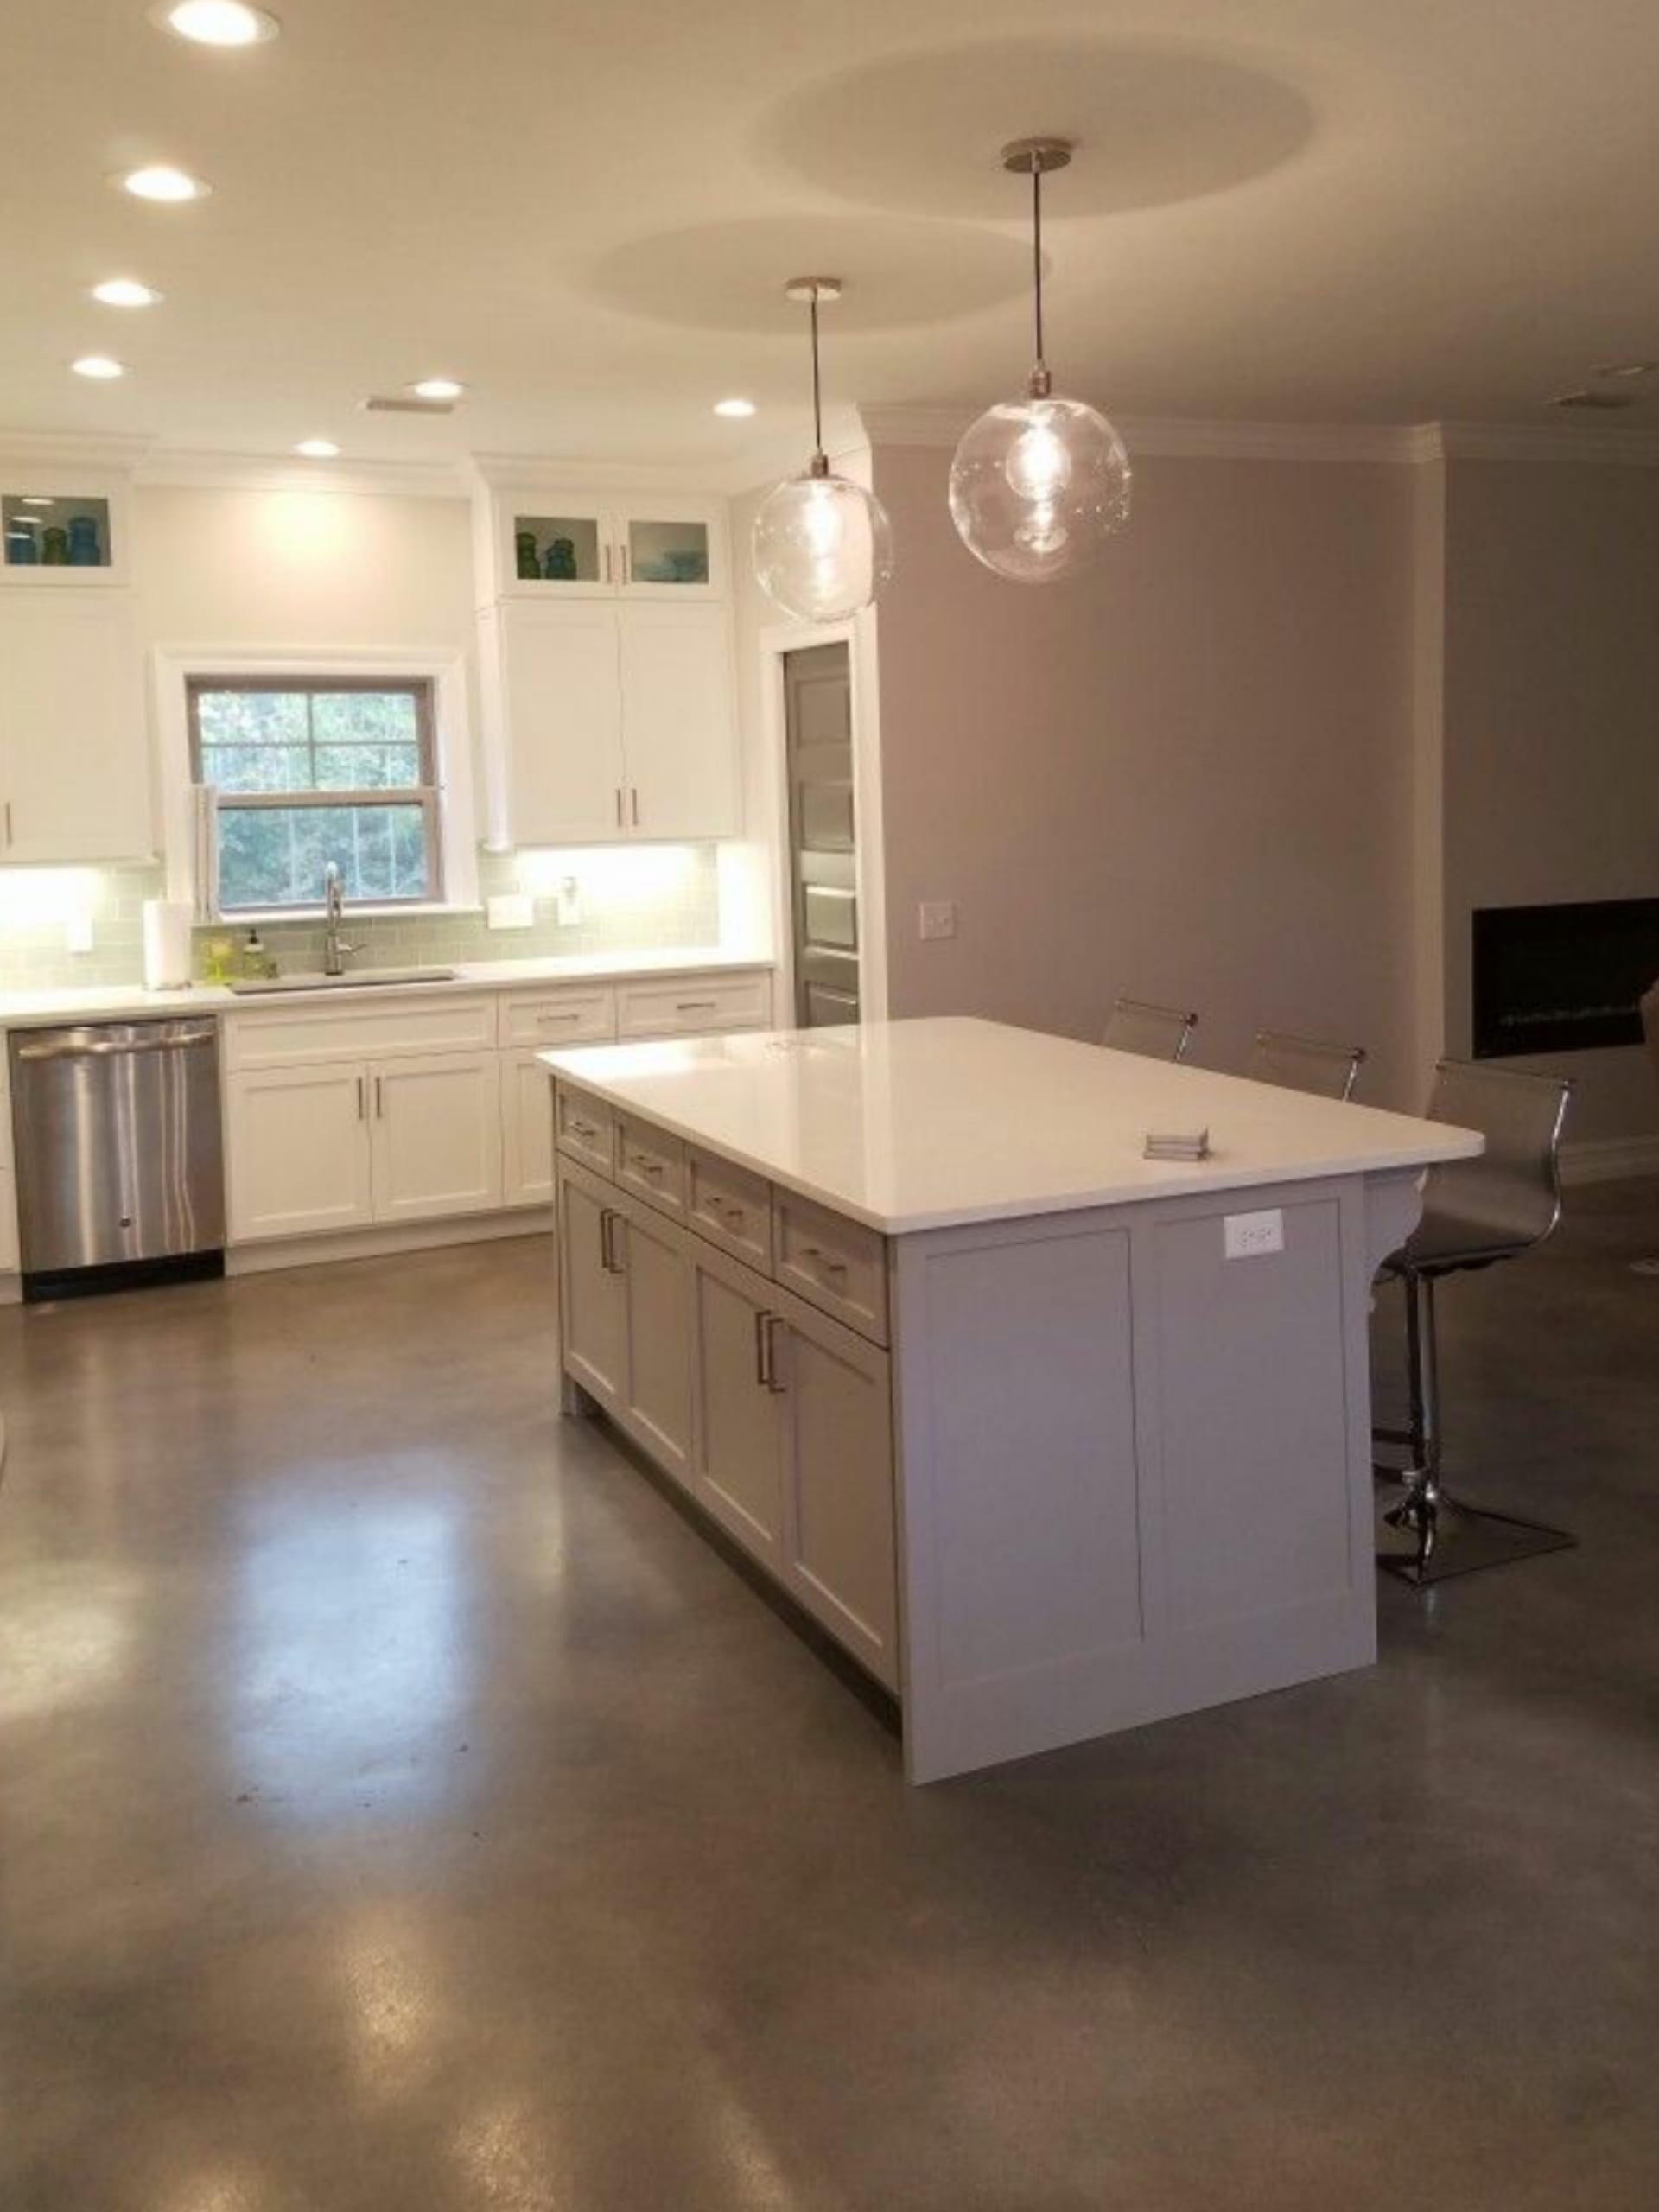
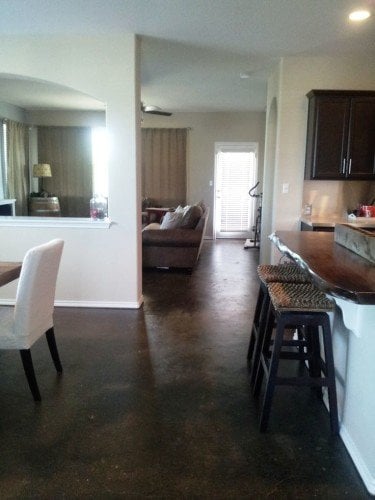
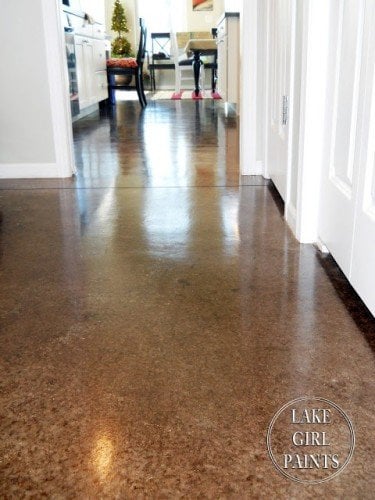
Color selection required careful consideration of both aesthetics and practicality. I initially wanted pristine white to brighten the space, but quickly learned that light colors show every mark and require constant maintenance. Medium gray became my compromise, providing brightness while hiding everyday wear and kitchen mishaps. The color also complemented my stainless steel appliances and white cabinets beautifully, creating a cohesive modern aesthetic that feels intentional rather than budget-driven.
Texture additives transformed my paint choice from purely functional to safely practical. Smooth painted concrete becomes dangerously slippery when wet, a serious concern in kitchens where spills happen frequently. I mixed fine-grit anti-slip additive into my paint, creating a subtle texture that provides excellent traction without feeling rough underfoot. This safety feature proved invaluable during daily cooking activities, especially when dealing with water splashes from the sink or accidental spills.
Surface Preparation and Cleaning Challenges
Concrete preparation consumed far more time than actual painting, but this foundation work determines the project’s ultimate success. I spent two days cleaning oil stains, grease spots, and mysterious marks that had accumulated over the years of kitchen use. Degreasing required multiple applications of concrete cleaner and aggressive scrubbing with stiff brushes. Some stains needed specialized treatments, including muriatic acid for mineral deposits that regular cleaners couldn’t remove effectively.
The concrete etching process proved essential for proper paint adhesion. I used phosphoric acid etching solution to create a microscopic texture that helps paint bond permanently to the smooth concrete surface. This step requires careful handling with protective equipment, proper ventilation, and thorough neutralization afterward. Skipping etching leads to paint failure within months, as I learned from online horror stories that motivated my careful attention to this crucial step.
Moisture testing revealed hidden problems that could have ruined my paint job. Concrete slabs can retain moisture for months after construction, and painting over damp concrete causes bubbling and peeling. I used plastic sheeting taped to the floor for 24-hour moisture tests, checking for condensation that indicates high moisture levels. Fortunately, my slab tested dry, but this verification prevented potential disasters that would have required complete paint removal and reapplication.

Application Techniques and Timing Strategies
Temperature and humidity control became critical factors for successful paint application. I monitored weather patterns for a stable period between 60-80°F with low humidity, as extreme conditions affect paint flow and curing. My first attempt during a humid summer week resulted in slow drying and surface texture problems that required sanding and reapplication. Planning projects during optimal weather conditions saves time and ensures professional-looking results.
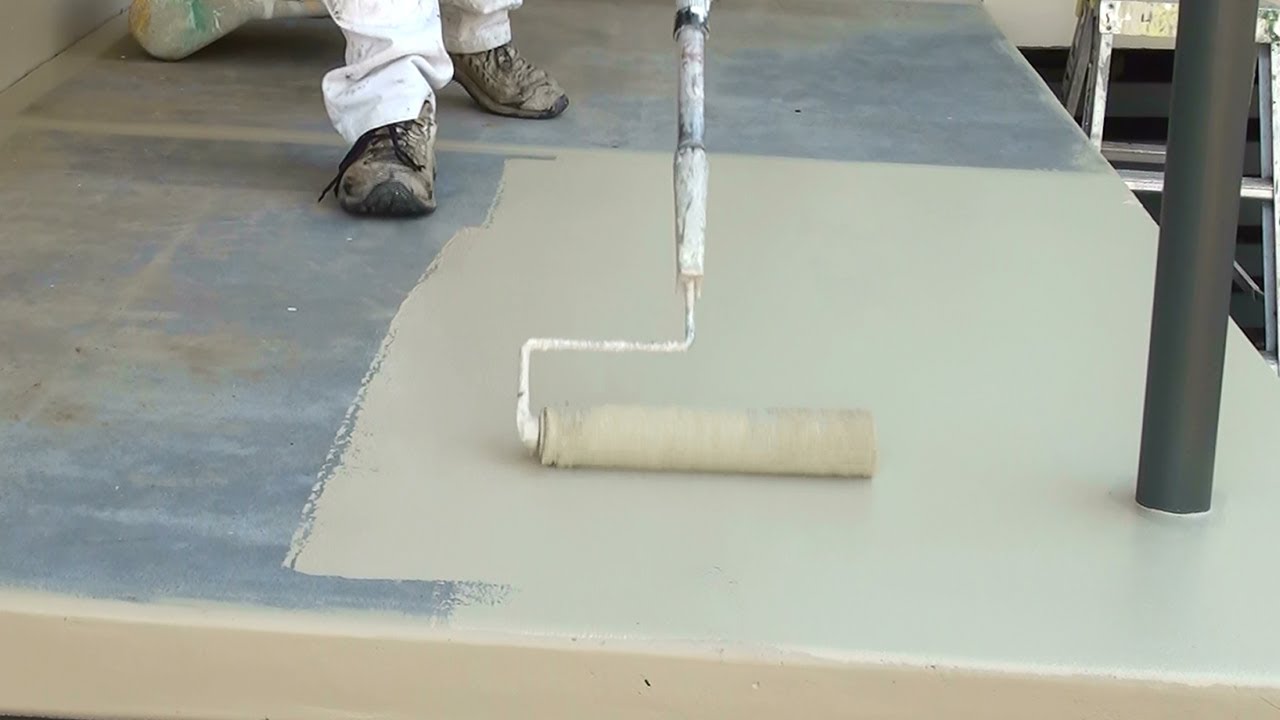
The primer application required specific techniques for concrete surfaces. I used a high-quality concrete primer applied with a textured roller designed for rough surfaces. The primer soaked into the concrete, creating the essential bond layer for subsequent paint coats. Working in small sections prevented lap marks while ensuring complete coverage of every pore and texture variation. The primer coat revealed areas needing additional cleaning or repair work.
Paint application demanded patience and proper technique to achieve smooth, even coverage. I used cross-rolling methods, applying paint in one direction, then rolling perpendicular to eliminate streaks and ensure complete coverage. Multiple thin coats outperformed single thick applications, providing better adhesion and more uniform appearance. The final coat required careful attention to maintain wet edges and avoid overlapping marks that would show after drying.
Living with Painted Concrete Kitchen Floors
Daily performance exceeded my expectations after 18 months of normal kitchen use. The painted surface handles spills, dropped utensils, and heavy foot traffic without showing significant wear or damage. Cleaning became dramatically easier compared to bare concrete, as the sealed surface releases dirt and stains readily. Weekly mopping with standard floor cleaners maintains the appearance, while the non-porous surface resists staining from cooking accidents and everyday kitchen activities.
Comfort levels improved significantly over bare concrete, though the surface remains firm underfoot. The painted floor feels warmer than raw concrete and provides a slight cushioning compared to the original hard surface. I use anti-fatigue mats during extended cooking sessions for additional comfort. The painted surface maintains a moderate temperature year-round, neither uncomfortably cold in winter nor hot during summer months, contributing to overall kitchen comfort.
Durability testing happened naturally through daily kitchen activities. Heavy pot drops, appliance movements, and chair scraping haven’t caused chips or significant damage to the painted surface. The anti-slip texture remains effective even when wet, providing consistent traction during kitchen activities. Minor scuffs from furniture movement blend into the overall texture, while the medium gray color hides most marks effectively. This real-world performance validates my investment in quality materials and proper application.
Maintenance and Long-Term Care
Daily maintenance involves simple sweeping and spot cleaning as needed, similar to any kitchen floor. The painted surface releases debris easily, making cleanup quick and efficient. I keep microfiber cloths handy for immediate spill cleanup, preventing stains from setting into the paint. Weekly mopping with pH-neutral cleaners maintains the surface without damaging the paint coating. This routine takes minimal time while keeping the floor looking fresh and clean.
Annual deep cleaning includes degreasing and inspection for any damage or wear patterns. I use concrete degreasers sparingly to remove any accumulated cooking residue without damaging the paint. Touch-up work becomes necessary in high-traffic areas after 2-3 years, but proper initial application minimizes these requirements. I maintain extra paint for touch-ups, stored properly to prevent deterioration that would create color-matching problems.
Long-term care planning includes monitoring for signs of wear or adhesion problems. I inspect the floor monthly for any chips, bubbles, or peeling that indicate potential problems. Early intervention prevents minor issues from becoming major repairs requiring complete repainting. The painted surface should last 5-7 years with proper care, making this an excellent long-term flooring solution for budget-conscious homeowners seeking dramatic improvements.
Cost Analysis and Value Comparison
My concrete painting project cost $280 for a 150 square foot kitchen, including primer, paint, and necessary supplies. This price point falls significantly below ceramic tile, luxury vinyl, or hardwood alternatives while delivering comparable visual impact. Labor costs remained minimal as a DIY project, though professional application would add $3-5 per square foot. The dramatic transformation justified every dollar spent, especially considering the alternatives’ much higher costs.
Time investment included three days of preparation and application, spread over a week to allow proper drying between coats. This schedule worked well with my availability, though the project could be accelerated with additional help. The time investment compares favorably to other flooring options that require professional installation and longer completion times. DIY capability makes this project accessible to homeowners with basic skills and tools.
Value analysis shows excellent return on investment through improved aesthetics, easier maintenance, and increased home value. The painted floor photographs beautifully, enhancing the kitchen’s overall appearance significantly. Real estate professionals confirm that updated kitchen floors add value, even budget-friendly improvements like painted concrete. The professional appearance suggests higher-end flooring without the associated costs, providing maximum impact for minimal investment.
How long does painted concrete kitchen flooring typically last under normal use?
Painted concrete floors last 5-7 years in kitchen environments with proper preparation and quality materials. My 18-month experience shows excellent durability with heavy daily use, including cooking, cleaning, and entertaining. High-traffic areas may show wear sooner, requiring touch-ups every 2-3 years. The key factors are thorough surface preparation, quality paint selection, and proper application technique. Regular maintenance extends lifespan significantly compared to neglected surfaces that deteriorate quickly.
Can painted concrete floors handle kitchen moisture and spills effectively?
Quality concrete paint creates an effective moisture barrier when properly applied over prepared surfaces. I’ve experienced numerous spills without damage, provided cleanup happens promptly. The sealed surface resists water penetration and staining from most kitchen accidents. However, standing water or prolonged exposure can cause problems with any paint system. Steam from cooking and dishwashing stays within acceptable limits for properly applied concrete paint systems.

Is painted concrete slippery when wet, creating safety hazards in kitchens?
Smooth painted concrete becomes dangerously slippery when wet, but anti-slip additives solve this problem effectively. I mixed fine-grit texture additive into my paint, creating safe traction without sacrificing appearance or cleaning ease. The textured surface provides excellent grip even when wet from spills or cleaning activities. This safety feature is essential for kitchen applications where water and cooking spills occur frequently throughout daily activities.
How does painted concrete compare to other budget-friendly kitchen flooring options?
Painted concrete offers superior durability and customization compared to peel-and-stick tiles or basic vinyl flooring. The cost falls between these budget options and mid-range alternatives like ceramic tile. Unlike temporary solutions, painted concrete provides long-term performance with proper application. The ability to choose any color and add texture makes it more versatile than limited commercial options. Professional appearance rivals expensive flooring at a fraction of the cost.
What are the main disadvantages of painted concrete kitchen floors?
Primary disadvantages include the hard surface that can be tiring during extended standing and the potential for chips from heavy impact. The painted surface requires touch-ups every few years in high-traffic areas. Color options are limited compared to tile or hardwood, and repairs can be challenging if damage occurs. The industrial appearance may not suit all decorating styles or buyer preferences. These limitations are manageable with realistic expectations and proper planning.
Can I apply painted concrete over existing kitchen flooring materials?
Painted concrete works best on clean, bare concrete surfaces rather than over existing flooring materials. Removing old flooring ensures proper adhesion and prevents problems with height transitions and underlying materials. I recommend the complete removal of previous flooring for optimal results. Attempting to paint over existing materials often leads to adhesion failures and premature wear. The investment in proper surface preparation pays dividends through superior performance and longevity of the painted surface.

Painted Concrete Floors, Concrete Floor Paint; Tutorial & Videos
PAINTED WOODEN FLOORS

Concrete Floor Paint Colors – Indoor and Outdoor

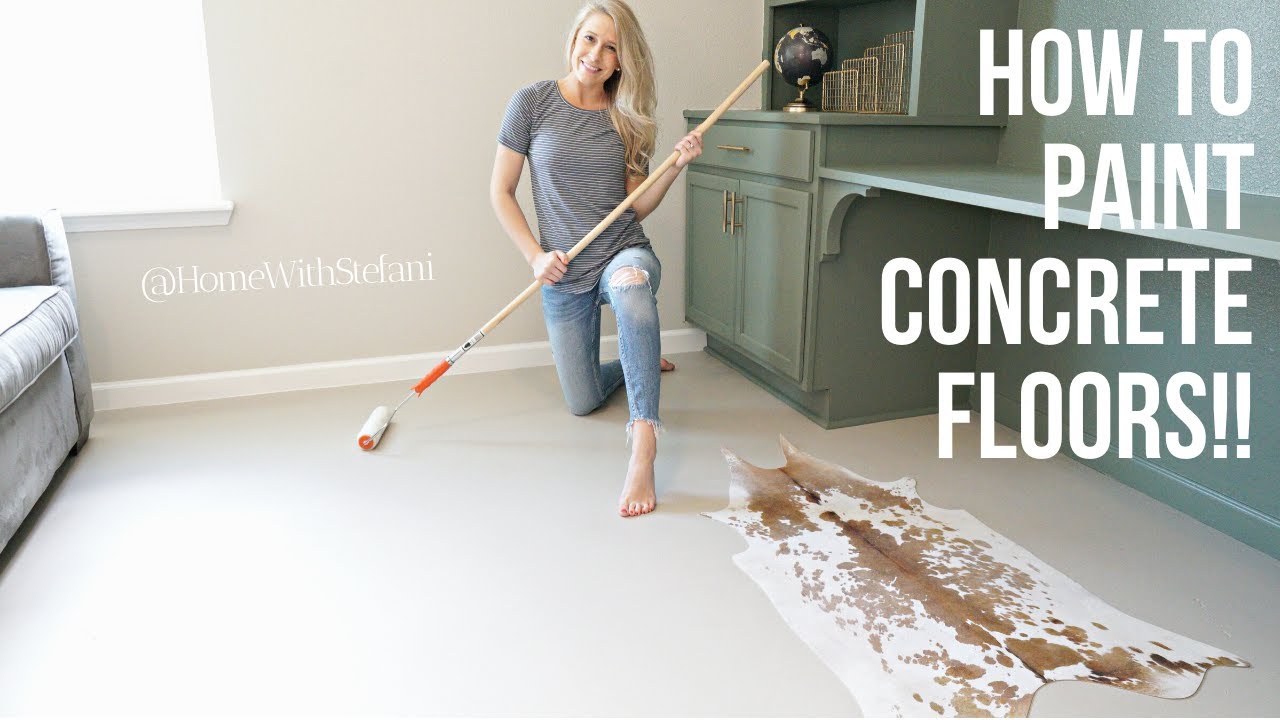
How to paint a concrete floor – Step by step guide on how to paint concrete floors.
Related Posts: