When I first moved into my present house three years ago, the antiquated vinyl flooring in my kitchen and bathroom made me groan every morning. The faded flower patterns screamed 1980s, and replacement was financially unfeasible at the time. After exploring cost-effective alternatives, I realized that painting vinyl flooring might entirely convert these spaces for less than $200. This DIY trip taught me vital lessons about surface preparation, product selection, and technique, which I’m eager to share with other budget-conscious homeowners.
Checking Your Vinyl Flooring for Paint Compatibility
My first step was to meticulously examine the current vinyl to see if painting was doable. I looked for loose edges, tears, or noticeable wear patterns that would impact paint adhesion. Despite its age, the kitchen vinyl was in good condition, however, the bathroom had a few minor tears near the tub that needed to be patched before starting. I discovered that smooth, unbroken vinyl surfaces receive paint more readily than strongly textured or damaged sections, which present application issues.
Testing different regions helped me learn how different types of vinyl react to paint preparation. The kitchen had sheet vinyl with a slightly glossy appearance, whilst the bathroom included individual tiles with a deeper texture. I noticed that glossier surfaces require more vigorous sanding to achieve the correct grit for primer application. I scuffed small test areas with 120-grit sandpaper to observe how the material responded before moving on with the job.
Moisture factors become critical when selecting bathroom vinyl during painting. I looked for evidence of water damage or mold behind loose portions and discovered small issues near the toilet foundation that needed to be addressed first. Most of the vinyl adhesive was still in place, indicating that the subfloor was sturdy. Understanding these underlying flaws averted further paint failure and ensured that my investment would last for years, not months.
Key Tools and Materials for Success
My shopping list included specialist primers developed for slick surfaces, which were critical for optimal paint adhesion. I chose Zinsser Bulls Eye 1-2-3 primer after reading reviews and speaking with paint store specialists about vinyl applications. The floor paint choices necessitated careful consideration of durability and finish alternatives. I chose Benjamin Moore Floor and Patio Paint in a semi-gloss finish for easy cleaning and moisture resistance in kitchen and bathroom applications.
Quality brushes and rollers improved my outcomes as compared to the cheaper alternatives I had explored. I purchased a high-density foam roller for smooth primer application and synthetic brushes for cutting edges around cabinets and fixtures. Baseboards were protected with painter’s tape meant for fragile surfaces, which did not damage the existing finishes. Drop cloths covered everything within ten feet of my work area since paint splatter travels more than intended during roller application.
Additional supplies included degreasing cleaner, fine-grit sandpaper, and patching compound for minor vinyl repairs. During the preparation phase, I purchased plastic sheeting to keep dust and smells from entering adjacent rooms. A good headlamp was extremely useful for verifying the covering quality under cabinets and in corners where overhead lights cast shadows. Having backup supplies reduced project delays when I misjudged coverage rates or required touch-ups after the initial application.
The Step-by-Step Preparation Process I Used
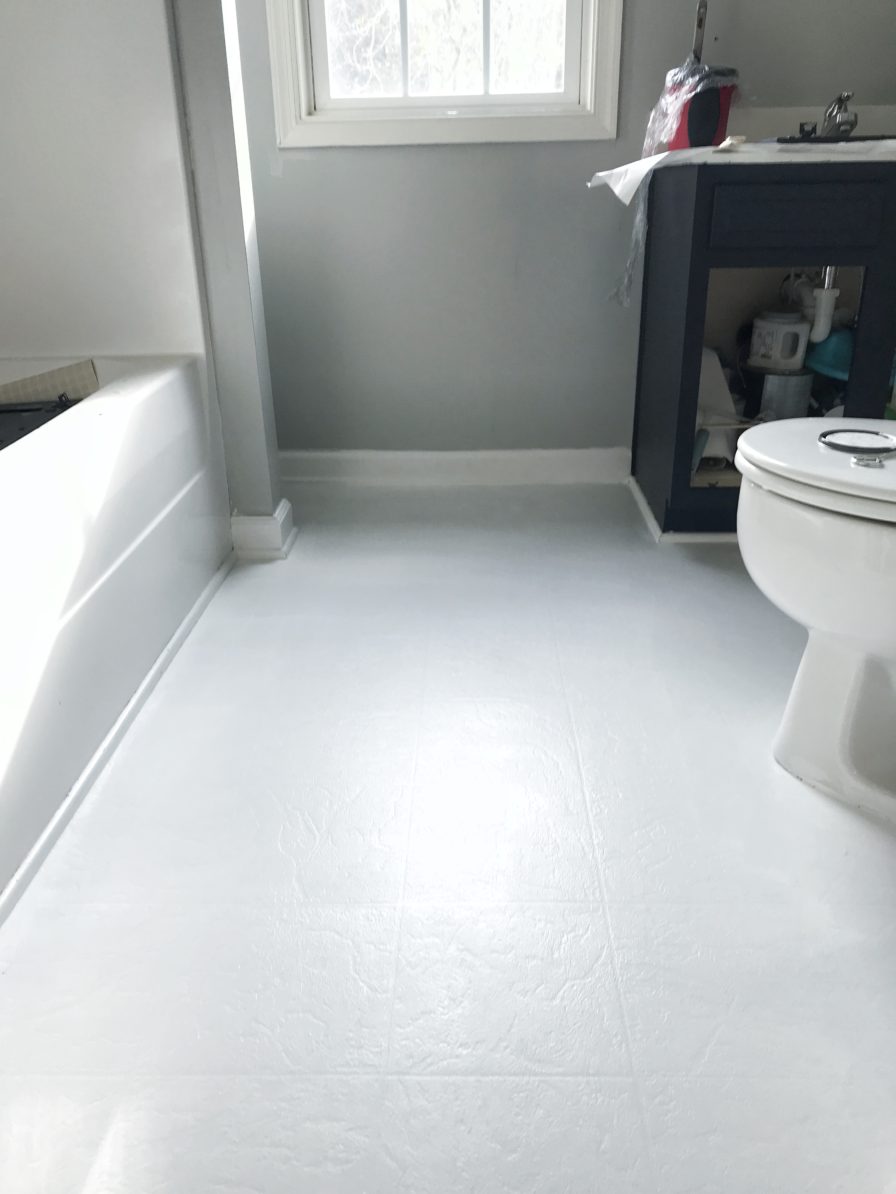
Prior to applying primer to the vinyl surface, I became obsessed with deep cleaning. I used TSP replacement to remove years of grease buildup, particularly near the stove where cooking oils had formed an invisible layer. Every square inch was scrubbed with scrub brushes and clean rags until the water flowed clear during the final rinses. This cleaning procedure took longer than anticipated but was critical for appropriate paint adhesion that would withstand everyday wear and cleaning practices.
Sanding the entire surface produced the mechanical bond required for primer adhesion to smooth vinyl. I used 120-grit sandpaper on a pole sander to keep the pressure steady and avoid gouges or deep scratches. The goal was to create uniform scuffing instead than removing material, which required patience and attention to detail. I vacuumed properly in between sanding operations to keep dust from interfering with the primer and paint coats.
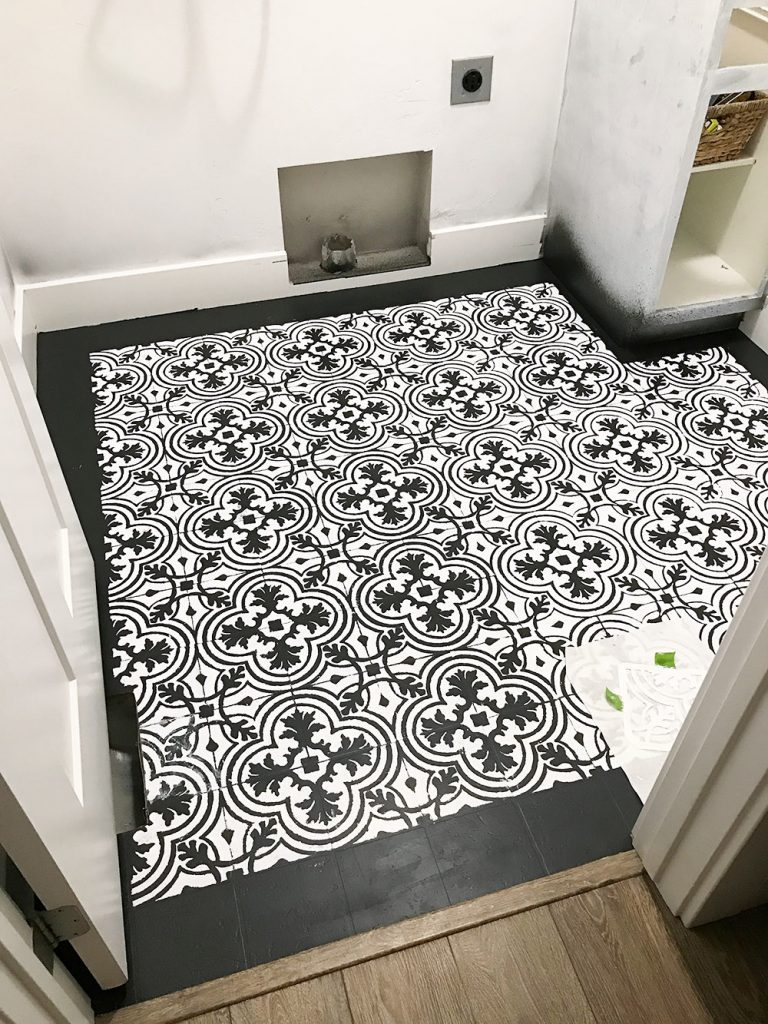
Patching damaged areas needed a tight match to the surrounding surface texture. For larger tears and holes, I used auto body filler and sanded it smooth once cured to mix in with the adjacent vinyl. Small spaces along the edges were caulked with paintable acrylic caulk to prevent moisture ingress. Taping off walls, cabinets, and fixtures took a long time, but the results were professional-looking, making the extra effort worthwhile at the final reveal.

Priming Techniques for Long-lasting Adhesion
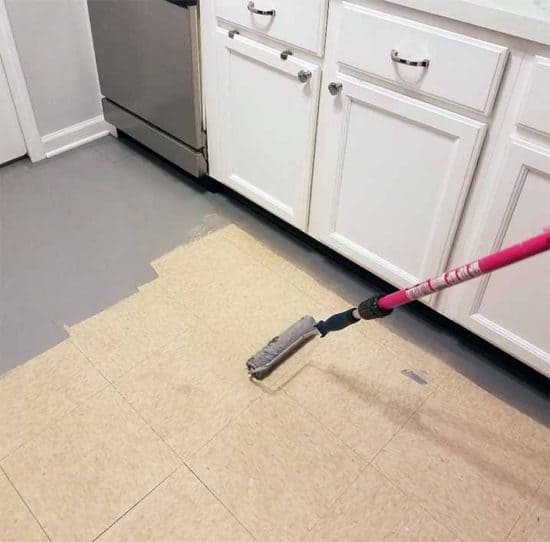
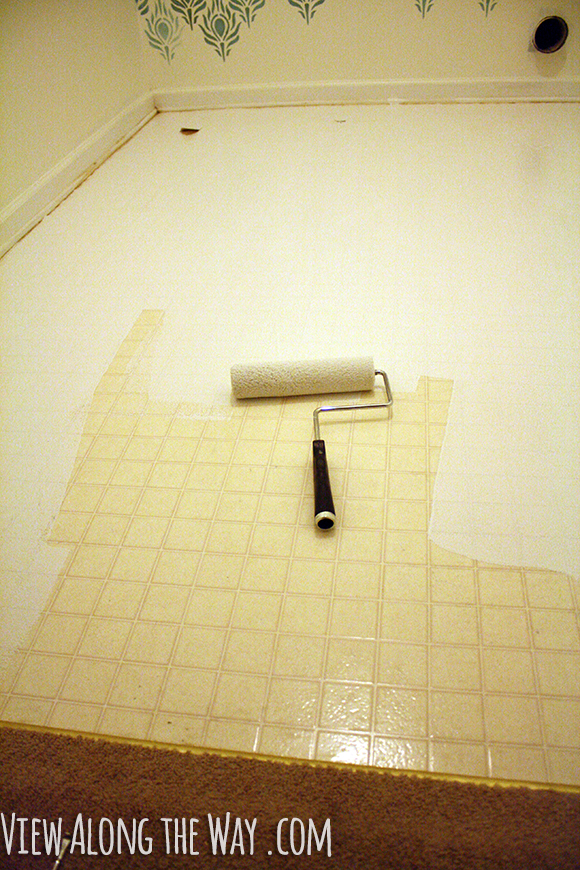
My primer application method centered on thin, even coats rather than attempting to attain full coverage in a single pass. I discovered that thick primer layers cause adhesion issues and require longer drying times, complicating the painting timetable. Using a high-quality roller with an appropriate nap length helped to prevent bubbles and texture concerns from telegraphing through the finished paint layers. Working in small pieces allowed me to keep wet edges while avoiding overlap marks.
Temperature and humidity control became crucial aspects that I had not previously considered for successful priming. I noticed that cool, wet circumstances dramatically lengthened drying times, whereas hot, dry air caused primer to peel over before penetrating fully. Using fans to circulate air helped keep conditions consistent during the multi-day operation. I learned to evaluate weather forecasts and schedule application timing based on ideal environmental conditions for best results.
The primer curing procedure required patience, which tested my urge to see results. Following the manufacturer’s guidelines for recoat schedule averted adhesion failures that may jeopardize the entire project. I performed a fingernail test to assure appropriate cure before adding paint, pressing forcefully to ensure the primer had adhered securely to the vinyl substrate. This focus on timing nuances meant the difference between professional outcomes and early paint failure.
Paint Application Techniques for Professional Results
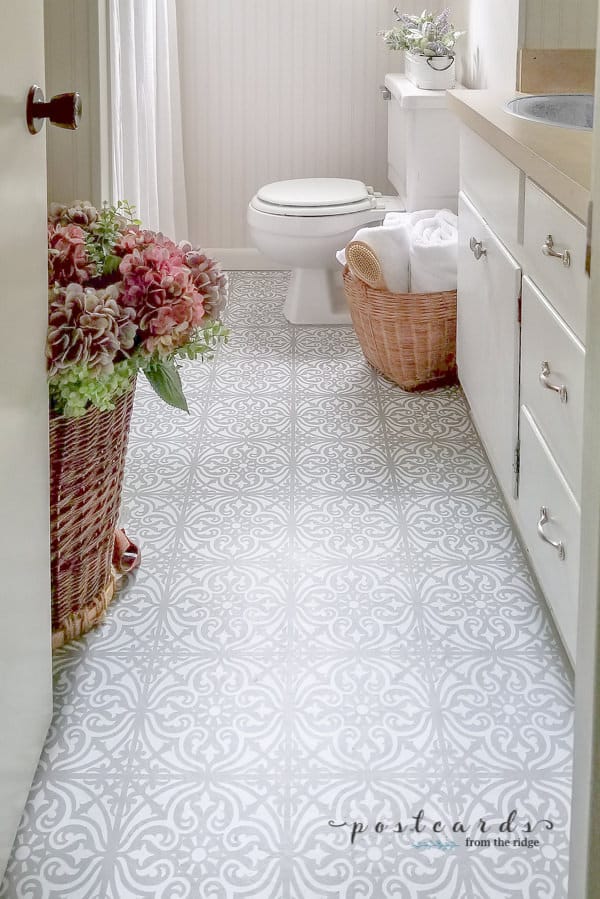
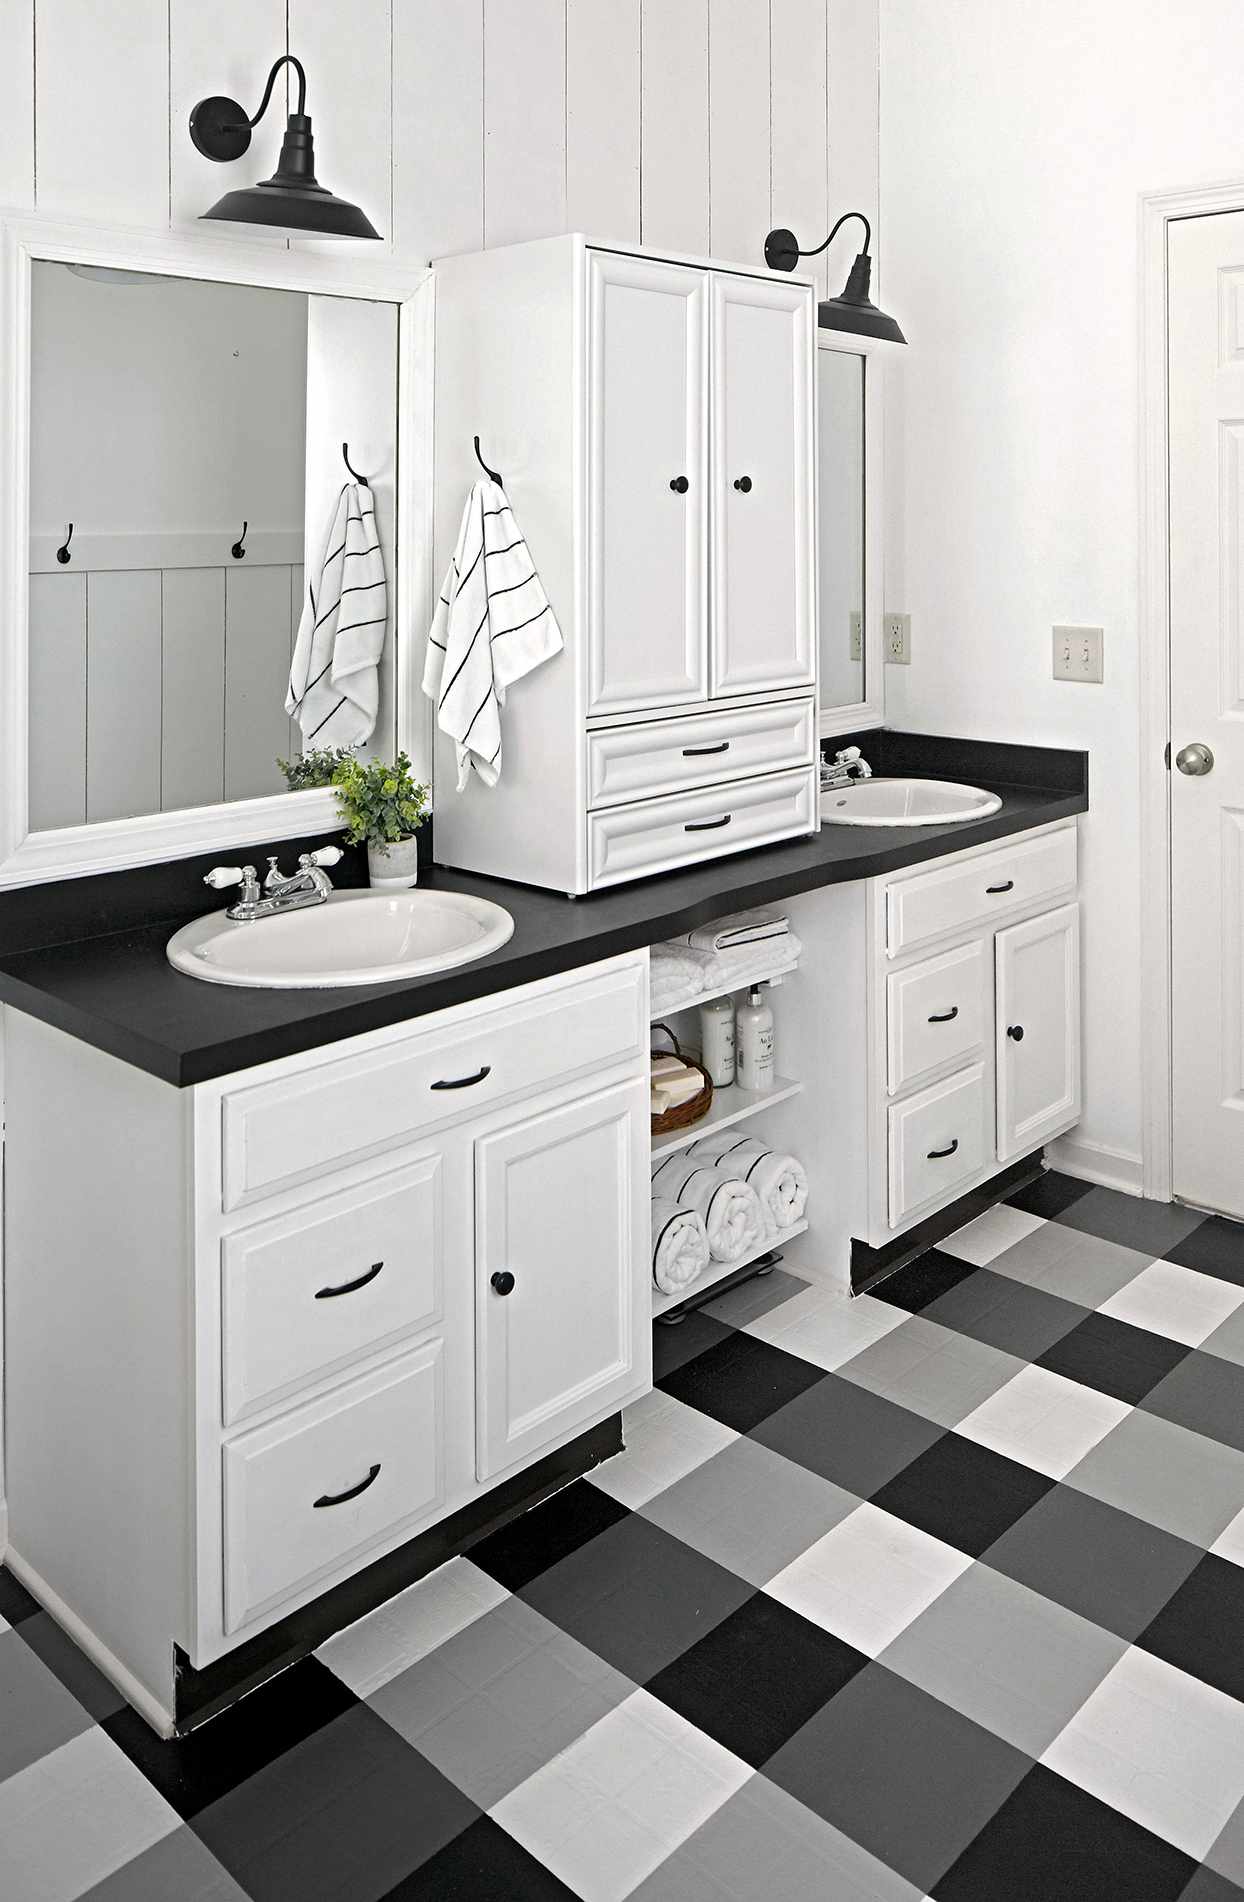
Throughout the project, I experimented with several paint application techniques. I began by brush cutting-in around all corners and fixtures, ensuring wet edges by working swiftly in small areas. To achieve uniform covering while avoiding textural variances, the roller work required steady pressure and overlapping patterns. I observed that keeping the same rolling direction in each section eliminated small pattern variances that appeared under certain lighting situations.
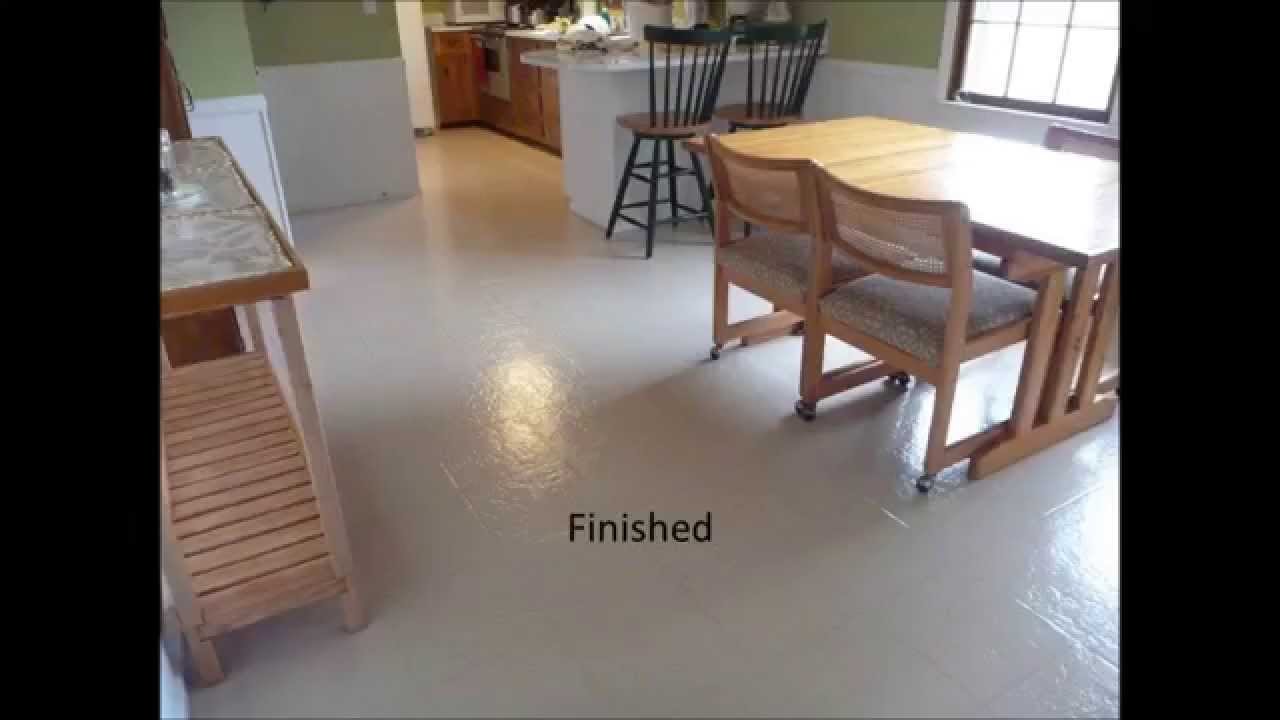
Multiple thin coats yielded significantly better results than attempting full coverage in fewer applications. I used three coats in total, giving adequate drying time between each layer to increase depth and longevity. The second coat revealed spots where primer application was insufficient, necessitating touch-ups before proceeding. This meticulous approach took longer, but resulted in a finish that appeared professionally applied rather than obvious DIY labor.
Quality control inspections between coatings helped discover issues while repairs were still possible. I used powerful work lights positioned at various angles to highlight missing locations, brush marks, and roller texture concerns. Small foam brushes enabled for accurate touch-ups in corners and around fixtures that rollers couldn’t reach efficiently. This attention to precision during application eliminated the need for major repairs once the final layer had fully set.
Maintenance Advice and Long-Term Performance Expectations
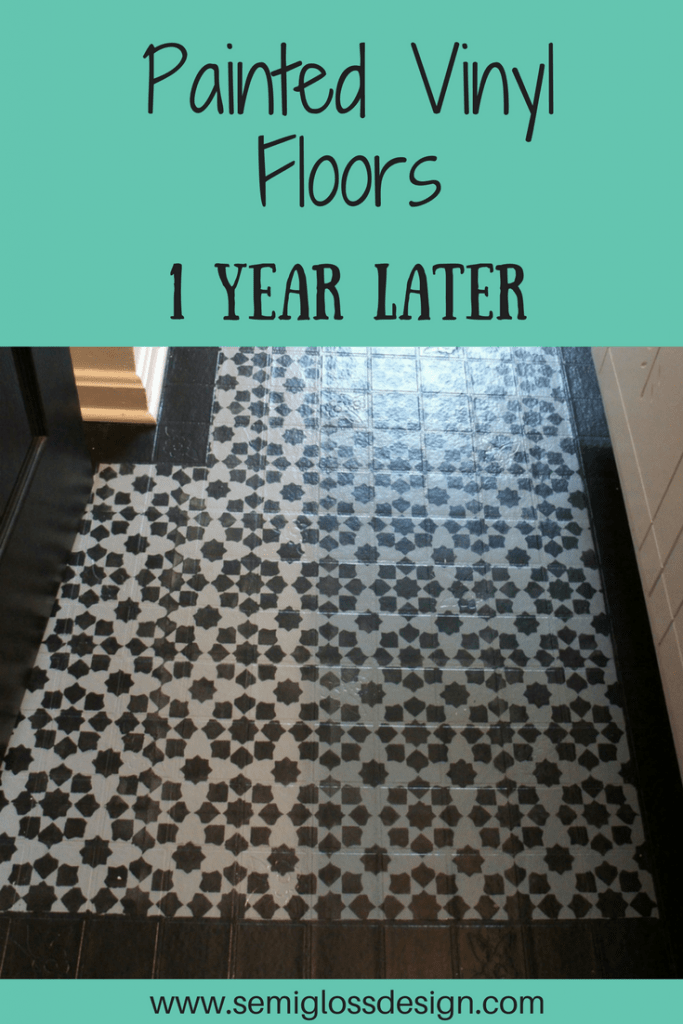
Over the last eighteen months, my painted vinyl floors have outperformed expectations in terms of durability. Sweeping and damp mopping with mild detergent on a regular basis keeps the appearance fresh without causing damage to the paint finish. I avoid using abrasive cleaning and scrubbing instruments, which can wear through the paint layers over time. The semi-gloss finish is easy to clean and displays fewer scuff marks than I expected given daily foot traffic and furniture movement.
Touch-up maintenance has been modest, but is required in high-traffic places such as doors and in front of the sink. I save extra paint for these minor repairs, which blend perfectly when correctly applied. The bathroom floor wears faster than the kitchen floor due to moisture exposure, although appropriate ventilation and rapid removal of stagnant water prevents the majority of damage. Annual inspections and minor touch-ups help to keep the professional appearance.
Long-term performance is heavily reliant on the quality of early preparation and application processes. I predict 3-5 years of good look before substantial repainting is required, making this approach more cost-effective than replacing flooring. The transformation completely changed my perspective on these areas, demonstrating that low-cost DIY solutions can have a major visual impact when performed correctly with care and attention to detail.
How long do painted vinyl floors normally last before requiring touch-ups?
Painted vinyl floors, in my experience, require modest touch-ups every 12-18 months in high-traffic areas such as entryway and kitchen work zones. With good maintenance, the overall finish should last for 3-5 years before needing to be completely repainted. Bathroom flooring may require maintenance sooner due to moisture exposure, although proper ventilation considerably increases durability. Quality preparation and paint choices have a direct impact on long-term performance and durability.
Which sort of paint is suitable for vinyl flooring applications?
I propose high-quality floor and patio coatings developed for high-traffic areas. Benjamin Moore and Sherwin Williams both provide excellent chipping and wear-resistant solutions. Semi-gloss or satin finishes are easier to clean than flat paint and hide tiny defects better than full gloss. Avoid conventional wall paint since it cannot endure foot activity or washing. Always use a primer specifically developed for slippery surfaces first.

Can I paint over vinyl flooring in locations with high moisture levels, such as bathrooms?
Yes, but adequate preparation and ventilation are critical to success. I achieved good results in my bathroom by guaranteeing excellent adhesion through careful cleaning and sanding. Use a high-quality primer and paint designed for moisture exposure. Install proper ventilation to avoid high humidity, which might cause paint failure. Address any existing moisture issues before painting, since stored water can cause adhesion problems over time.
What is the cost of painting vinyl flooring versus replacing it?
My 200-square-foot project required about $180 in materials, including primer, paint, brushes, and tools. Professional vinyl replacement would have cost $1,200 to $2,000 for the same space. The time investment was large, perhaps 20 hours spread across multiple days, but the savings made it worthwhile. Consider your time value while choosing between painting and replacement, since adequate preparation necessitates patience and attention to detail.
What is the most crucial step in ensuring proper paint adherence on vinyl?
Surface preparation is crucial and cannot be overlooked or neglected. Thorough degreasing eliminates invisible layers that inhibit primer adhesion, whereas mild sanding forms a mechanical bond. I spent two full days preparing alone, yet this commitment was the difference between success and failure. Many DIY paint failures are due to inadequate surface preparation rather than poor paint quality or application technique.
Should I remove the old vinyl flooring before painting, or can I paint right over it?
Painting directly over intact vinyl is usually a better option if the current flooring is well-adhered and in good condition. Removal generates dust, incurs disposal costs, and may cause subfloor damage, increasing complexity and expense. I first assessed the state of my vinyl, repairing only the problem spots rather than removing it completely. However, if the vinyl is severely damaged or deteriorating, removal and thorough floor preparation may be required for long-term success.

Painted Vinyl/Linoleum Floors

How To Paint Linoleum Flooring – The Honeycomb Home
How to Paint Vinyl or Linoleum Sheet Flooring
Painted vinyl floor
Related Posts: