After fifteen years of maintaining porcelain tile floors in my home, I’ve learned that proper cleaning techniques make all the difference between dull, streaky surfaces and gleaming floors that look professionally maintained. Through trial and error, countless product tests, and some expensive mistakes, I’ve discovered the most effective methods, products, and schedules that keep my tiles looking pristine while protecting their finish for years to come. What started as basic mopping has evolved into a comprehensive system that addresses every aspect of tile care, from daily maintenance to seasonal deep cleaning. My floors now maintain their showroom appearance despite heavy foot traffic, pet activity, and the inevitable spills that come with family life. The techniques I’ve developed save time, money, and frustration while delivering consistently superior results.
Understanding Your Porcelain Tile Surface
I remember when I first installed porcelain tiles, assuming they were indestructible and maintenance-free. While they’re incredibly durable compared to other flooring options, I quickly learned that different finishes require specific care approaches that can make or break their long-term appearance. Glazed tiles resist stains better but show water spots more easily, requiring frequent buffing to maintain their shine. Unglazed varieties hide fingerprints but absorb spills faster if not sealed properly, making immediate cleanup crucial. The manufacturing process creates subtle differences in surface texture that affect how dirt accumulates and how cleaning products penetrate. Understanding these characteristics transformed my approach from generic floor cleaning to targeted tile maintenance that addresses each surface’s unique needs.
The porosity of your tiles determines how they’ll react to cleaning products, absorb moisture, and resist staining over time. I’ve found that testing any new cleaner on a small, inconspicuous area first saves me from potential disasters that could permanently damage entire rooms. Some tiles have micro-textures that trap dirt differently, requiring adjusted cleaning techniques to maintain their appearance effectively. High-traffic areas develop different wear patterns that need specialized attention, while corners and edges accumulate grime in ways that standard mopping cannot address. Temperature changes can cause tiles to expand and contract slightly, affecting how cleaning solutions penetrate and dry. This knowledge helped me develop seasonal cleaning adjustments that account for environmental factors and maintain consistent results year-round.
Grout lines present their unique challenges that I’ve mastered over time through careful observation and experimentation. These porous areas collect dirt and moisture, becoming breeding grounds for bacteria if neglected, while also serving as pathways for spills to penetrate beneath tiles. Understanding this helped me develop targeted cleaning strategies that address both tile surfaces and grout simultaneously for comprehensive floor maintenance. The color of grout significantly affects how quickly soiling becomes visible, with lighter colors showing stains immediately while darker grout can hide problems until they become severe. I’ve learned to adjust my cleaning frequency based on grout color, environmental factors, and usage patterns. Proper grout maintenance prevents costly repairs and extends the entire floor’s lifespan significantly.
Daily Maintenance Routines That Work
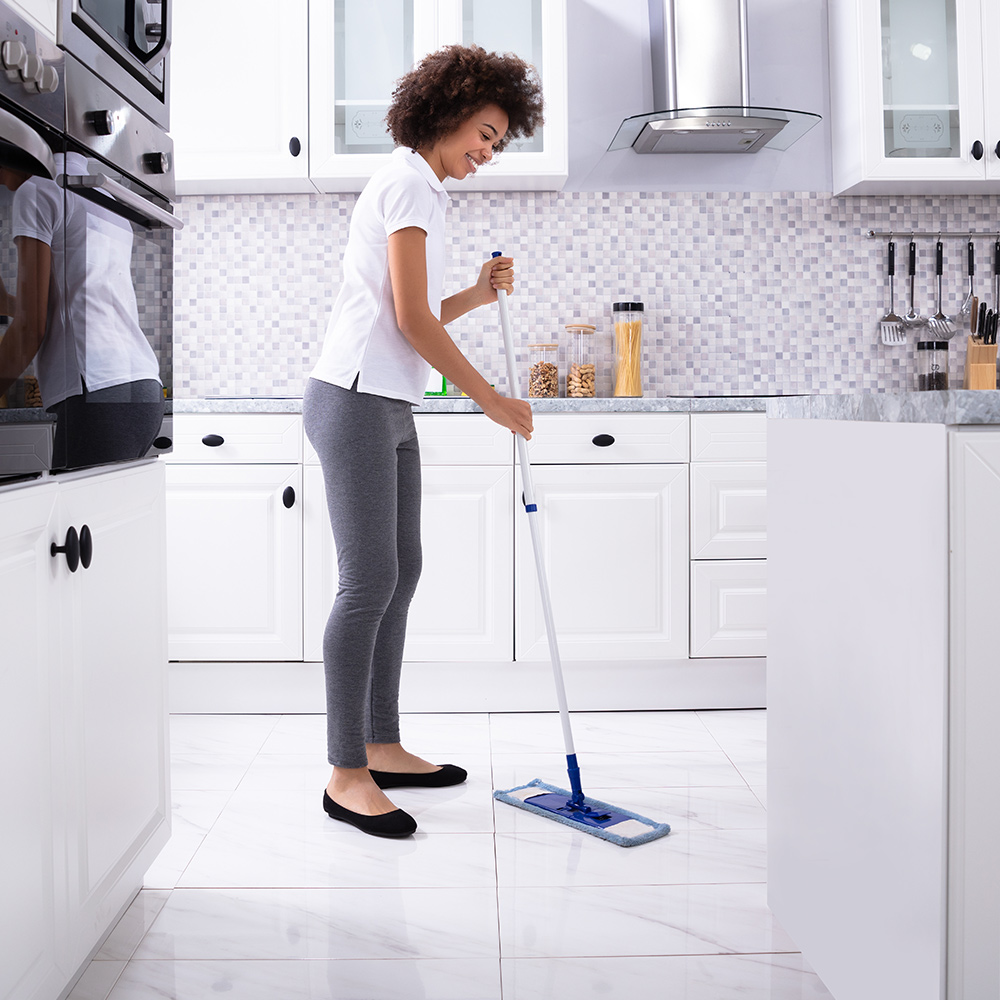
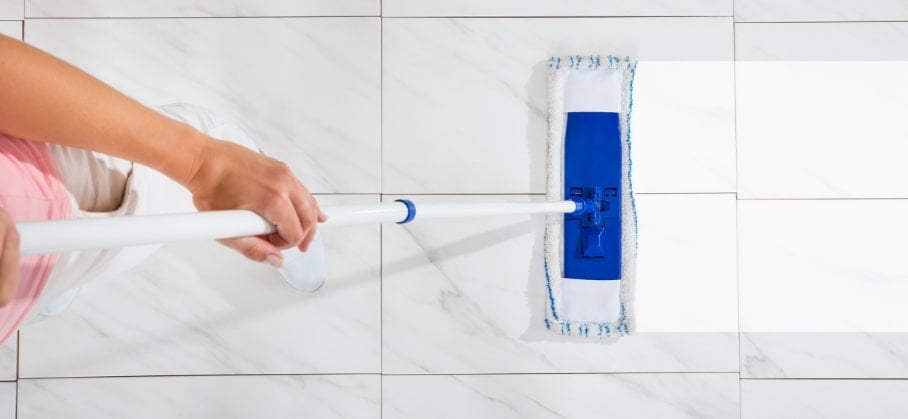
My daily routine starts with dry sweeping or vacuuming to remove loose debris before it gets ground into the surface through foot traffic. I use a microfiber dust mop because it captures particles without scratching, and I’ve noticed this simple step dramatically reduces the frequency of deep cleaning sessions needed. The timing of this initial cleaning matters tremendously, as debris removal before it gets wet prevents mud formation that can stain grout permanently. I’ve established specific patterns for sweeping that ensure complete coverage without missing corners or areas under furniture. Different rooms require different approaches based on their usage patterns, with kitchens needing more frequent attention than bedrooms. This systematic approach has become second nature and takes just minutes while providing maximum protection for my investment.
For high-traffic areas, I do a quick damp mop with warm water and a few drops of pH-neutral cleaner to prevent buildup without leaving residue that attracts more dirt. I learned the hard way that using too much product creates a film that makes floors look cloudy and feel sticky underfoot, actually making them dirtier faster. The water temperature matters more than I initially realized, as too-hot water can damage some sealers while cold water doesn’t activate cleaning agents effectively. I’ve developed a rotation system that ensures each area gets appropriate attention without over-cleaning, which can wear down protective coatings prematurely. My mop technique involves figure-eight patterns that lift dirt rather than pushing it around, followed by a clean water rinse in heavily soiled areas.
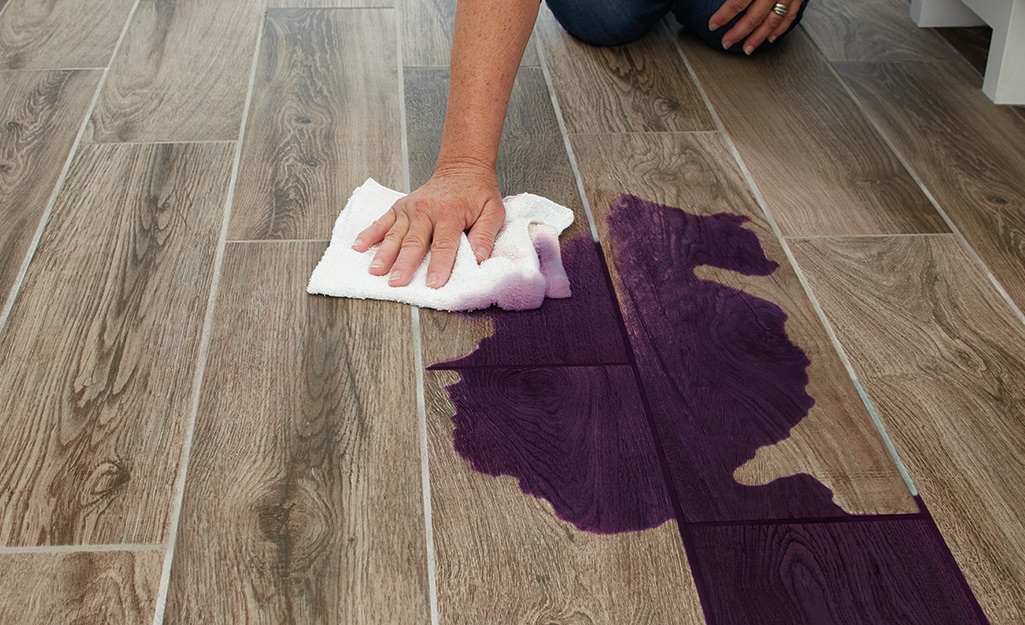
Immediate spill cleanup became my golden rule after dealing with stubborn stains that could have been prevented with quick action. I keep microfiber cloths strategically placed around the house, blotting liquids immediately rather than wiping them around, which can spread stains and push them deeper into grout lines. The type of spill determines my response strategy, with acidic substances like wine or coffee requiring immediate neutralization while oily spills need absorbent materials to prevent spreading. I’ve learned to work from the outside of spills toward the center to contain them, using clean sections of cloth for each blotting motion. This proactive approach has saved me countless hours of scrubbing and prevented permanent damage that would require professional restoration or tile replacement.

Deep Cleaning Techniques for Stubborn Stains
When basic cleaning isn’t enough to restore my tiles’ original appearance, I turn to my proven deep cleaning arsenal that has evolved through years of experimentation. For soap scum and hard water deposits, I mix equal parts white vinegar and water, applying it with a spray bottle and letting it sit for ten minutes before scrubbing with a soft-bristled brush. This natural solution breaks down mineral deposits without damaging the tile finish, though I always test it first on inconspicuous areas. The contact time is crucial, as rushing the process reduces effectiveness while leaving the solution too long can cause discoloration on sensitive surfaces. I’ve learned to work in sections, applying the solution to manageable areas that I can complete before the solution dries. The scrubbing technique involves circular motions that lift deposits without scratching, followed by thorough rinsing and immediate drying to prevent water spots.
Grease stains require a different approach that I’ve perfected through kitchen mishaps and cooking accidents over the years. I create a paste using baking soda and water, spread it over the stain, and cover it with plastic wrap for several hours to prevent drying. The alkaline paste draws out oils while the plastic wrap maintains moisture for maximum penetration and effectiveness. Temperature plays a role here, too, as slightly warm paste works faster than cold applications. I’ve found that overnight treatments work best for stubborn grease, giving the baking soda time to absorb oils completely. Gentle scrubbing with a toothbrush removes residue completely, and I always follow up with a neutral cleaner to remove any alkaline residue that could attract dirt later.
For particularly stubborn areas that resist standard treatments, I use a steam cleaner monthly to penetrate pores and lift embedded grime. The high-temperature steam penetrates pores and grout lines, loosening embedded dirt without chemicals that could damage surfaces or harm my family. I’ve learned to move the steam cleaner slowly for maximum effectiveness, overlapping passes to ensure complete coverage. The steam temperature must be appropriate for my specific tile type, as excessive heat can damage some finishes or cause thermal shock in certain installations. I follow up with immediate drying using clean towels to prevent water spots and maintain the tiles’ natural luster. This deep cleaning method has extended my floors’ lifespan significantly while maintaining their original beauty.

Choosing the Right Products and Tools
After trying countless products and wasting money on ineffective solutions, I’ve narrowed down my essential cleaning arsenal to proven performers that deliver consistent results. A high-quality pH-neutral cleaner forms the foundation of my routine, paired with microfiber mops that clean effectively without scratching delicate surfaces. I avoid acidic cleaners that can etch surfaces permanently and alkaline products that leave residue, attracting dirt faster than before cleaning. The concentration of cleaning products matters tremendously, as proper dilution provides maximum effectiveness while preventing damage from overly strong solutions. I’ve learned to read labels carefully, understanding that more expensive doesn’t always mean better, but quality ingredients do make a significant difference in results and surface protection.
My tool collection includes different brushes for various tasks, each selected for specific purposes and surface types. Soft-bristled brushes handle regular cleaning without scratching, medium-bristled versions tackle grout effectively, and old toothbrushes provide detailed work around fixtures and in tight spaces. I’ve learned that having the right tool for each job prevents damage while improving cleaning effectiveness significantly. The handle length affects my comfort during extended cleaning sessions, while the brush shape determines how effectively I can reach different areas. I replace brushes regularly as worn bristles become less effective and can even damage surfaces they once protected. Proper tool maintenance extends their lifespan and ensures consistent performance over time.
Quality matters more than quantity when selecting cleaning products, as I’ve learned through expensive trial and error. I invest in concentrated cleaners that dilute properly, providing better value while reducing storage needs and environmental impact. Microfiber cloths that last through hundreds of washes prove more economical than disposable alternatives while delivering superior cleaning performance. Durable mops that maintain their effectiveness over time save money while providing consistent results that cheaper alternatives cannot match. This approach has reduced my cleaning supply costs while delivering consistently superior results that protect my flooring investment for years to come.
Common Mistakes I’ve Learned to Avoid
Using too much cleaning product was my biggest early mistake, creating sticky films that attracted dirt faster than before cleaning and required additional work to remove. I learned that less is more, using properly diluted solutions that clean effectively without leaving residue that compromises my tiles’ appearance. This revelation transformed my cleaning results dramatically while reducing my product consumption significantly, saving money and storage space. Over-application also wastes product and can damage surfaces over time, as excess chemicals break down protective coatings and sealers. I now measure products carefully, following manufacturer recommendations while adjusting for my specific conditions. This precision approach delivers better results while protecting my investment and reducing environmental impact.
I used to clean in direct sunlight, causing cleaning solutions to dry too quickly and leave streaks that required additional work to remove. Now I clean during cooler parts of the day or close blinds to control drying time and ensure even coverage. This simple timing adjustment eliminated streaking issues while improving my overall cleaning efficiency and results. The ambient temperature affects how products work, with extreme heat or cold reducing effectiveness and potentially causing damage. I’ve learned to monitor weather conditions and adjust my cleaning schedule accordingly, avoiding very humid days that prevent proper drying and extremely dry conditions that cause solutions to evaporate too quickly. This attention to environmental factors has improved my results dramatically.
Neglecting grout maintenance led to expensive restoration work that I could have prevented with regular attention and proper care. I now seal grout annually and address discoloration immediately rather than waiting until it becomes a major problem requiring professional intervention. This proactive approach has saved thousands of dollars in restoration costs while maintaining my floors’ appearance consistently. Grout problems compound quickly, with small issues becoming major failures that compromise entire installations. I’ve learned to recognize early warning signs like slight discoloration or texture changes that indicate developing problems. Regular maintenance prevents these issues from becoming costly repairs that disrupt my household and require extensive restoration work.
Professional Tips for Long-Term Maintenance
I schedule professional deep cleaning every two years, even with diligent home maintenance, recognizing that professional equipment and expertise provide benefits I cannot achieve alone. Professional equipment reaches areas and buildups that home cleaning cannot address completely, using specialized techniques and products unavailable to consumers. This investment extends my floor’s lifespan significantly while maintaining its appearance between professional services, making it cost-effective in the long run. Professional cleaners can identify developing problems early, preventing costly repairs through timely intervention. They also provide valuable advice specific to my installation, helping me refine my home maintenance routine for better results. The peace of mind that comes from professional maintenance protects my investment while ensuring my floors always look their best.
Seasonal maintenance adjustments have proven essential for year-round floor performance, as environmental conditions significantly affect cleaning needs and effectiveness. During humid months, I increase ventilation and reduce water usage during cleaning to prevent moisture problems that can damage grout and subflooring. In dry seasons, I add a humidifier to prevent excessive drying that can cause grout to crack or tiles to shift slightly. Temperature fluctuations require adjustments to my cleaning schedule and product selection, as extreme conditions can affect how solutions work and surfaces respond. I’ve learned to monitor seasonal changes and adjust my routine accordingly, preventing problems before they develop. This proactive approach maintains consistent results regardless of weather conditions or seasonal challenges.
I maintain detailed records of my cleaning schedule, products used, and any issues encountered, creating a valuable database that improves my effectiveness over time. This documentation helps me identify patterns in soil accumulation, product performance, and seasonal variations that inform future decisions. I track which products work best for specific situations, allowing me to optimize my routine continuously. When issues arise, my records provide professionals with valuable information that helps them diagnose problems quickly and recommend appropriate solutions. Consistent tracking has improved my maintenance effectiveness significantly while providing accountability that ensures nothing gets overlooked. This systematic approach has transformed my floor care from reactive cleaning to proactive maintenance that protects my investment long-term.
How often should I deep clean my porcelain tile floors?
I perform deep cleaning every two weeks in high-traffic areas and monthly in less-used spaces. This prevents buildup while maintaining appearance without over-cleaning that damages protective coatings. Heavy foot traffic, pets, and cooking increase cleaning needs while guest rooms require less attention.
Can I use vinegar on all types of porcelain tiles?
While vinegar works on most glazed porcelain tiles, I avoid it on natural stone-look varieties or metallic finishes that react negatively. Testing in inconspicuous areas prevents potential damage. For sensitive tiles, I use pH-neutral cleaners specifically designed for porcelain without etching risks.
What’s the best way to prevent grout discoloration?
I apply grout sealer annually and clean spills immediately to prevent staining. Weekly grout cleaning with soft brushes and mild cleaners maintains appearance while preventing buildup. For existing discoloration, I use oxygen bleach rather than chlorine bleach which weakens grout structure over time.
Should I use a steam mop on porcelain tiles?
Steam mops work excellently on sealed porcelain tiles, providing deep cleaning without chemicals. However, I avoid them on unsealed grout that can be damaged by excessive moisture. I use steam cleaning monthly with proper ventilation and immediate drying to prevent moisture-related grout issues.

How do I remove scratches from porcelain tiles?
Light scratches respond to gentle polishing with porcelain tile polish or automotive rubbing compound. For deeper scratches, I consult professionals as improper repairs worsen damage. Prevention through area rugs in high-traffic zones proves more effective than attempting repairs after damage occurs.
What cleaning products should I avoid?
I never use acidic cleaners like lemon juice or harsh chemicals that etch porcelain permanently. Avoiding abrasive cleaners, steel wool, or scouring pads prevents scratching. Oil-based cleaners create slippery surfaces while attracting dirt. I stick to pH-neutral products, maintaining floor integrity and family safety.
How to Clean Tiled Floors with Vinegar Cleaning Guides by Fantastic!
Easy Ways to Clean Porcelain Tile Floors
How to Clean Tile Floors
How To Clean Porcelain Tile
Related Posts: